Knee Push Up Hold With Shoulder Taps
Knee push-up hold with shoulder taps is an anti-rotation core stability exercise performed from a kneeling plank position, targeting the abs, obliques, chest, and front deltoids through a controlled weight-shifting pattern. The movement forces your core to resist rotation as you lift one hand to tap the opposite shoulder, making it one of the most effective ways to build functional trunk stability at a beginner level. When performed with strict hip control and deliberate tempo, this exercise develops the anti-rotation strength that directly transfers into push-up progressions, planks, and single-arm movements.

Knee push-up hold with shoulder taps is an anti-rotation core stability exercise performed from a kneeling plank position, targeting the abs, obliques, chest, and front deltoids through a controlled weight-shifting pattern. The movement forces your core to resist rotation as you lift one hand to tap the opposite shoulder, making it one of the most effective ways to build functional trunk stability at a beginner level. When performed with strict hip control and deliberate tempo, this exercise develops the anti-rotation strength that directly transfers into push-up progressions, planks, and single-arm movements.
How to Do Knee Push Up Hold With Shoulder Taps
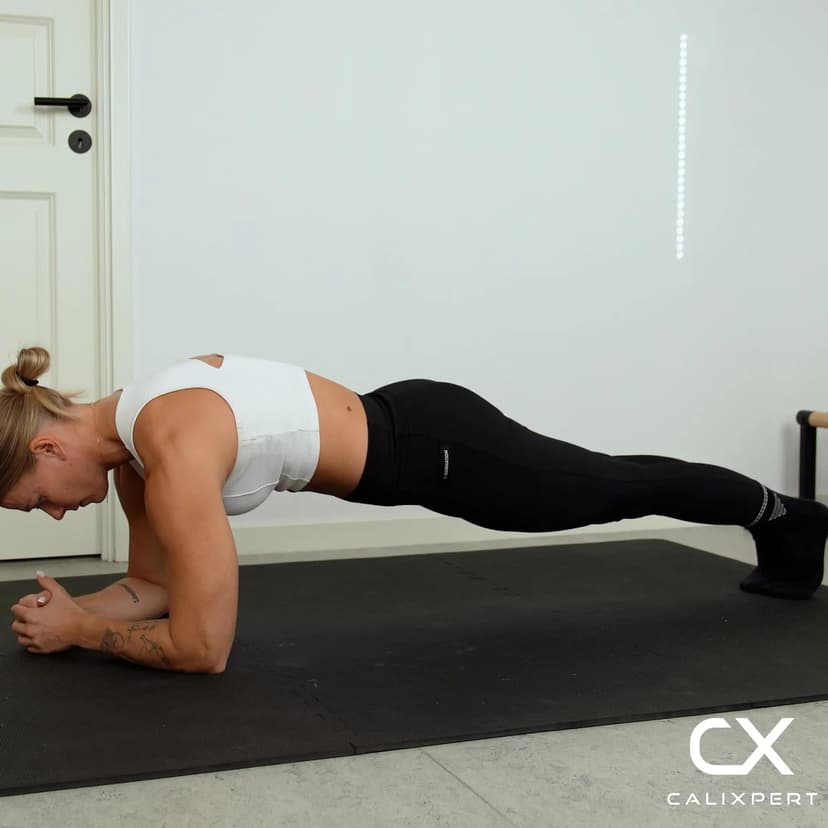
1. Set Up the Knee Plank
Place your hands on the floor slightly wider than shoulder width apart with your fingers spread. Drop your knees to the ground and keep your legs together. Your shoulders should be stacked directly above your wrists, and your body should form a straight line from the top of your head to your knees.
Shoulders directly over the hands
2. Brace Your Core and Glutes
Squeeze your glutes and pull your belly button toward your spine to lock your pelvis in a neutral position. This full-body tension prevents your hips from sagging or piking up during the taps. Keep your neck neutral by looking at the floor about a hand length in front of your fingers.
Squeeze glutes, brace core, flat back
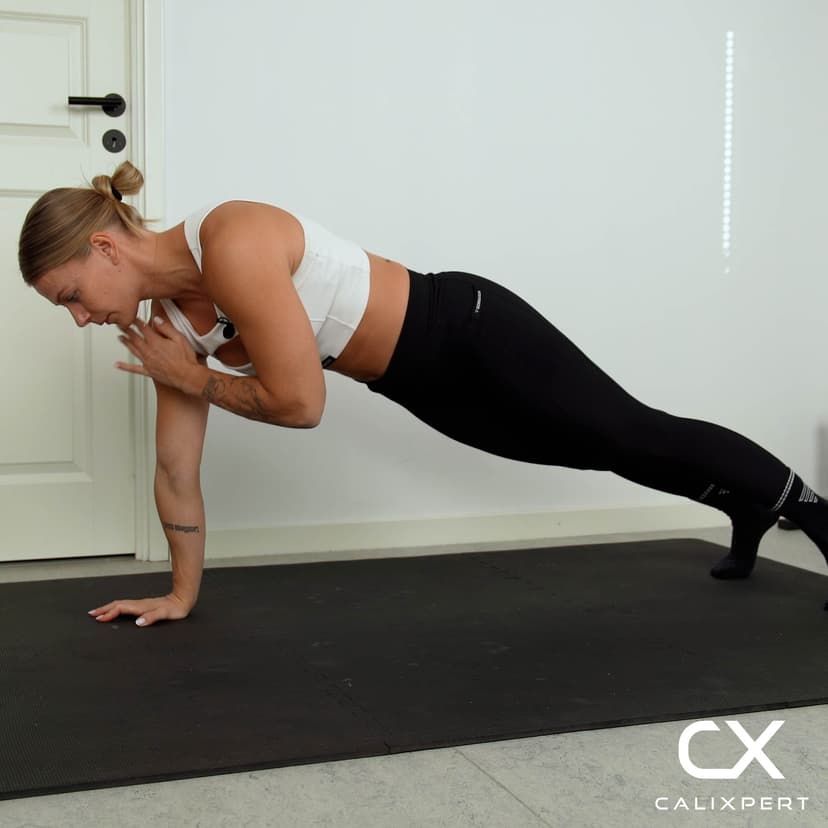
3. Shift Weight Into One Hand
Before lifting a hand, lean slightly into the opposite hand to transfer your bodyweight onto that supporting arm. This subtle weight shift is what makes the tap possible without collapsing or rotating. The shift should come from your trunk, not from throwing your shoulder to the side.
Lean, then lift
4. Tap the Opposite Shoulder
Lift your free hand off the floor and tap the opposite shoulder with a controlled, deliberate motion. Keep the tap brief and do not rest your hand on the shoulder. Your hips should stay level throughout the entire tap, with no visible rotation toward the ceiling or the floor.
Tap and return, hips stay flat
5. Return and Alternate Sides
Place your hand back on the floor in its original position before shifting weight to the other side. Re-establish your full plank tension for a brief moment before performing the tap on the opposite side. Continue alternating back and forth at a steady, controlled pace.
Reset fully before switching sides
Most people focus on the hand that is tapping and forget about the hand that is holding them up. The real exercise happens on the supporting side. Think about pressing the floor away with your grounded hand and keeping that shoulder packed tight while the other hand moves. When you shift the focus to the supporting arm and your core, the hips stop rotating and the exercise suddenly becomes twice as effective.
Muscles Worked During Knee Push Up Hold With Shoulder Taps
Primary Muscles:
Secondary Muscles:

Primary Muscles
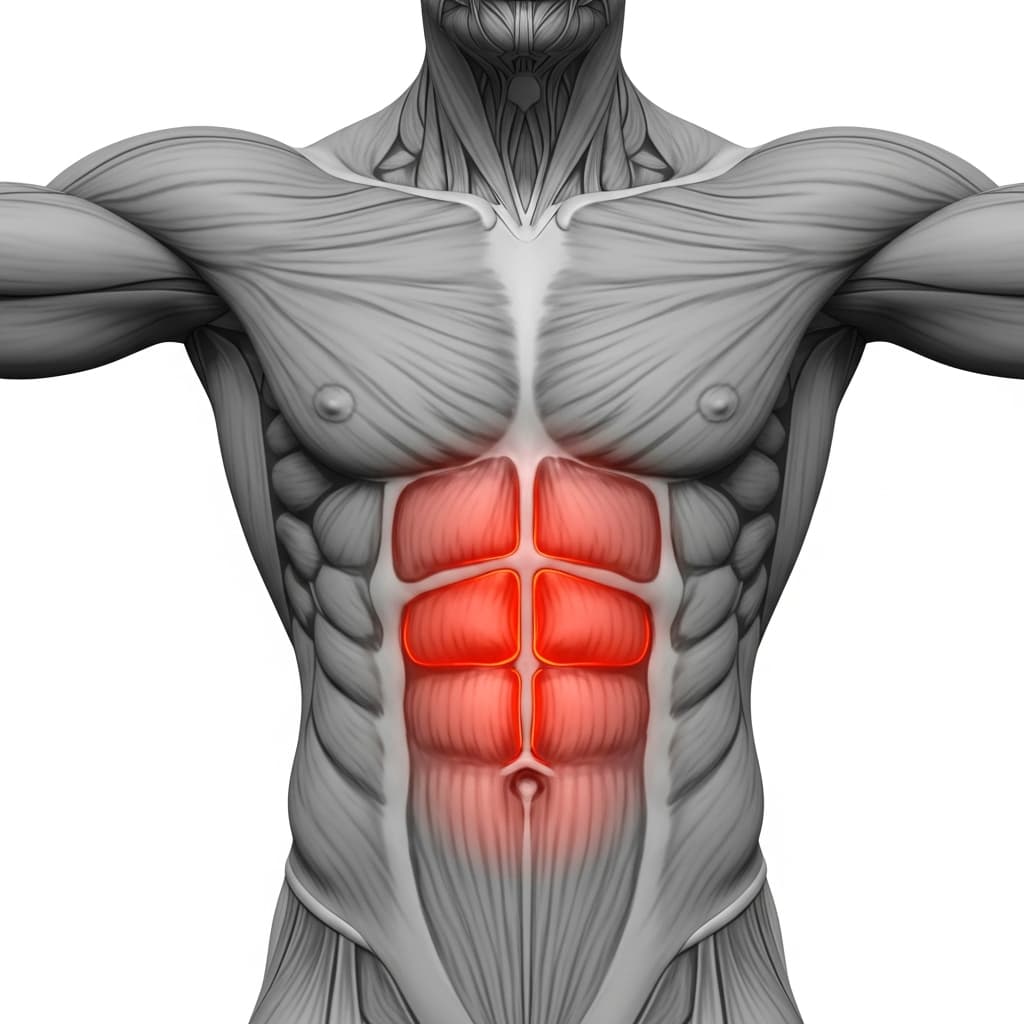
Rectus Abdominis (Abs) - The rectus abdominis works isometrically to prevent the spine from extending and dynamically to resist rotational forces each time one hand leaves the floor.
Secondary Muscles
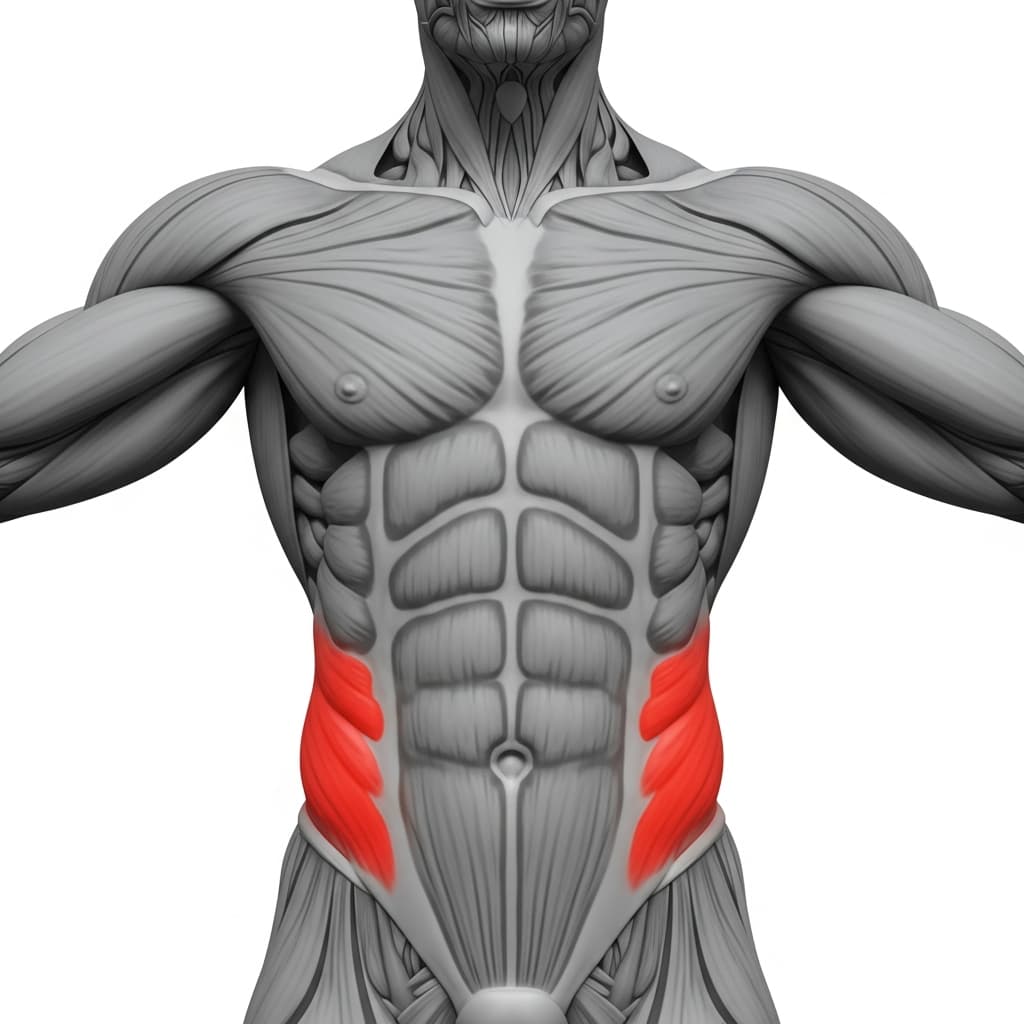
Obliques (Obliques) - The obliques fire hard on the supporting side to prevent the hips and torso from rotating toward the tapping hand, making this their primary anti-rotation role.
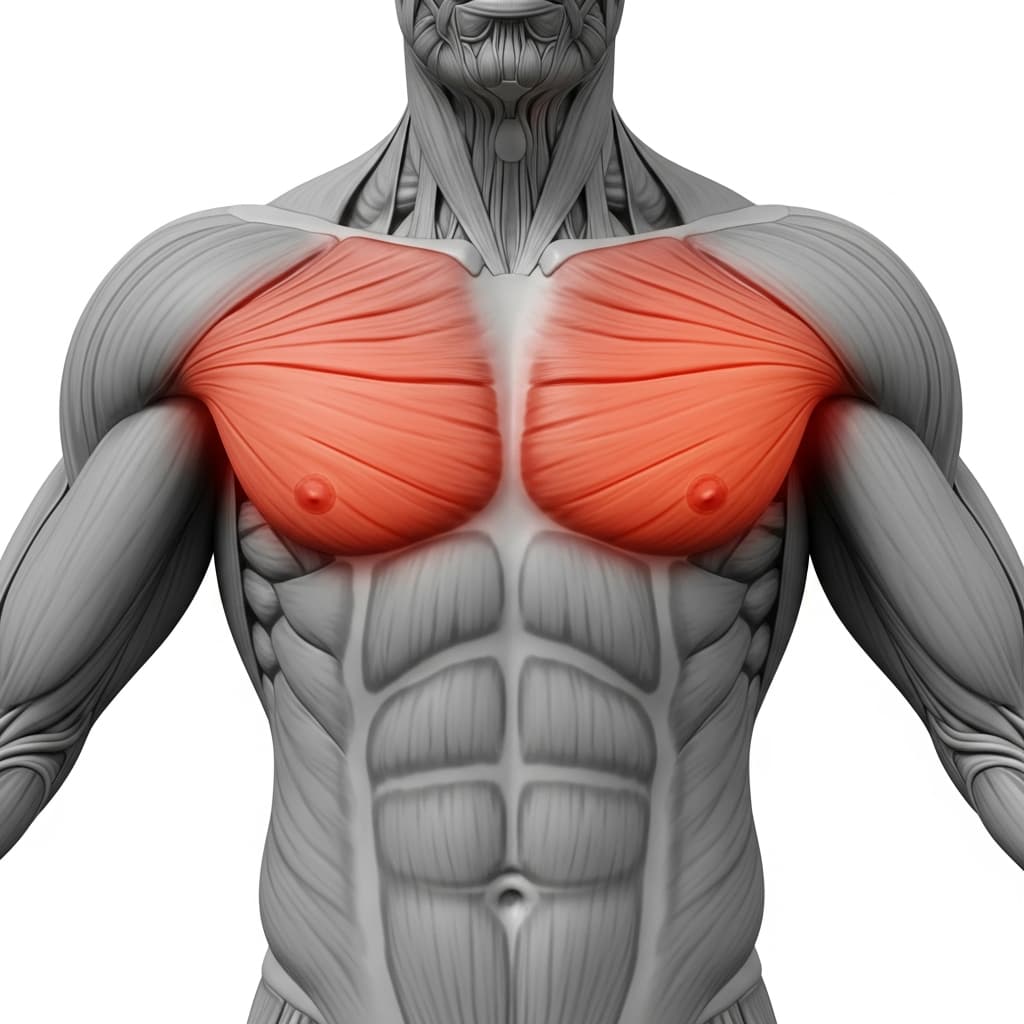
Pectoralis Major (Chest) - The pectorals contract isometrically to stabilize the shoulder joint and support bodyweight on the grounded arm during each tap.
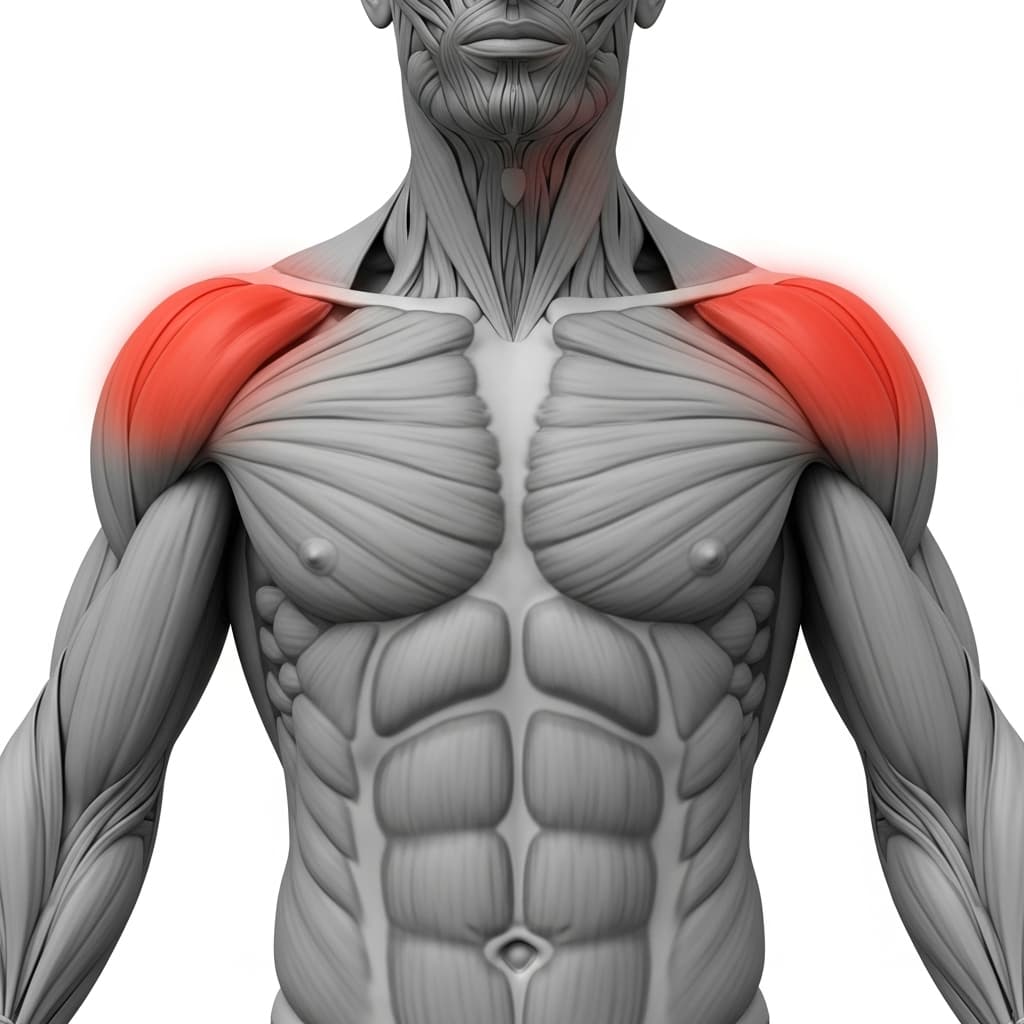
Anterior Deltoid (Front Deltoid) - The anterior deltoid stabilizes the shoulder in flexion on the supporting arm, bearing a larger share of bodyweight each time the opposite hand lifts off the floor.
Triceps Brachii (Triceps) - The triceps maintain elbow extension throughout the hold, keeping the arms locked out to support the plank position.
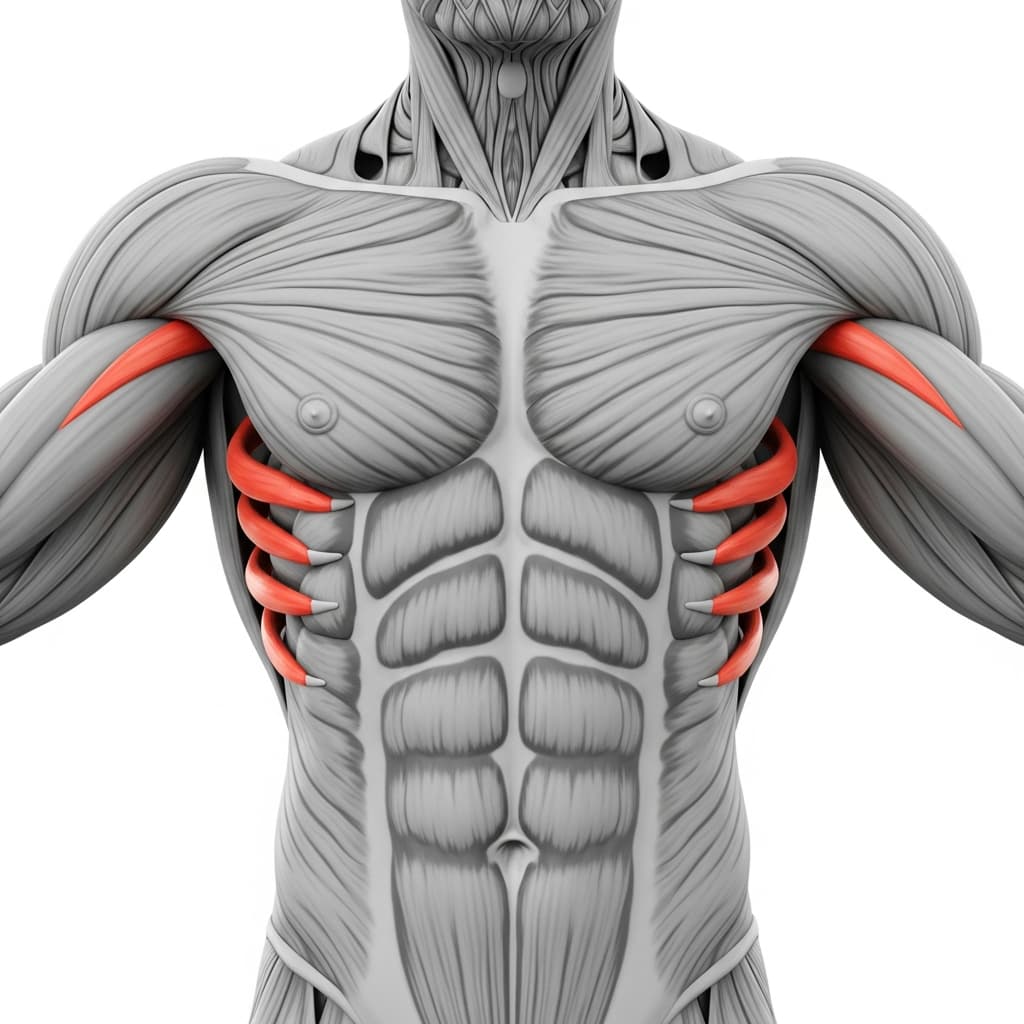
Serratus Anterior (Serratus Anterior) - The serratus anterior protracts and stabilizes the scapula against the ribcage, preventing the shoulder blades from winging during the single-arm support phase.
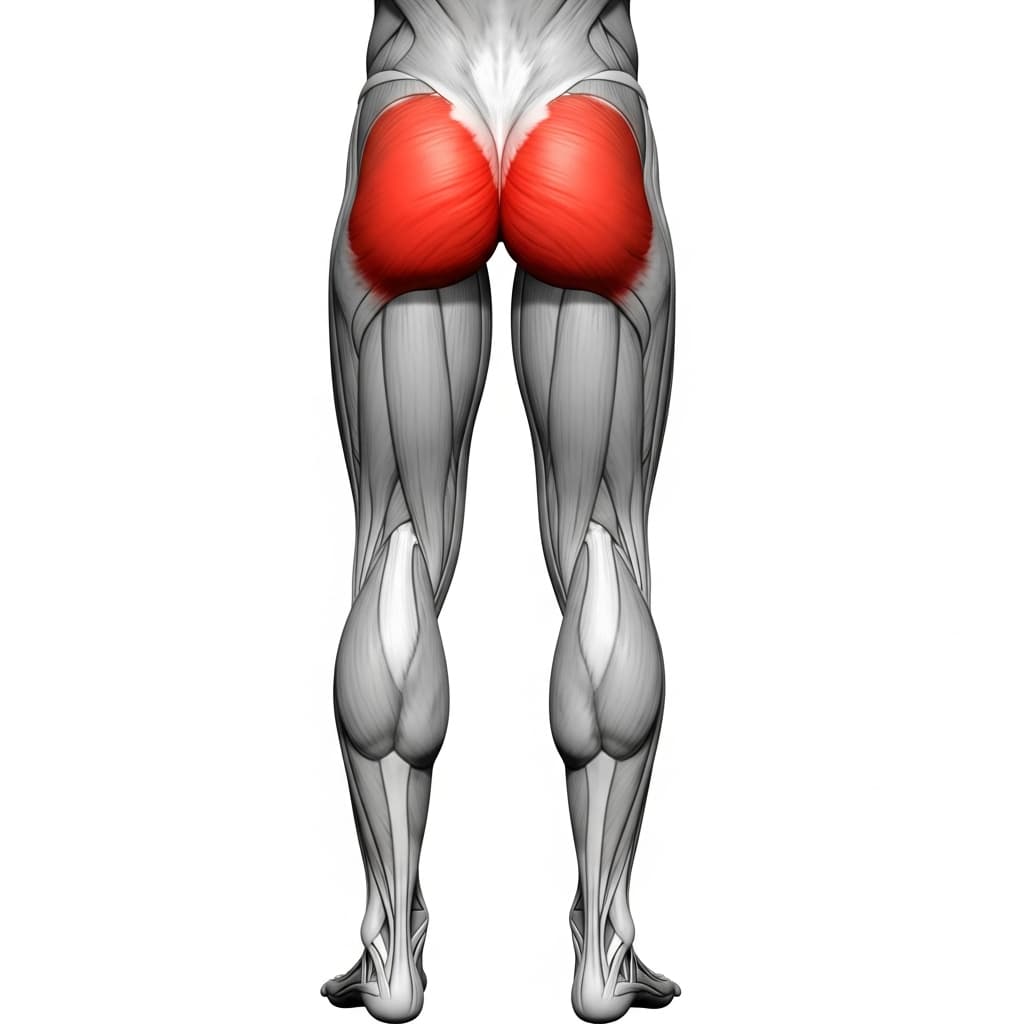
Gluteus Maximus (Glutes) - The glutes contract to maintain pelvic alignment and prevent the hips from dropping or shifting laterally during the weight transfer between hands.
Benefits of Knee Push Up Hold With Shoulder Taps
- Builds anti-rotation core strength, training the abs and obliques to resist twisting forces that directly transfer to push-ups, planks, and single-arm exercises
- Develops shoulder stability under single-arm loading, strengthening the supporting shoulder joint and scapular muscles in a low-risk kneeling position
- Improves body awareness and motor control by forcing you to consciously manage weight distribution and hip alignment during a dynamic movement
- Serves as a direct progression step toward full push-up shoulder taps and other advanced plank variations by building the core control required at a manageable difficulty level
Who Is This Exercise For?
You should be able to hold a knee plank position with a flat back and engaged core for at least 20 seconds before adding shoulder taps. If your hips sag or your lower back arches during a basic knee plank, work on that hold first until it feels controlled and effortless. This exercise is not appropriate if you have wrist pain under load, so address wrist mobility before attempting it.
Common Mistakes to Avoid
Allowing the hips to rotate during the tap: Squeeze your glutes hard and think about keeping your belt line parallel to the floor at all times. If your hips are rotating, slow down the movement and reduce the range of the tap until you can control the position.
Rushing through the taps: Each tap should take roughly 2 seconds from lift to return. Speeding up the taps turns the exercise into a balance scramble instead of a controlled anti-rotation drill.
Hips sagging toward the floor: Engage your core before the first tap and maintain that tension throughout the set. If your hips start dropping, your core has fatigued and you should rest rather than continue with broken form.
Placing hands too narrow: Set your hands slightly wider than shoulder width to create a stable base. Hands too close together makes the weight shift dramatically larger and causes unnecessary wobble on every rep.