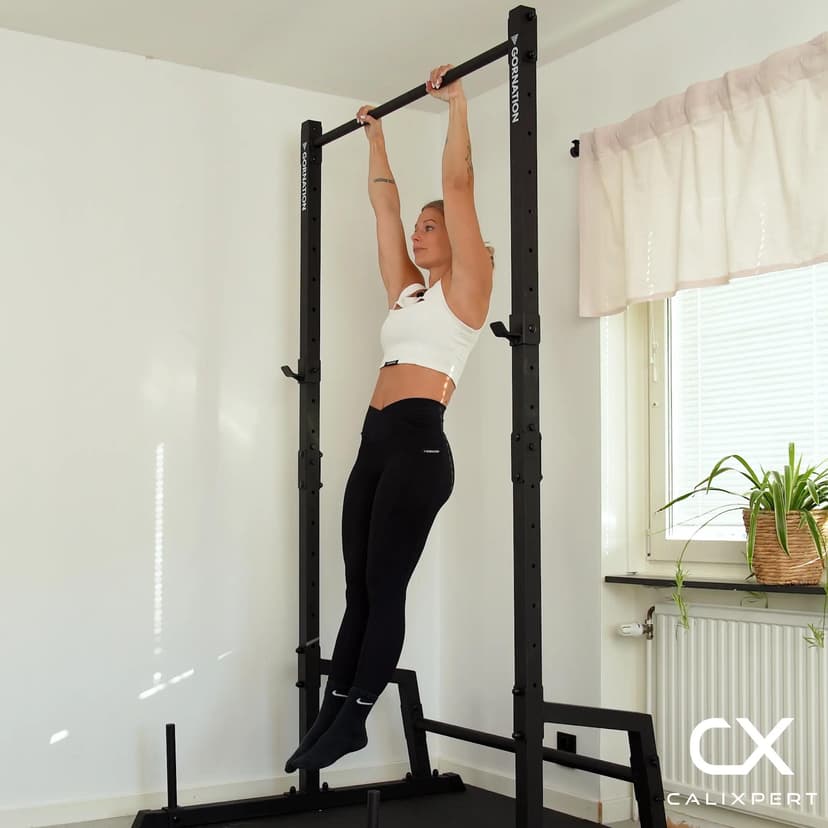
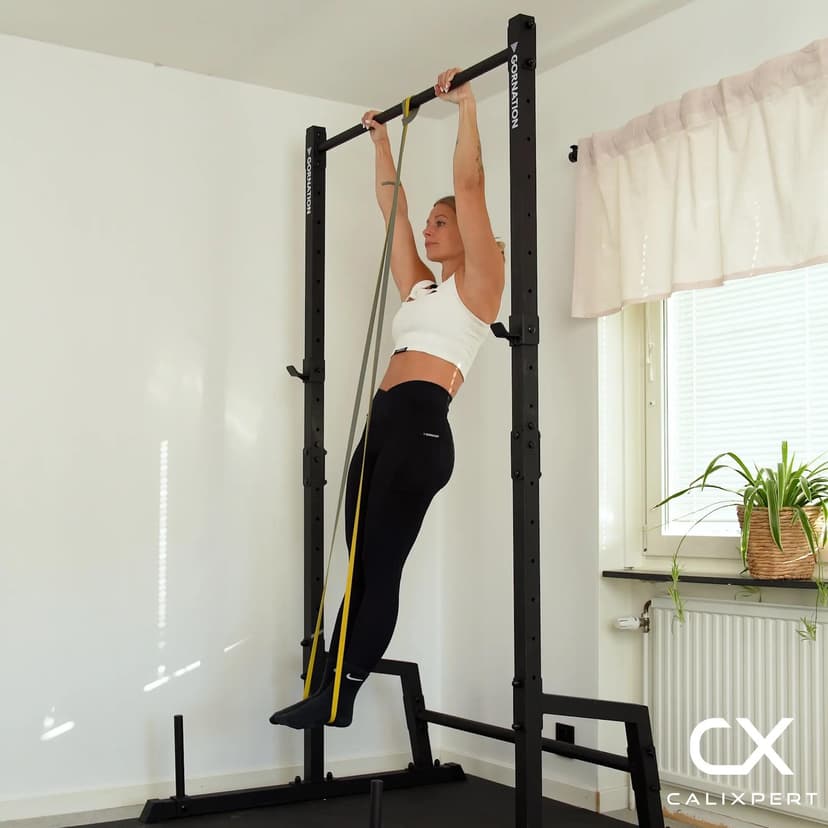
Assisted One Arm Hang
The assisted one arm hang is a unilateral grip and shoulder stability exercise that targets the forearms, lats, and rotator cuff while using a resistance band to reduce bodyweight load on the working arm. The key distinction is that this is an active hang, meaning the shoulder blade stays depressed and engaged throughout the hold rather than passively stretching in a dead hang position. Building time under tension in this position develops the single-arm grip strength and shoulder resilience required for full one arm hangs, one arm pull-up progressions, and advanced calisthenics skills.
The assisted one arm hang is a unilateral grip and shoulder stability exercise that targets the forearms, lats, and rotator cuff while using a resistance band to reduce bodyweight load on the working arm. The key distinction is that this is an active hang, meaning the shoulder blade stays depressed and engaged throughout the hold rather than passively stretching in a dead hang position. Building time under tension in this position develops the single-arm grip strength and shoulder resilience required for full one arm hangs, one arm pull-up progressions, and advanced calisthenics skills.
How to Do Assisted One Arm Hang
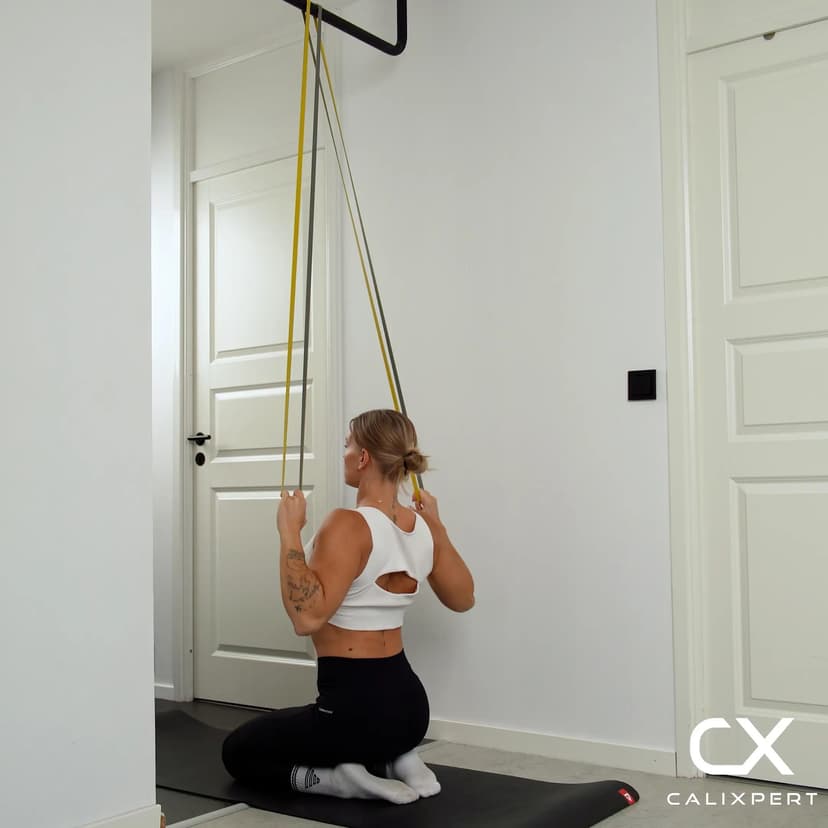
1. Attach the Band to the Bar
Loop a resistance band over a high straight bar and pull one end through the other to secure it. The band should hang down within easy reach when you are standing. Use a band with enough resistance to meaningfully reduce load, especially in early sessions.
Band locked tight, no slipping
2. Grip the Bar Overhand
Grab the bar with one hand using a full overhand grip, wrapping the thumb completely around the bar. Position your knuckles so they face upward toward the ceiling rather than straight ahead. This grip angle engages the forearm extensors and keeps the wrist in a stronger, more stable position for single-arm loading.
Knuckles toward the ceiling, thumb around
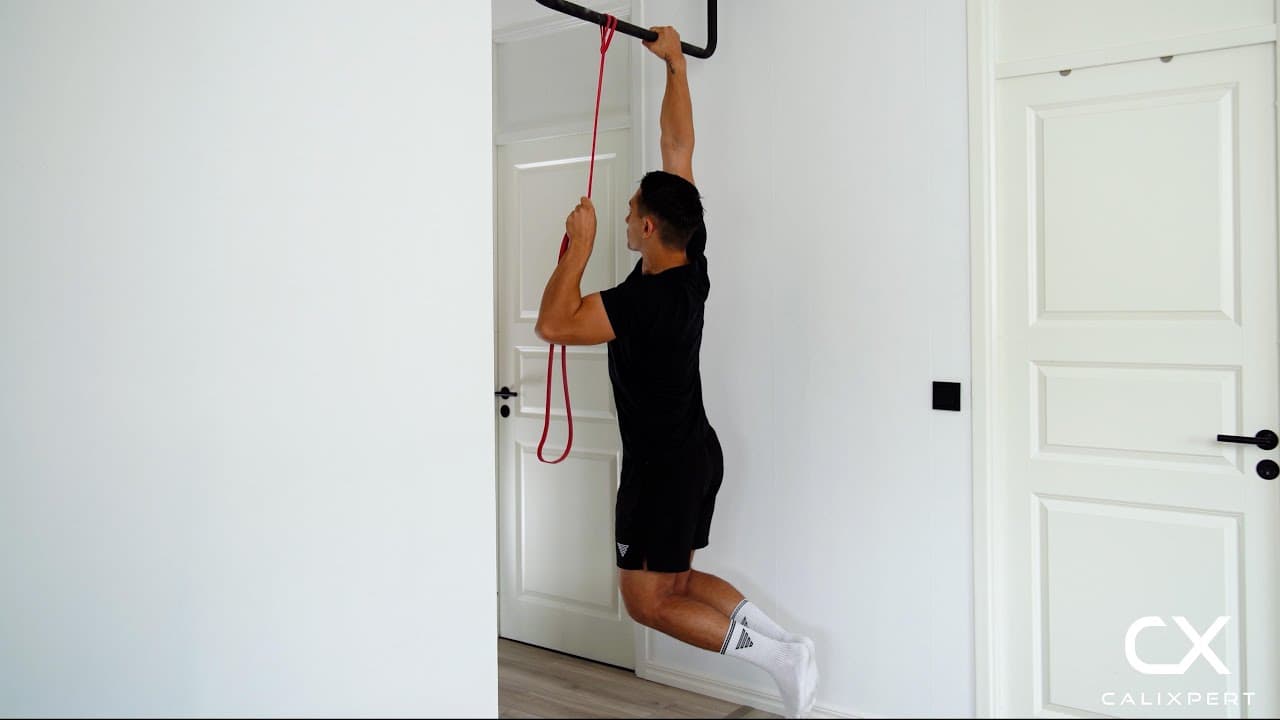
3. Grab the Band With Your Free Hand
With the working arm on the bar, reach down and grip the resistance band with your free hand. The higher you grab on the band, the more assistance you receive and the easier the hold becomes. The lower you grab, the less the band helps and the harder the exercise gets. Start with a higher grip and work your way down over weeks.
Higher is easier, lower is harder
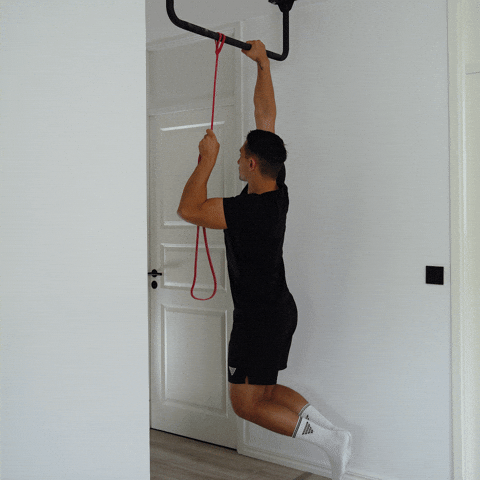
4. Set the Active Hang Position
Lift your feet off the ground and immediately depress your working shoulder by pulling the shoulder blade down and back. This is an active hang, not a dead hang. Your shoulder should sit firmly in its socket with visible engagement in the upper back, not shrugged up toward your ear.
Shoulder down and packed, not shrugging
5. Hold and Maintain Tension
Breathe steadily and maintain the active hang position for the target hold time. Keep your core braced to prevent your body from rotating or swinging. If you feel the shoulder creeping upward or the grip failing, adjust your band hand higher to add assistance rather than letting form collapse.
Brace the core, no swinging
6. Release With Control
When the hold is complete, place your feet back on the ground before releasing the bar. Do not drop suddenly from the hang. Rest fully before switching to the opposite arm and repeat for equal time on both sides.
Feet down first, then release
Most people grab the band as high as possible and treat this like a casual hang. That defeats the purpose. Start each session at a band height that makes the last five seconds of your hold genuinely difficult, and move your hand one fist-width lower every week or two. The goal is to make the band do less work over time, not to accumulate easy seconds.
Muscles Worked During Assisted One Arm Hang
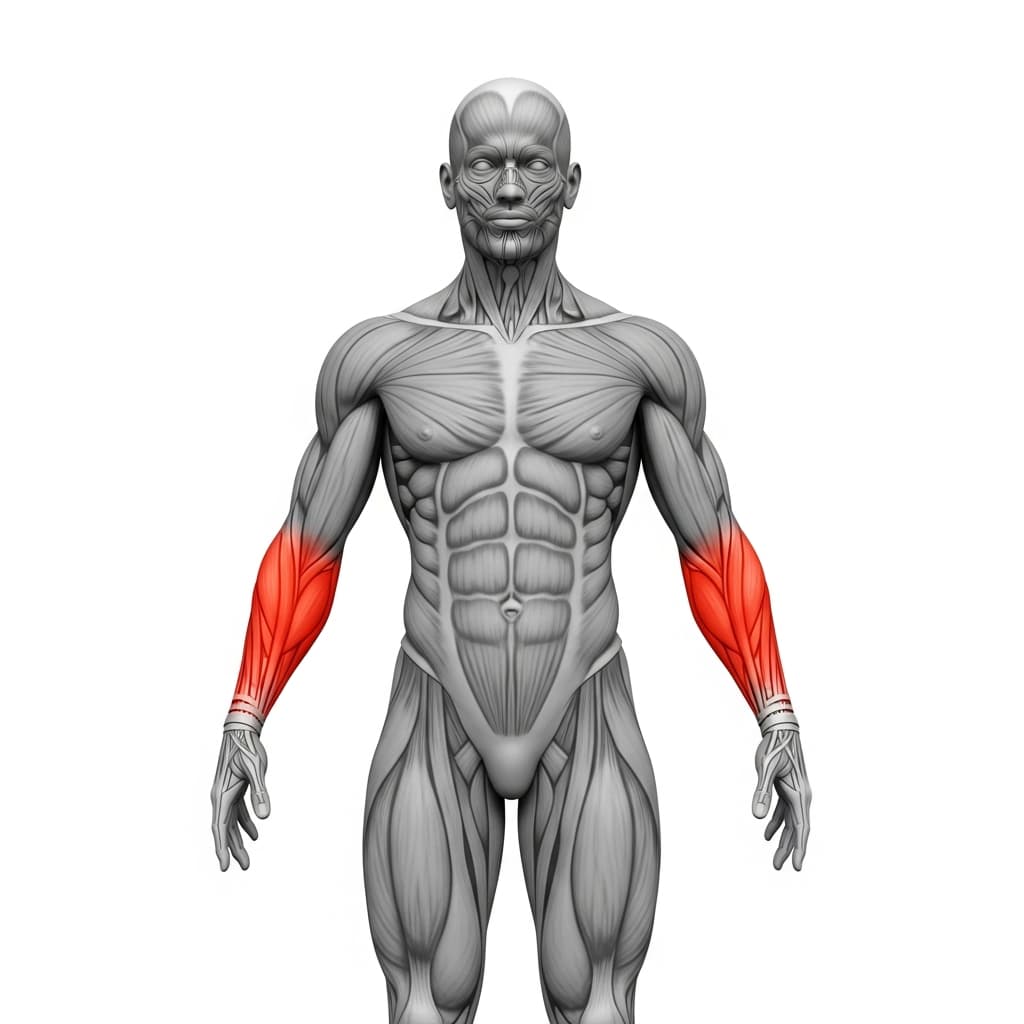
Primary Muscles
Forearm Flexors & Extensors (Forearms) - The forearm flexors maintain grip on the bar against full bodyweight load concentrated through a single hand, making this the primary grip strength demand of the exercise.
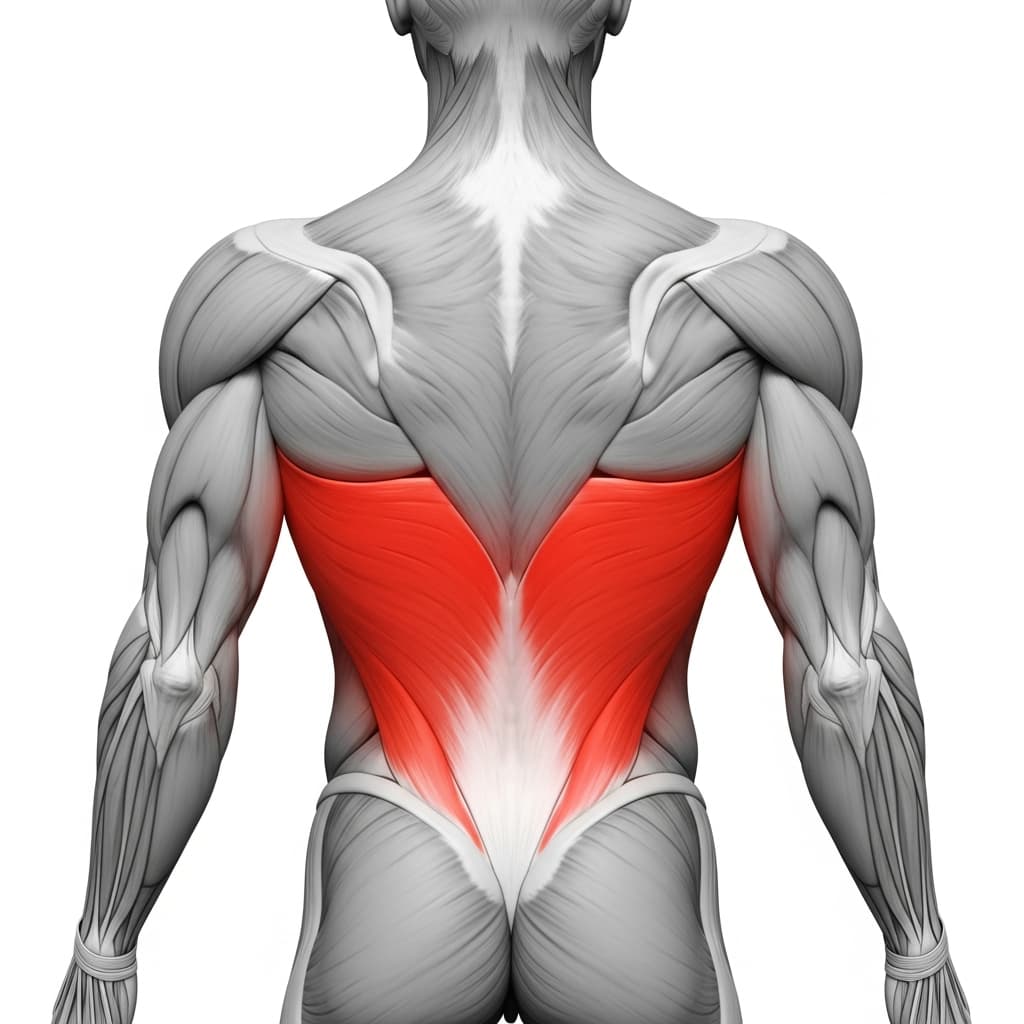
Latissimus Dorsi (Lats) - The latissimus dorsi depresses the shoulder blade and holds the shoulder in the active hang position, preventing the joint from passively stretching under load.
Secondary Muscles
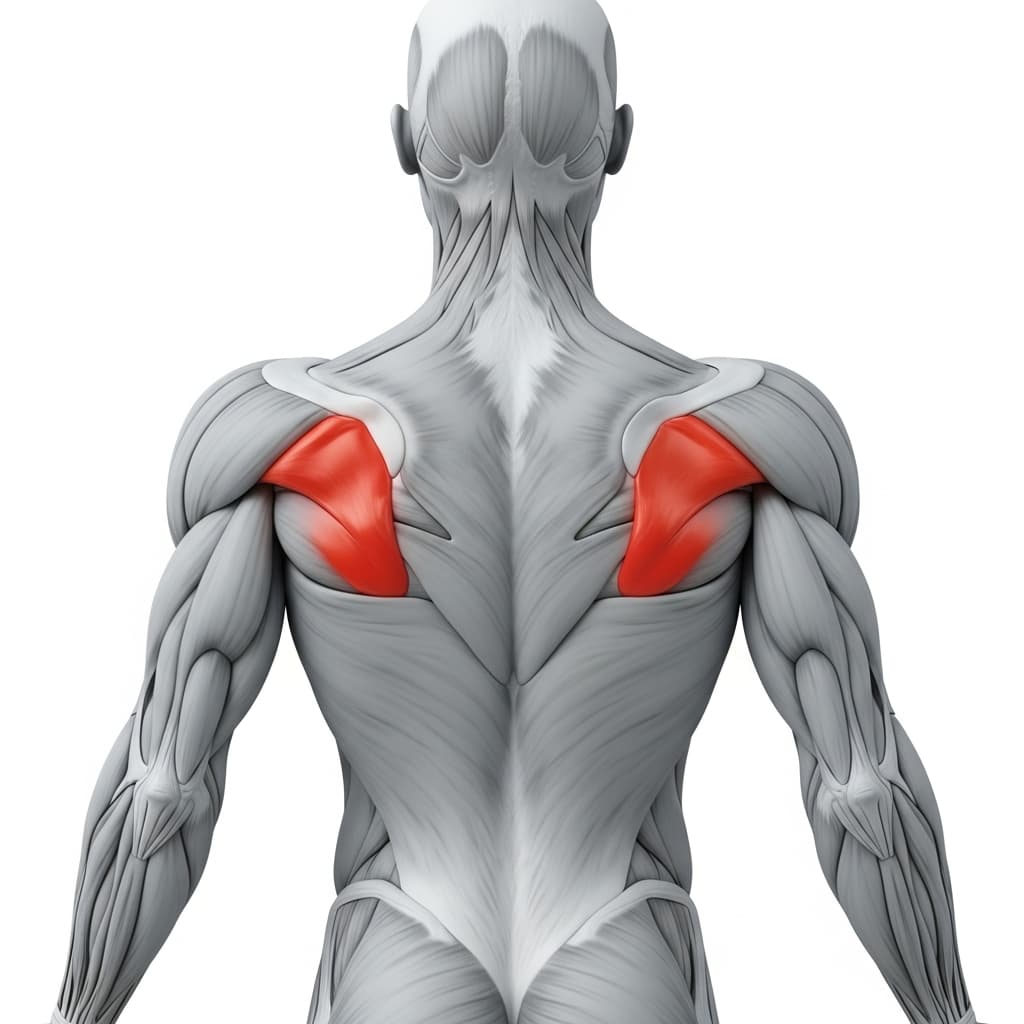
Rotator Cuff (SITS) (Rotator Cuff) - The rotator cuff muscles stabilize the glenohumeral joint against the downward and rotational forces created by hanging from a single arm.
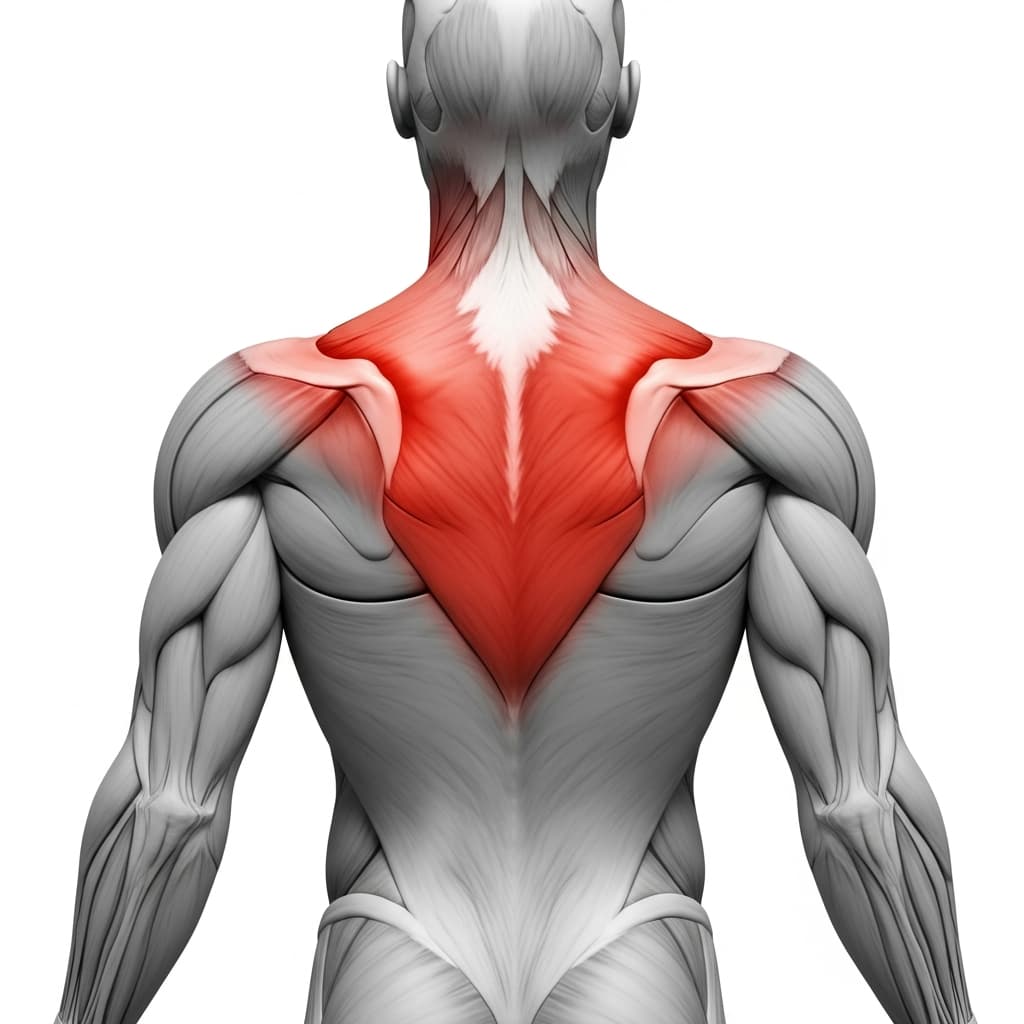
Trapezius (Trapezius) - The lower trapezius assists in scapular depression and retraction, working with the lats to maintain the packed shoulder position throughout the hold.
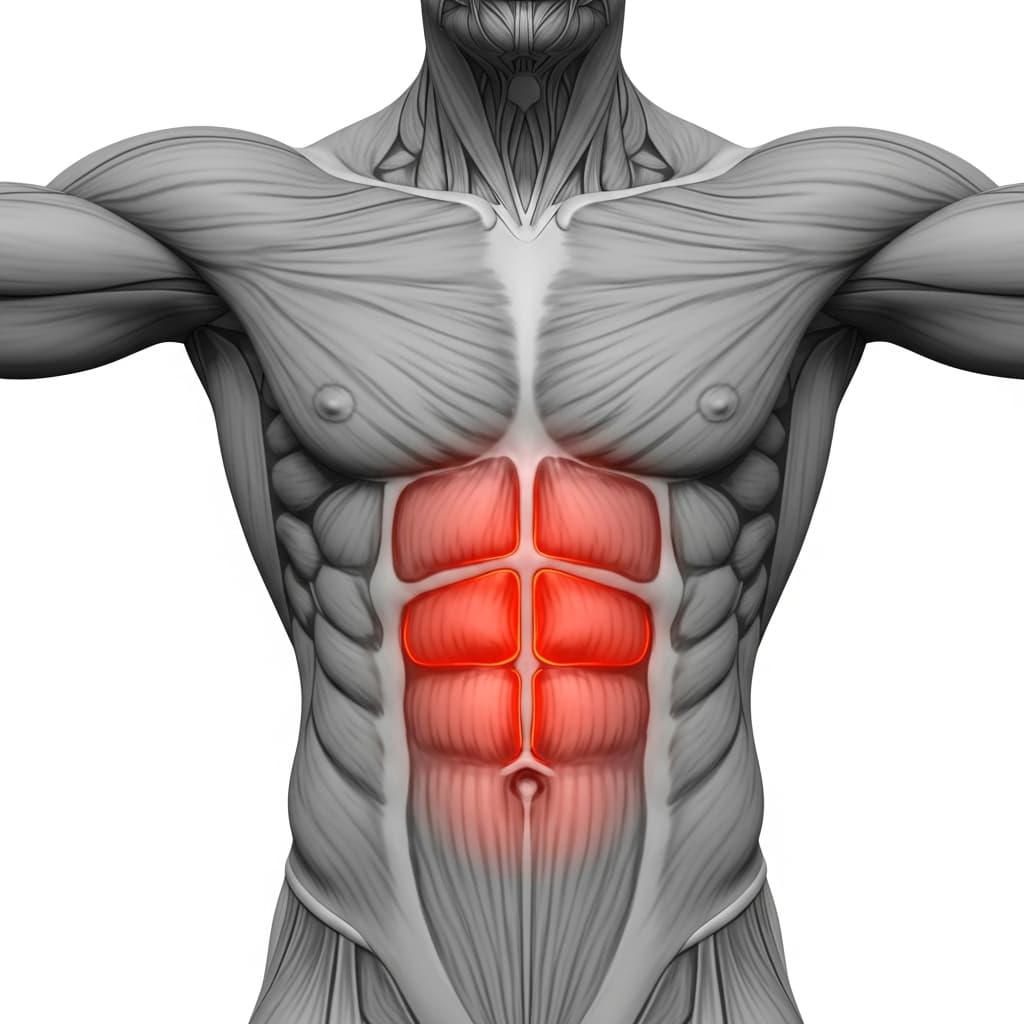
Rectus Abdominis (Abs) - The rectus abdominis braces the torso to prevent excessive arching and keeps the body aligned during the single-arm hang.
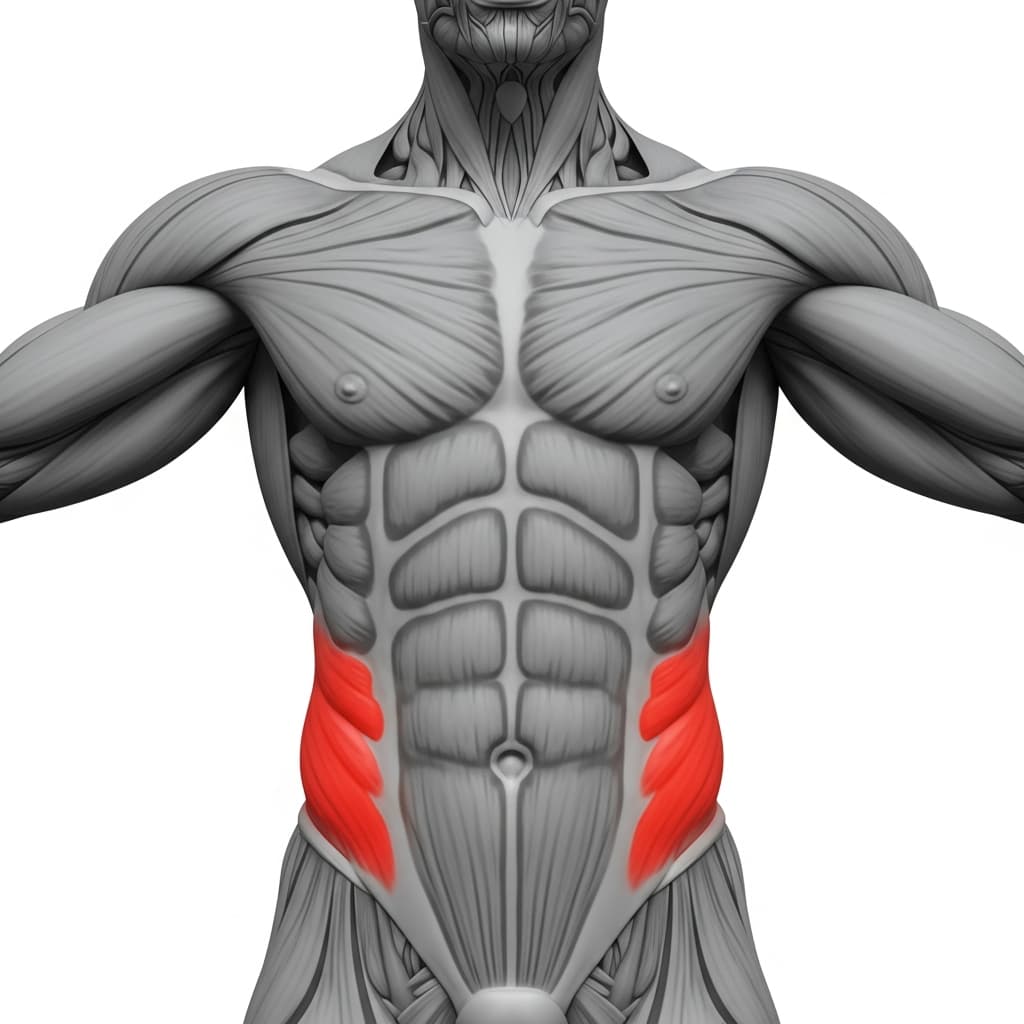
Obliques (Obliques) - The obliques resist the rotational force that single-arm hanging creates, preventing the torso from twisting away from the working arm.
Benefits of Assisted One Arm Hang
- Develops single-arm grip strength that transfers directly to one arm pull-up progressions, muscle-ups, and bar skills
- Strengthens the rotator cuff and scapular stabilizers under unilateral load, which builds shoulder resilience for all overhead calisthenics movements
- Trains anti-rotation core strength through the obliques and abs, since hanging from one arm creates a constant rotational demand on the torso
- Allows controlled progression toward full one arm hangs by adjusting band grip height, making it possible to add load gradually without risking the shoulder joint
Who Is This Exercise For?
You should be able to hold a two-arm active hang for at least 30 seconds with the shoulder blades depressed and stable before attempting this exercise. If you cannot maintain scapular depression with both arms on the bar, work on two-arm active hangs and scapular pull-ups first. Jumping straight to one-arm work without shoulder stability puts the joint in a vulnerable position under high load.
Common Mistakes to Avoid
Hanging in a dead hang instead of active hang: Depress the shoulder blade on the working arm before lifting your feet and maintain that depression throughout the entire hold. If you feel your shoulder riding up toward your ear, you have slipped into a dead hang and need to re-engage.
Gripping with knuckles facing forward: Rotate your hand so the knuckles point upward toward the ceiling. This overhand position with slight external rotation keeps the wrist neutral and recruits the forearm more effectively for single-arm gripping.
Using too much band assistance: The band should take enough weight that you can hold proper form, but not so much that the exercise feels effortless. If you can hold for over 45 seconds easily, move your band hand lower to reduce assistance.
Letting the body swing or rotate: Brace your abs and obliques to keep the torso square. Single-arm hanging naturally creates a rotational force, and letting it go unchecked shifts stress unevenly through the shoulder joint.