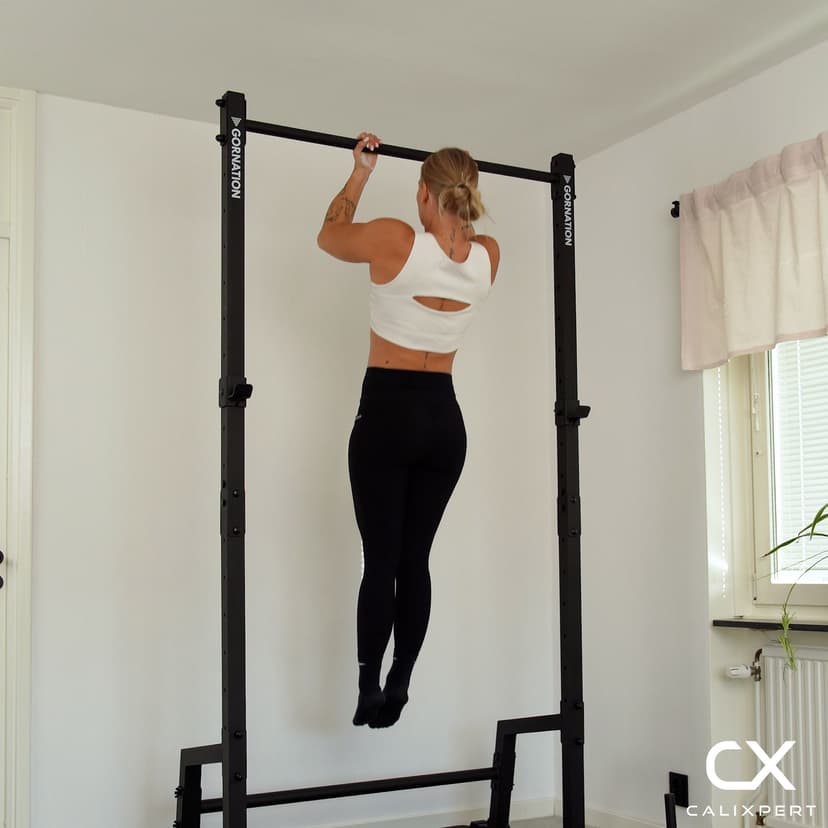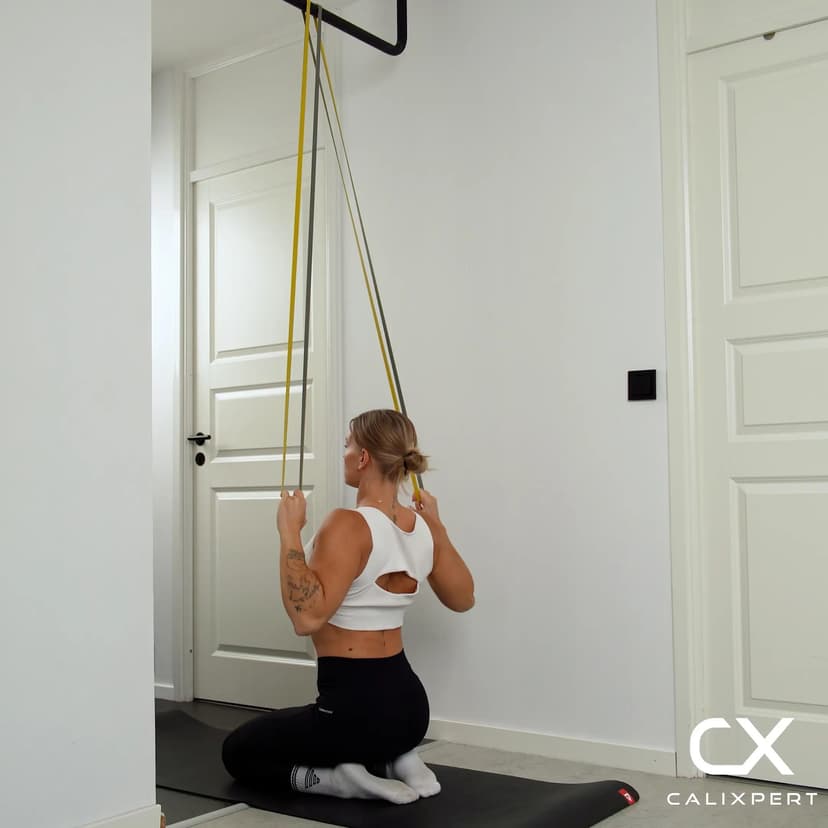
Seated Chin Ups
Seated chin ups are a beginner-level vertical pulling exercise performed from a low bar with an underhand grip and partial foot assistance. The movement primarily targets the biceps and lats while also engaging the upper back, rear deltoids, and forearms through a shortened pulling range. Because the feet stay on the ground throughout, seated chin ups let you build pulling strength and scapular control without needing the full bodyweight capacity that regular chin ups demand.
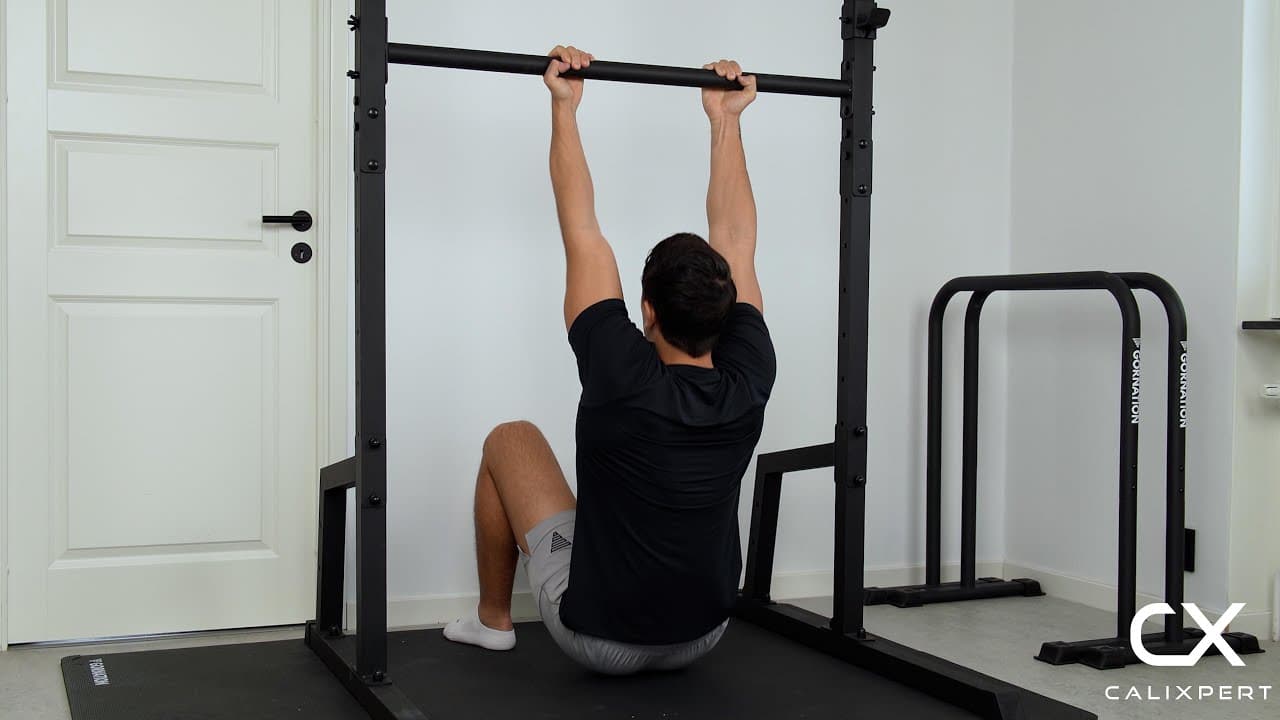
Seated chin ups are a beginner-level vertical pulling exercise performed from a low bar with an underhand grip and partial foot assistance. The movement primarily targets the biceps and lats while also engaging the upper back, rear deltoids, and forearms through a shortened pulling range. Because the feet stay on the ground throughout, seated chin ups let you build pulling strength and scapular control without needing the full bodyweight capacity that regular chin ups demand.
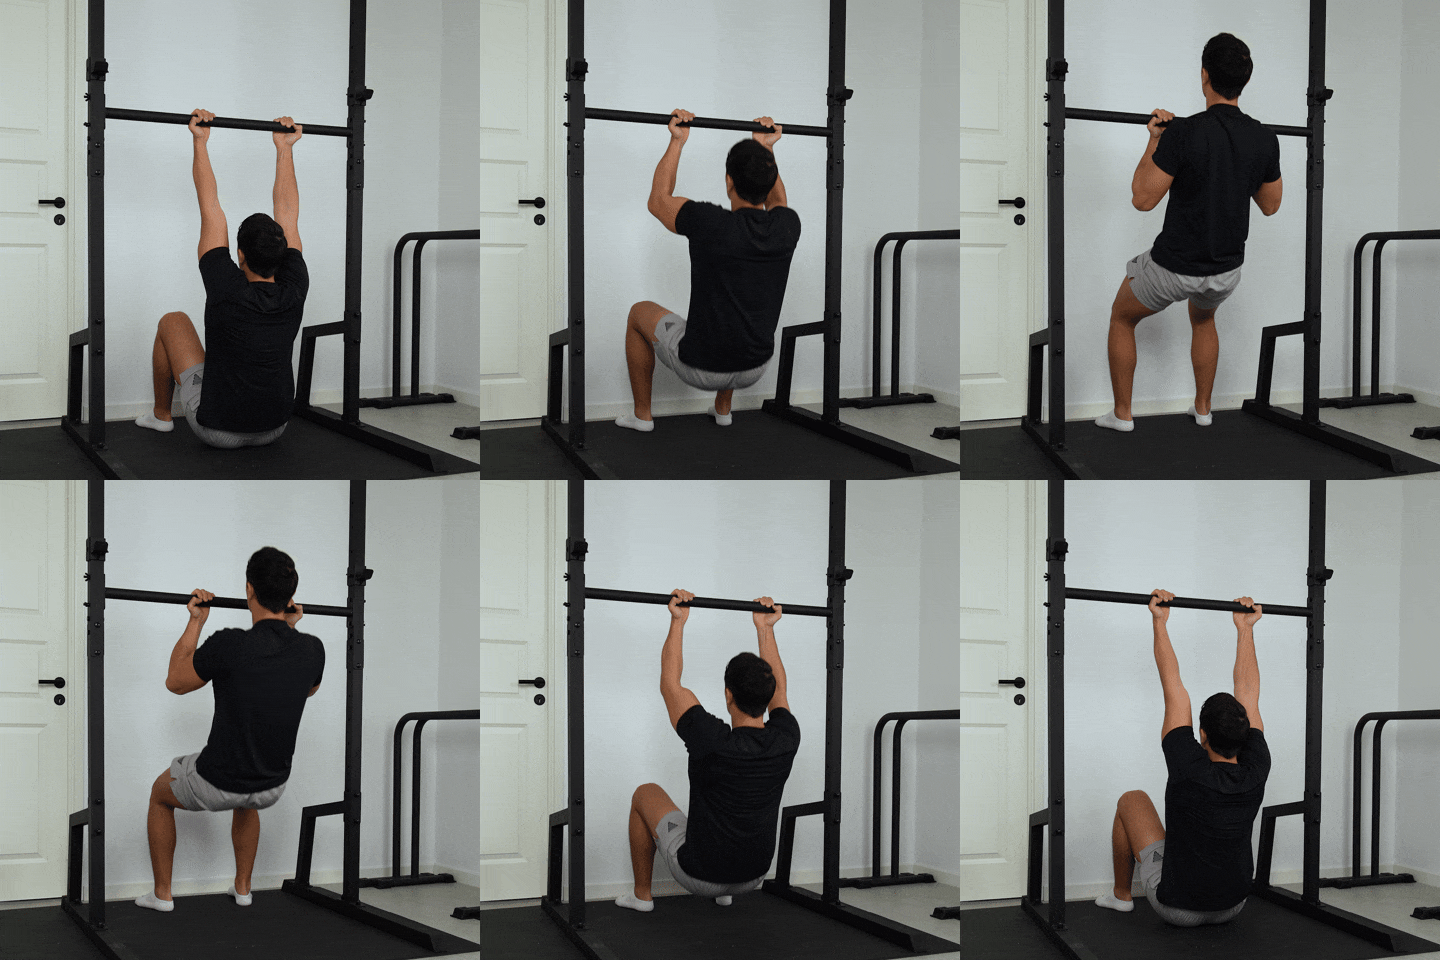
How to Do Seated Chin Ups
1. Position Yourself Under the Bar
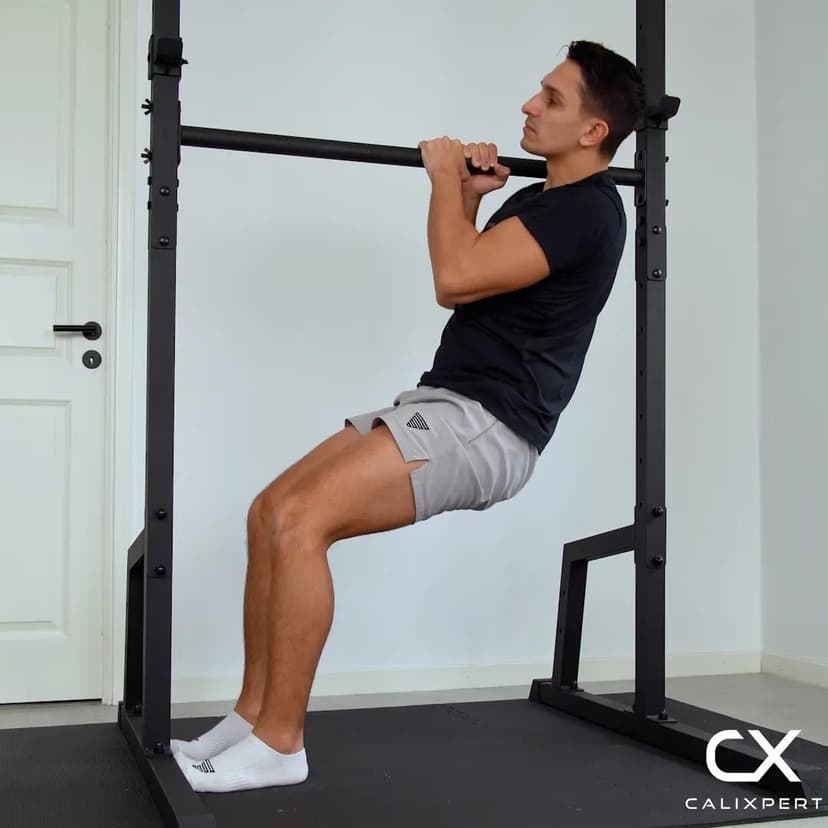
Find a low straight bar that you can reach from a seated position on the ground. Sit directly underneath it with your back upright and your legs extended forward. Place your feet flat on the ground about hip-width apart with a slight bend in the knees so you can push through them for support.
Sit directly under the bar
2. Set Your Underhand Grip
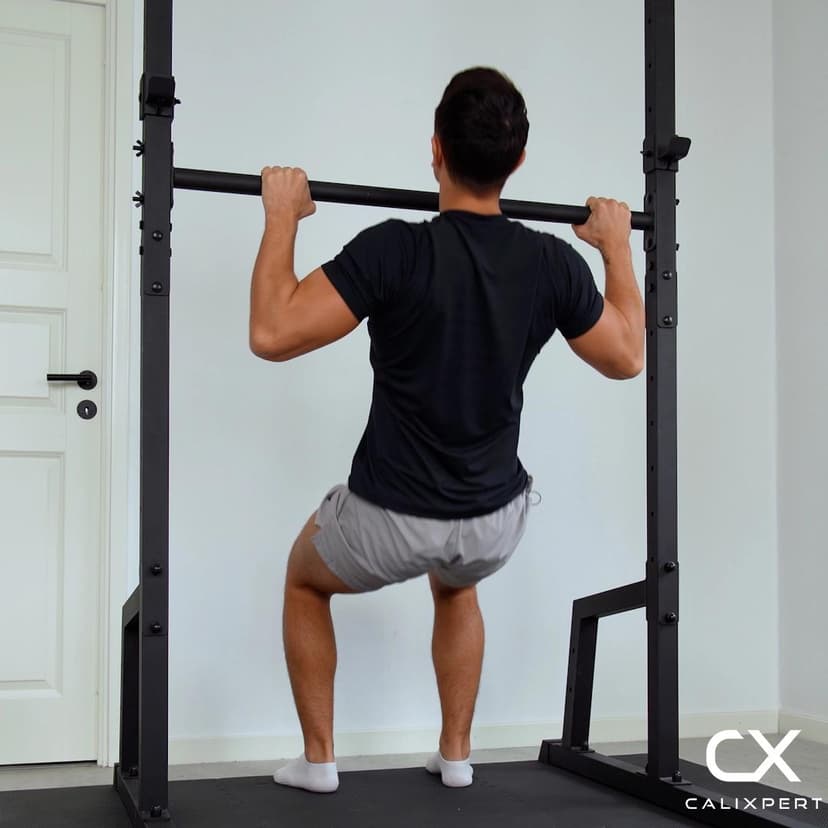
Reach up and grab the bar with an underhand grip, palms facing toward you, at about shoulder width. Wrap your thumbs fully around the bar for a secure hold. Do not use a thumbless grip, as it reduces control and can cause your hands to slip during the pull.
Thumbs around, palms facing you
3. Engage Shoulders and Core
Before pulling, depress your shoulder blades by drawing them down and slightly together. Brace your core to keep your torso stable throughout the movement. This scapular set activates the lats and protects the shoulder joint from the start of each rep.
Shoulders down before you pull
4. Pull Elbows to Your Sides
Begin pulling yourself upward by driving your elbows down and toward the sides of your body. Use your feet for light support, but keep the majority of the effort in your arms and back. Maintain a controlled pace through the entire ascent without jerking or swinging.
Elbows tight to the ribs
5. Clear Chin Over the Bar
Continue pulling until your chin clears above the bar. At the top, squeeze your shoulder blades together and hold for a brief moment. Your chin should clear the bar as a result of pulling effort, not by jutting your neck forward or tilting your head back.
Chin over, squeeze the back
6. Lower Under Control
Slowly extend your arms and lower yourself back to the starting position, resisting gravity the entire way down. Aim for a 2 to 3 second descent on every rep. Reset your shoulder position at the bottom before initiating the next rep.
Slow descent, no dropping
Most people use their legs way too much on this exercise and turn it into a weird squat-pull hybrid. The fix is simple: think about driving your elbows down toward your hips and squeezing your back at the top. If you do that, the lats and biceps have no choice but to do the work, and the feet just keep you balanced.
Muscles Worked During Seated Chin Ups
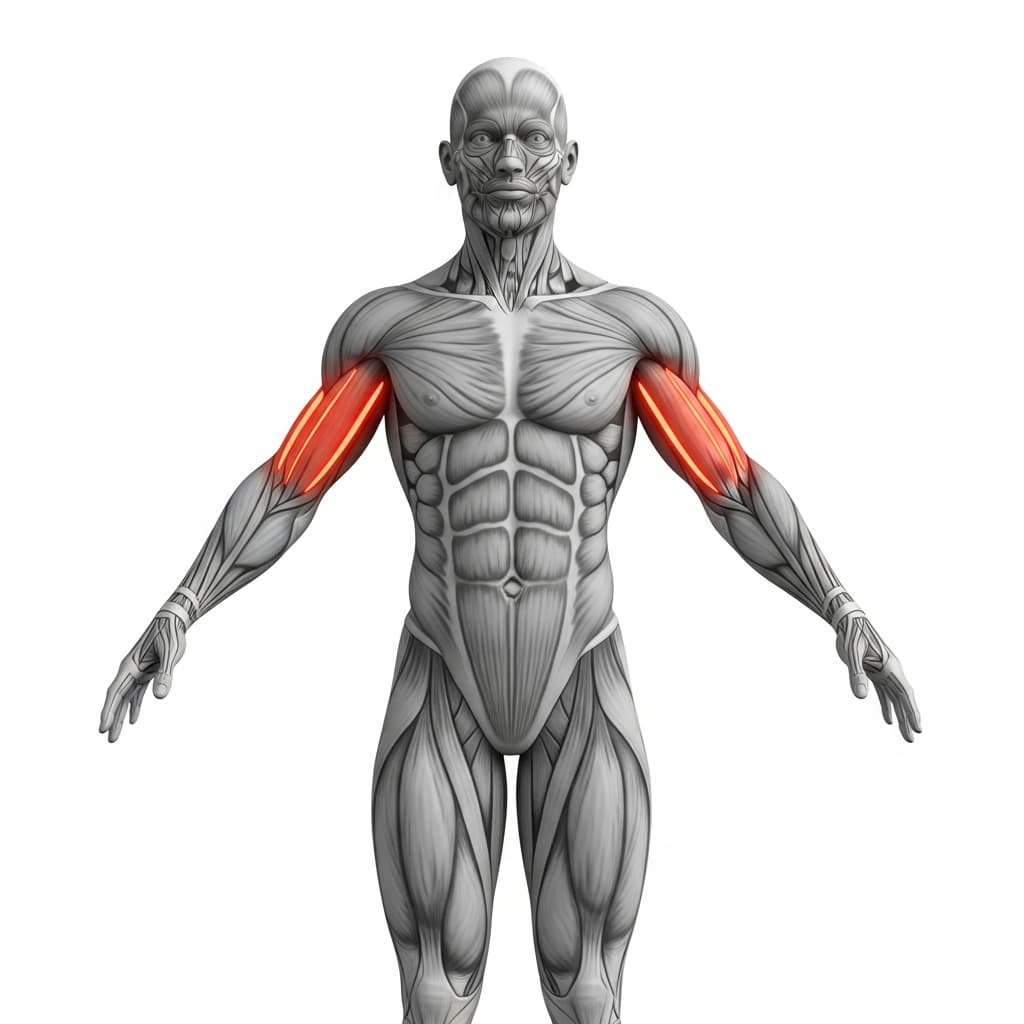
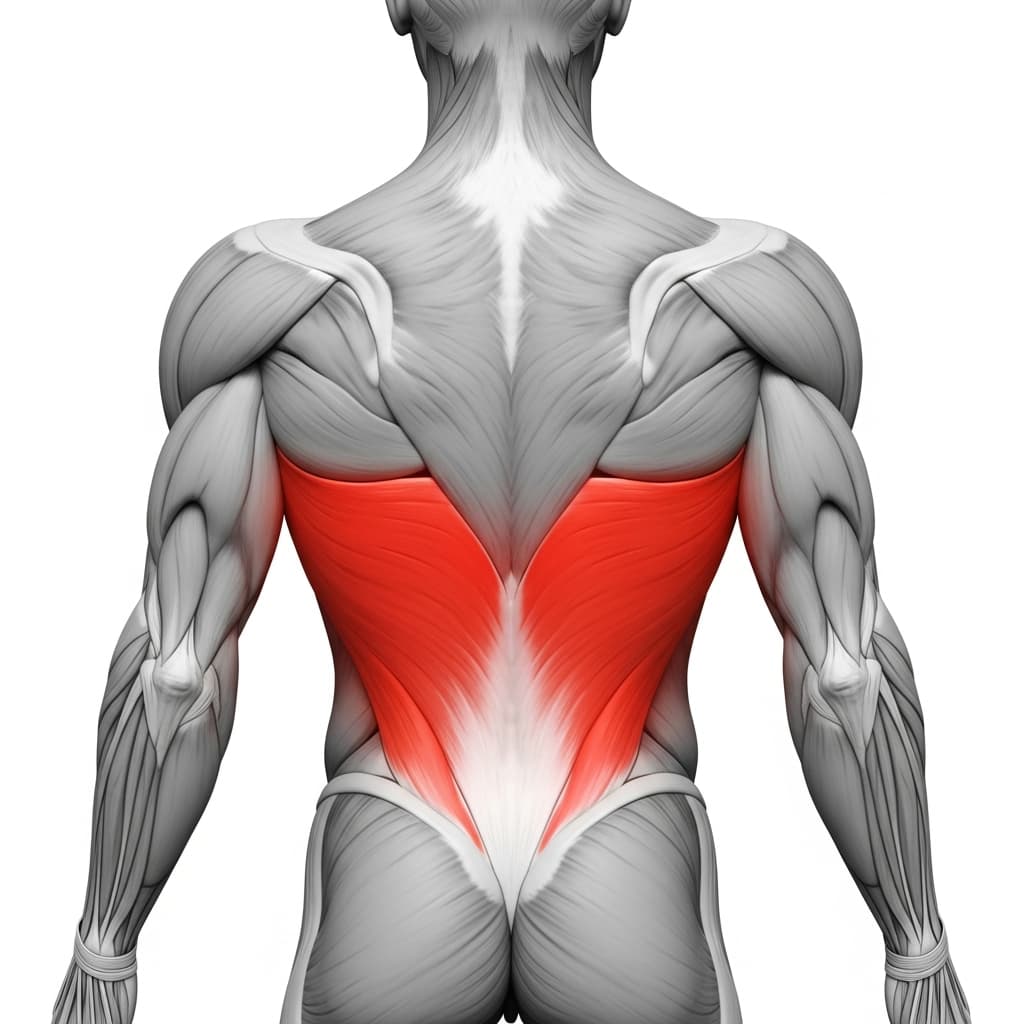
Secondary Muscles:
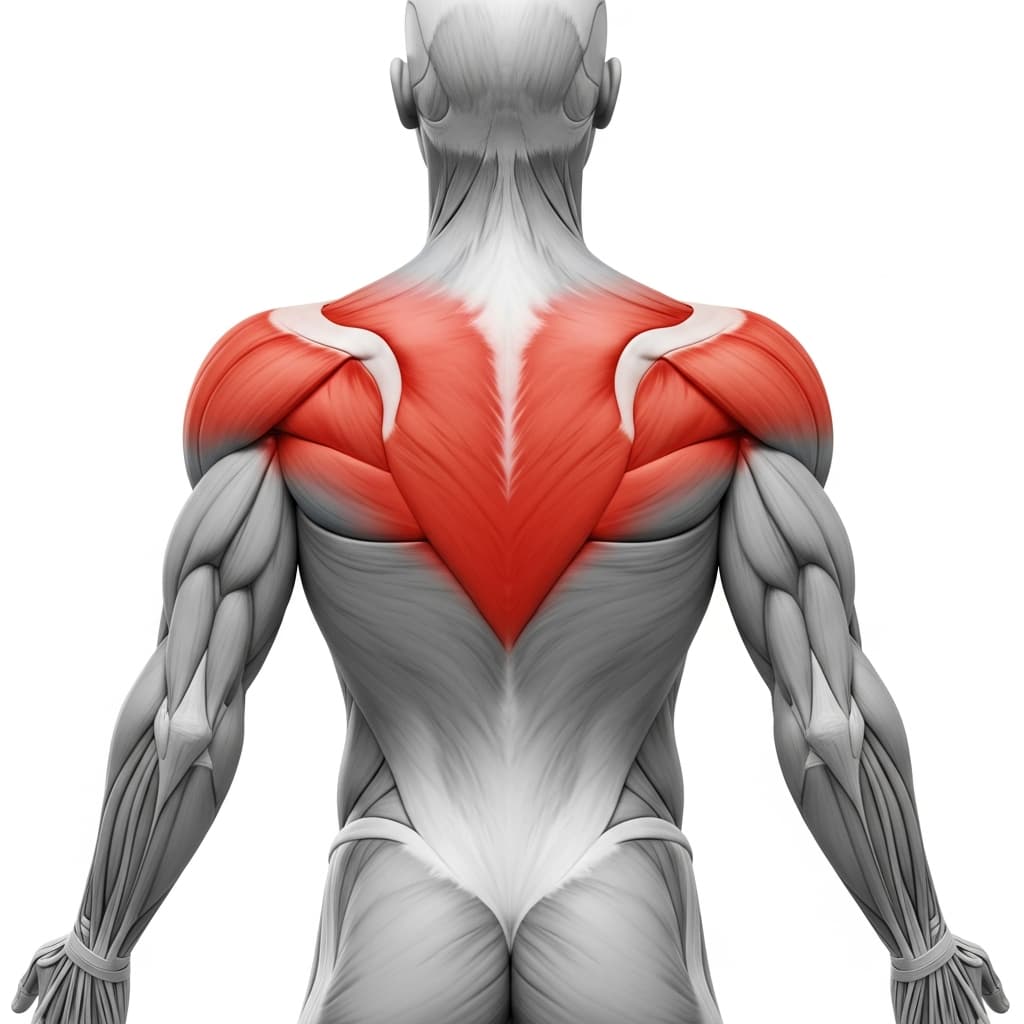
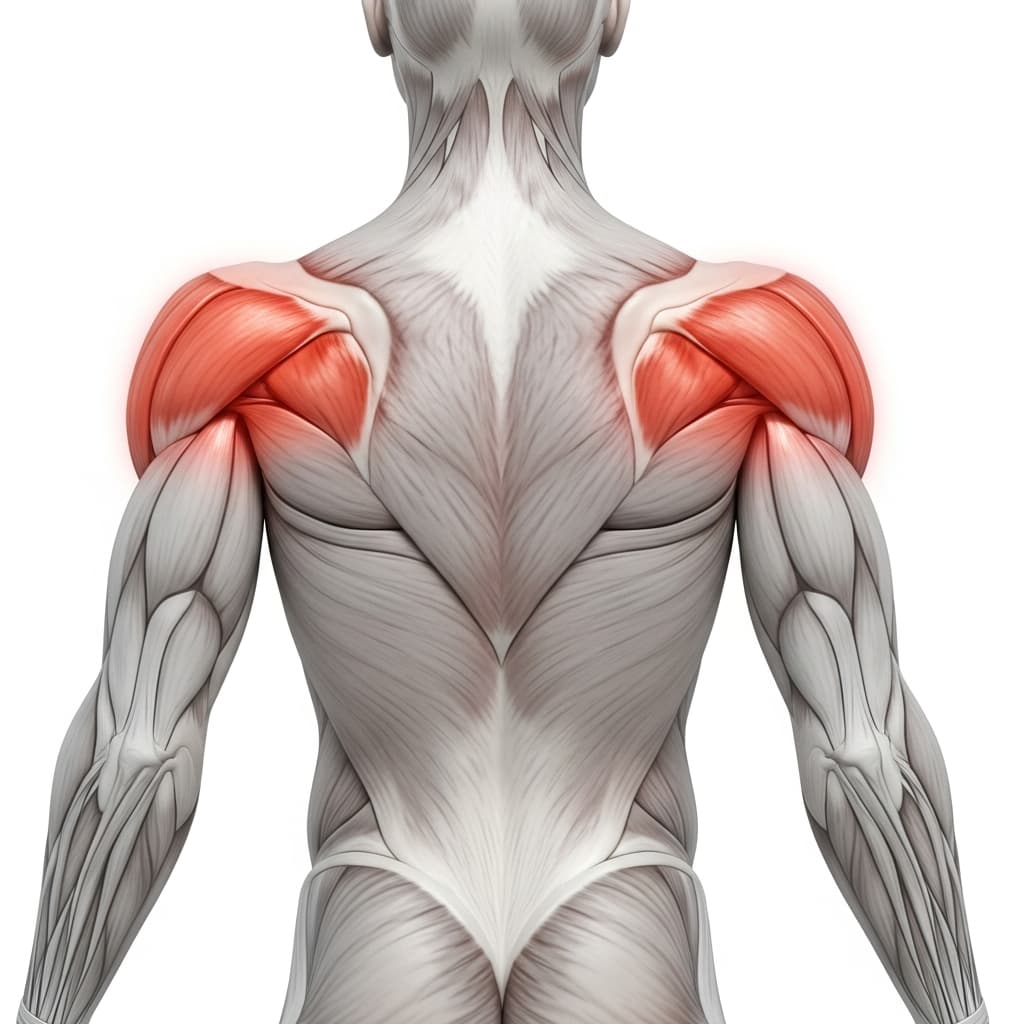
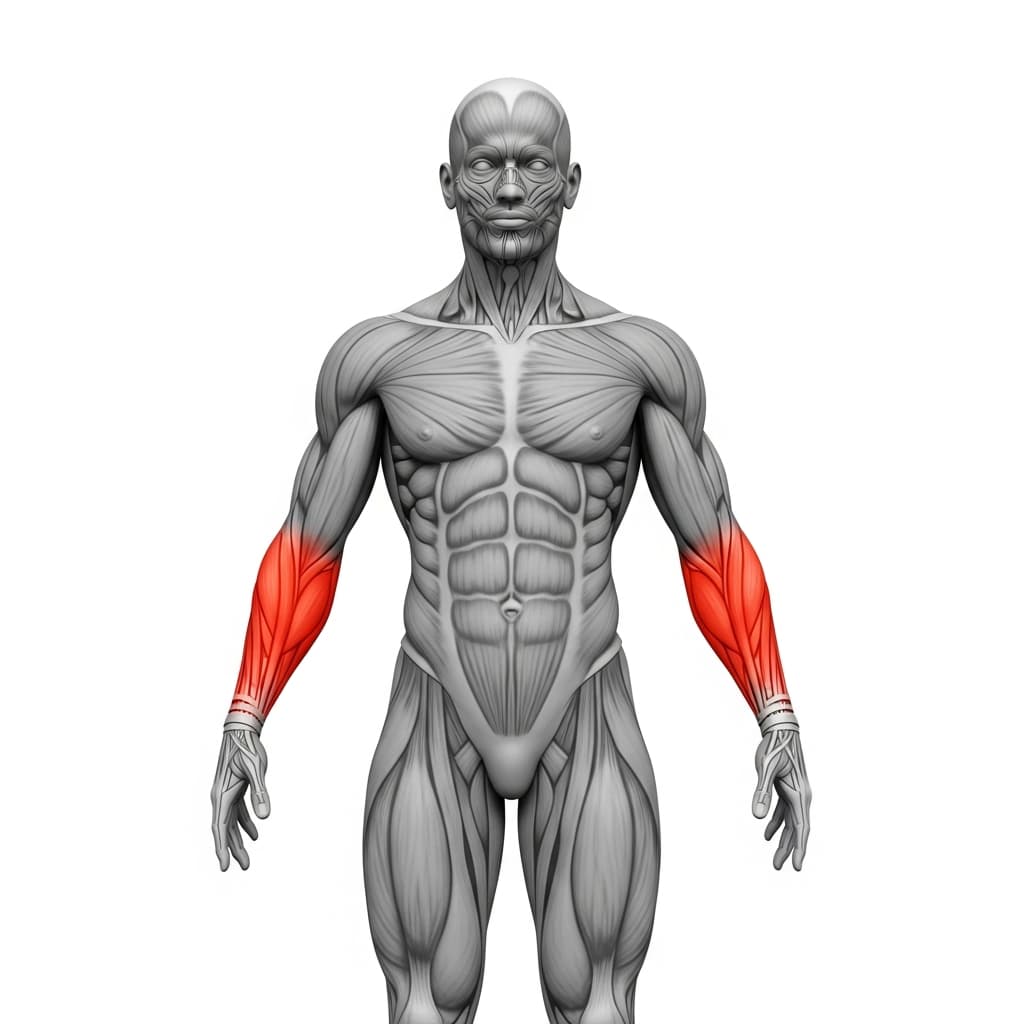
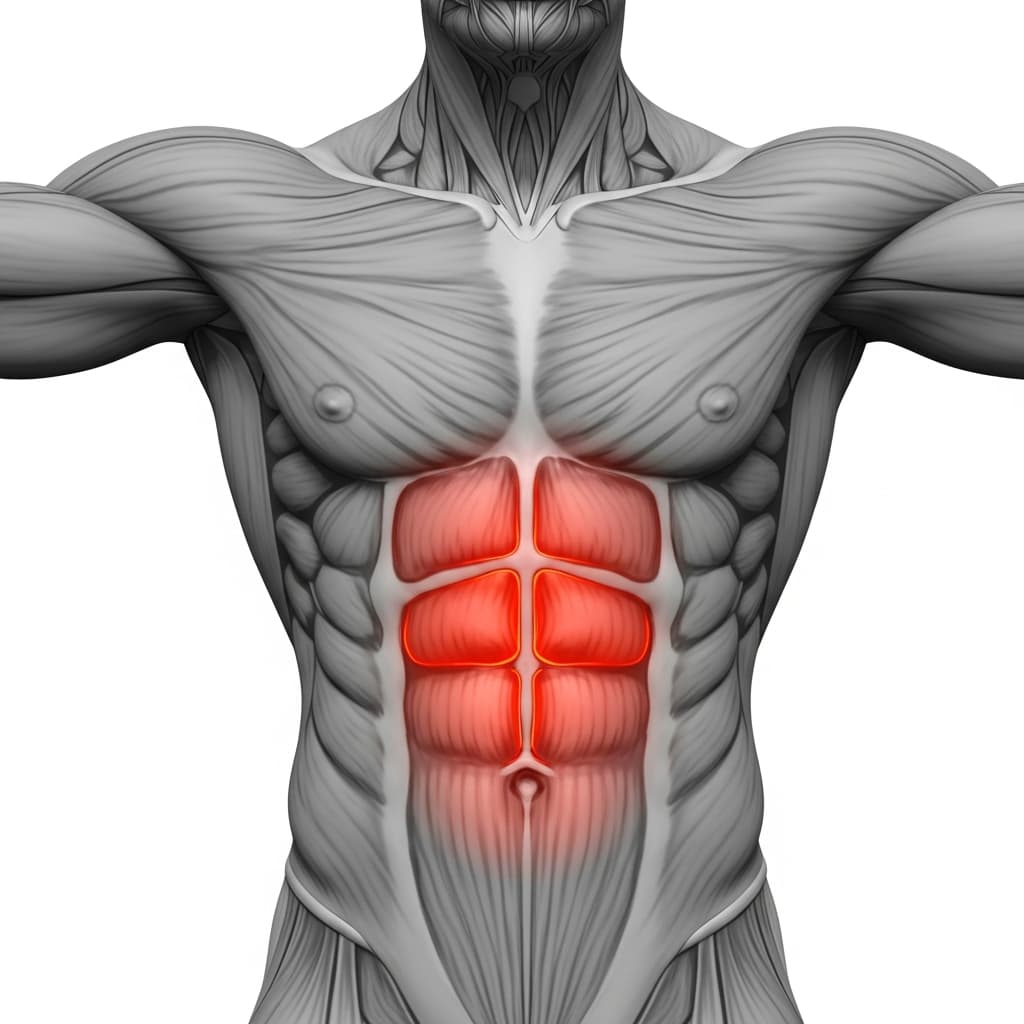
Primary Muscles
Biceps Brachii (Biceps) - The biceps flex the elbow against resistance throughout the pull, and the underhand grip places them in their strongest mechanical line to contribute to the upward movement.
Latissimus Dorsi (Lats) - The lats drive shoulder extension by pulling the upper arms down and back toward the torso, producing the primary force that lifts the body toward the bar.
Secondary Muscles
Rhomboids & Upper Trapezius (Upper Back) - The upper back muscles, including the rhomboids and mid-traps, retract the shoulder blades at the top of the movement to complete the full range of motion.
Posterior Deltoid (Rear Deltoid) - The rear deltoids assist shoulder extension during the pull, working alongside the lats to bring the upper arm backward and toward the body.
Forearm Flexors & Extensors (Forearms) - The forearm flexors maintain grip on the bar throughout every rep, sustaining isometric contraction under the load of the pulling bodyweight.
Rectus Abdominis (Abs) - The abdominals brace the torso to prevent excessive arching or swaying, keeping the body stable and the pulling force directed vertically.
Benefits of Seated Chin Ups
- Builds bicep and lat pulling strength with adjustable difficulty, making it one of the most effective progressions toward full chin ups
- Trains scapular retraction and depression under load, which develops the shoulder stability needed for all hanging and pulling movements
- Develops grip endurance through sustained underhand bar contact, directly transferring to dead hangs, chin ups, and bar skills
- Allows beginners to practice the full chin up motor pattern, including elbow drive and scapular squeeze, without requiring full bodyweight pulling capacity
Who Is This Exercise For?
You should be able to hold a dead hang from a bar for at least 5 seconds and perform a basic scapular retraction before attempting seated chin ups. If you cannot grip a bar comfortably or lack the shoulder mobility to reach overhead while seated, work on passive hanging and shoulder stretches first.
Common Mistakes to Avoid
Pushing too much with the legs: The feet are there for balance and light assistance, not to drive the movement. If your quads are doing most of the work, you are turning the exercise into a squat. Focus on pulling with your arms and back while using only minimal leg support.
Skipping scapular engagement: Pulling without setting the shoulder blades first shifts the load entirely to the biceps and leaves the lats disengaged. Depress your shoulders before every rep to activate the back muscles from the start.
Using momentum or swinging: Start each rep from a controlled position with no body swing. If you need to generate momentum to reach the bar, reduce your foot distance or use a slightly higher bar to shorten the range of motion.
Flaring elbows outward: In a chin up grip, the elbows should drive down and close to the body, not flare out to the sides. Flaring shifts the load away from the biceps and lats and places unnecessary stress on the shoulder joint.