Start Our Push-Up Program
Our step-by-step push-up program is designed to help you progress from zero push-ups to confidently performing 10 full push-ups in just a few months.
What Will You Achieve?
The Push-Up program helps you go from 0 to 10 push-ups with ease and confidence. It's designed to make learning push-ups simple and enjoyable for everyone, no matter your starting strength or experience level.

Your First Push-Up
Increase Push-Ups
Strong Upper Body
Foundation
Proud and Confidence
Your First Push-Up
Increase Push-Ups
Strong Upper Body
Foundation
Proud and Confidence
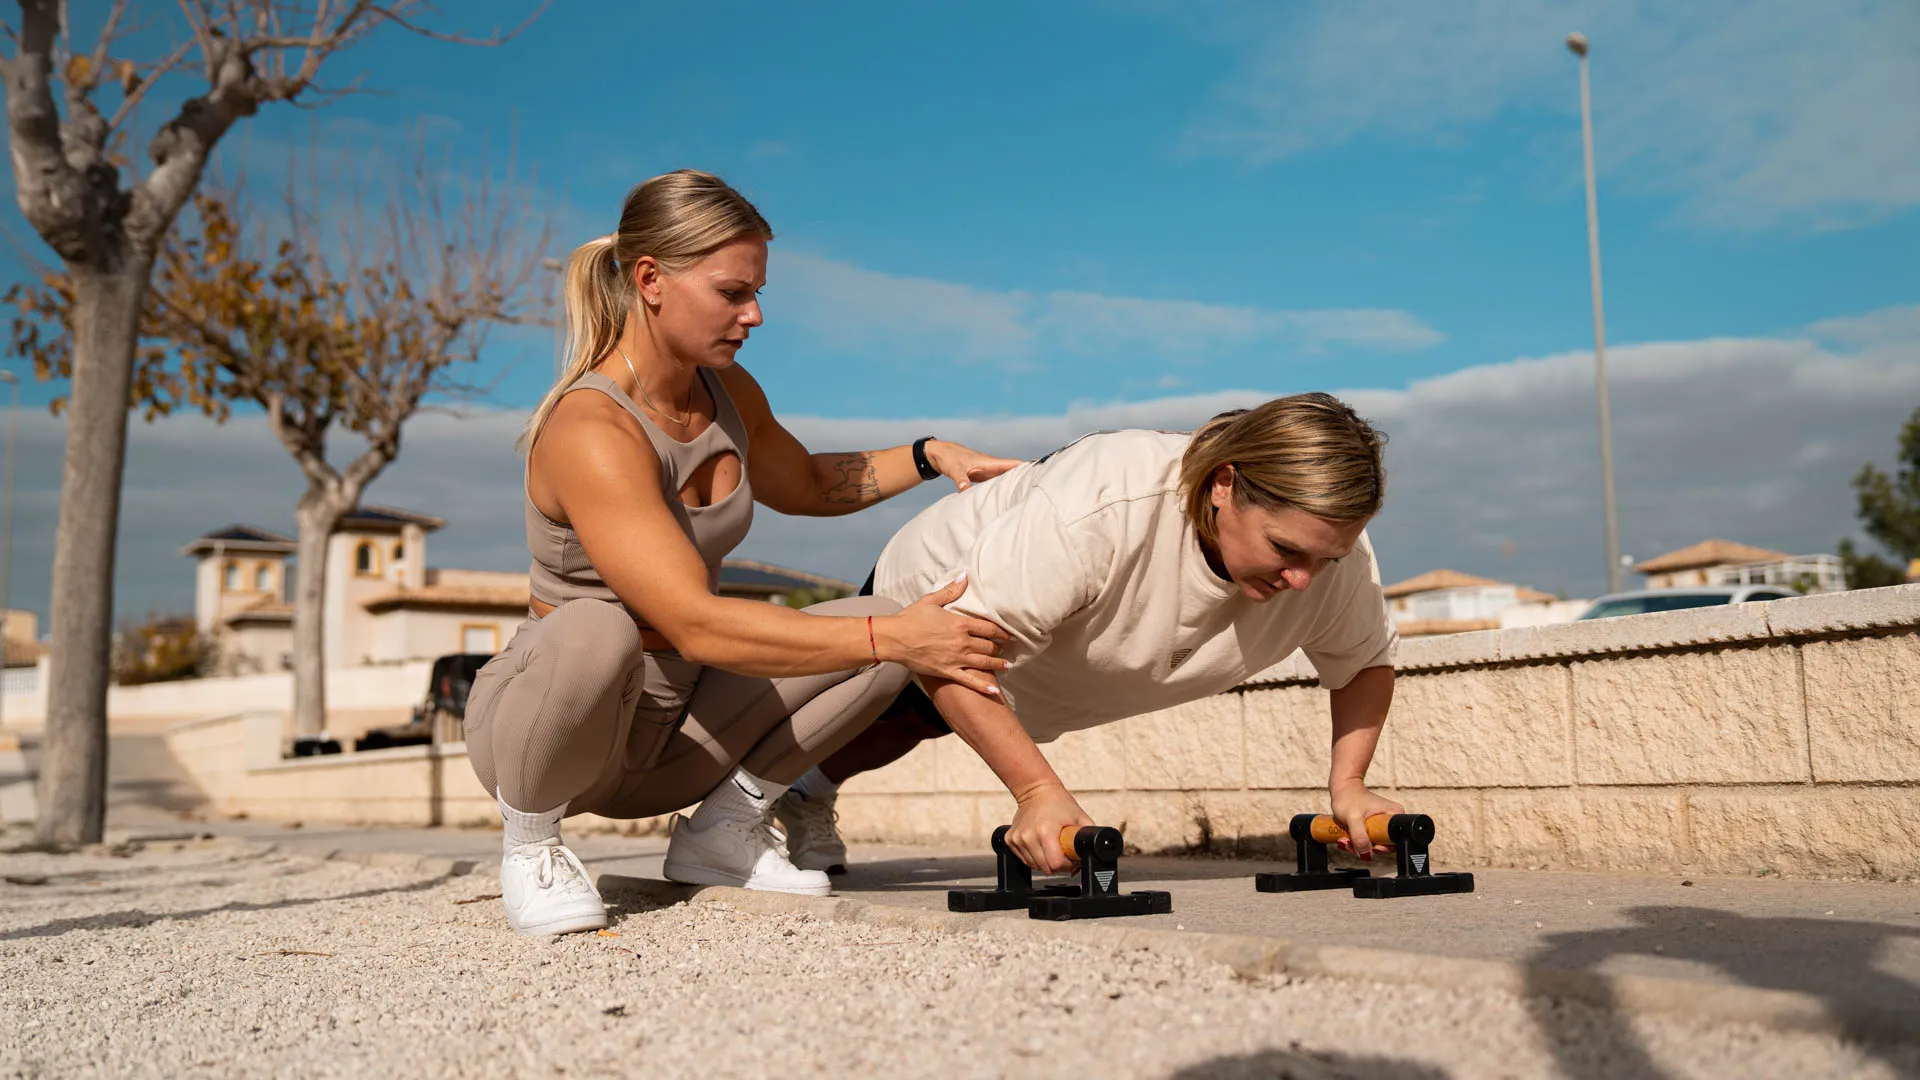
How The Program Works
This guide is designed to work with your current fitness level, breaking down the push-up into manageable steps. You'll focus on gradually building strength and confidence to progress safely and effectively.
What Our Members Say
Elisabeth Mayrl
I am glad to have subscribed to Calixpert. It has already helped me make significant progress in just 4 weeks - the pull-up guide has turned one pull-up into 5 and my core stability is much better! The programmes are very well thought out and structured and are highly recommended for both beginners and advanced users. You also have the opportunity to get motivation from a very friendly community and exchange ideas. Malin and Daniel answer questions very quickly and offer very professional support. Once a week there is also the opportunity to have questions answered via video call. I can highly recommend Calixpert to anyone who is interested in calisthenics or simply wants a good balance to their daily work!
Lara Cavander
I absolutely recommend Calixpert to anyone interested in calisthenics. The structured programmes, expert coaching, and online community provide a safe and fun way to learn new skills and get stronger. Calixpert gives me access to a range of step by step guides, online group calls and specific individualised feedback. Malin and Daniel are approachable and responsive to questions, and always encouraging. I'm new to calisthenics and have really enjoyed the programmes and support over the last month. I've gained strength and confidence, and the structure gives me a clear roadmap for training that I can stick to now and in future.
Miles Rowe
My favorite new app really like the interactive style of mutual support from members and support from coaches. The leveling up keeps me engaged in the community area, which helps me to remember to work out.
Tiada
I've been following Malin on Instagram for a while now and came across her own program. I was struggling with a plateau in my progress so I decided to give her program a try and what can I say - I love it! It's so good to have a structured plan, explanatory videos and she responds so quickly. That's another thing I really appreciate: you can ask for advice and get help with individual problems and I asked for a student discount and guess what - Malin made it happen! In general, the price-performance ratio is incredible.
Magnus Hejdenberg
Here everyone can feel welcome regardless of their level of training. Encouraging and helpful forum, even get personal help. Training programms with instructional videos and layouts make so easy to understand. Well done Calixpert!
Marika Holgersson
I love it! At calixpert you feel welcome regardless your previous experience. Malin and Daniel is present, the reply quickly and give you personal advice and pepptalk! There is a various amount of programs and always something new going on. I can really recommend Calixpert to everyone that want to try or take there bodyweight training to the next level!
Mashael Saeed
I'm having a great time training. The exercises are great and the schedule is very suitable for me. Communication is great, as is her interest and quick response. The program is very clear and I see results quickly in my body. I am grateful that I train under a trainer like this.
Jose Arturo Palacios Uribe
The use of the platform is intuitive (meaning that the designed required a lot of time, effort and intelligence). The videos provide a clear, fast and thorough explanation of the exercises. And last but not least, the commitment of the coaches to answer our question as fast and in the best way possible.
Audrey Castelli
I am a calixpert member since few months and i love it! There is guides to start calisthenics as a beginner and guide to achieve several goals: pull up, handstand, l sit, mobility... with videos to Help you. Moreover, Malin is very present, you can send her videos or questions. She always answers, motives you, tells you how to improve yourself. I already see progress! Thanks!
Camilla Flefil
I've been part of this calisthenics community for 4 months now, and it's been amazing! In this short time, I've learned my first pull-up, gone from 1 to 5 pull-ups, and I'm so close to mastering the L-sit. What I love about this program is how clear and simple everything is. The workouts are straightforward, with great video instructions, and they're quick enough to fit into any schedule. The best part is how connected you feel to the coaches. They genuinely care about your progress, give solid feedback, and really engage with the community. It's been such a positive experience, and I highly recommend it to anyone looking to get stronger and learn new skills!
Malena Benitez
Calixpert is a fantastic resource for anyone wanting to level up their fitness and strength! Before finding Malin and Daniel's programs, I struggled to stay consistent in the gym and couldn't find workouts that matched my abilities. Since starting their Female Calisthenics Beginner Course, I've seen a huge improvement in my strength and even lost weight. I'm looking forward to tackling more advanced skills like the L-Sit and Pull-Up with their guidance. But what I love most is the supportive community they've built. They're always ready to answer questions and give workout advice.
Erika Saldarriaga
I discovered Calixpert through Malin's Instagram, and it's been an amazing journey! Their guidance has helped me learn so much about calisthenics. The training programs are clear, well-structured, and super effective. Whether you're a beginner or looking to level up your skills, Calixpert is worth it. I highly recommend it!
Valerie
I am really happy with my Calixpert subscription. I was a complete beginner when I first joined, a couple of months ago, and I am already seeing progress. I like the way classes are built, easy to follow and organized! I would definitely recommend Calixpert to anyone!
Felina Schjoedt
Let me put this way: after following this program for only three weeks, I did my first ever 3 chin-ups-in-row!! This is the BEST platform if you want to learn calisthenics. No doubts. You'll have a ton of different programs (including warm-ups and wrist routines) and an amazing community with love and support. I can always ask Malin and Daniel if I have any doubts or concerns about anything in the programs. Always fast response also.
Clarissa Minshull
Exceptional teamwork! Malin and Daniel have made calisthenics so achievable, especially for True Beginners through to pro enthusiasts! The membership has amazing value, personalized coaches support, weekly community video meetings, many long-term and short-term programs, super active community, and more! The members they have attracted are all kind and supportive! Any skill you want to learn or progress in, you'll find the building blocks you've needed at Calixpert!
Iane Gomes
I joined Calixpert with the goal of doing my first pull up. I didn't know how to start or what workout would be the most effective. The pull up guide in their platform is great, effective, and easy to navigate. I finally achieved my first pull up after a consistent 50 days!!!!
Harley Phillips
I truly have nothing but great things to say about Calixpert! Malin and Daniel are fantastic coaches and inspiring athletes! They take the time to help everyone and respond as soon as they can. I also love that we can talk to other members of the community for feedback/support! The programs themselves are phenomenal and I am quickly seeing strength progressions into week 3 of my training!
Why You'll Love This Program
Start from Zero
Even if you've never done a push-up before, this guide is for you. We start with foundational exercises to build strength and confidence.
Clear Steps to Success
The program uses a 5-step system to help you learn your first push-up and a tested system for progressing to 10 reps.

Go at Your Own Pace
Some steps may take 1-2 weeks to master, while others could take longer. There's no rush - move forward only when you're ready.

Short & Efficient Workouts
Each session takes about 20 minutes and is done 3 times per week, making it easy to fit into any schedule.
Minimal Equipment Needed
No gym required! All you need is a resistance band and an elevated surface like a box, bench, or sturdy table.
Start from Zero
Even if you've never done a push-up before, this guide is for you. We start with foundational exercises to build strength and confidence.
Clear Steps to Success
The program uses a 5-step system to help you learn your first push-up and a tested system for progressing to 10 reps.
Go at Your Own Pace
Some steps may take 1-2 weeks to master, while others could take longer. There's no rush - move forward only when you're ready.
Short & Efficient Workouts
Each session takes about 20 minutes and is done 3 times per week, making it easy to fit into any schedule.
Minimal Equipment Needed
No gym required! All you need is a resistance band and an elevated surface like a box, bench, or sturdy table.
From 0 to 10 Push-Ups
If you feel that improving your push-ups or even getting your first one has been impossible, starting this system will show you how easy and rewarding the journey can be - without disappointment.
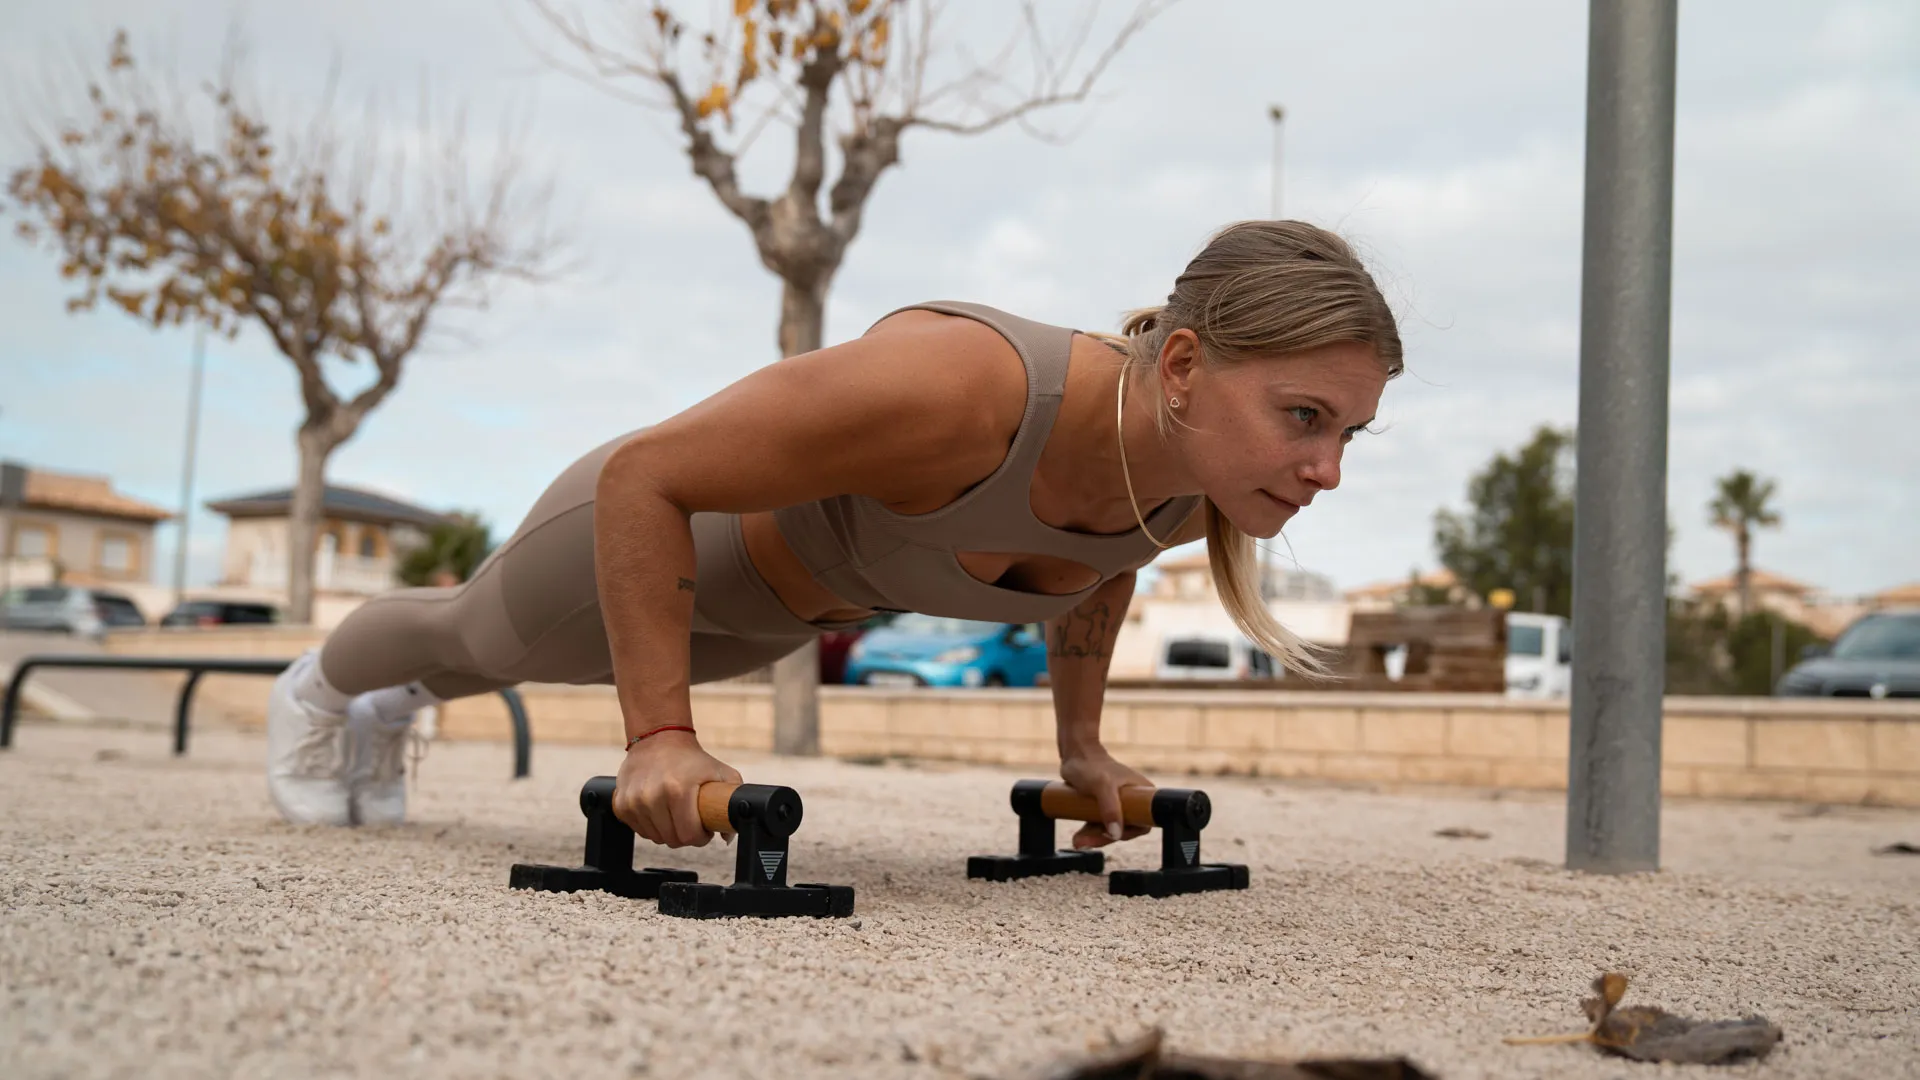
Proper Push-Up Form
To perform a proper push-up, start in a plank position with your hands slightly wider than shoulder-width apart and your body in a straight line from head to heels. Engage your core to prevent sagging and maintain control. Lower your chest toward the ground by bending your elbows at a 45-degree angle, keeping your elbows close to your body. Stop just before your chest touches the floor, then press back up to the starting position while maintaining a straight body line.
One Click Away To Master Calisthenics
Everything you need to start with Calisthenics
Ready to Master Push-Ups?
Whether you're starting from scratch or looking to improve your push-up count, this program is designed to guide you every step of the way. With consistent training and focus, you'll build the strength and confidence to reach your goals and beyond. Join us and discover how to master push-ups!
Got any questions?
No, you don't need any upper-body strength to start this program. It's designed for absolute beginners, starting with exercises like scapula control, protraction, and incline push-ups on an elevated surface. These modifications build your strength gradually, so you can progress at your own pace toward your first full push-up.
Most beginners can achieve their first push-up in 4-6 weeks with consistent practice. By following the program and focusing on proper form and progression, you'll build the necessary strength and confidence to perform a full push-up within this timeframe.
You'll train push-ups 3 times per week on non-consecutive days, such as Monday, Wednesday, and Friday. This schedule allows your muscles time to recover and grow stronger between sessions, ensuring steady progress.
Yes, you'll need a resistance band and an elevated surface (such as a box, bench, or sturdy table) to modify exercises and help with progression. These tools make the program adaptable to your current strength level.
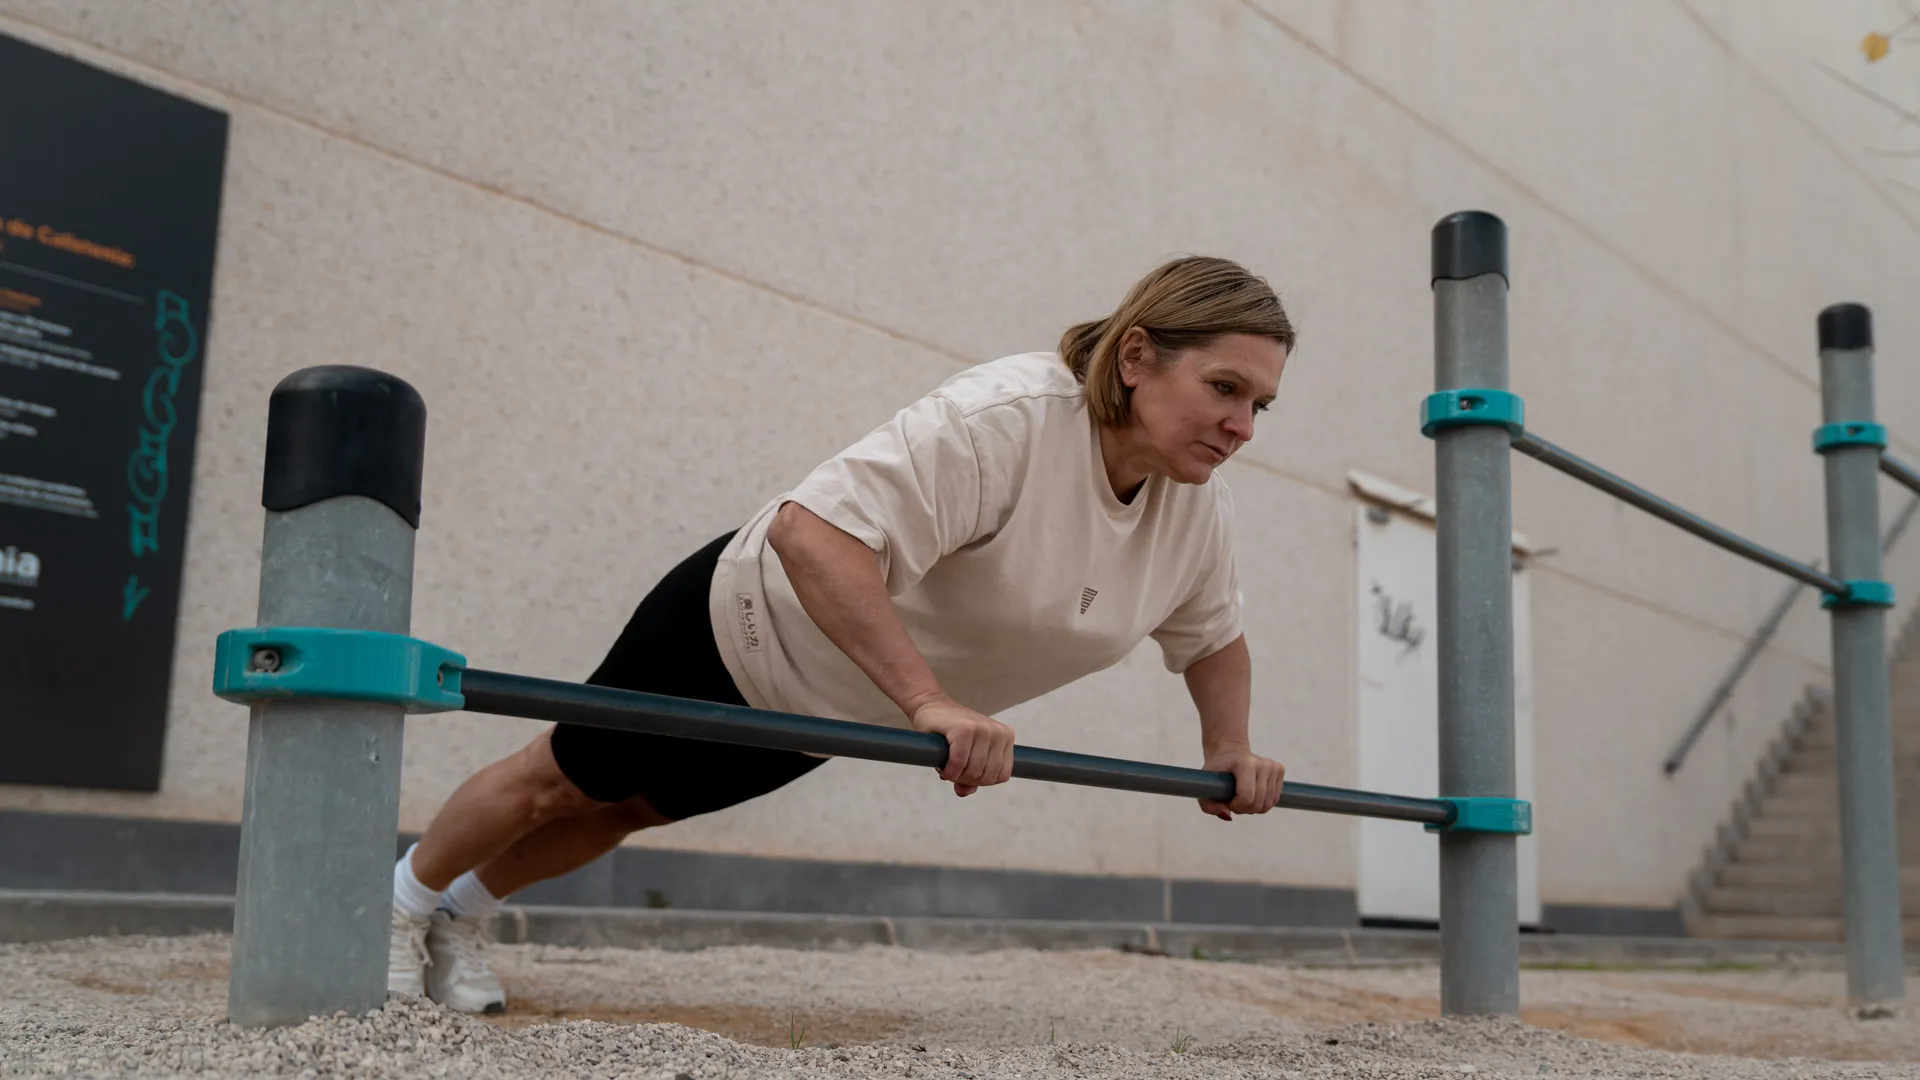
If your wrists hurt during push-ups, you can reduce discomfort by:
- Using parallettes to keep your wrists in a neutral position, reducing strain.
- Strengthening your wrists with exercises like wrist extensions and stretches.
- Adjusting the angle of your push-ups by starting on an elevated surface to reduce pressure on the wrists. Always ensure proper form, as misalignment can strain your wrists unnecessarily.
Each session takes about 20 minutes to complete. This makes it easy to fit into your schedule while still providing an effective workout that delivers results.
To avoid shoulder or elbow pain during push-ups, focus on maintaining proper form by keeping your elbows at a 45-degree angle to your body. Avoid flaring them out too wide or tucking them in too close, as both positions can create unnecessary strain. Engage your core throughout the movement to ensure your body stays in a straight line from head to heels, which helps reduce pressure on your shoulders and elbows. Before starting your push-ups, take time to warm up with dynamic stretches and scapular activation exercises to prepare your joints and muscles. If needed, modify your exercises by starting with incline push-ups to lower the intensity while still building strength. If you experience pain, stop immediately, reassess your form, and reduce the intensity of your workout as necessary. Proper form and progression are key to preventing joint discomfort and ensuring safe training.
Yes, this program can be combined with other workouts. However, it's important to prioritize the push-up routine at the beginning of your workout when your energy levels are highest. This ensures that you're giving your best effort to improving your push-ups while still allowing time for other training goals.
Learn More About Pushups
How to Get Stronger for Push-Ups
To build the strength needed for push-ups, focus on progressive overload. Start with incline push-ups on a sturdy surface like a table or bench to reduce the difficulty. Add supporting exercises like planks to improve core stability and tricep dips to target the muscles used in push-ups. Gradually lower the incline until you can perform a push-up on the ground. Train consistently three times per week and allow for proper recovery between sessions.
Push-Ups for Strength and Muscle Growth
Push-ups are highly effective for both building strength and developing muscle. They enhance functional strength by targeting the chest, shoulders, triceps, and core. For muscle growth, focus on performing push-ups with controlled movements and gradually increasing your volume and intensity.
Equipment Needed for Push-Ups
To follow this program, you'll need a resistance band and an elevated surface, such as a box, bench, or sturdy table, to modify and progress your exercises. These tools are essential for helping you build the strength and technique required for push-ups at your own pace.
Why Push-Ups Are Hard for Beginners
Push-ups are challenging because they require strength in the chest, triceps, shoulders, and core, along with coordination to maintain proper form. Many beginners haven't yet developed the muscle endurance to lift and lower their body weight while keeping their body stable. Breaking the movement into smaller progressions and focusing on form helps overcome these challenges.
How Long It Takes to Get Good at Push-Ups
Most beginners can achieve their first push-up in 4-6 weeks with consistent training. Building up to 10 full push-ups may take an additional 1-2 months, depending on your starting strength and dedication. Progress happens quickly with consistency and focus.
Should You Do Push-Ups Every Day?
It's not recommended to do push-ups daily. Training 3 times per week with rest days in between is ideal to allow your muscles time to recover and grow stronger. Overtraining can lead to fatigue or injury, so it's important to give your body enough recovery time.
Can Push-Ups Hurt Your Wrists or Shoulders?
Push-ups can cause discomfort in the wrists or shoulders if done incorrectly or excessively. To avoid injuries, focus on proper form by keeping your wrists aligned with your shoulders and avoiding excessive flaring of the elbows. If your wrists feel strained, use push-up handles or perform push-ups on your fists for a neutral wrist position. Strengthen your shoulders and wrists with supporting exercises and always warm up before starting your workout.