Inch Worm
The inchworm is a full-body bodyweight exercise that targets the core, shoulders, and hamstrings through a controlled walkout-to-plank sequence. Each rep combines a hip hinge with a hand walk that loads the shoulders and demands constant core tension from start to finish. As both a warm-up drill and a standalone strength builder, the inchworm develops the shoulder stability and trunk control that carry over directly into planks, push-ups, and handstand work.
The inchworm is a full-body bodyweight exercise that targets the core, shoulders, and hamstrings through a controlled walkout-to-plank sequence. Each rep combines a hip hinge with a hand walk that loads the shoulders and demands constant core tension from start to finish. As both a warm-up drill and a standalone strength builder, the inchworm develops the shoulder stability and trunk control that carry over directly into planks, push-ups, and handstand work.
How to Do Inch Worm
1. Set Your Starting Position
Stand with your feet about shoulder-width apart and your arms at your sides. Brace your core lightly and keep your shoulders pulled down away from your ears. A shoulder-width stance gives you balance throughout the movement without forcing you to fight for stability on every rep.
Feet shoulder width, core braced
2. Hinge Forward and Place Hands
Push your hips back and fold forward at the waist, reaching your hands toward the floor just in front of your feet. Keep your spine as long as possible rather than rounding through the upper back. If your hamstrings are tight, bend your knees slightly so your palms can reach the ground without forcing it.
Hinge at the hips, not the spine
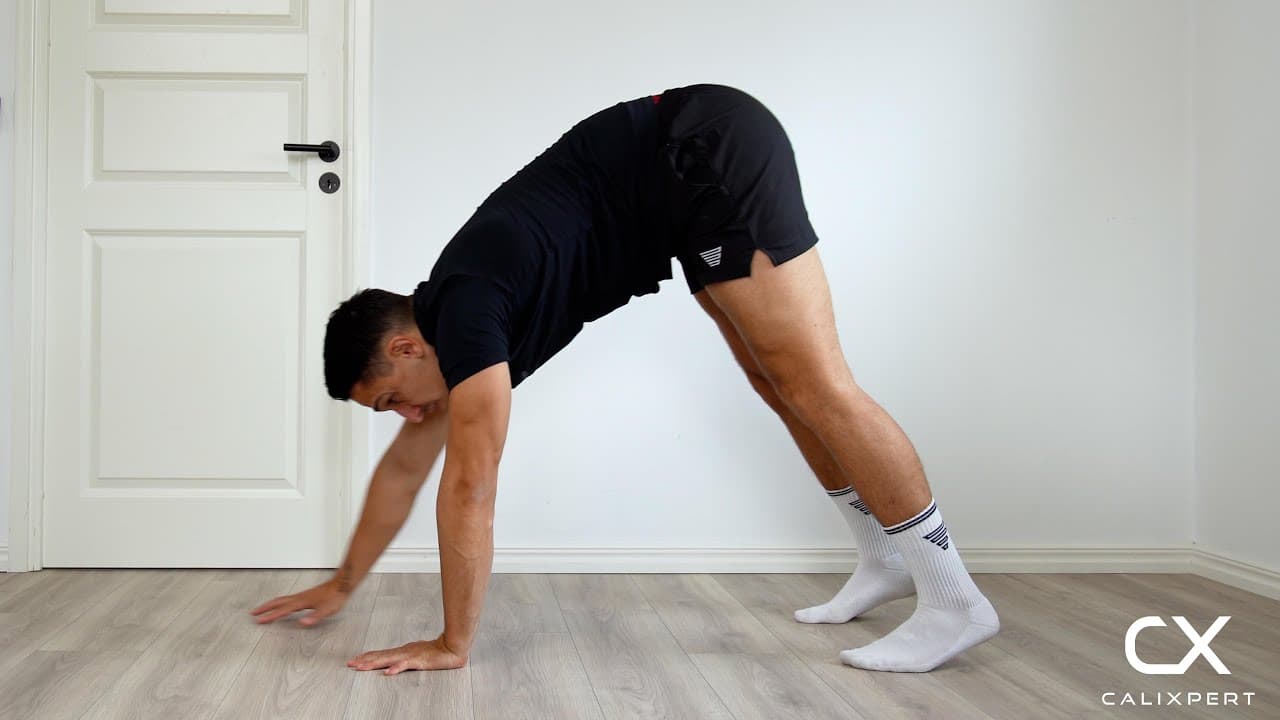
3. Walk Hands Out to Full Extension
Walk your hands forward one at a time in small, controlled steps. Continue walking out until your body reaches a fully extended position with your wrists roughly under your shoulders. Keep your hips from sagging by squeezing your glutes and bracing your abs throughout the entire walkout.
Small steps, tight core the whole way
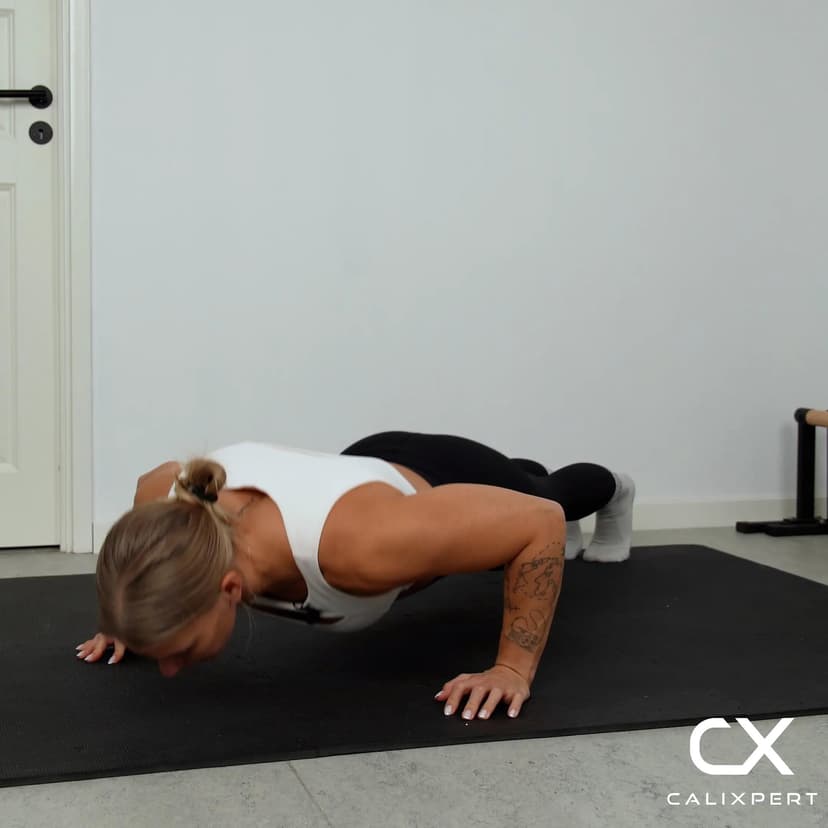
4. Lock In at the Bottom
Pause briefly at the furthest point of your walkout with your body in a straight line from head to heels. Actively press the floor away through your palms and engage your quads and glutes so nothing sags or pikes. This is where most of the shoulder and core demand peaks, so do not rush past it.
Straight line, nothing sagging
5. Walk Hands Back to Feet
Walk your hands back toward your feet in small, controlled steps while keeping your legs as straight as your flexibility allows. Use your core to lift your hips up and back rather than just pulling with your arms. You should feel a strong hamstring stretch as your hands get closer to your feet.
Core lifts you back, not just arms
6. Stand and Reset
Once your hands are near your feet, drive through your legs and unfold at the hips to stand tall. Reset your posture fully before beginning the next rep. Each rep should start from a controlled, upright position with the core re-engaged.
Full stand, full reset every rep
Most people treat the inchworm like a race to get into a plank and back. The real value is in the slow walkout and the controlled return. Focus on engaging your core the entire time, tension through your glutes and legs, and use your abs to lift your hips on the way back. When you slow it down and keep everything tight, a set of six reps will challenge you more than twenty fast ones ever will.
Muscles Worked During Inch Worm
Primary Muscles:
Secondary Muscles:

Primary Muscles
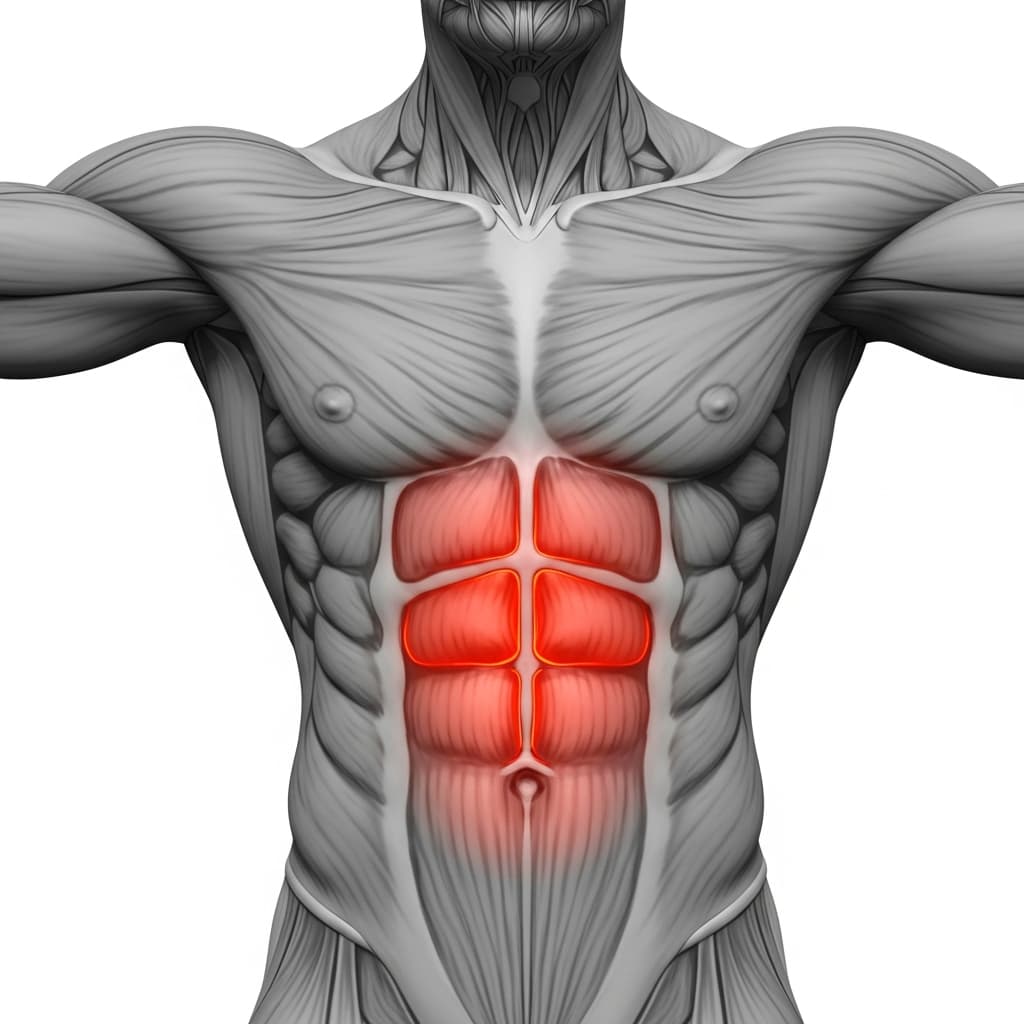
Rectus Abdominis (Abs) - The abdominals maintain anti-extension tension throughout the walkout and plank phase, preventing the hips from sagging and actively lifting the hips during the return walk.
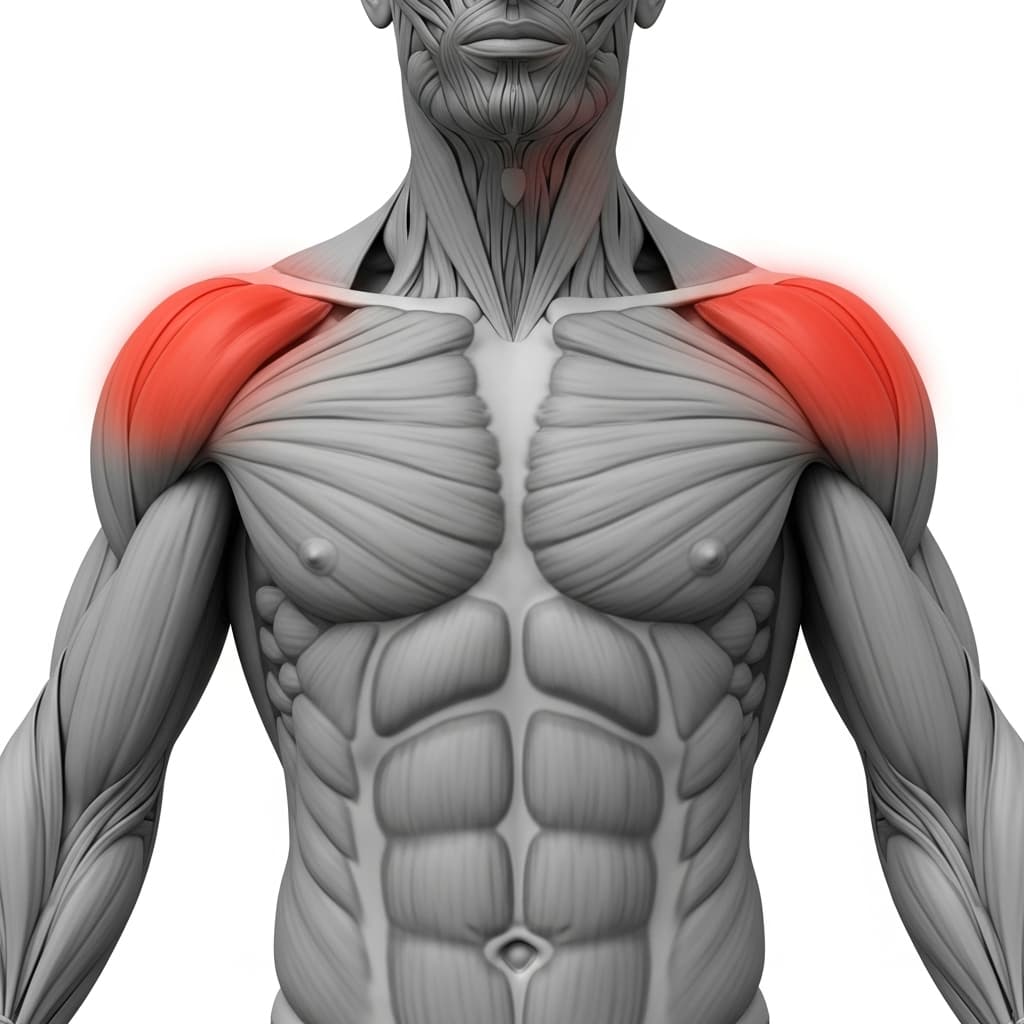
Anterior Deltoid (Front Deltoid) - The anterior deltoids stabilize the shoulder joint and bear progressively more bodyweight as the hands walk further from the feet during the extended plank position.
Secondary Muscles
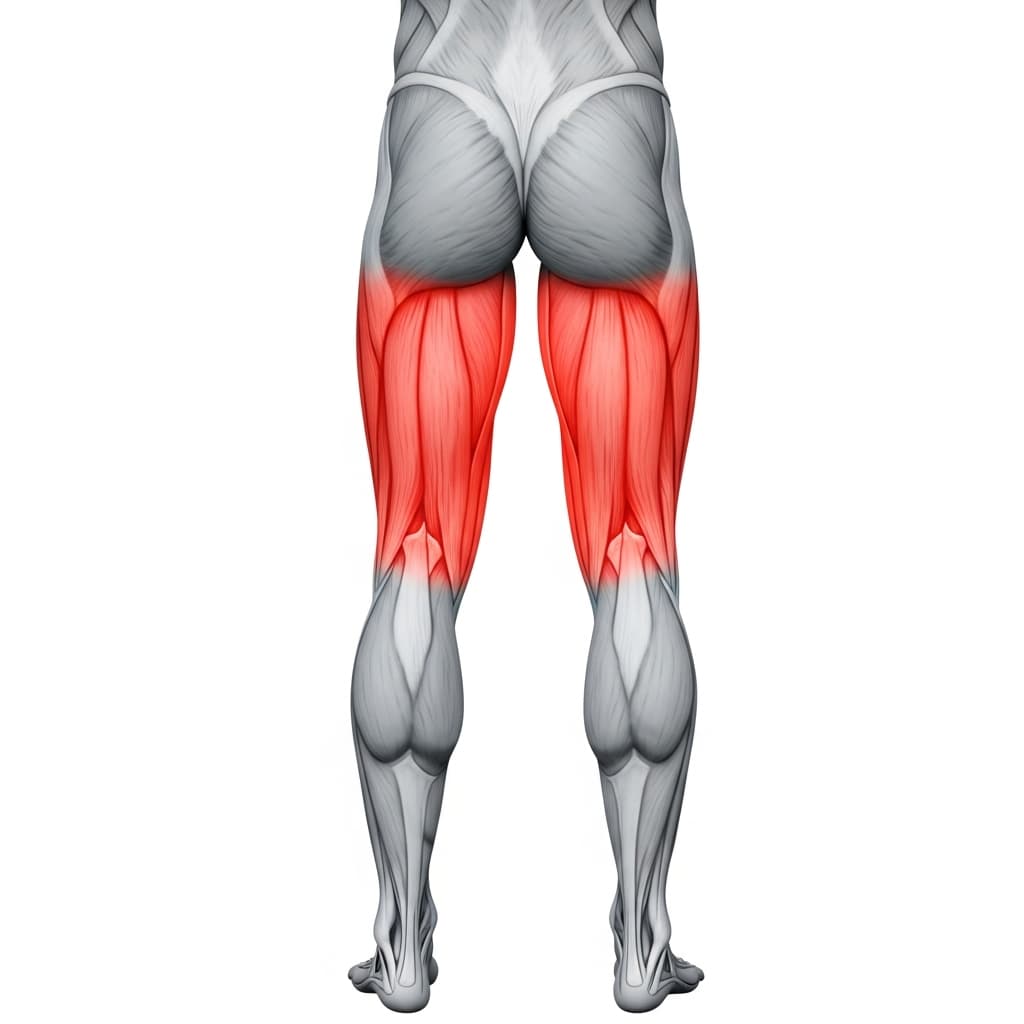
Hamstring Group (Hamstrings) - The hamstrings are loaded eccentrically during the forward fold and stretched dynamically as the hands walk back toward the feet.
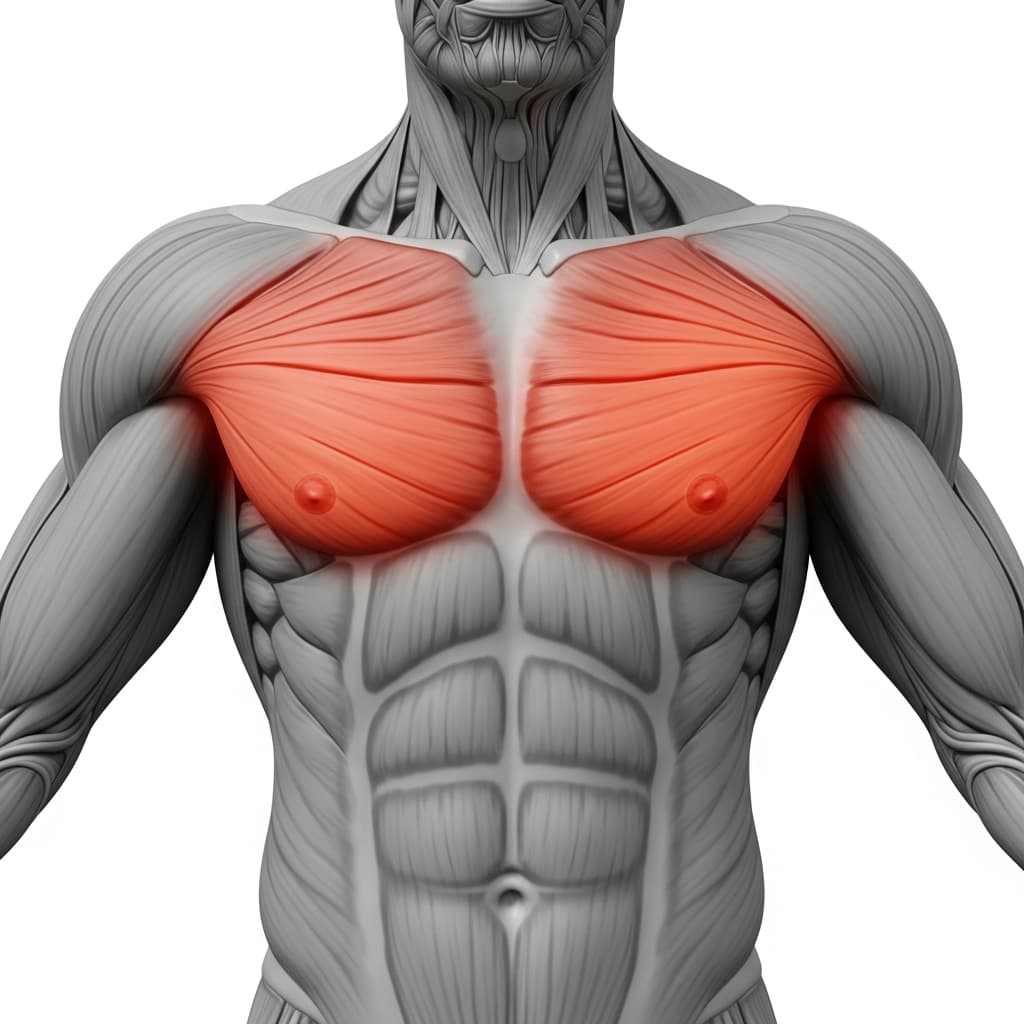
Pectoralis Major (Chest) - The pectorals assist in stabilizing the shoulder girdle during the walkout phase and support the extended plank position alongside the front deltoids.
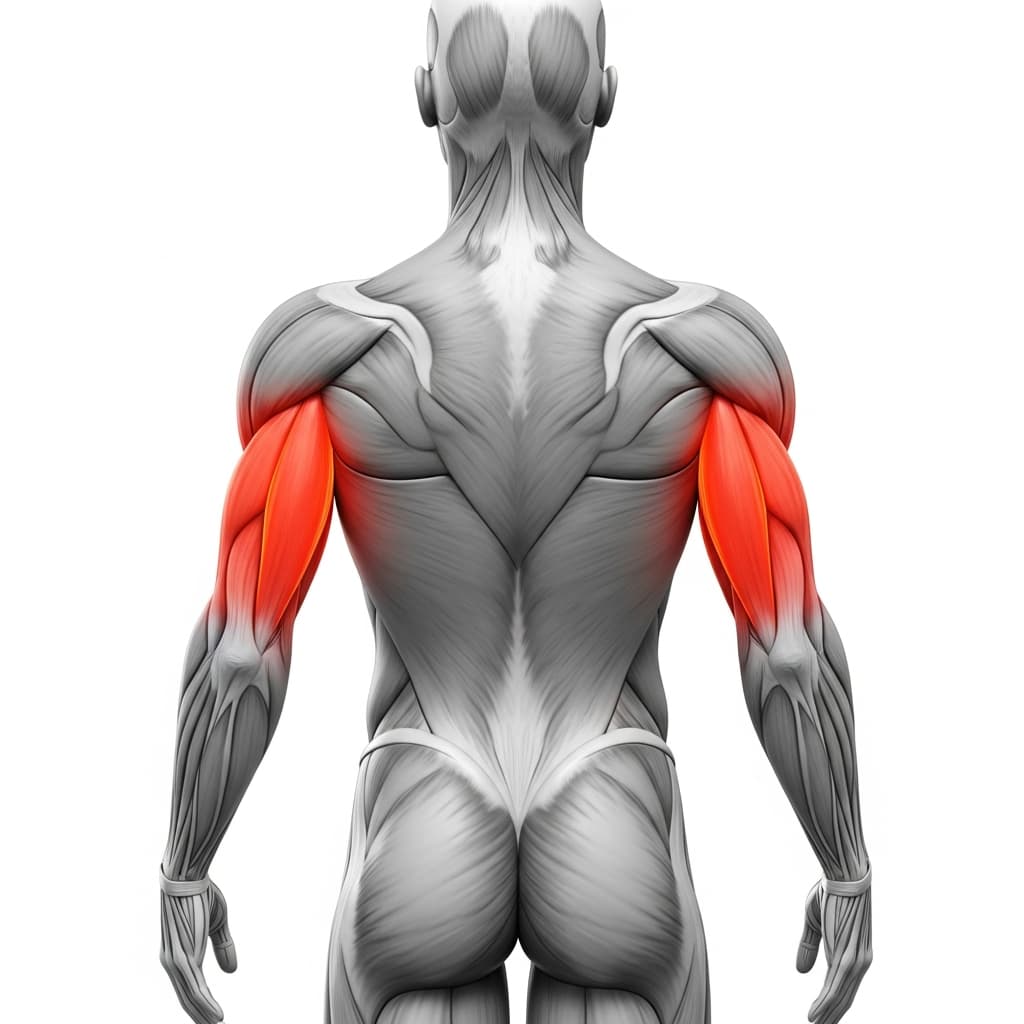
Triceps Brachii (Triceps) - The triceps maintain elbow extension throughout the walkout and plank, keeping the arms locked and stable as they bear bodyweight.
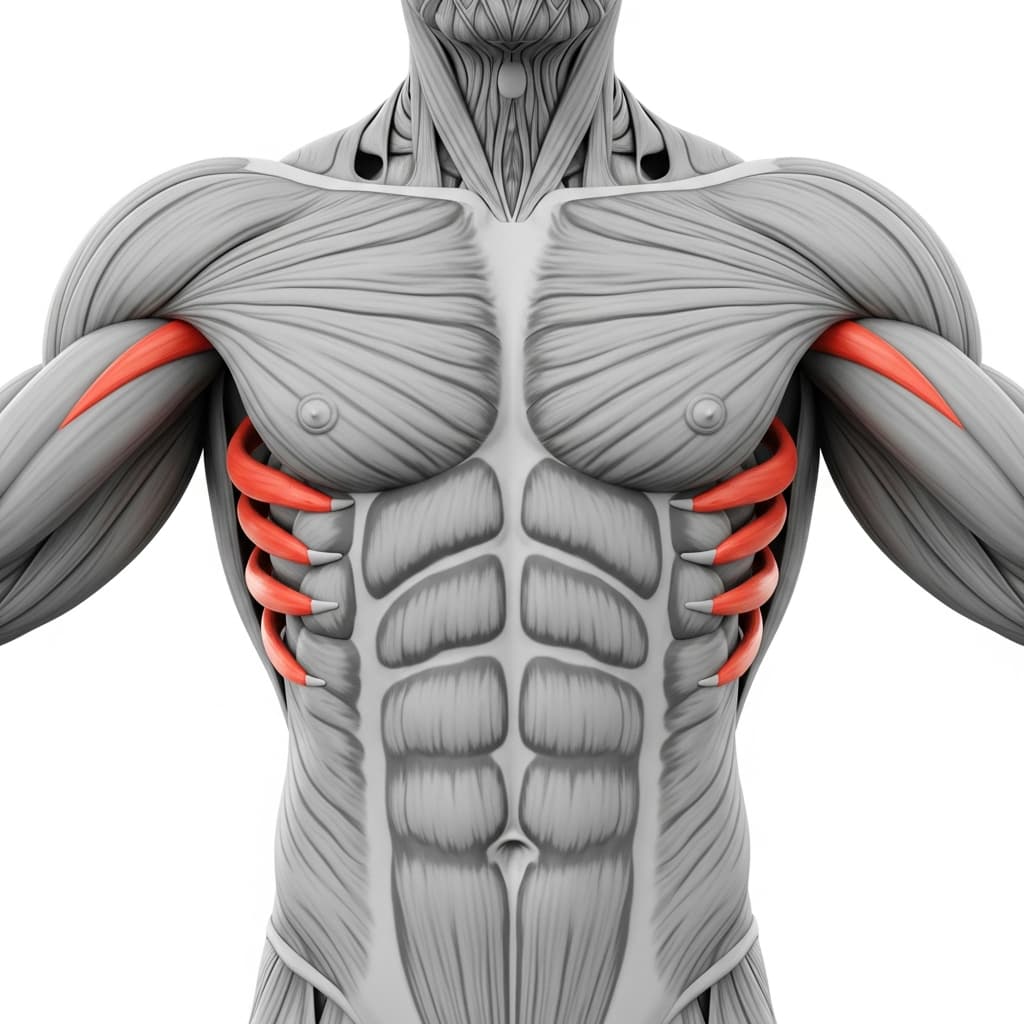
Serratus Anterior (Serratus Anterior) - The serratus anterior protracts the shoulder blades and stabilizes them against the ribcage during the loaded plank and hand-walking phases.
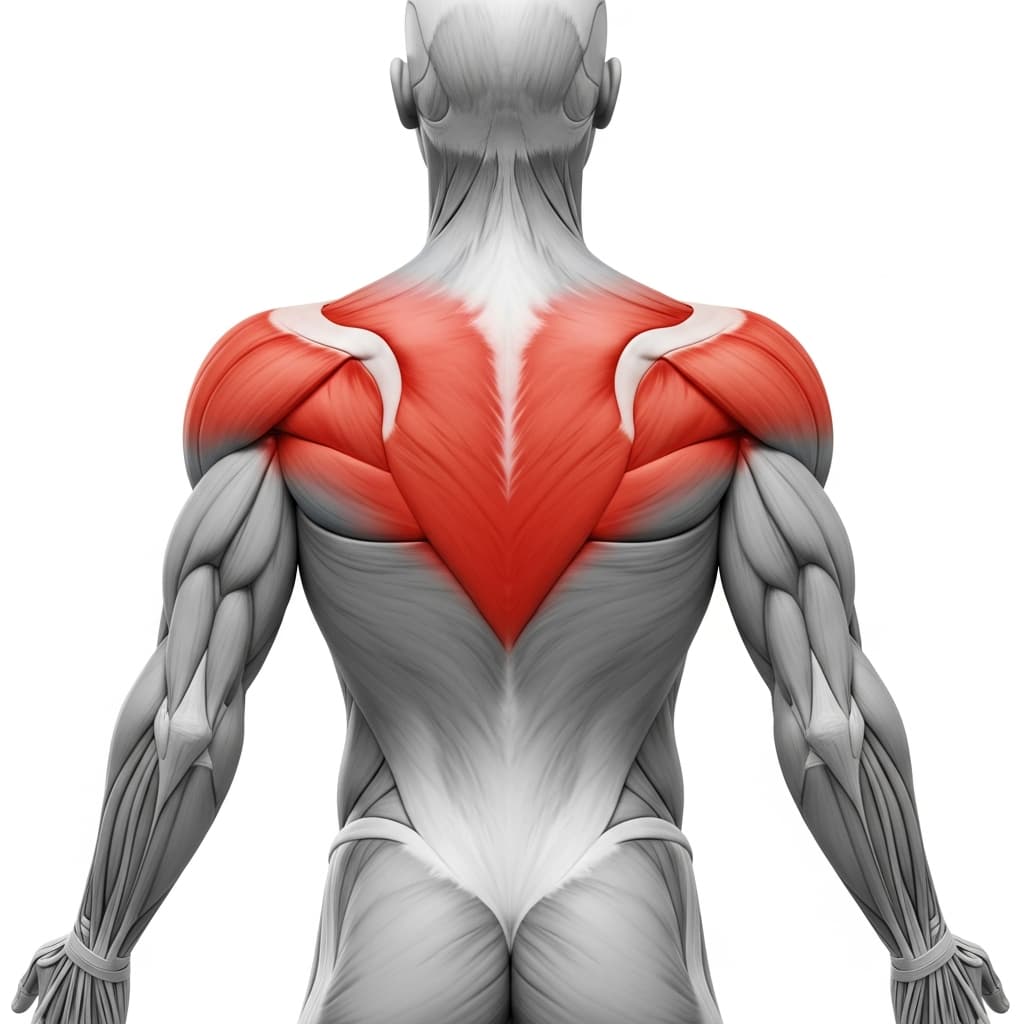
Rhomboids & Upper Trapezius (Upper Back) - The upper back muscles stabilize the thoracic spine and control scapular position throughout the walkout and return, preventing excessive rounding.
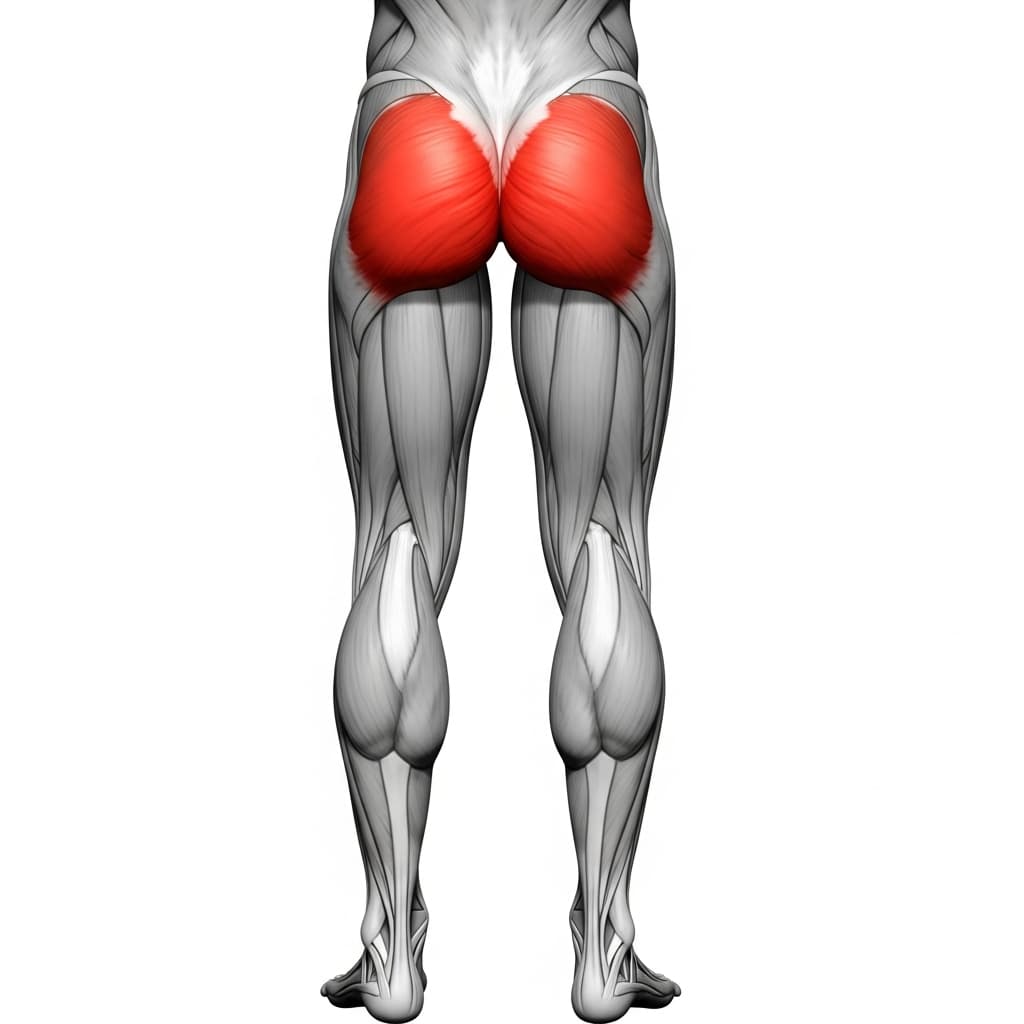
Gluteus Maximus (Glutes) - The glutes extend the hips and maintain posterior pelvic tilt during the plank phase, working with the abs to prevent the lower back from collapsing.
Iliopsoas (Hip Flexors) - The hip flexors assist in the controlled pike motion when walking the hands back toward the feet, helping draw the hips up and over the base of support.
Benefits of Inch Worm
- Develops core anti-extension strength through a moving plank position, building the same trunk control required for handstands and L-sits
- Improves hamstring flexibility dynamically under load, which transfers better to movement than static stretching alone
- Builds shoulder stability in the overhead-to-extended position, directly preparing the joints for push-ups, planches, and handstand training
- Functions as a full-body warm-up that raises core temperature and activates the shoulders, core, and hips in a single movement pattern
- Requires zero equipment and minimal space, making it one of the most accessible calisthenics drills for any training environment
Who Is This Exercise For?
You should be able to hold a high plank for at least 15 seconds with a flat back and engaged core before adding the walkout component. If touching the floor with your hands requires extreme rounding through the lower back, work on hamstring flexibility and hip hinge drills first.
Common Mistakes to Avoid
Letting the hips sag during the walkout: Squeeze your glutes and brace your abs before you start walking your hands out. If your hips drop, you lose core engagement and place unnecessary stress on the lower back.
Rushing through the hand walk: Take small, deliberate steps with each hand. Moving too fast turns the exercise into momentum work and removes the shoulder and core loading that makes the inchworm effective.
Rounding the back to reach the floor: Hinge at the hips and bend your knees slightly if your hamstrings are tight. Forcing your hands down with a rounded spine puts load on the lumbar discs instead of the muscles you want to train.
Using only arms to walk back: Actively lift your hips by contracting your core as you walk your hands back. The return phase should feel like a controlled pike, not just an arm pull.
Variations & Progressions
Bent-Knee Inchworm
Bend your knees throughout the entire movement to reduce the hamstring flexibility demand. This lets you focus on the core and shoulder work without being limited by tight hamstrings.
Narrow Stance Inchworm
Place your feet fully together instead of shoulder-width apart. The narrower base removes stability and forces the core and hip stabilizers to work significantly harder on every rep.