L-sit To Bent Arm Handstand
The L-sit to bent arm handstand is an advanced calisthenics transition that demands pressing strength, deep compression, and full-body control across the shoulders, triceps, core, and hip flexors. The movement begins in an L-sit on parallettes and progresses through a tucked compression phase into an inverted bent arm position, requiring you to support your entire bodyweight through your hands without resting on your shoulders. When trained with control and minimal momentum, this transition builds the pressing foundation and body awareness needed for handstand presses and advanced bent arm skills.

The L-sit to bent arm handstand is an advanced calisthenics transition that demands pressing strength, deep compression, and full-body control across the shoulders, triceps, core, and hip flexors. The movement begins in an L-sit on parallettes and progresses through a tucked compression phase into an inverted bent arm position, requiring you to support your entire bodyweight through your hands without resting on your shoulders. When trained with control and minimal momentum, this transition builds the pressing foundation and body awareness needed for handstand presses and advanced bent arm skills.
How to Do L-sit To Bent Arm Handstand
1. Set Up in a Stable L-sit
Begin in a full L-sit on medium-height parallettes with your legs straight, toes pointed, and arms locked out. Depress your shoulders and press firmly through your palms to create a solid base. Your hips should be lifted and your core fully engaged before you begin the transition.
Press the parallettes away from you
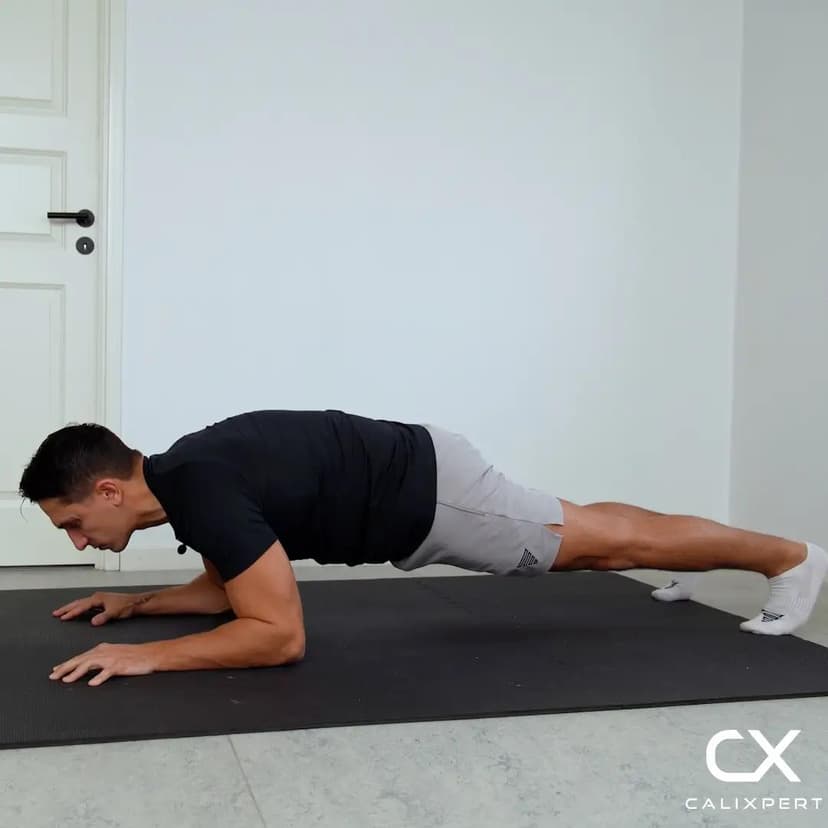
2. Tuck Your Legs and Lean Forward
Draw your knees toward your chest into a tight tuck position while shifting your weight forward onto your hands. Keep your elbows close to your body as you begin to lean. This compression phase loads the shoulders and sets up the pressing angle you need to move upward.
Knees tight to chest, elbows in
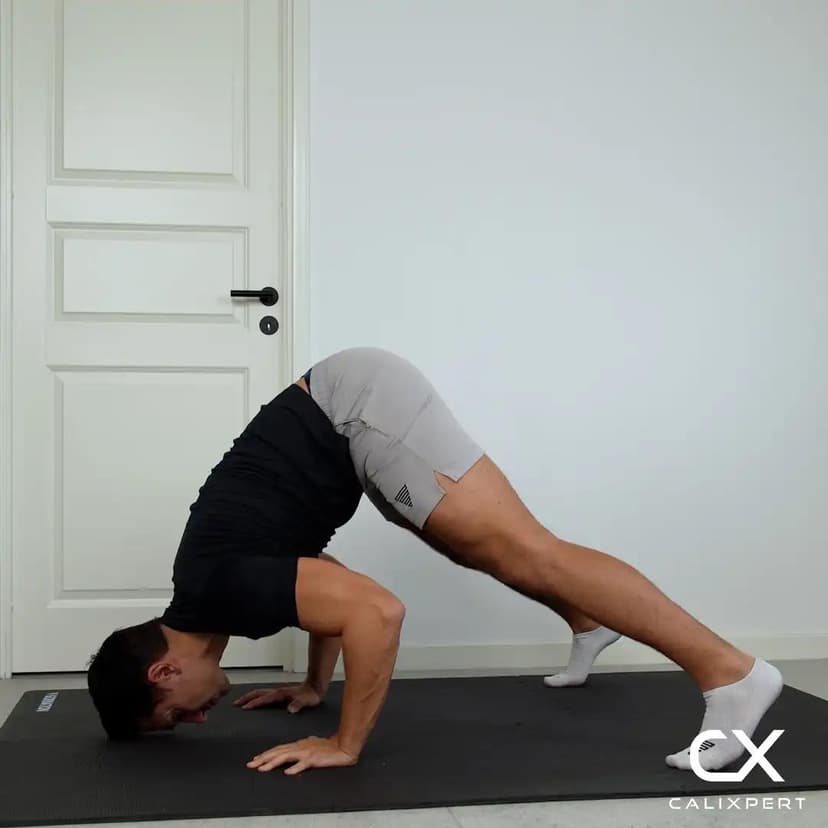
3. Drive Your Hips Over Shoulders
From the tucked position, press through your hands and drive your hips upward until they stack above your shoulders. Keep pushing into the parallettes as if you are pressing them into the floor. Your shoulders will move into a deep bent arm position, but your weight must stay in your hands and never rest on the bars.
Hips over shoulders, weight in hands
4. Stabilize the Bent Arm Position
Once your hips are stacked, pause briefly in the tucked bent arm handstand to find your balance point. Keep your elbows tucked tight to your sides and maintain constant pressing tension through your palms. Engage your glutes and squeeze your core to prevent your body from drifting.
Keep pushing up the entire time
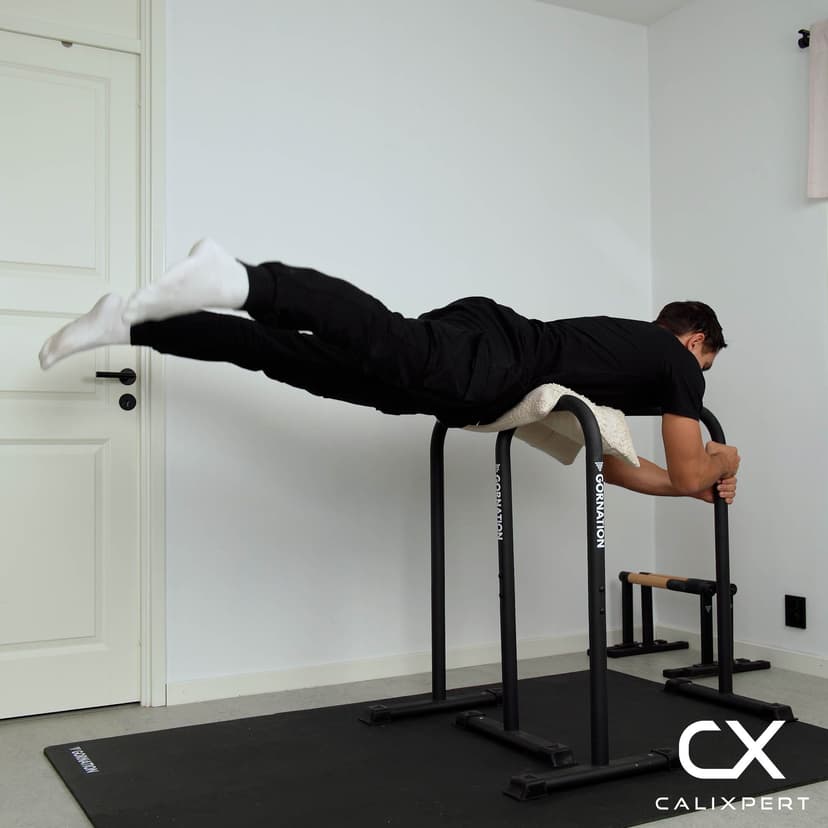
5. Extend Your Legs Upward
Slowly extend your legs from the tuck until they are fully straight and stacked above your hips. Point your toes and squeeze your glutes and legs together to create a single rigid line. If extending destabilizes you, hold the tuck position and work on extending over multiple sessions.
Extend only when the tuck is stable
6. Lower Back Down With Control
Reverse the movement by tucking your legs back in, then slowly lowering your hips through the compression phase and returning to the L-sit. Resist gravity on the way down rather than dropping. The controlled descent builds the same strength as the ascent and protects your shoulders from impact.
Slow descent, no dropping
Most people fail this movement because they try to muscle through it with speed instead of controlling every inch of the transition. The key is to keep pressing into the parallettes the entire time, as if you are pushing the bars into the floor. Once you stop pressing, your shoulders collapse and you lose the position. Master the tuck version first with zero momentum, and the full extension will come naturally.
Muscles Worked During L-sit To Bent Arm Handstand
Primary Muscles:
Secondary Muscles:
Primary Muscles
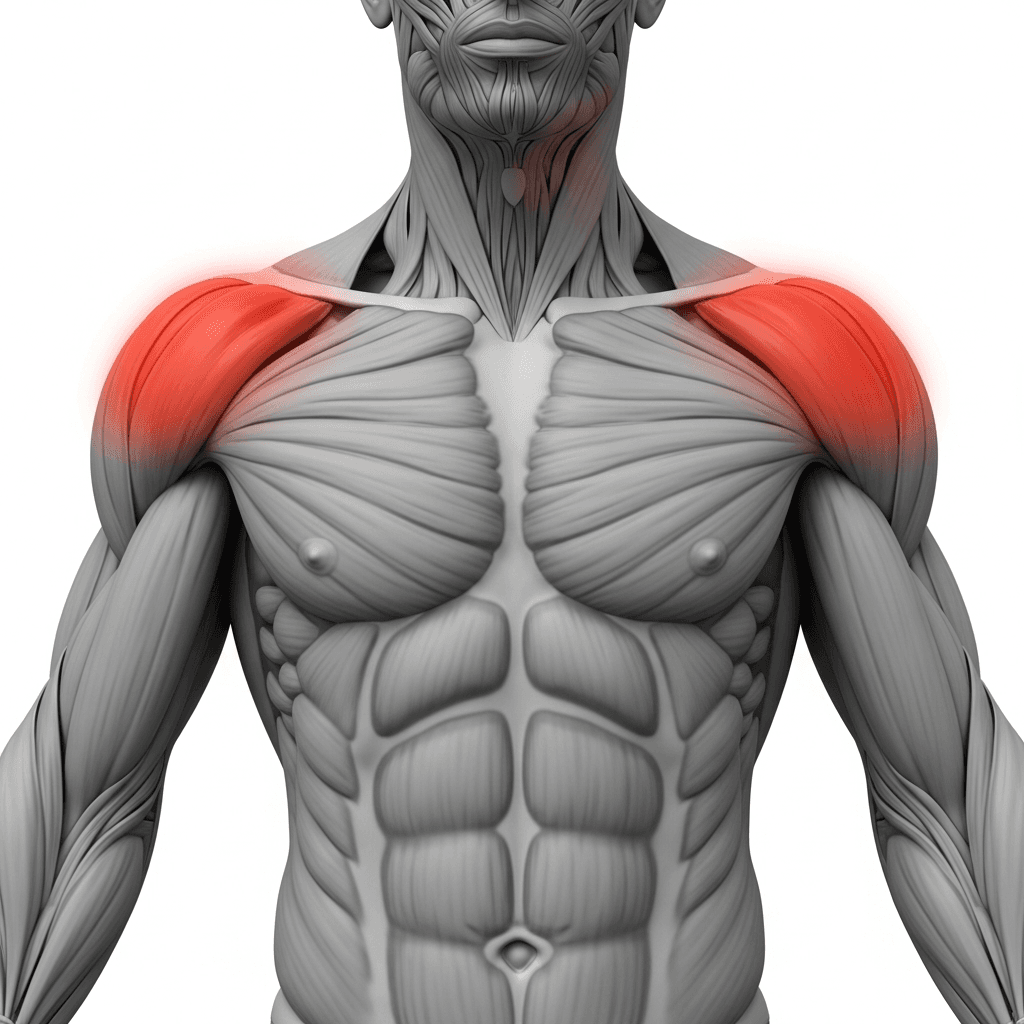
Anterior Deltoid (Front Deltoid) - The front deltoids bear your full bodyweight in the bent arm inverted position and generate the pressing force needed to drive your hips upward over your shoulders.
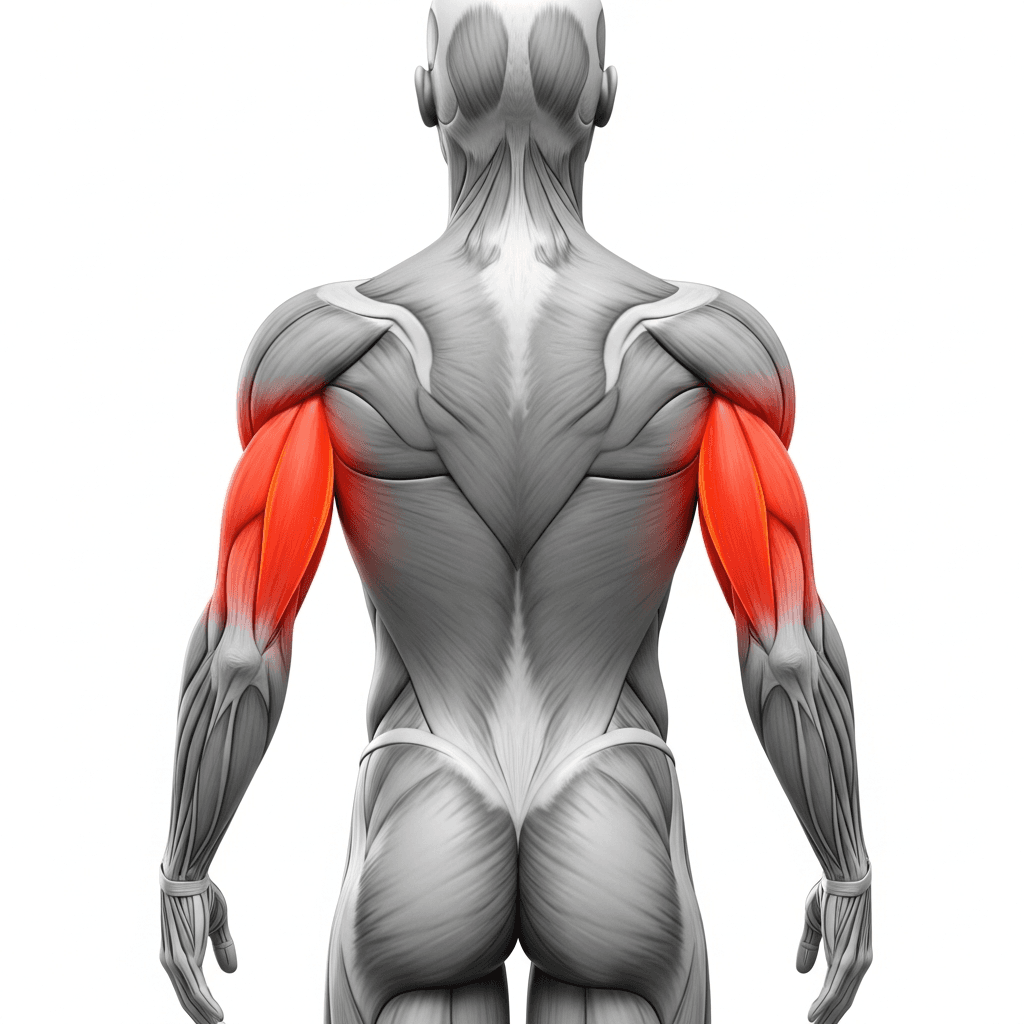
Triceps Brachii (Triceps) - The triceps maintain the bent arm position under load and assist the shoulders in pressing your bodyweight throughout the entire transition.
Secondary Muscles
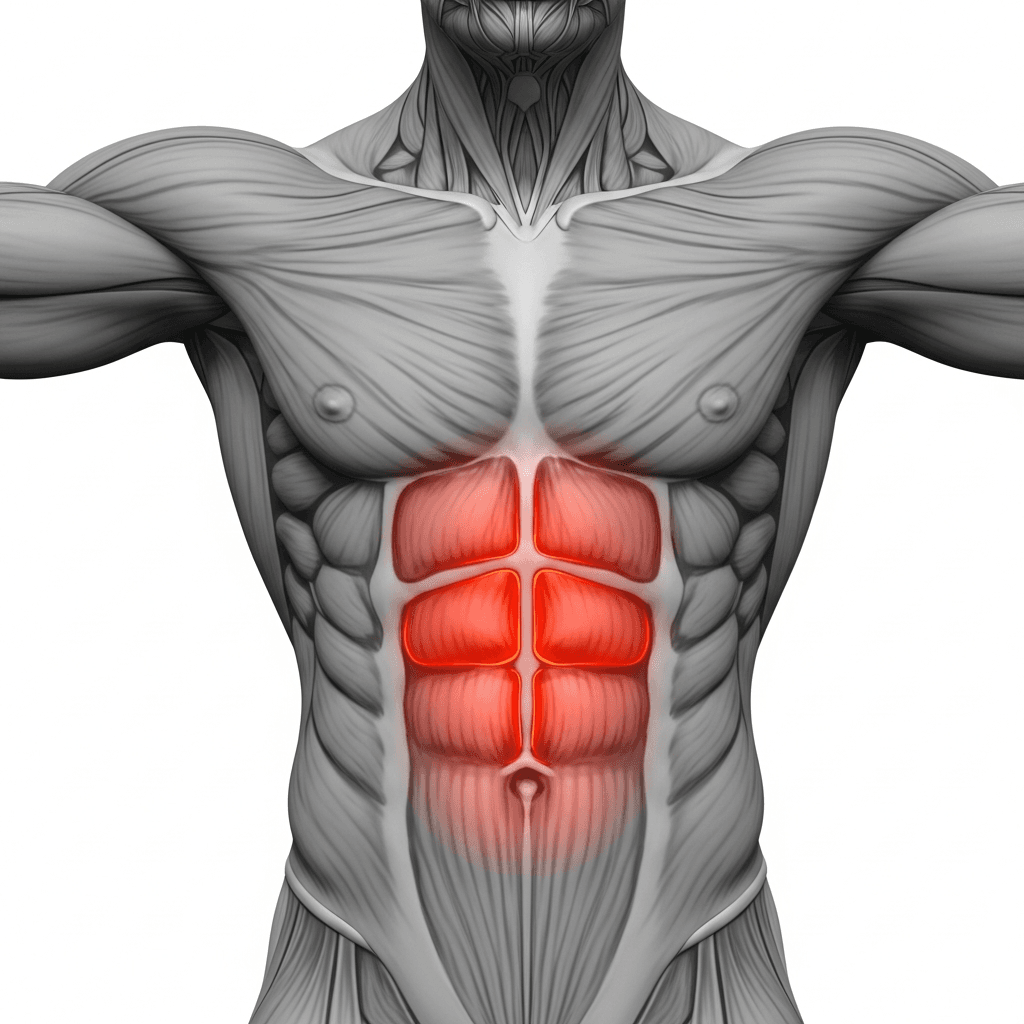
Rectus Abdominis (Abs) - The abdominals create the trunk flexion and compression force required to lift the legs and hips from the L-sit into the inverted position.
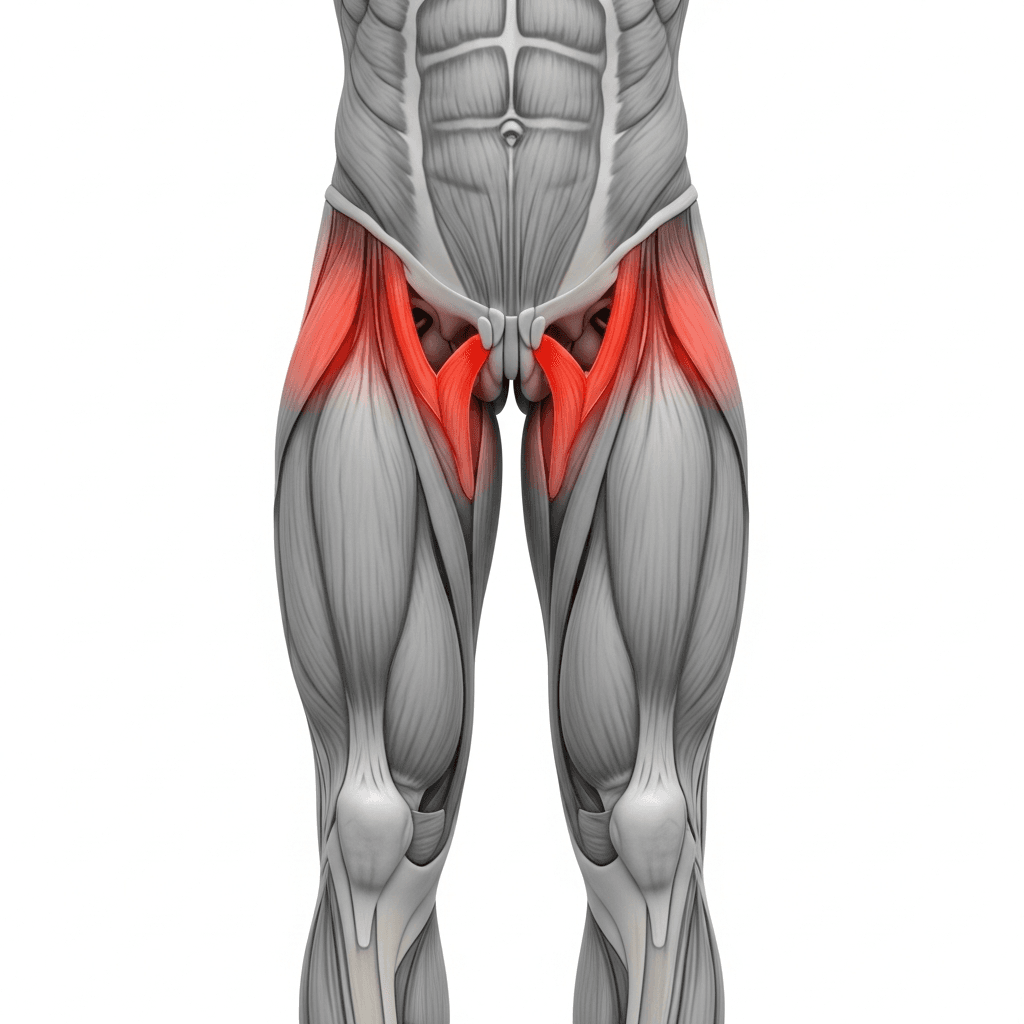
Iliopsoas (Hip Flexors) - The hip flexors drive the initial leg tuck and maintain compression as the hips travel upward past the shoulders.
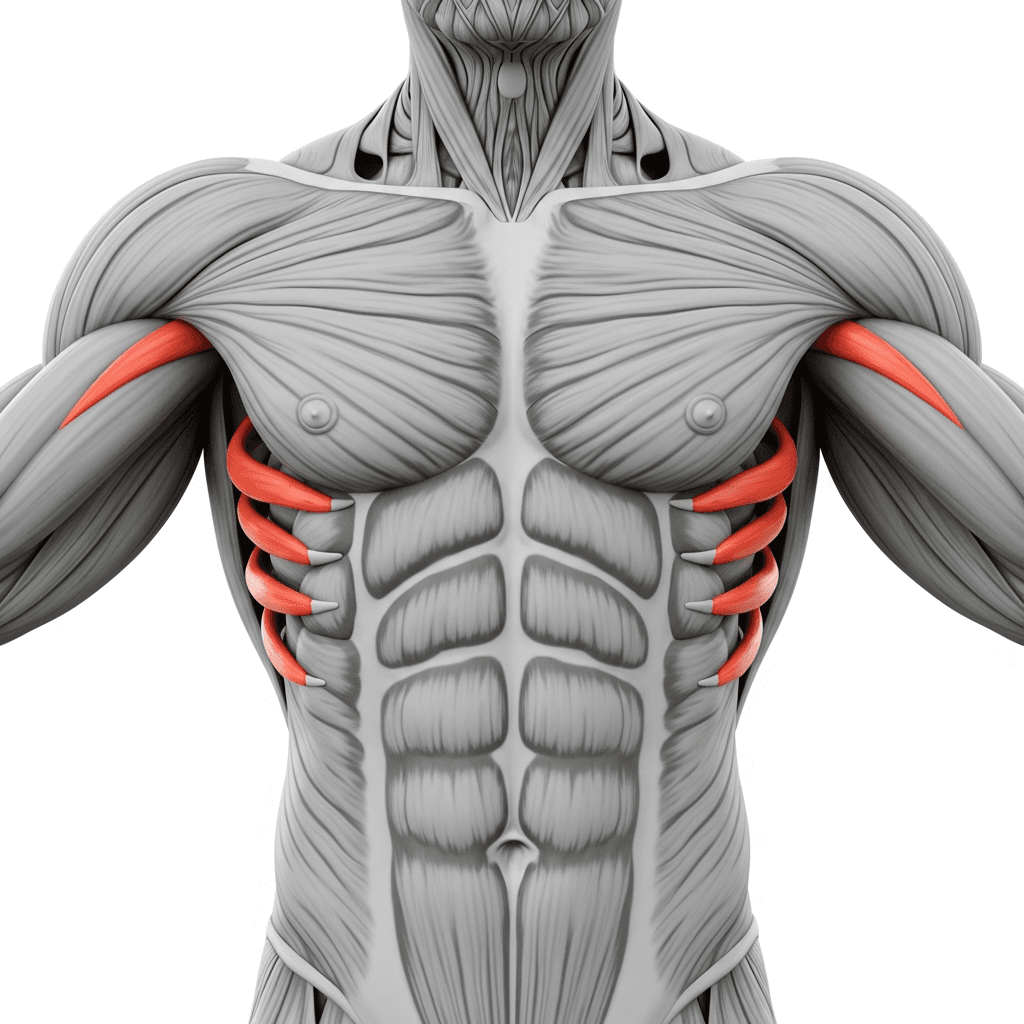
Serratus Anterior (Serratus Anterior) - The serratus anterior protracts and stabilizes the scapulae against the ribcage, keeping the shoulders locked in place while pressing through the parallettes.
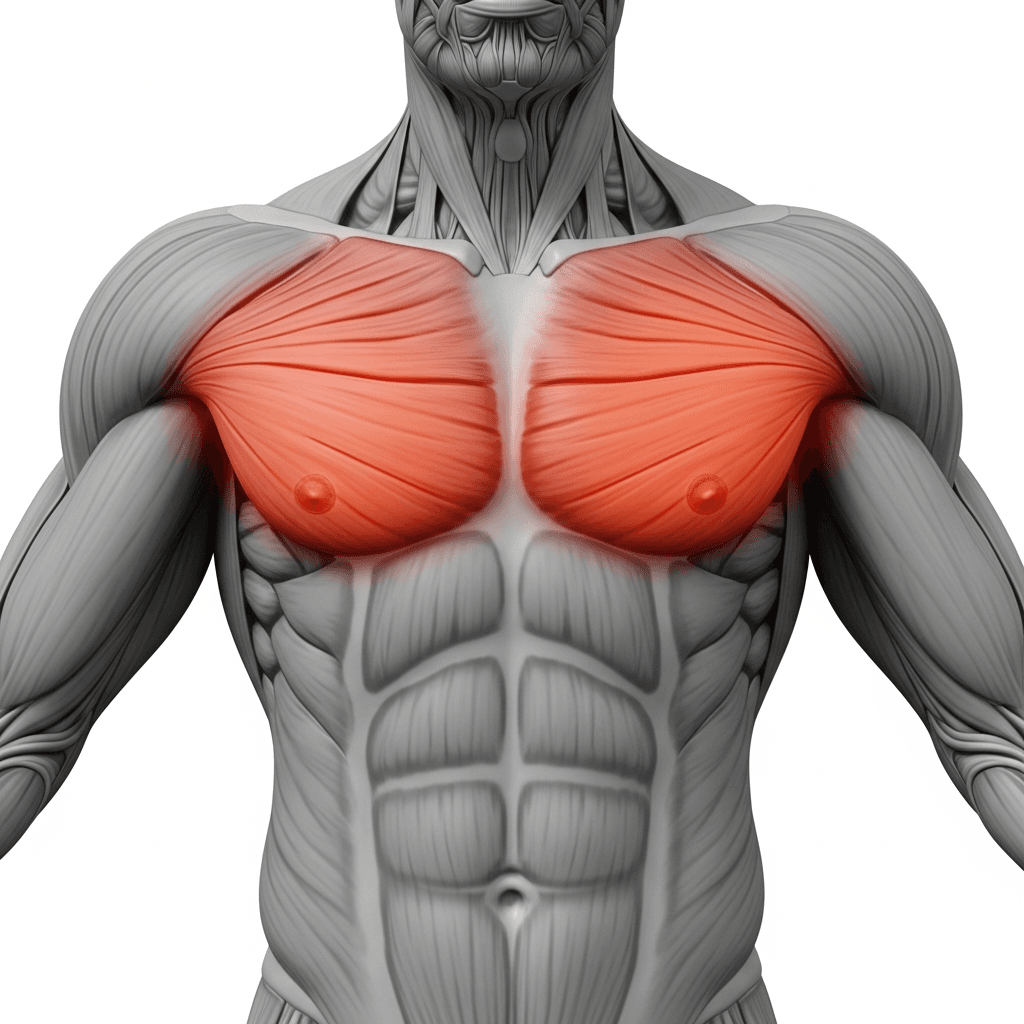
Pectoralis Major (Chest) - The chest assists the front deltoids in the pressing phase, particularly as the shoulders move into a deeper bent arm angle during the transition.
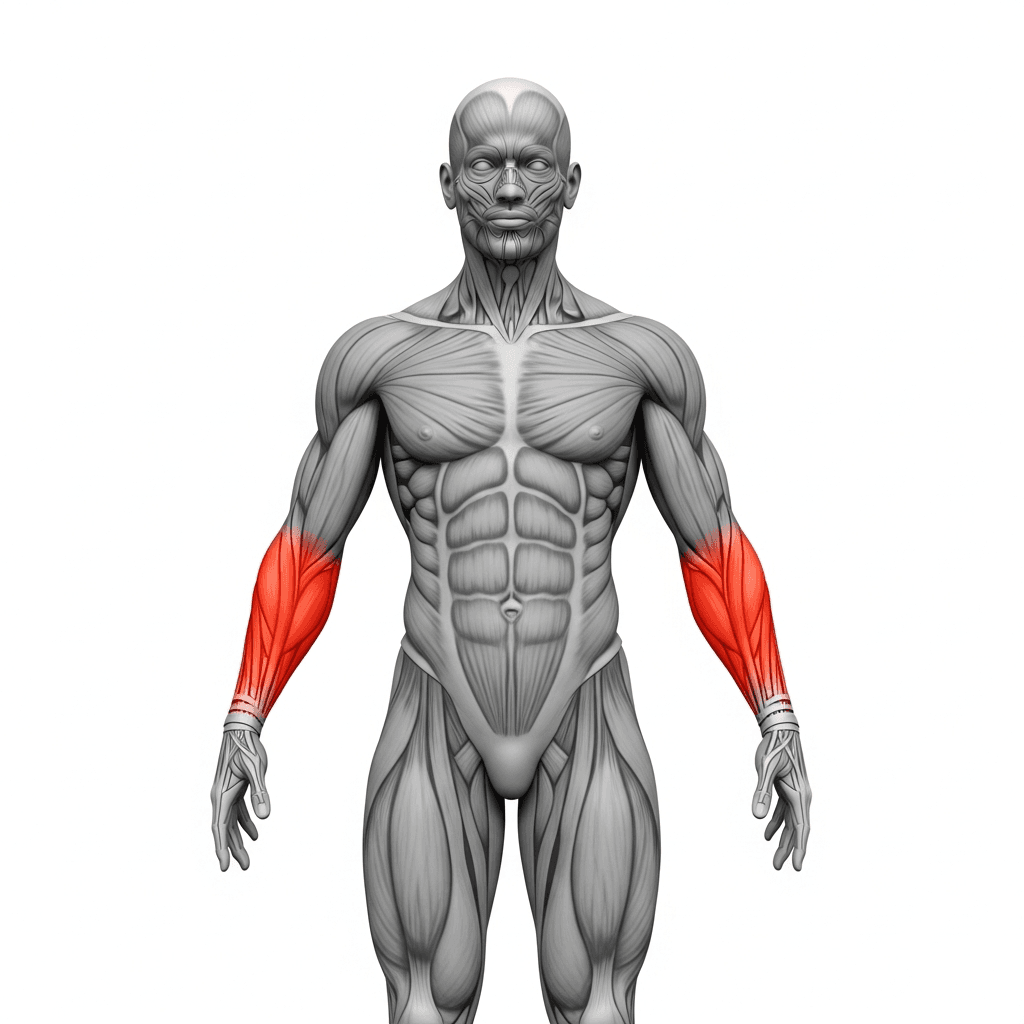
Forearm Flexors & Extensors (Forearms) - The forearms maintain grip on the parallettes and stabilize the wrists under the full load of your bodyweight throughout the movement.
Benefits of L-sit To Bent Arm Handstand
- Develops deep shoulder pressing strength in the bent arm position, which transfers directly to planche and handstand press progressions
- Builds exceptional core compression power by requiring the hips to travel from below the shoulders to fully stacked above them under control
- Trains full-body tension and balance awareness in an inverted position, improving control for all handstand and inversion work
- Strengthens the hip flexors and serratus anterior through loaded compression, two muscle groups that limit most calisthenics athletes in pressing movements
Who Is This Exercise For?
You should be able to hold a solid L-sit on parallettes for at least 10 seconds and maintain a bent arm handstand hold for 5 seconds before attempting this transition. If your L-sit collapses under compression or you cannot support yourself in an inverted bent arm position, work those holds independently first. A strong tuck L-sit to shoulder stand is the direct stepping stone, so master that variation before extending your legs.
Common Mistakes to Avoid
Using momentum to swing up: The transition should be driven by compression and pressing strength, not a swing or kick. If you cannot move upward without momentum, regress to the tuck variation and build strength in that range first.
Resting shoulders on the parallettes: Your weight must stay in your hands throughout the entire movement. Imagine you are pressing the parallettes into the floor at all times. If your shoulders collapse onto the bars, your parallettes may be too short or your pressing strength is not yet sufficient.
Letting elbows flare out: Keep your elbows tucked close to your body during the entire transition. Flared elbows shift stress onto the shoulder joint and reduce the mechanical advantage of your triceps.
Extending legs too early: Only extend your legs after you have stabilized the tucked bent arm handstand. Extending before your balance is set adds a long lever that makes the position nearly impossible to control.
Variations & Progressions
L-sit to tuck shoulder stand
Perform the full transition but keep your legs in a tuck throughout instead of extending. This shortens the lever arm and reduces the balance and compression demand significantly.
Straddle L-sit to bent arm handstand
Start from a straddle L-sit and transition through a straddle compression into the bent arm handstand. The wider leg position increases the compression requirement and demands more hip flexor strength throughout the transition.
L-sit to straight arm handstand press
Press from the L-sit into a full handstand with arms locked out instead of staying in a bent arm position. This removes the bent arm support entirely and requires significantly more shoulder pressing power and end-range strength.