Wall Push Ups
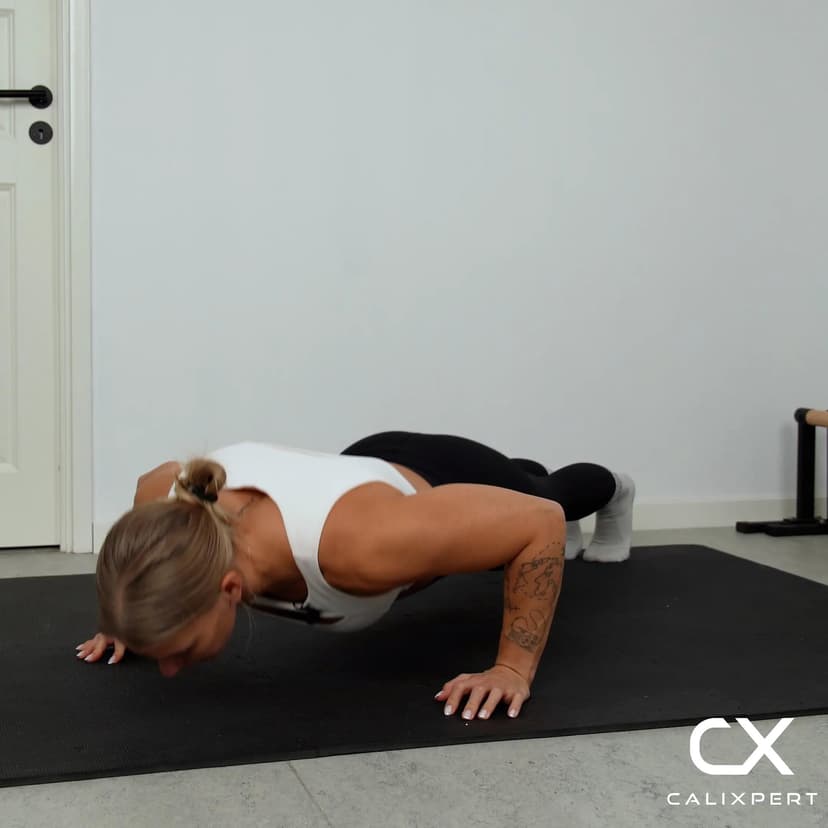
Wall push-ups are the most accessible pushing exercise in calisthenics, targeting the chest, triceps, and front deltoids with minimal load through a controlled pressing motion against a wall. The vertical angle reduces the percentage of bodyweight you push, making this the ideal starting point for anyone who cannot yet perform push-ups on the floor. Practiced with proper hand placement and full range of motion, wall push-ups build the pressing strength and shoulder stability needed to progress toward incline and standard push-ups.
Wall push-ups are the most accessible pushing exercise in calisthenics, targeting the chest, triceps, and front deltoids with minimal load through a controlled pressing motion against a wall. The vertical angle reduces the percentage of bodyweight you push, making this the ideal starting point for anyone who cannot yet perform push-ups on the floor. Practiced with proper hand placement and full range of motion, wall push-ups build the pressing strength and shoulder stability needed to progress toward incline and standard push-ups.
How to Do Wall Push Ups
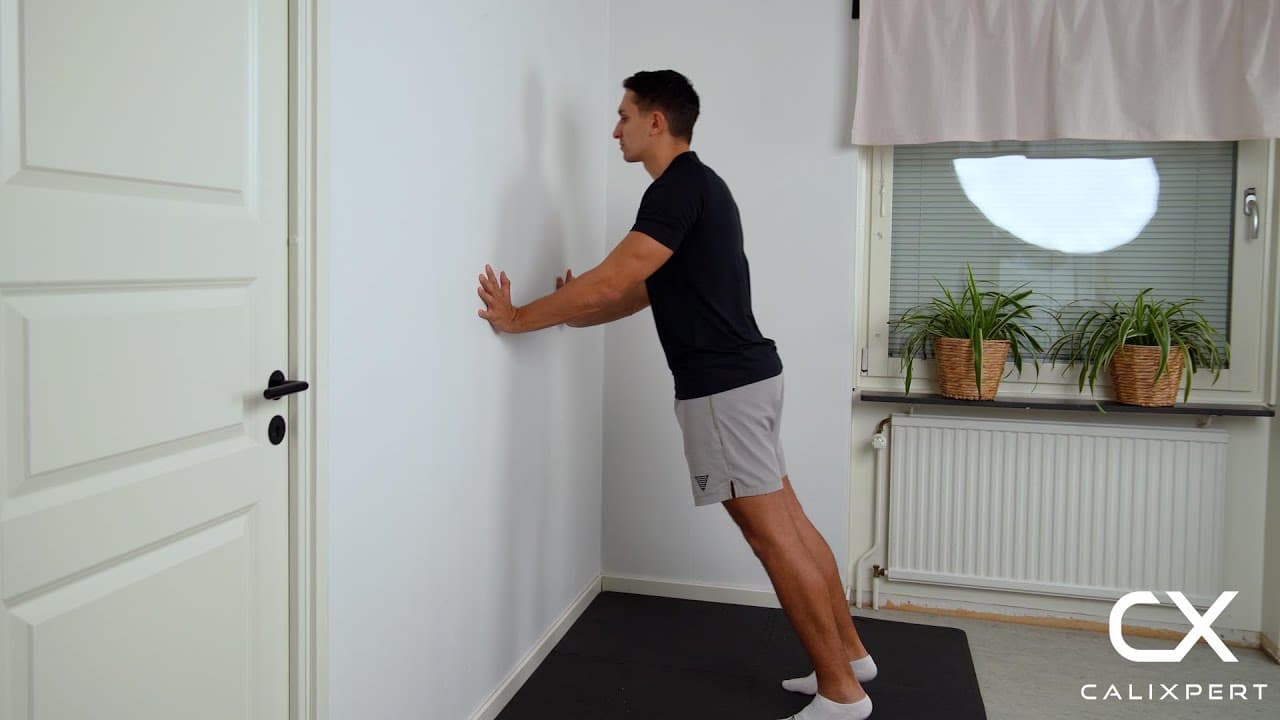
1. Stand at the Right Distance
Stand facing a wall about one arm's length away. You should have enough distance that you lean slightly forward when your hands touch the wall. If you would fall forward without the wall supporting you, you are at the right distance.
Lean in, do not stand straight
2. Place and Rotate Your Hands
Place your hands on the wall slightly below shoulder height, about shoulder-width apart. Rotate your hands slightly outward so your fingers point diagonally rather than straight up. This outward rotation reduces strain on the wrists, especially if you have limited wrist flexibility.
Hands below shoulders, fingers rotated out
3. Set Your Body Position
Rise up onto the balls of your feet and establish a straight line from your head through your hips to your heels. Brace your core and squeeze your glutes to prevent your hips from sagging. This rigid body line ensures the chest and triceps do the work instead of compensating through the lower back.
Tight body, straight line head to heels
4. Lower Your Chest to the Wall
Bend your elbows and lower your chest toward the wall in a slow, controlled motion. Keep your elbows at roughly a 45-degree angle to your body, not flared straight out to the sides. Continue lowering until your nose nearly touches the wall, reaching a 90-degree bend at the elbows.
Nose to wall, elbows at 45 degrees
5. Push Back to the Start
Press firmly through your palms to extend your arms and push your body back to the starting position. Focus on driving through the heel of the palm rather than the fingers. Maintain your rigid body line throughout the entire push and do not let your hips drop or pike forward.
Push through the palms, lock the arms
Most people treat wall push-ups as too easy and rush through them without learning anything. The real value is using the low resistance to drill perfect form, a straight body line, elbows at 45 degrees, and full range of motion to the wall. If you build those habits here, every push-up variation that follows will be stronger and safer from day one.
Muscles Worked During Wall Push Ups
Secondary Muscles:

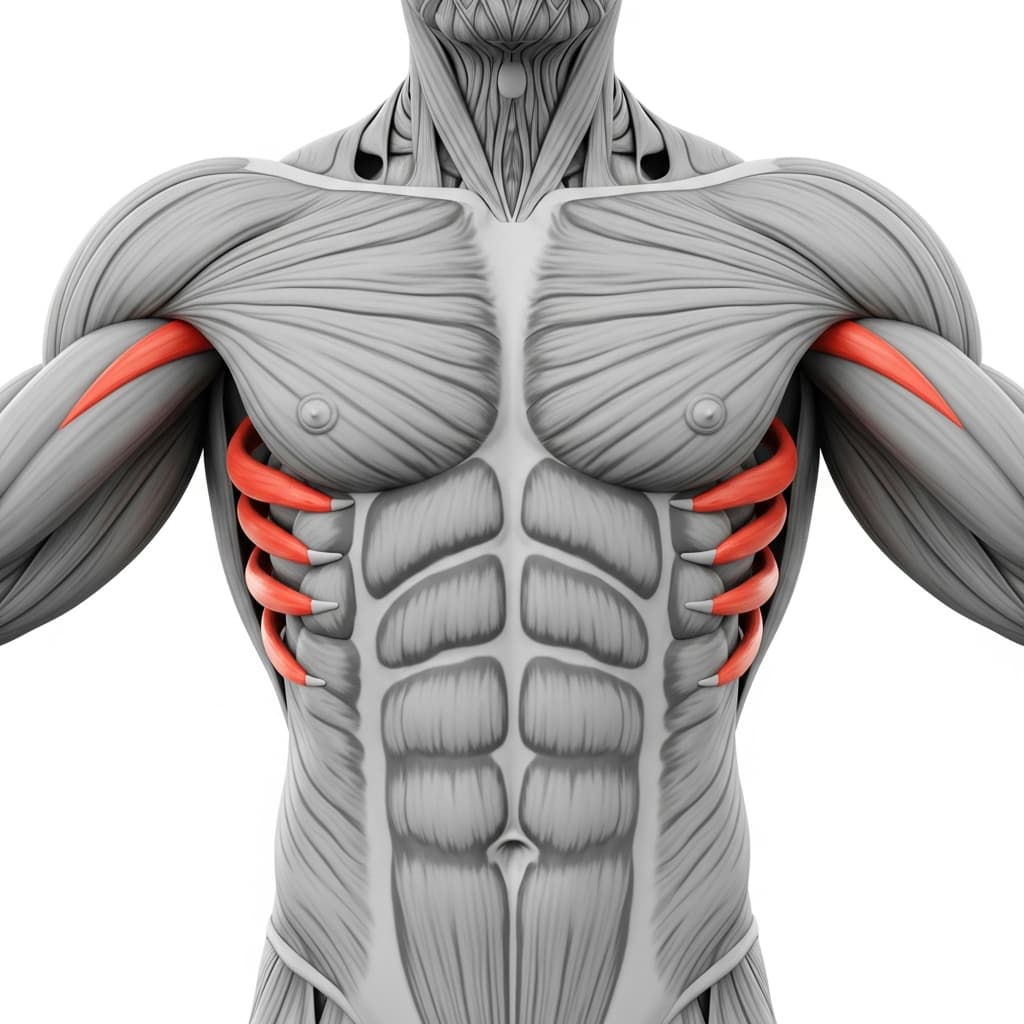
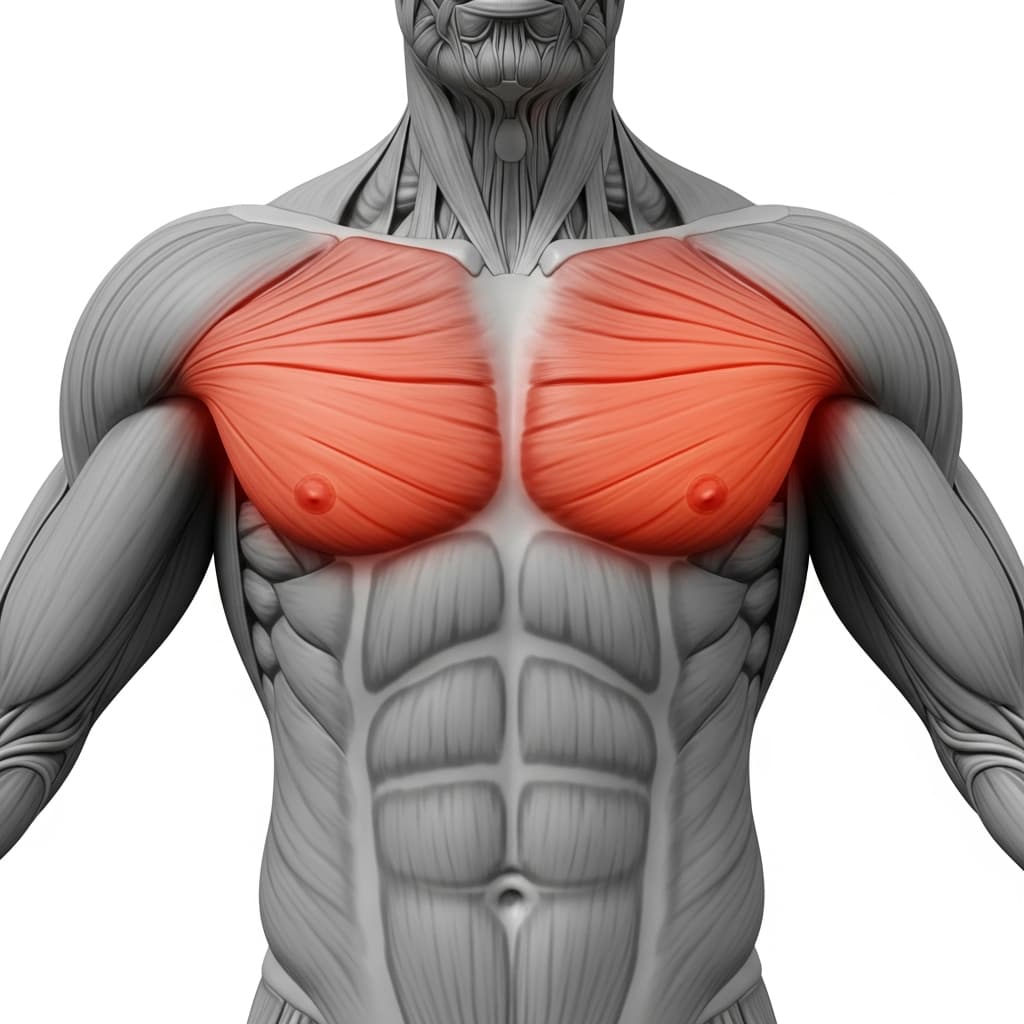
Primary Muscles
Pectoralis Major (Chest) - The pectoralis major contracts to horizontally adduct the arms during the pushing phase, driving the body away from the wall.
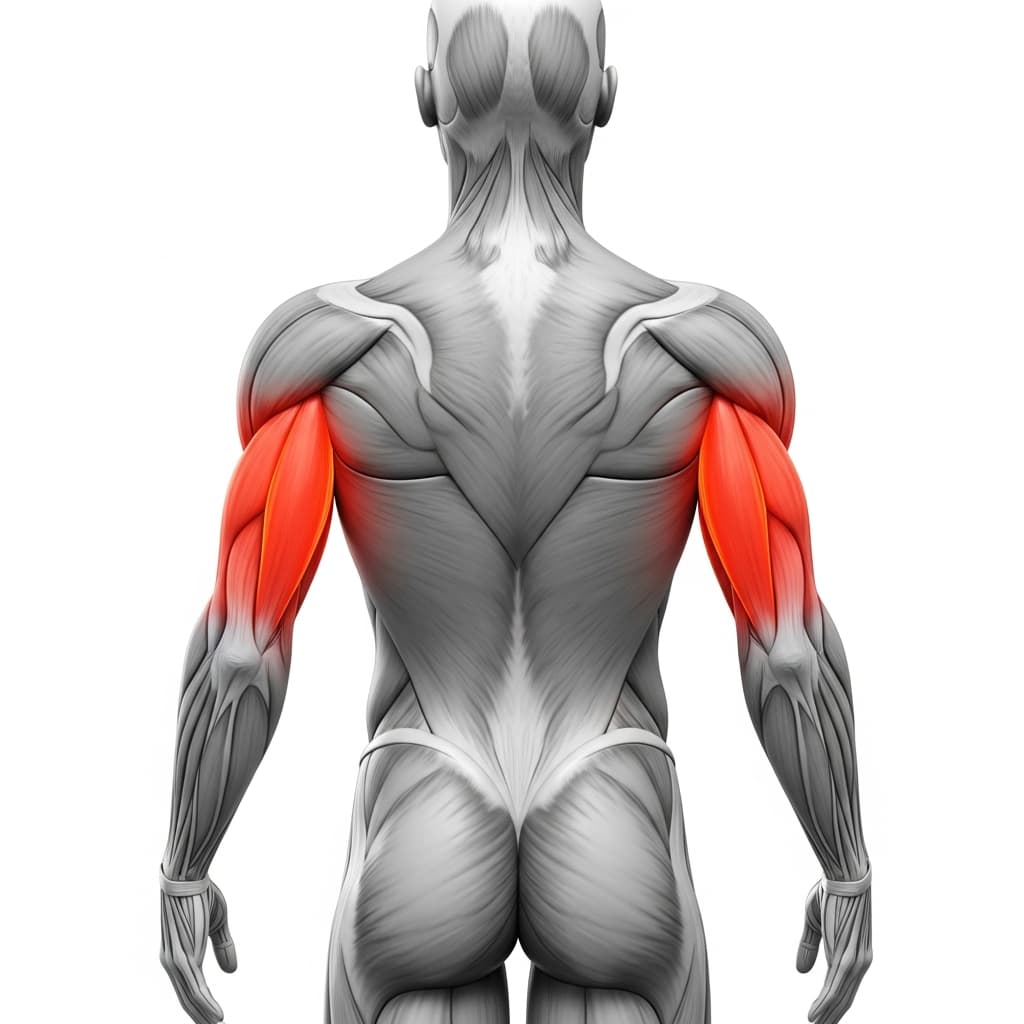
Triceps Brachii (Triceps) - The triceps extend the elbows to straighten the arms as you push away from the wall, completing each rep.
Secondary Muscles
Anterior Deltoid (Front Deltoid) - The anterior deltoid assists the chest by flexing the shoulder joint forward during the pressing motion against the wall.
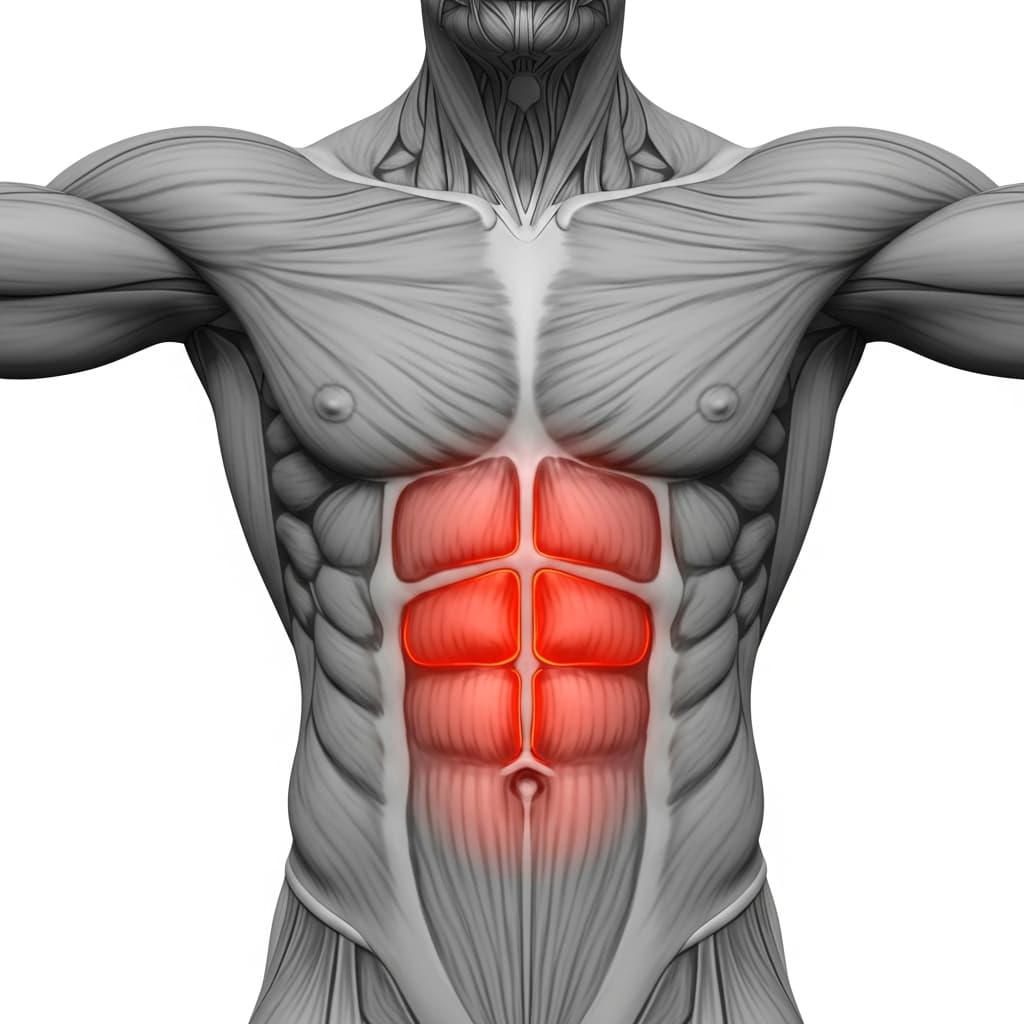
Rectus Abdominis (Abs) - The abdominals brace isometrically to maintain a rigid, straight body line from head to heels throughout the movement.
Serratus Anterior (Serratus Anterior) - The serratus anterior protracts the shoulder blades at the top of each rep, stabilizing the scapula against the ribcage during the push.
Benefits of Wall Push Ups
- Builds foundational pressing strength in the chest, triceps, and shoulders with low enough resistance to be accessible for complete beginners
- Teaches proper push-up body alignment and elbow tracking that transfers directly to incline, knee, and standard push-ups
- Strengthens the serratus anterior and shoulder stabilizers, which protects the shoulder joint as you progress to higher-load pushing movements
- Allows people recovering from injury or with limited upper body strength to train the pushing pattern safely and build volume without joint stress
Who Is This Exercise For?
Wall push-ups are the entry-level pushing exercise, so no prior push-up strength is required. You should be able to stand comfortably and support light pressure through your wrists and shoulders without pain. If pressing against a wall causes wrist discomfort, start with fists on the wall or work on basic wrist mobility before loading the position.
Common Mistakes to Avoid
Standing too close to the wall: Step back far enough that you lean into the wall with slight forward body angle. If you are standing upright with no lean, the exercise provides almost no resistance and the muscles are barely working.
Letting the hips sag or pike: Brace your core and squeeze your glutes before each rep to keep a straight line from head to heels. A sagging or piked body shifts load away from the chest and triceps and into the lower back or shoulders.
Flaring elbows straight out to the sides: Keep your elbows at a 45-degree angle to your torso throughout the movement. Flaring them to 90 degrees places excessive stress on the shoulder joint and reduces chest activation.
Using a shallow range of motion: Lower until your nose nearly touches the wall and your elbows reach at least a 90-degree bend. Cutting the range of motion short reduces the strength you build and slows your progression to harder push-up variations.