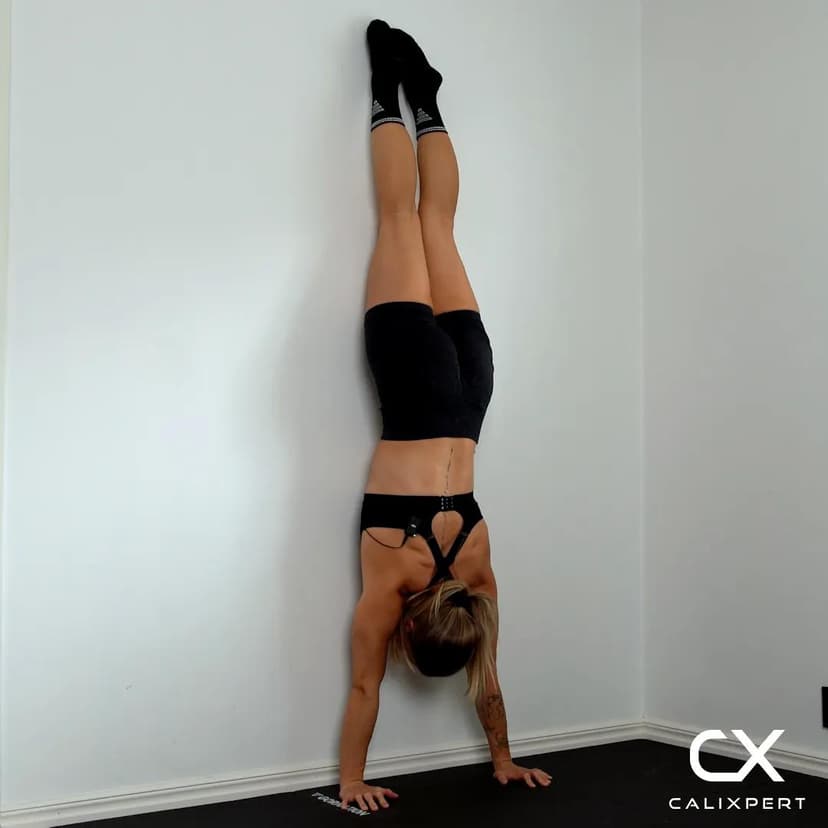
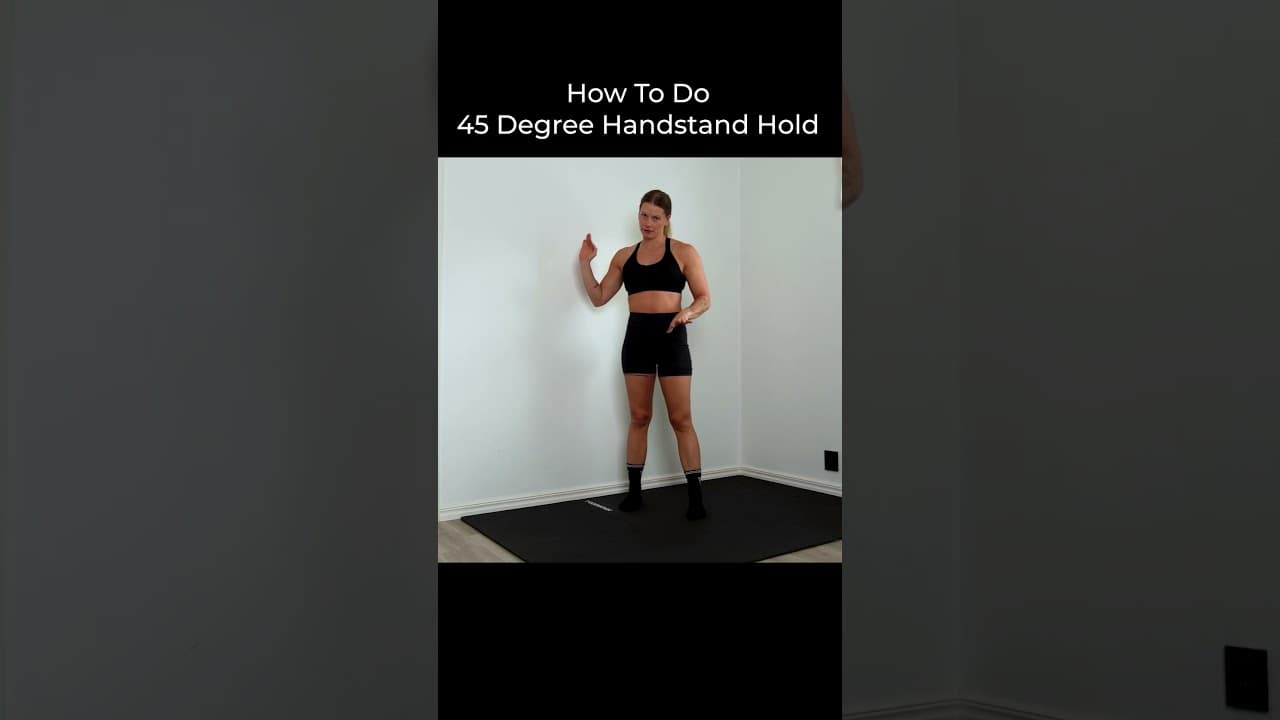
45 Degree Handstand Hold
The 45 degree handstand hold is a wall-assisted isometric exercise that builds overhead pressing strength through the shoulders, triceps, and core while the body is angled roughly halfway between a pike and a full handstand. The position demands constant shoulder elevation, locked elbows, and a tight midline, making it one of the most effective progressions for developing the stability and endurance needed for freestanding handstand work. Because the angle reduces the load on the wrists and shoulders compared to a vertical handstand, it allows you to accumulate quality time inverted while building the specific strength patterns that transfer directly to harder holds.
The 45 degree handstand hold is a wall-assisted isometric exercise that builds overhead pressing strength through the shoulders, triceps, and core while the body is angled roughly halfway between a pike and a full handstand. The position demands constant shoulder elevation, locked elbows, and a tight midline, making it one of the most effective progressions for developing the stability and endurance needed for freestanding handstand work. Because the angle reduces the load on the wrists and shoulders compared to a vertical handstand, it allows you to accumulate quality time inverted while building the specific strength patterns that transfer directly to harder holds.
How to Do 45 Degree Handstand Hold
1. Place Your Hands on the Floor
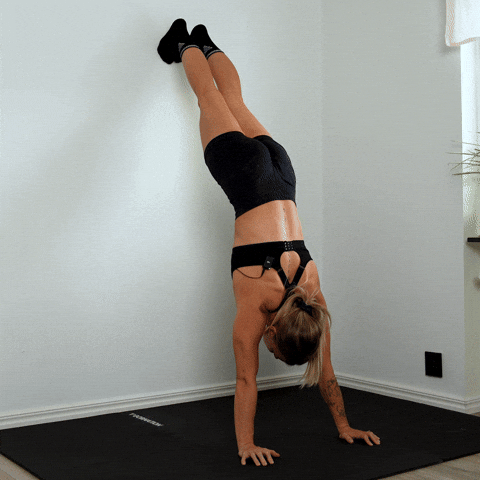
Kneel facing away from a wall and place your hands flat on the floor, shoulder-width apart, about two to three feet from the base of the wall. Spread your fingers wide and press through the entire palm to distribute load evenly across your wrists. Your hands should be close enough to the wall that you can walk your feet up without overreaching.
Fingers spread, full palm on the floor
2. Walk Your Feet Up the Wall
Start in a plank position with your feet against the base of the wall, then walk your feet upward while keeping your arms straight. Stop when your body forms roughly a 45 degree angle with the ground. Your hips should be above your shoulders but well below vertical. Take small steps and stay controlled throughout the climb.
Small steps, stop at 45 degrees
3. Lock Arms and Elevate Shoulders
With your feet set on the wall, fully lock your elbows and push your shoulders away from the floor as hard as you can. This shoulder elevation, also called protraction, is the single most important element of the hold. If your shoulders sag toward your ears or collapse downward, the position becomes unstable and places unnecessary stress on the joint.
Push the floor away from you
4. Engage Your Core and Glutes
Tuck your pelvis slightly by squeezing your glutes and drawing your belly button toward your spine. This posterior pelvic tilt eliminates the arch in your lower back and creates a rigid line from your hands through your hips. Your legs should be squeezed together and fully straight against the wall.
Squeeze glutes, tuck the belly
5. Hold With Steady Breathing
Maintain the position for the target hold time while breathing steadily through your nose. Do not hold your breath. Focus on keeping constant pressure through your palms and maintaining shoulder elevation throughout the entire hold. If your shoulders start to collapse or your back begins to arch, the set is over.
Breathe steady, shoulders stay elevated
6. Walk Down Under Control
When the hold is complete, slowly walk your feet back down the wall one step at a time. Keep your arms straight and your shoulders pushed up until your feet reach the floor. Do not drop out of the position or let your hips sag on the descent.
Controlled descent, do not drop
Most people treat this as a passive wall lean and wonder why their handstand never improves. The difference is active shoulders. Push the floor away from you so hard that you feel your traps fire and your shoulder blades spread apart. That protraction is the skill you are actually training here, and it is the exact same position you need to hold when you finally go freestanding.
Muscles Worked During 45 Degree Handstand Hold
Primary Muscles:
Secondary Muscles:
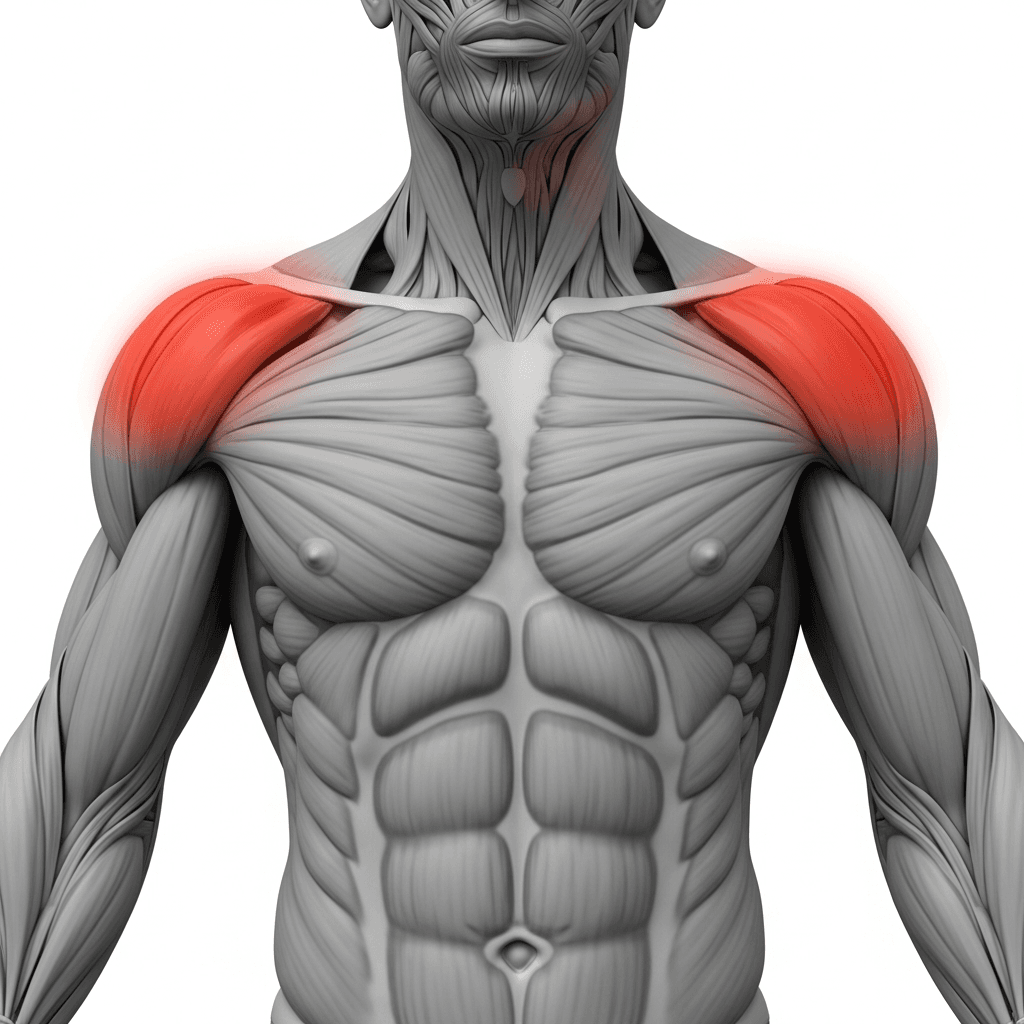
Primary Muscles
Anterior Deltoid (Front Deltoid) - The front deltoids sustain the overhead pressing angle by holding the arms locked above the head against bodyweight for the entire duration of the hold.
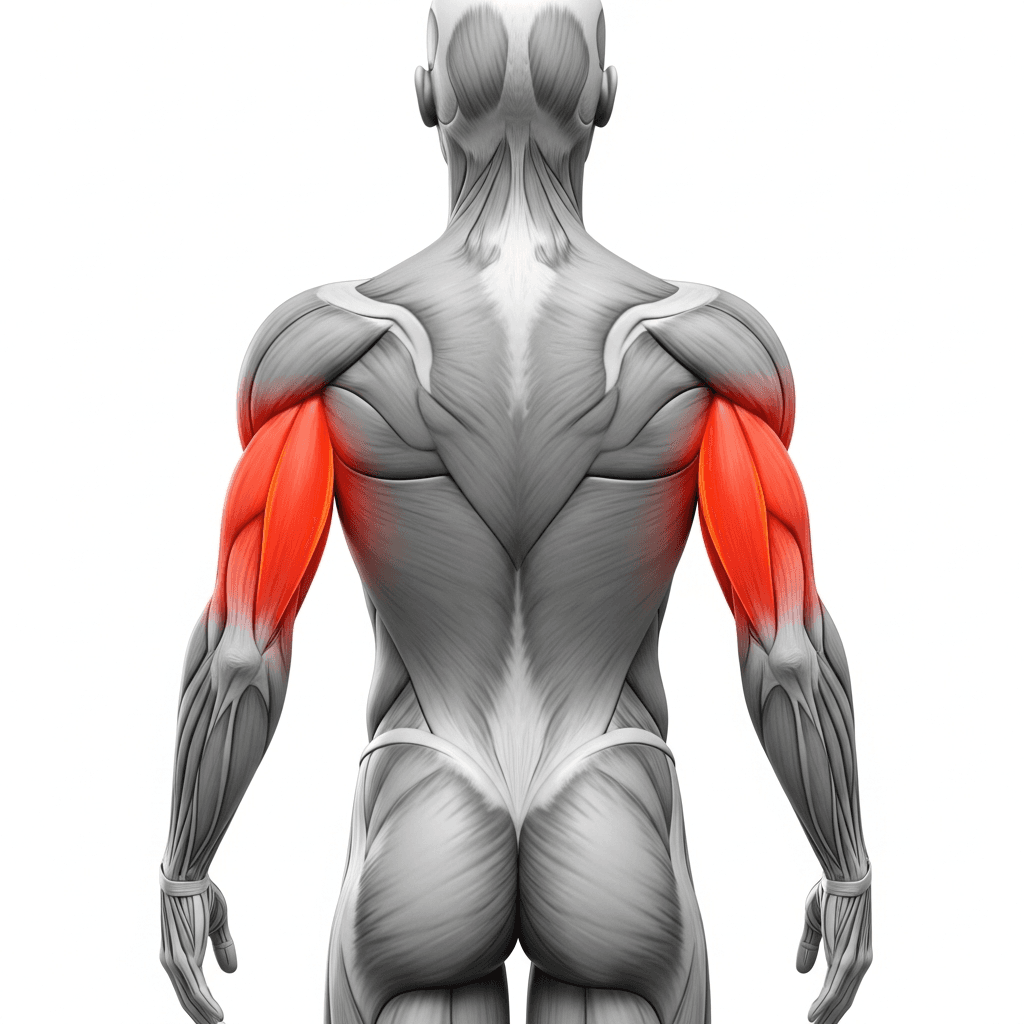
Secondary Muscles
Triceps Brachii (Triceps) - The triceps maintain full elbow lockout throughout the hold, preventing the arms from bending under load and keeping the structure rigid.
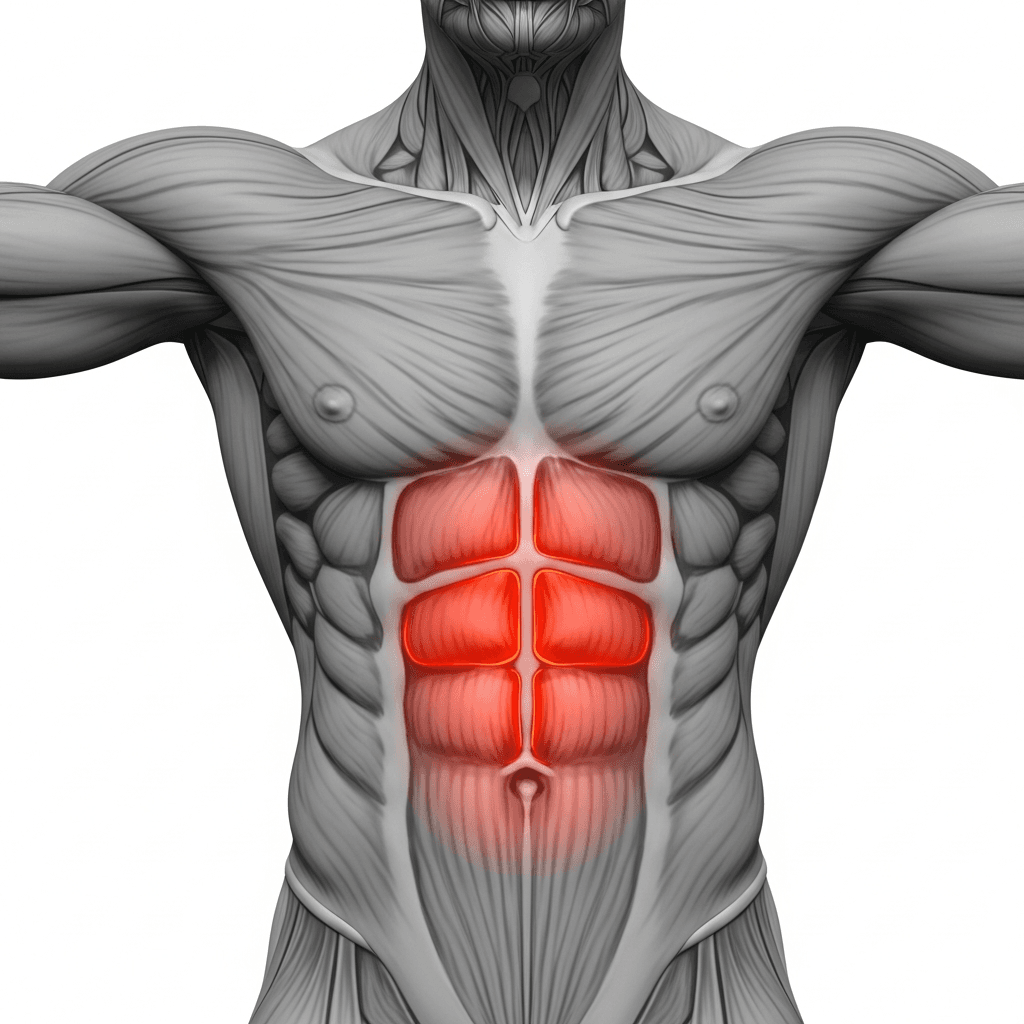
Rectus Abdominis (Abs) - The abdominals hold the pelvis in a posterior tilt and prevent the lower back from arching, maintaining a straight body line from hands to feet.
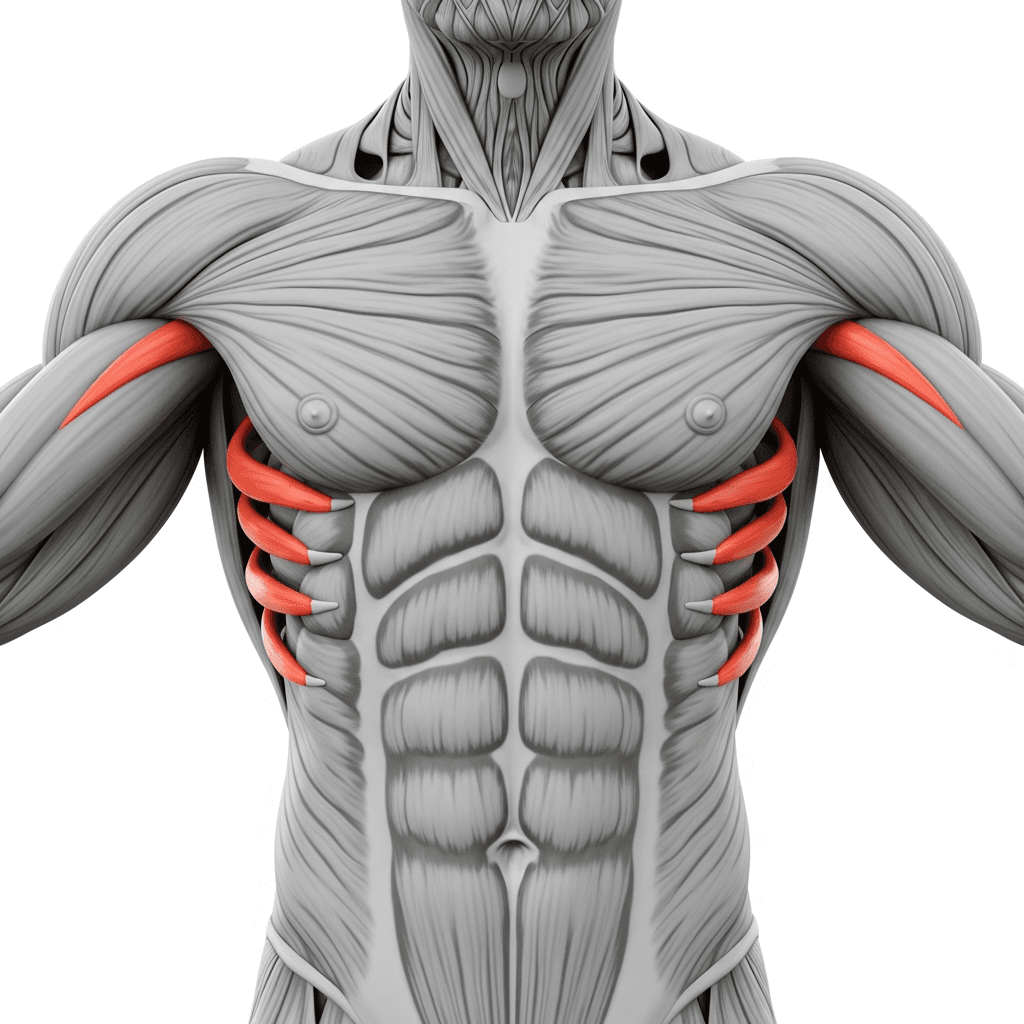
Serratus Anterior (Serratus Anterior) - The serratus anterior protracts the shoulder blades and pushes the ribcage away from the floor, creating the shoulder elevation that stabilizes the entire hold.
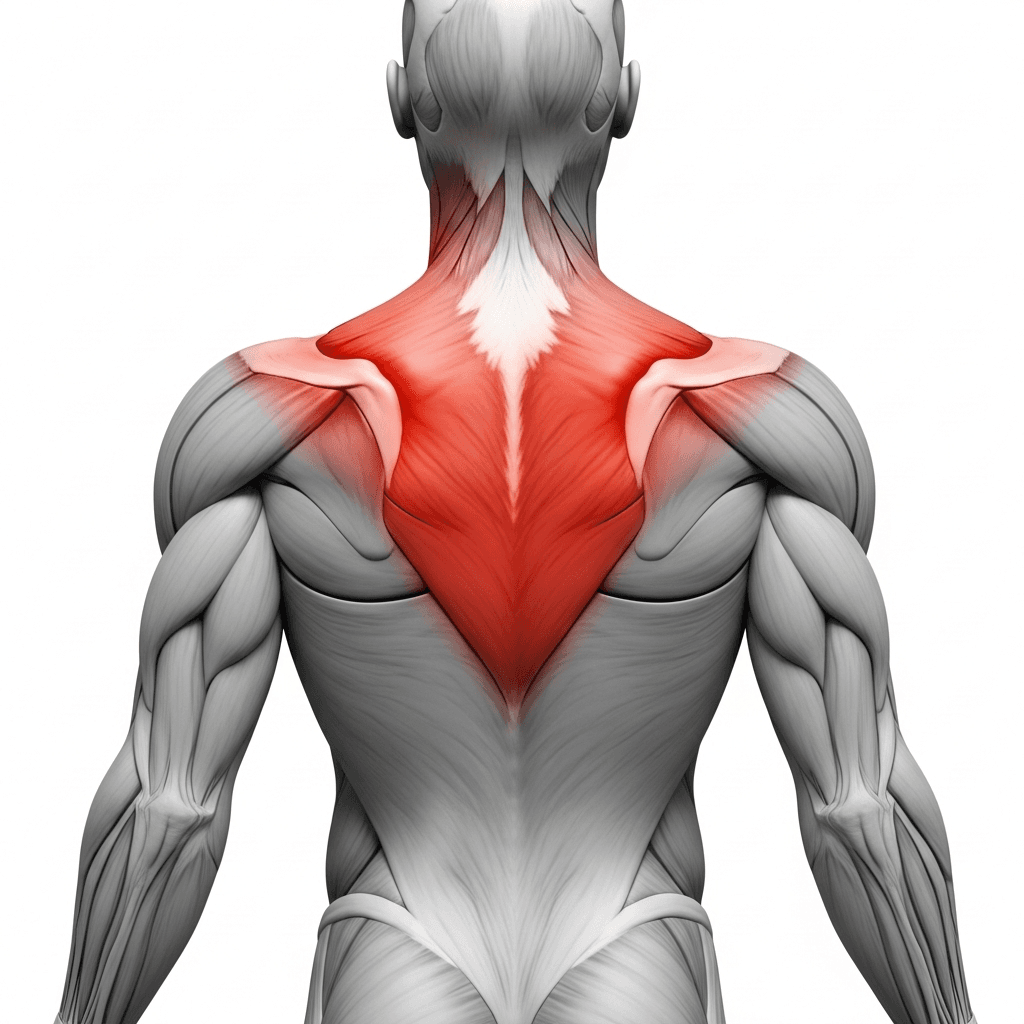
Trapezius (Trapezius) - The upper traps assist in maintaining shoulder elevation and scapular upward rotation, keeping the shoulders packed and stable under the inverted load.
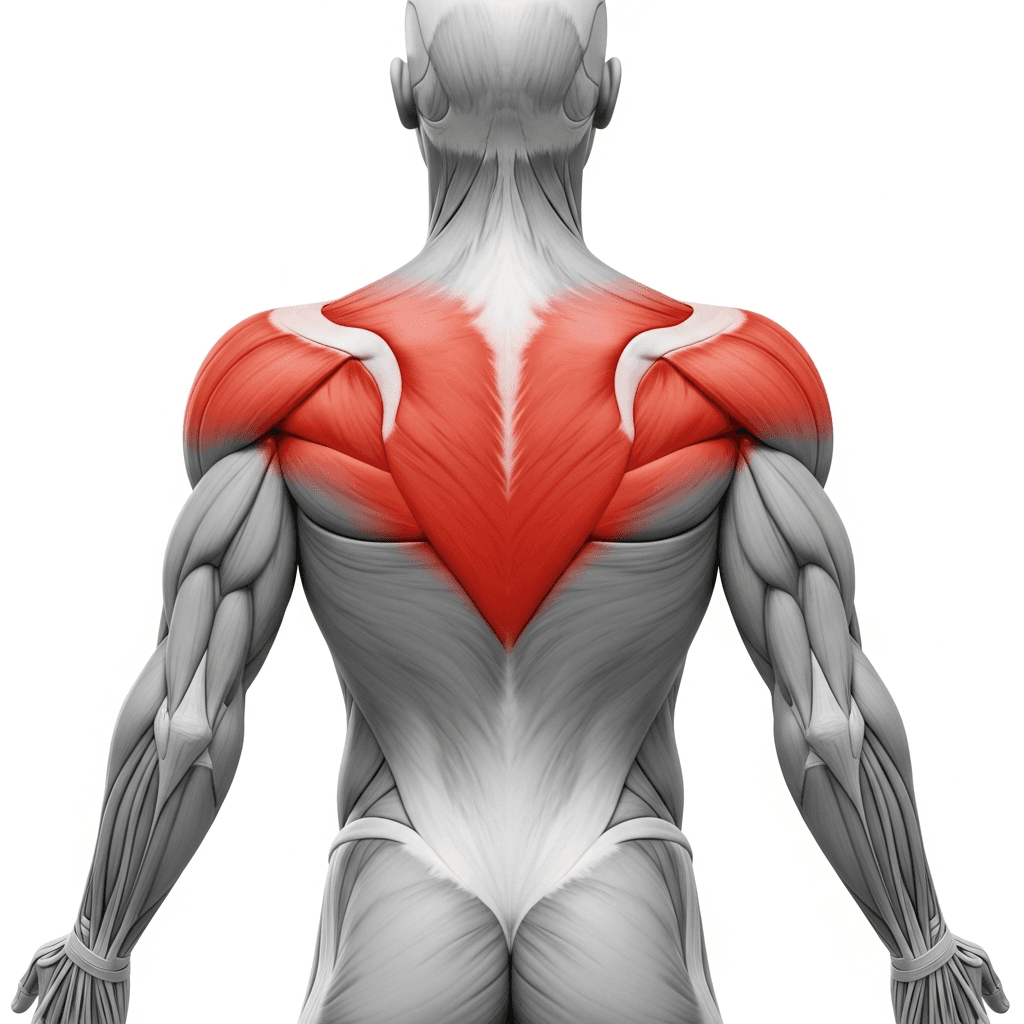
Rhomboids & Upper Trapezius (Upper Back) - The upper back muscles stabilize the thoracic spine and support the shoulder girdle, preventing the torso from collapsing under sustained overhead loading.
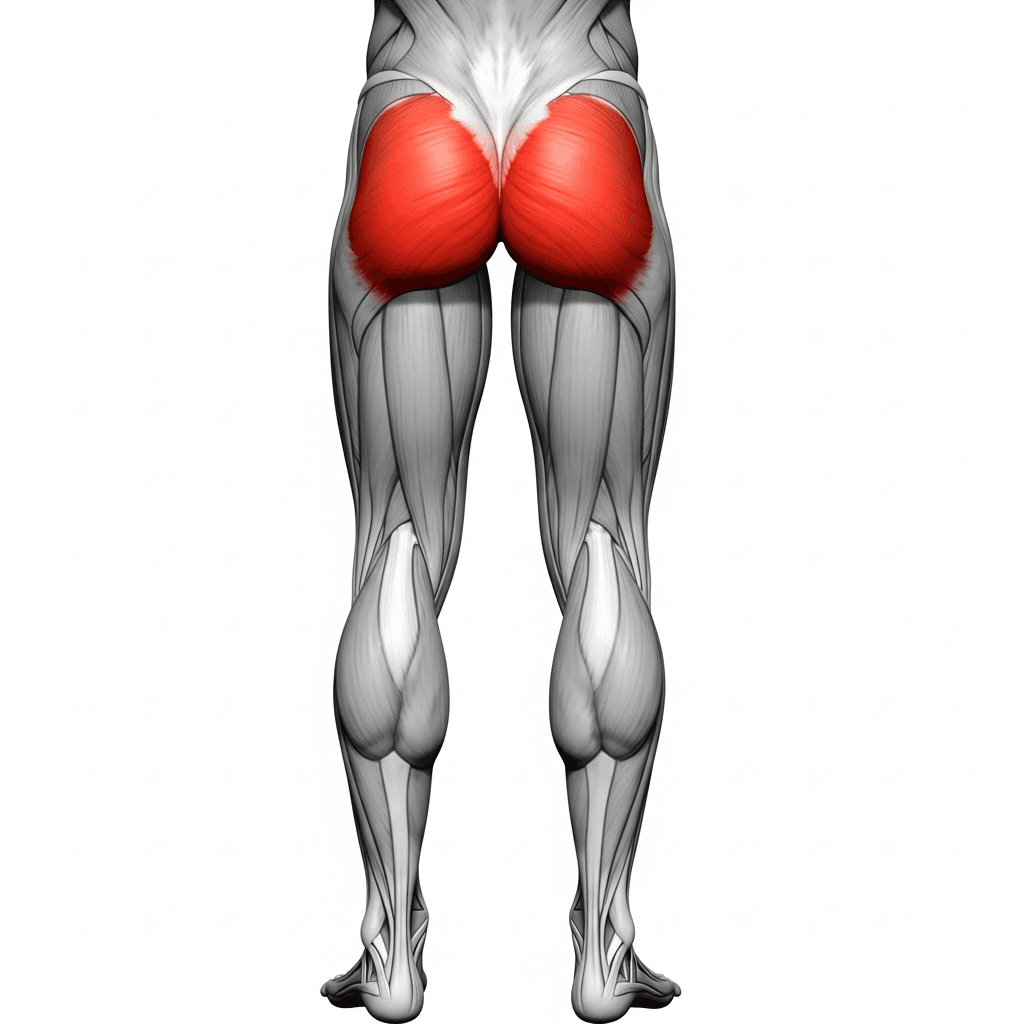
Gluteus Maximus (Glutes) - The glutes squeeze to tilt the pelvis posteriorly and maintain lower body tension, preventing the hips from sagging and the lower back from overarching.
Benefits of 45 Degree Handstand Hold
- Builds overhead pressing endurance in the shoulders and triceps, which transfers directly to handstand push-ups and freestanding handstand work
- Develops scapular protraction strength and shoulder elevation control, the two most undertrained positions in upper body calisthenics
- Trains full-body isometric tension from hands to feet, reinforcing the hollow body line needed for all advanced gymnastics holds
- Reduces wrist and shoulder load compared to a full vertical handstand, allowing longer time under tension with lower injury risk during the progression phase
Who Is This Exercise For?
You should be able to hold a pike push-up position on the floor for at least 20 seconds with locked arms and elevated shoulders before attempting this exercise. If your wrists fatigue quickly under load or your shoulders collapse when you push overhead, spend more time on elevated pike holds and wrist conditioning first.
Common Mistakes to Avoid
Collapsing the shoulders: Actively push the floor away from you throughout the entire hold. If you feel your shoulders sinking toward your ears or your upper back rounding, reset and focus on elevation before continuing.
Bending the elbows: Lock your elbows completely and keep them locked for the full duration. Bent arms shift load from the shoulders into the triceps and reduce the stability benefits of the hold.
Overarching the lower back: Squeeze your glutes and tuck your pelvis to flatten the lower back. An arched spine means your core is disengaged and the load is compressing your lumbar vertebrae instead of being supported by your midline.
Holding the breath: Breathe continuously through the nose in a controlled rhythm. Holding your breath spikes blood pressure and cuts your hold time significantly, especially when inverted.
Climbing too high on the wall: Stop when your body is at roughly 45 degrees to the ground. Going steeper than intended turns this into a near-vertical hold that demands more wrist and shoulder capacity than the progression is designed for.
Variations & Progressions
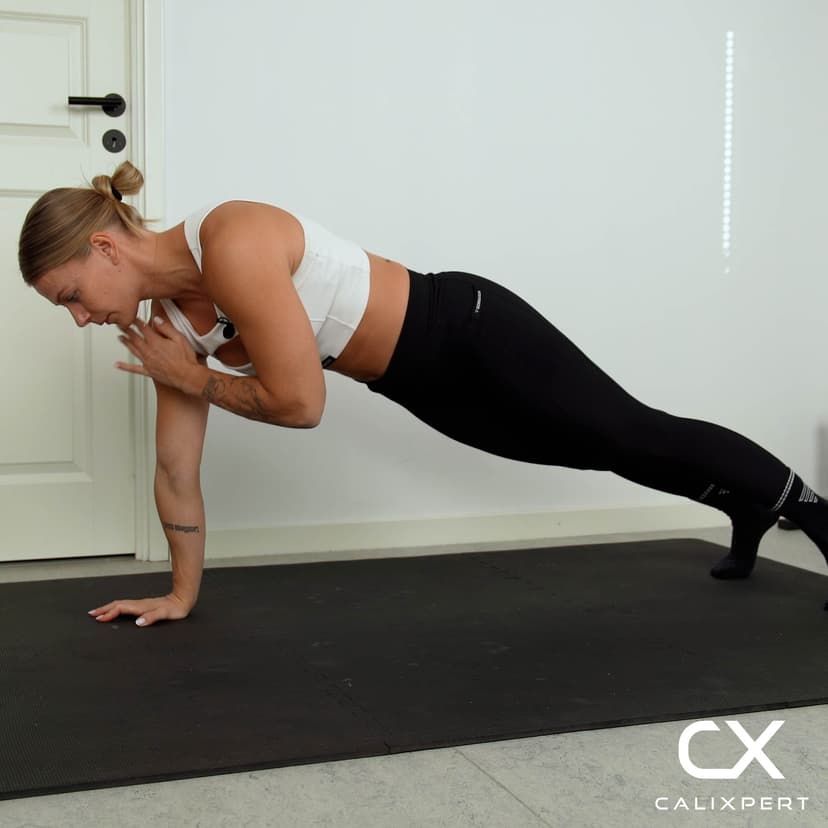
Elevated Pike Hold
Place your feet on a box or bench instead of the wall, keeping a pike angle with hips above shoulders. This reduces the overhead demand and wrist load while still training shoulder elevation and core tension.