Reversed Crunch
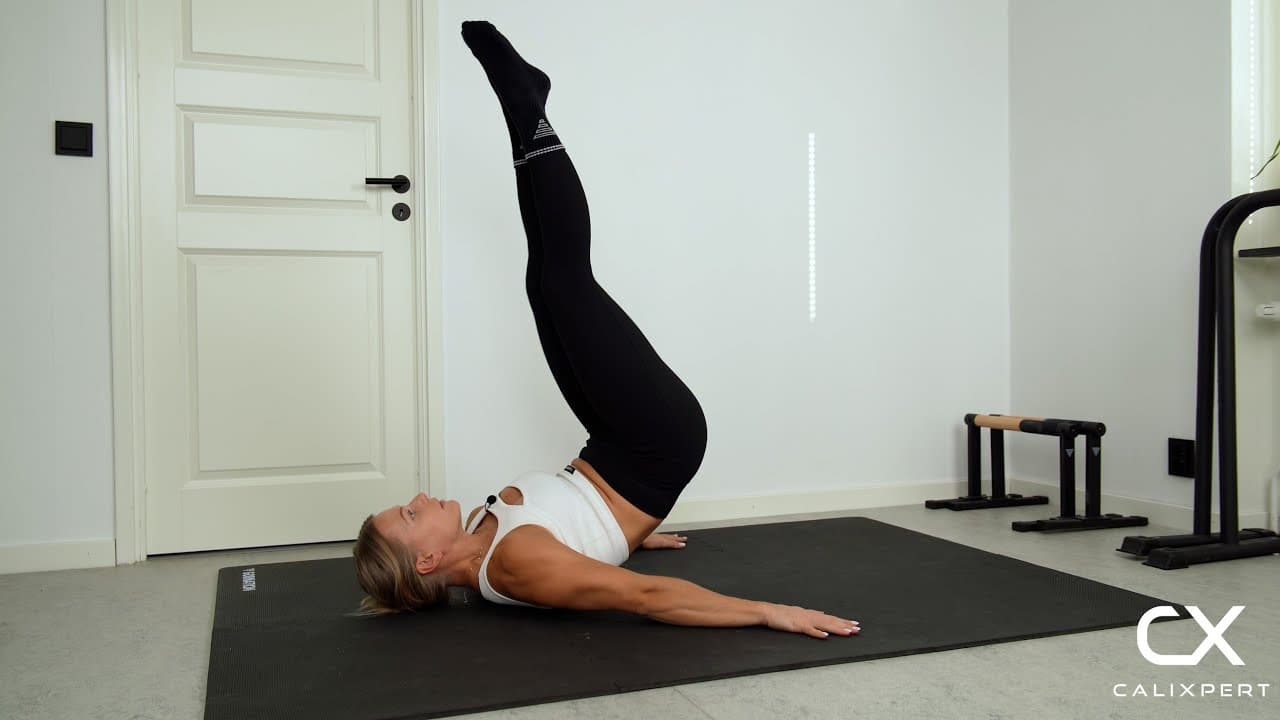
The reversed crunch is a bodyweight core exercise that targets the lower portion of the rectus abdominis by curling the pelvis toward the ribcage rather than the ribcage toward the pelvis. Unlike standard crunches, the movement initiates from the hips, which forces the abs to work through a longer range of motion under constant tension. When performed with strict control and no momentum, reversed crunches build the lower abdominal strength and pelvic control that directly carry over to L-sits, front levers, and compression work in calisthenics.
The reversed crunch is a bodyweight core exercise that targets the lower portion of the rectus abdominis by curling the pelvis toward the ribcage rather than the ribcage toward the pelvis. Unlike standard crunches, the movement initiates from the hips, which forces the abs to work through a longer range of motion under constant tension. When performed with strict control and no momentum, reversed crunches build the lower abdominal strength and pelvic control that directly carry over to L-sits, front levers, and compression work in calisthenics.
How to Do Reversed Crunch
1. Lie Flat and Set Your Back
Lie on your back on a flat surface with your arms at your sides, palms pressing gently into the floor. Press your lower back firmly into the ground by engaging your core. This posterior pelvic tilt eliminates the gap between your lower back and the floor, which protects the spine and ensures the abs do the work from the very first rep.
Lower back glued to the floor
2. Position Your Legs
Bend your knees to roughly 90 degrees and lift your feet off the ground so your thighs are vertical and your shins are parallel to the floor. Keep your knees and feet together throughout the movement. This starting position pre-loads the abs and removes any contribution from the hip flexors at the bottom of each rep.
Knees stacked directly over hips
3. Choose Your Hand Placement
For the easier variation, slide your hands under your glutes to give your hips a slight elevation at the start. For the standard version, place your hands flat on the floor beside your hips with palms down. Press your hands into the ground for stability, but do not push off with them to lift your hips.
Hands stabilize, they do not push
4. Curl Your Hips Toward Your Ribcage
Without swinging your legs, curl your pelvis upward by contracting your lower abs and lifting your hips off the ground. Think about driving your toes straight toward the ceiling rather than pulling your knees toward your chest. Your knees should stay at the same bend angle throughout the lift. The movement is short and controlled, not a large swing.
Toes to the ceiling, not knees to chest
5. Squeeze at the Top
At the highest point of the hip lift, hold for a brief moment and squeeze your abs hard. Your hips should be clearly off the ground with your weight supported on your upper back and shoulders. This peak contraction is where the lower abs work the hardest, so do not rush through it.
Pause and squeeze at the top
6. Lower With Control
Slowly lower your hips back to the starting position, resisting gravity on the way down. Do not let your hips drop or your lower back arch away from the floor. Re-establish the posterior pelvic tilt at the bottom before starting the next rep. A controlled 2 to 3 second descent doubles the time under tension and builds significantly more strength.
Resist the descent, do not drop
Most people turn the reversed crunch into a leg swing and wonder why their abs never get sore. The fix is simple: stop thinking about your legs entirely and focus on tilting your pelvis. Your knees stay at the same angle the whole time. The only thing moving is your hips curling upward, like you are trying to point your belt buckle at your chin. Once you feel that distinction, the exercise becomes twice as effective.
Muscles Worked During Reversed Crunch
Primary Muscles:
Secondary Muscles:
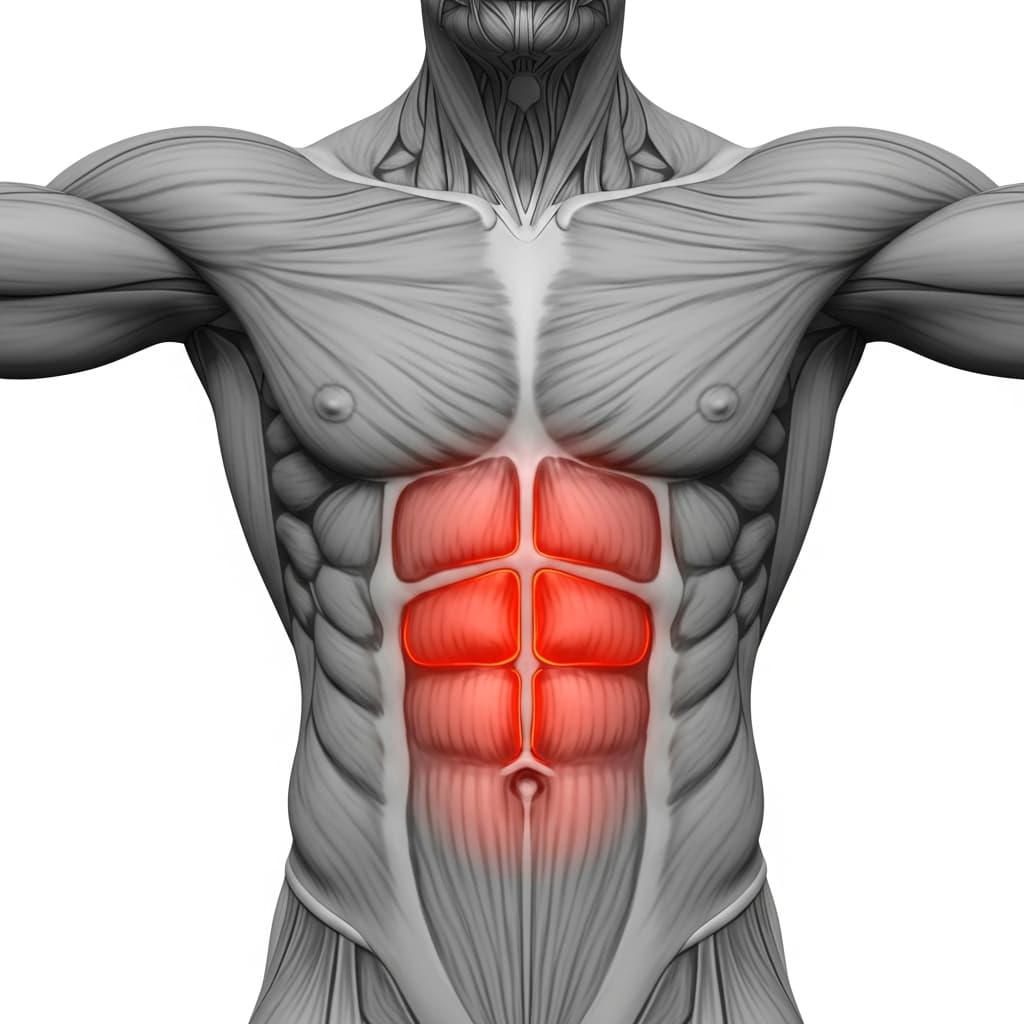
Primary Muscles
Rectus Abdominis (Abs) - The rectus abdominis contracts to curl the pelvis toward the ribcage, lifting the hips off the ground against gravity through the entire range of motion.
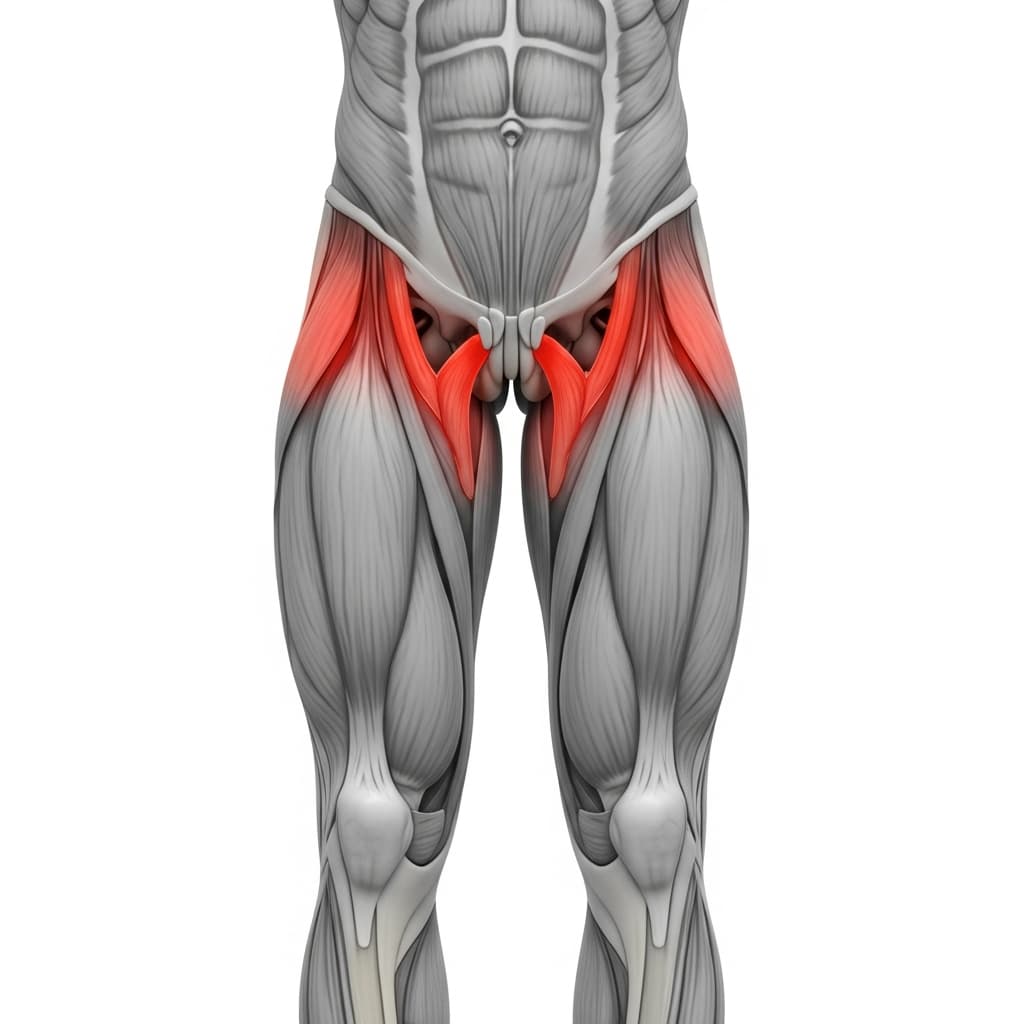
Secondary Muscles
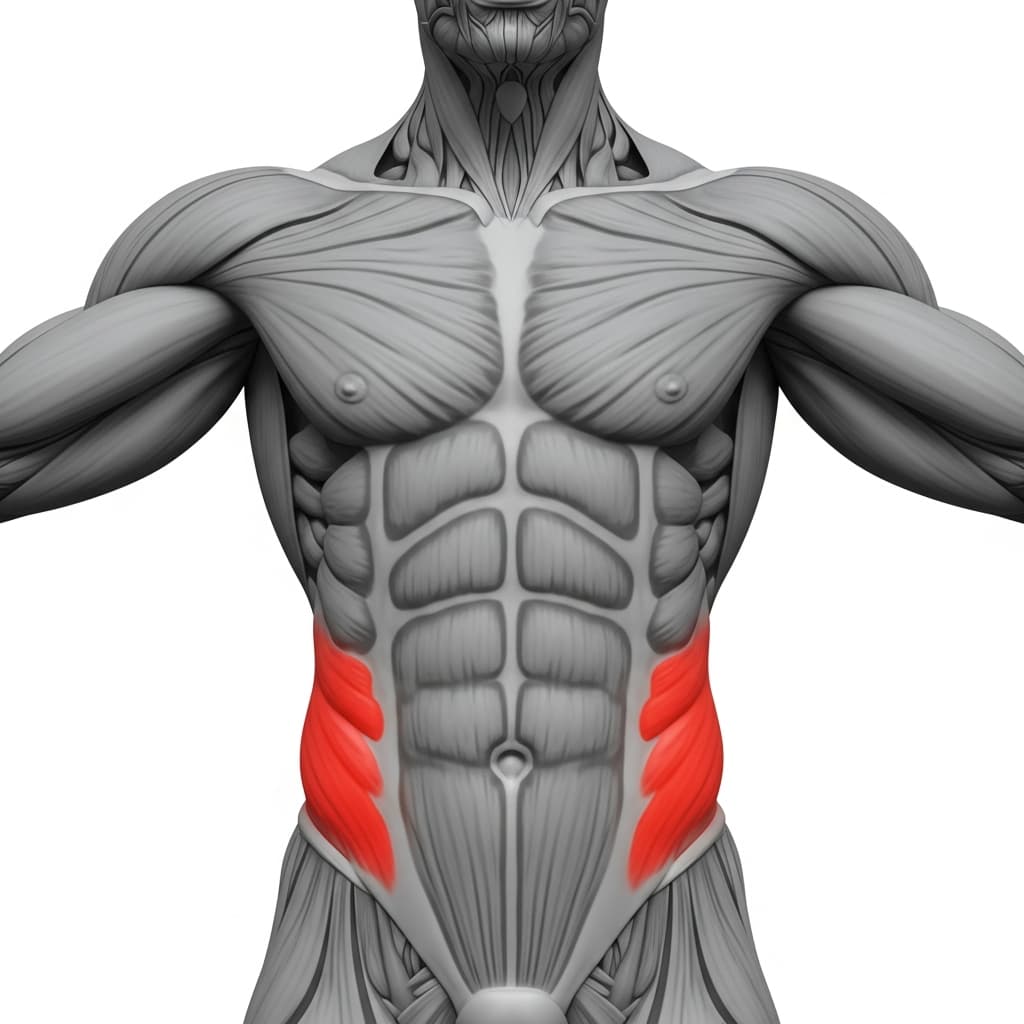
Iliopsoas (Hip Flexors) - The hip flexors assist in maintaining the leg position and stabilizing the thighs as the pelvis curls upward, though they should not be the primary driver of the movement.
Obliques (Obliques) - The obliques co-contract to stabilize the torso and prevent lateral rotation or shifting during the hip lift, keeping the movement traveling in a straight vertical path.
Benefits of Reversed Crunch
- Directly targets the lower portion of the rectus abdominis, which is difficult to isolate with standard crunches or sit-ups
- Builds the pelvic control and posterior tilt strength required for L-sits, front levers, and hollow body holds in calisthenics
- Places minimal stress on the neck and cervical spine compared to traditional crunches, making it a safer core option for people with neck discomfort
- Develops eccentric core strength through the controlled lowering phase, which transfers to better body control during hanging and inverted movements
Who Is This Exercise For?
You should be able to hold a hollow body position on the floor for at least 15 seconds with your lower back pressed flat before attempting reversed crunches. If your lower back lifts off the ground during basic leg raises, work on dead bugs and hollow holds to build the baseline core control needed for this movement.
Common Mistakes to Avoid
Swinging the legs for momentum: Keep your knees at the same bend angle throughout the entire rep and initiate the movement by curling the pelvis, not by kicking the legs. If you need momentum to lift your hips, the exercise is too advanced and you should regress to hands-under-glutes placement.
Pulling knees to chest instead of lifting hips: The reversed crunch is a hip curl, not a knee tuck. Focus on driving your toes toward the ceiling by tilting your pelvis upward. Your knees should stay at roughly the same angle from start to finish.
Letting the lower back arch at the bottom: Press your lower back into the floor before every single rep. If your back arches during the lowering phase, you have gone too far. Shorten the range of motion until you can maintain a flat back throughout.
Pushing off with the hands: Your hands are there for balance, not for leverage. If you find yourself pressing hard into the floor to lift your hips, reduce the range of motion or switch to the hands-under-glutes variation until your abs are strong enough to do the work alone.
Variations & Progressions
Hands-Under-Glutes Reversed Crunch
Place your hands under your glutes to give your hips a slight head start on the lift. This reduces the range of motion your abs need to work through and makes the exercise accessible for beginners who cannot yet lift their hips from a flat position.
Straight-Leg Reversed Crunch
Extend your legs fully instead of keeping them bent, which increases the lever arm and forces the abs to work significantly harder to curl the hips upward. Only attempt this once you can perform 3 sets of 12 reps with bent legs and full control.
Weighted Reversed Crunch
Hold a light dumbbell or medicine ball between your feet while performing the standard movement. The added load increases resistance on the abs and hip flexors, making it an effective progression once bodyweight reversed crunches become easy.