Floor Assisted Ring Dips
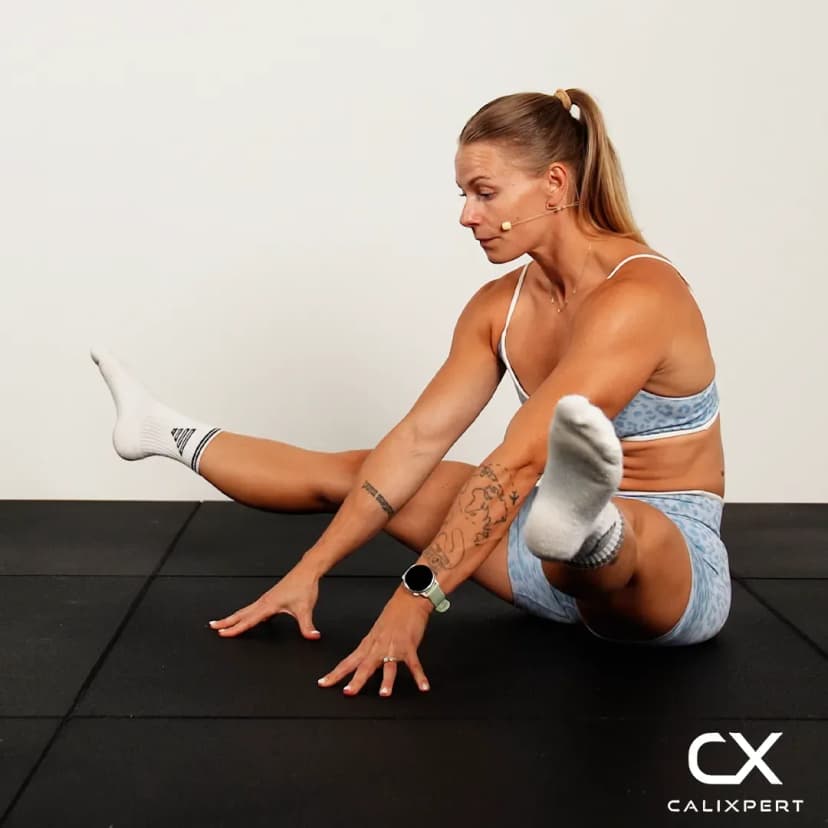
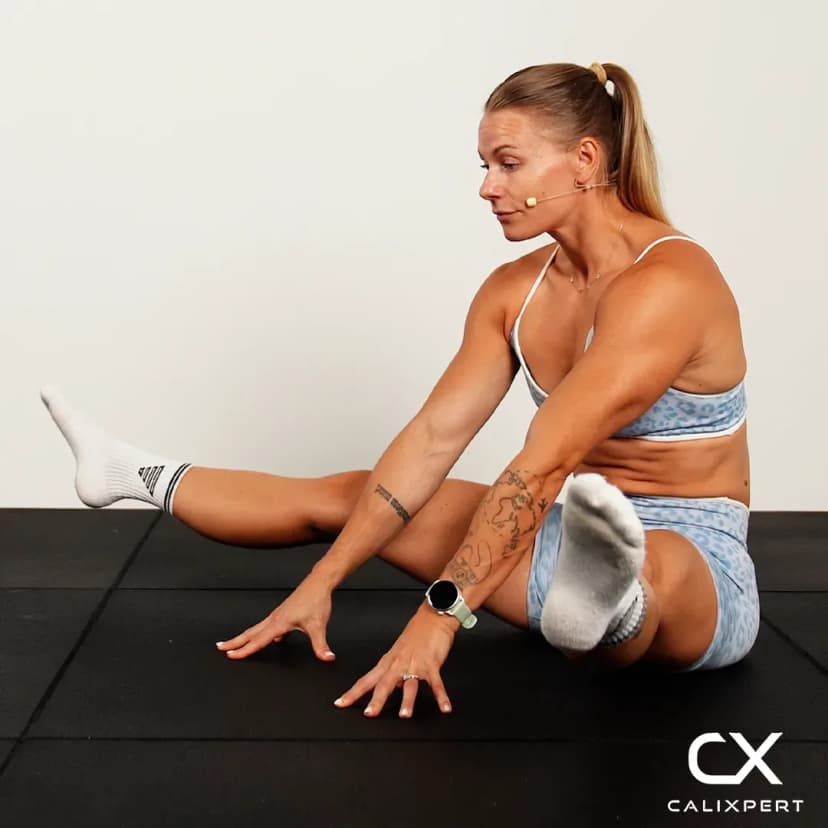
Floor assisted ring dips, also called feet assisted ring dips, are a scaled ring dip where your feet stay on a box behind you and carry as much of your weight as you need. The chest and triceps drive the press back to the top, while the front deltoids, core and the small stabilizers around the shoulder work to keep the rings from wandering. Because you decide how much help the legs give, this is the most direct way to train the full ring dip pattern, both the lowering and the push, long before you can press your whole bodyweight.

Floor assisted ring dips, also called feet assisted ring dips, are a scaled ring dip where your feet stay on a box behind you and carry as much of your weight as you need. The chest and triceps drive the press back to the top, while the front deltoids, core and the small stabilizers around the shoulder work to keep the rings from wandering. Because you decide how much help the legs give, this is the most direct way to train the full ring dip pattern, both the lowering and the push, long before you can press your whole bodyweight.
How to Do Floor Assisted Ring Dips
1. Chalk Your Hands
Chalk your hands before the first rep. This one needs chalk for a good grip on the rings, because the handles get slippery once your hands warm up, and a secure grip is what lets you concentrate on the press instead of on holding on.
Chalk on before the first rep
2. Place Your Feet
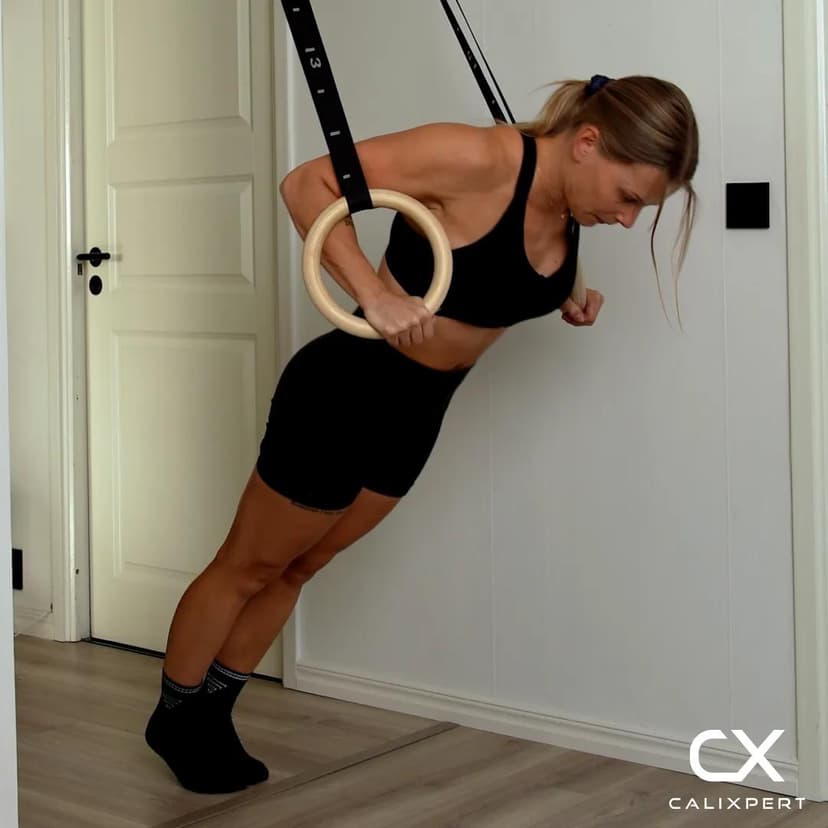
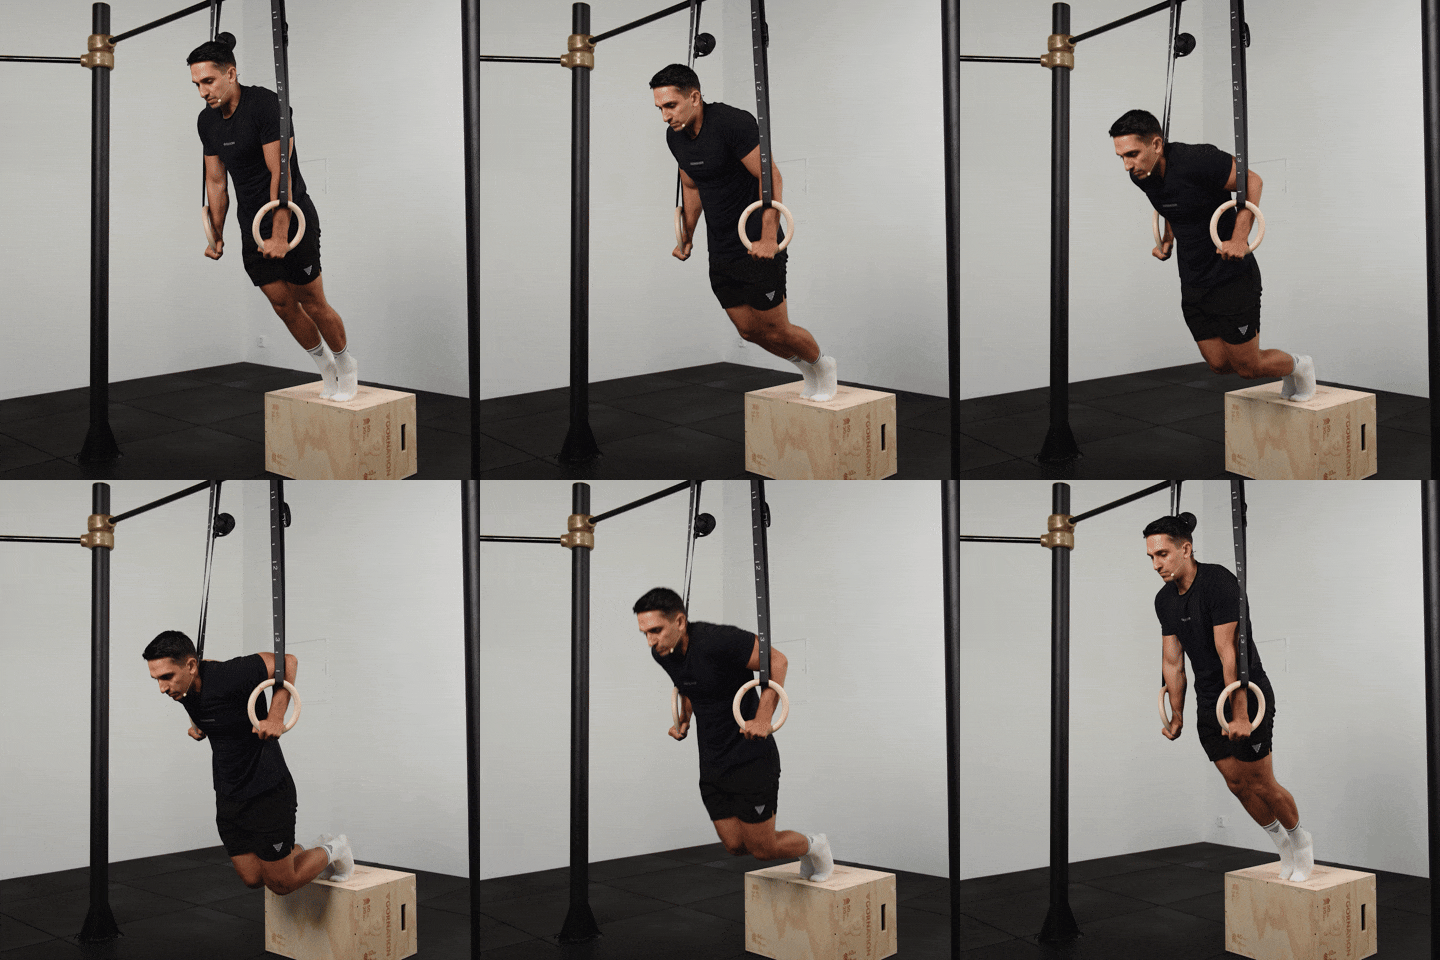
Set your feet on the box behind you so the legs can share the load with your arms. It can also be done with your feet on the floor if you do not have a box, and you think in the same terms for the setup and the cues when you do.
Feet behind you, weight shared
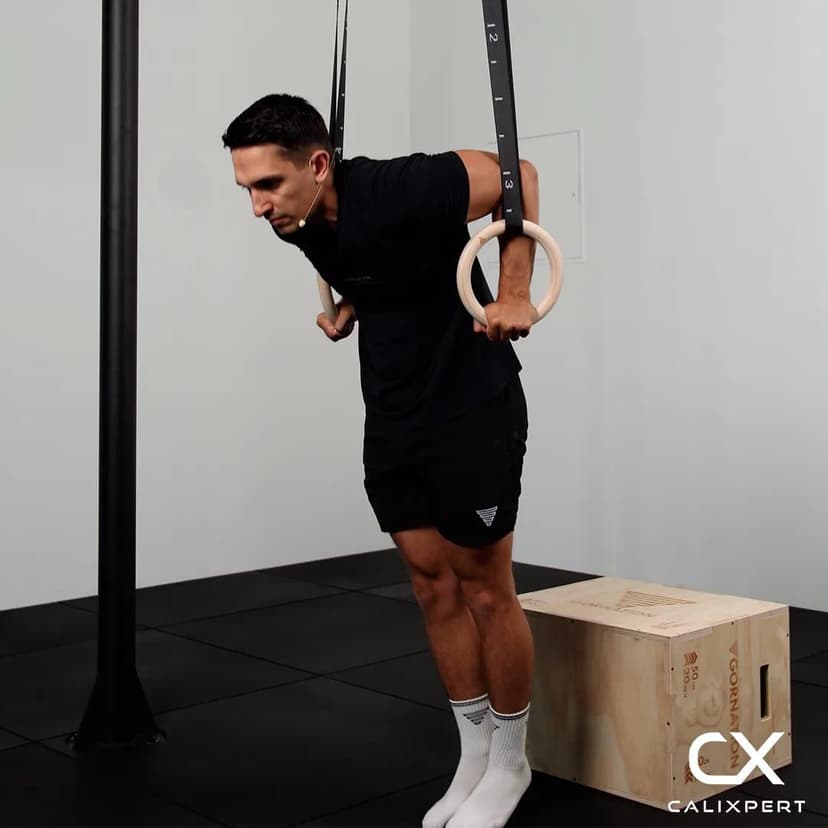
3. Start at the Top
Begin every rep in the top position with your arms locked out and your feet already in place, never from the bottom. Starting at the top means you own the position you are about to lower from.
Every rep starts at the top
4. Brace and Depress the Shoulders
Before you lower, tension your core and pull your shoulders down away from your ears. Hold that depressed shoulder position for the entire set rather than resetting it rep by rep.
Shoulders down, core tight
5. Lower to 90 Degrees
Lower yourself until your elbows reach roughly 90 degrees, keeping the elbows and the rings as close to your body as possible the whole way down. Let your feet take exactly as much weight as you need to stay in control.
Elbows close, rings close
6. Push Back Up
Press back up to a locked out top position, still driving the elbows in toward your ribs and keeping the rings tight to your body. Use as much help from the feet as it takes to finish the rep, since a full controlled rep down to 90 degrees is worth more than a shorter one with less assistance.
Press to full lockout
7. Take the Help Away Over Time
As you get stronger, push less with the legs and then keep only one foot down instead of two. The assistance should get smaller and smaller across the weeks until your feet are only there for balance.
Less leg help every week
Use as much help from the feet as you need, and get some chalk on your hands first so you have a better grip on the rings. What matters is that every rep starts at the top, the core stays tight the whole time, the shoulders stay depressed and both the elbows and the rings stay as close to your body as possible. With time it will be less and less from the legs, and you can even keep just one foot down instead of two.
Muscles Worked During Floor Assisted Ring Dips
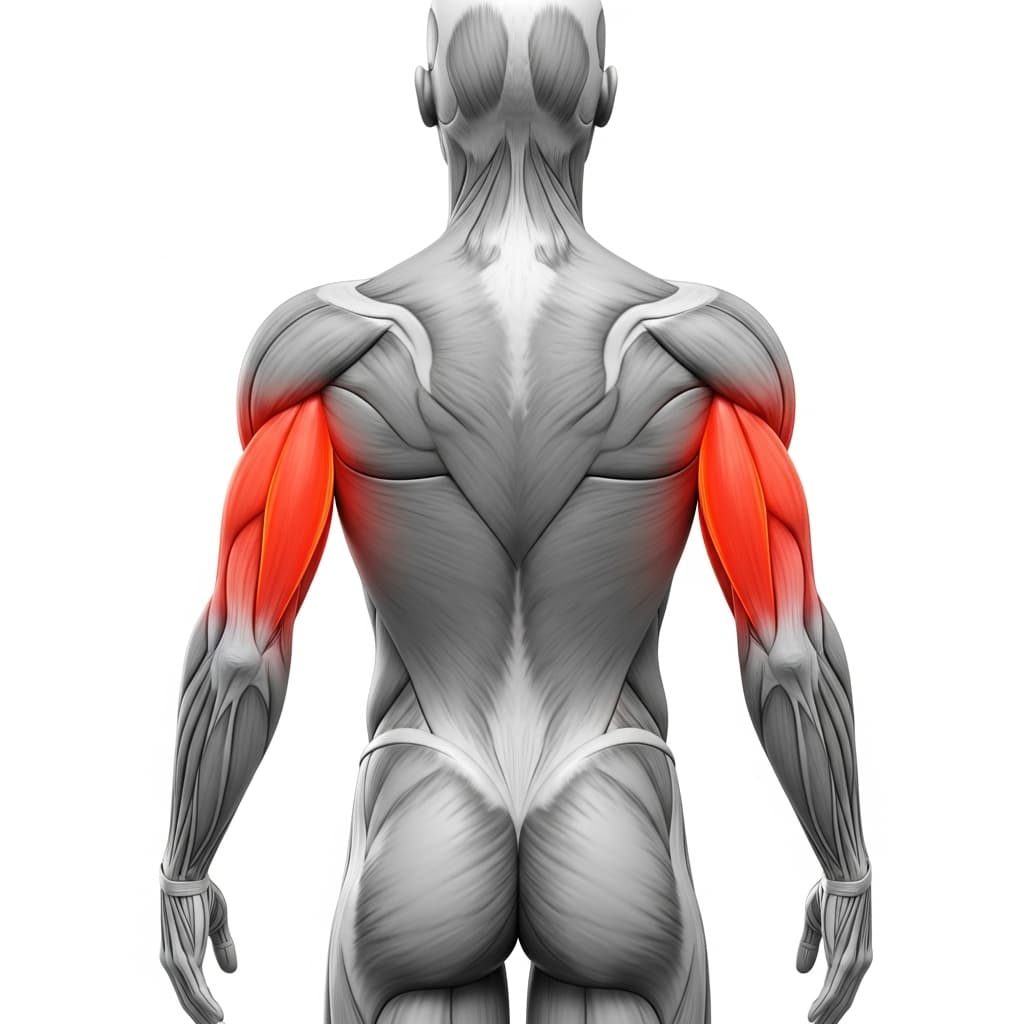
Secondary Muscles:
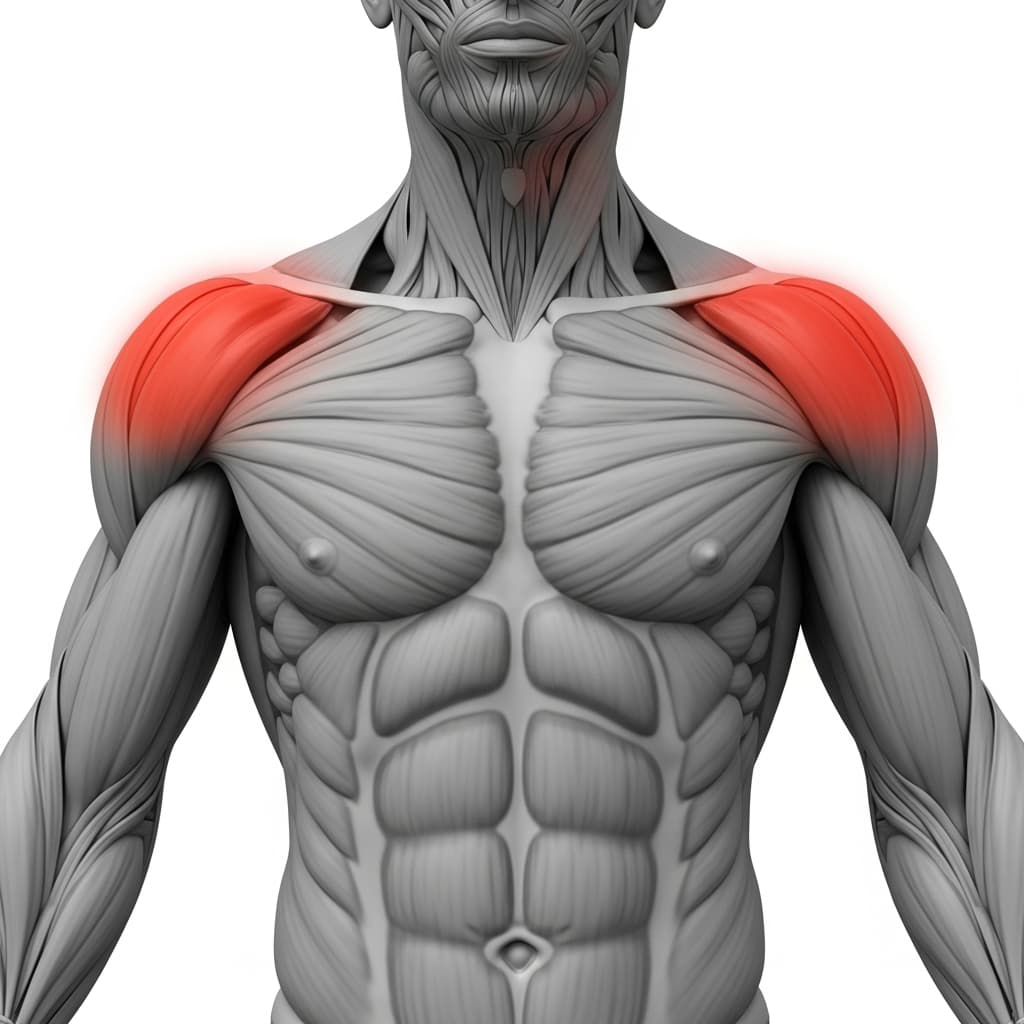
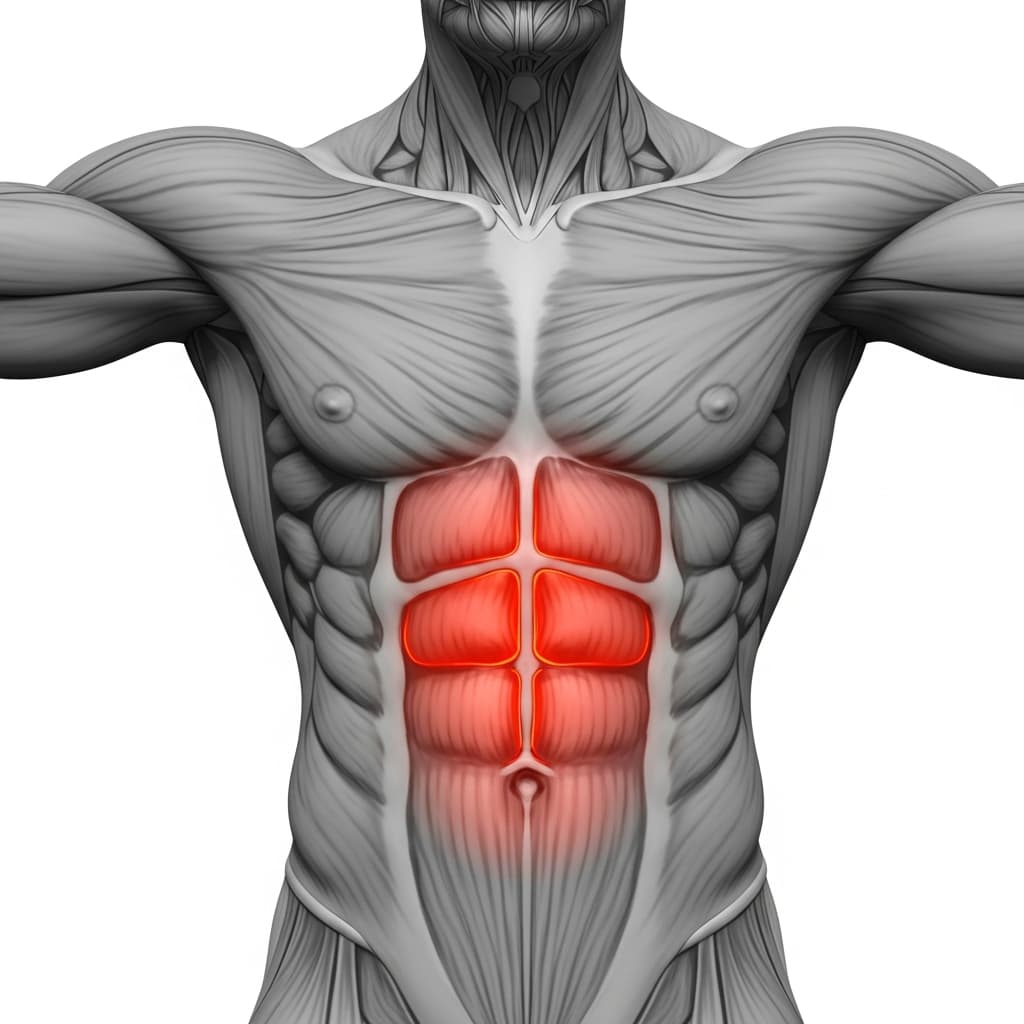
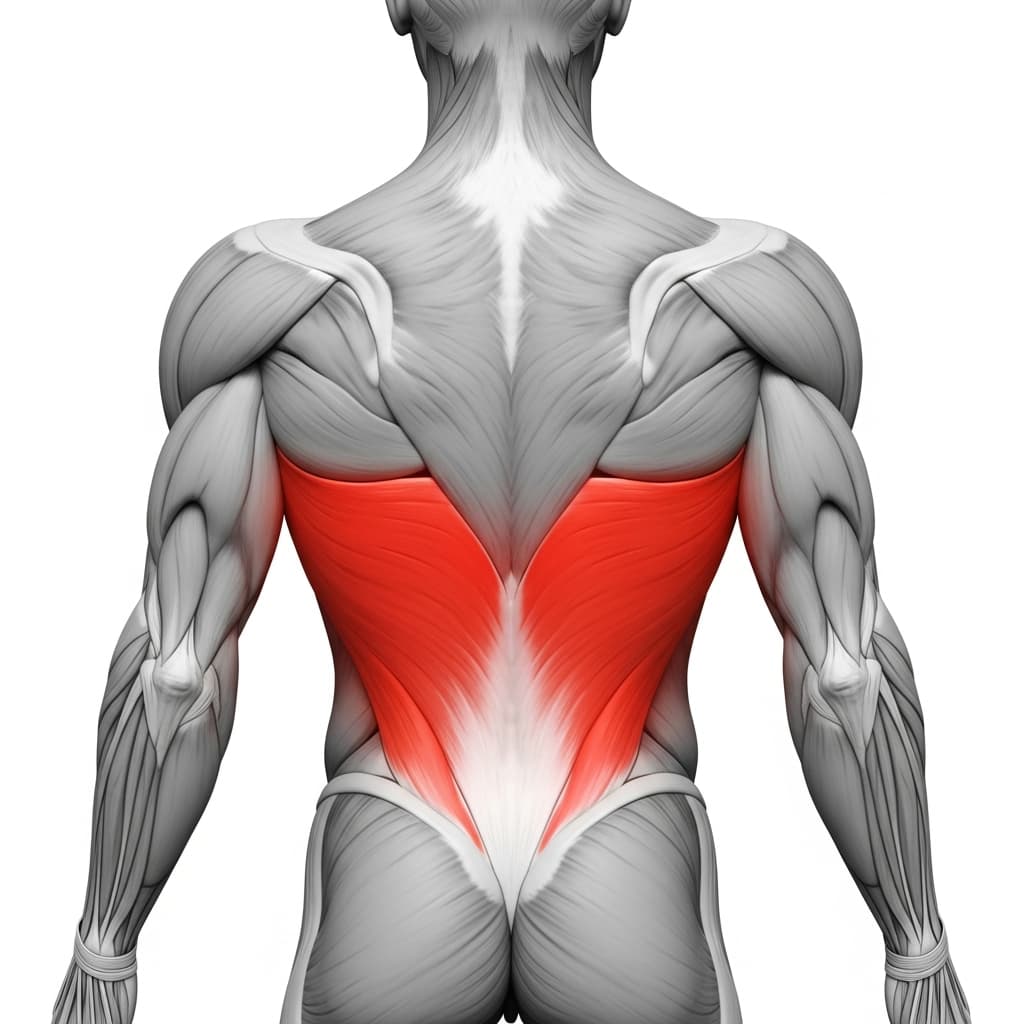
Primary Muscles
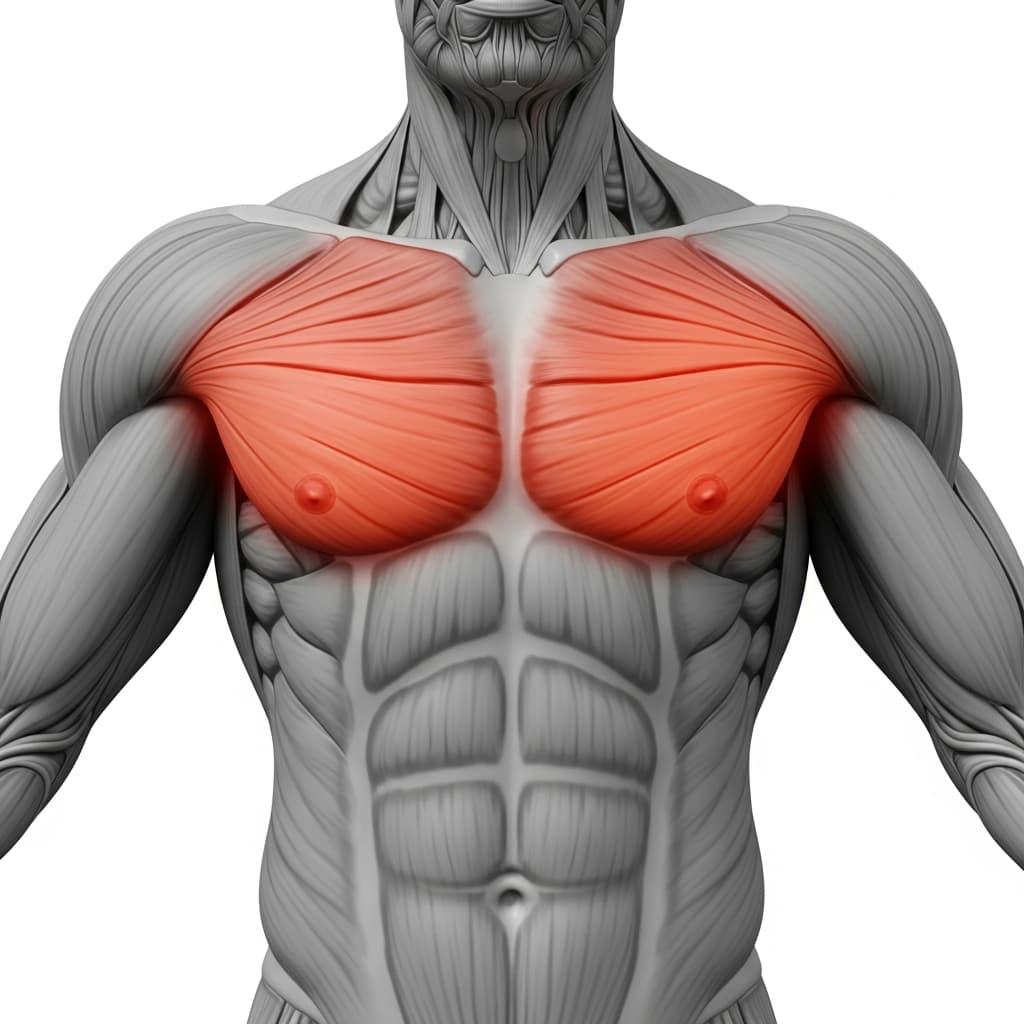
Pectoralis Major (Chest) - The chest is the main driver out of the bottom, pulling the upper arms in toward the midline as you press back up to the top position.
Triceps Brachii (Triceps) - The triceps extend the elbows through the whole push and work hardest in the final part of the rep as you return to a locked out position.
Secondary Muscles
Anterior Deltoid (Front Deltoid) - The front deltoids assist the chest at the bottom of the dip, where the shoulder is most extended and the press begins.
Rectus Abdominis (Abs) - The abs stay braced for the entire set, which is what keeps your body from folding at the hips and the rings from swinging.
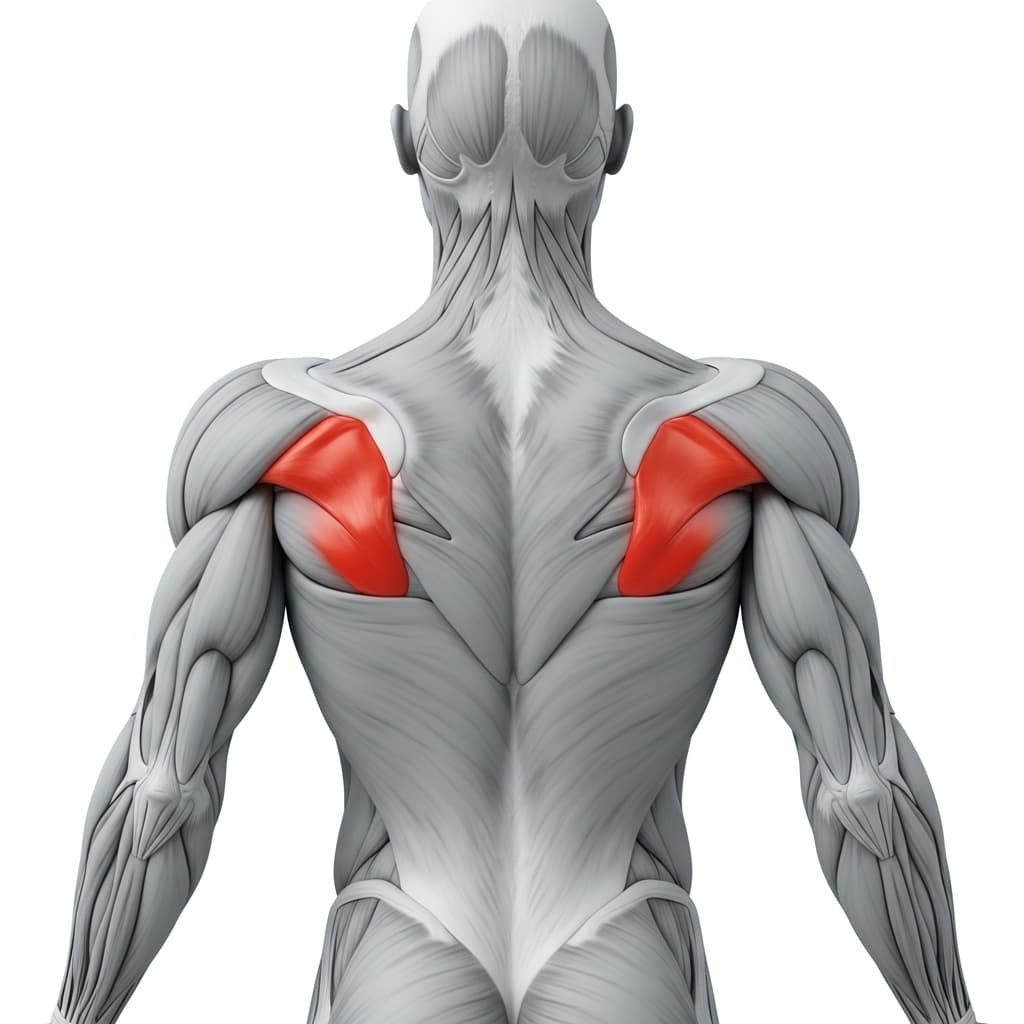
Latissimus Dorsi (Lats) - The lats help pull the shoulders down away from the ears and keep the rings drawn in close to your ribs.
Rotator Cuff (SITS) (Rotator Cuff) - The small rotator cuff muscles stabilize the shoulder against handles that move freely, which is the work that makes rings feel harder than fixed bars.
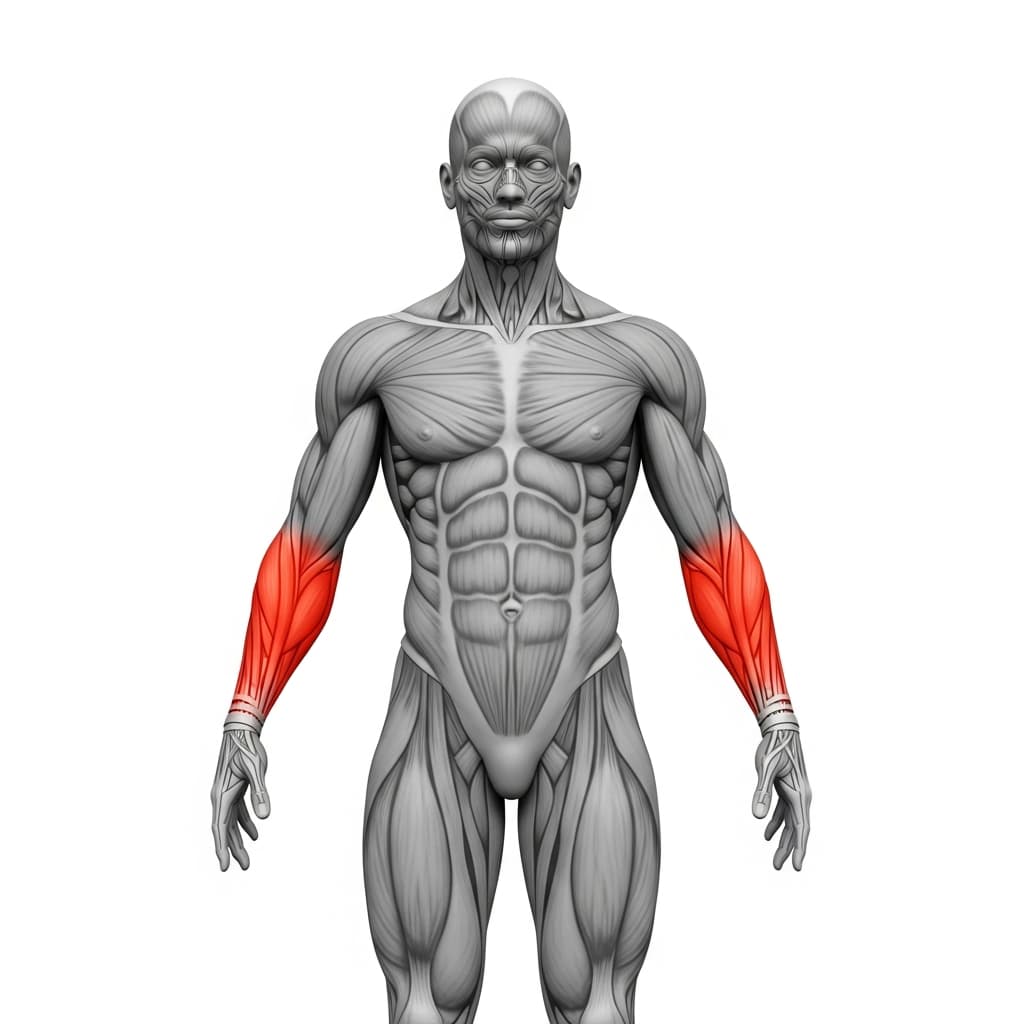
Forearm Flexors & Extensors (Forearms) - The forearms grip the rings for the full set and stop the handles twisting, which is exactly why this exercise calls for chalk.
Benefits of Floor Assisted Ring Dips
- Lets you train the complete ring dip, both the lowering and the pushing phase, long before you can press your whole bodyweight
- Gives you a dial you can turn, with more foot help on hard days and less as you get stronger, without ever changing the exercise
- Builds the shoulder stability that fixed dip bars never ask for, since the rings only stay still if you hold them still
- Trains the chest, triceps and front deltoids down to about 90 degrees at the elbow with the elbows and rings kept close to the body
- Starts and finishes every rep in a locked out top position, so you always own the position you are lowering from
Who Is This Exercise For?
There is no strength gate on this one, because how much weight your feet take is what decides how hard it is. What helps is being comfortable holding the top position on the rings with your arms locked and your shoulders pulled down, with the feet still supporting you as much as you need. If that top position feels shaky, keep more weight on the feet and treat holding it as part of the work for the first few sessions. Some pressing experience from push-ups or ring push-ups makes those first sessions feel steadier, but it is general guidance rather than something you have to tick off before you start.
Common Mistakes to Avoid
Letting the shoulders ride up: If the shoulders creep toward your ears at the top, the stable position the rest of the rep depends on is gone. Pull the shoulders down before the first rep and keep them there until the set is finished.
Elbows and rings drifting away from the body: The further the elbows and rings travel out to the sides, the less your chest and triceps can contribute. Keep both as close to your body as possible, and take more weight on the feet if that is the only way to hold the line.
Cutting the depth short: Stopping high leaves the hardest part of the dip out of your training. Lower to about 90 degrees at the elbow on every rep, and add foot assistance rather than shortening the range when it gets hard.
Losing core tension mid set: When the core relaxes, the hips sag and the rings start to move on their own, which makes every following rep harder to control. Tension the core before you leave the top position and hold it for the whole set.