Wall Handstand Hold
The wall handstand hold is a foundational inverted exercise in calisthenics that trains the front deltoids, triceps, traps, and serratus anterior while building overhead pressing endurance and body alignment. The wall provides a stable reference point that allows you to focus on shoulder elevation, core bracing, and full-body tension without the balance demands of a freestanding handstand. Consistent practice of the wall handstand hold develops the pressing strength, wrist conditioning, and positional awareness required for every advanced handstand and pressing skill in calisthenics.

The wall handstand hold is a foundational inverted exercise in calisthenics that trains the front deltoids, triceps, traps, and serratus anterior while building overhead pressing endurance and body alignment. The wall provides a stable reference point that allows you to focus on shoulder elevation, core bracing, and full-body tension without the balance demands of a freestanding handstand. Consistent practice of the wall handstand hold develops the pressing strength, wrist conditioning, and positional awareness required for every advanced handstand and pressing skill in calisthenics.
How to Do Wall Handstand Hold
1. Place Your Hands on the Floor
Set your hands on the floor about 15 to 20 centimeters away from the wall, shoulder-width apart. Spread your fingers wide and press them firmly into the ground to create a broad, stable base. Your index fingers should point straight forward or slightly outward. This hand position distributes your bodyweight evenly across the palm and fingers.
Spread your fingers, squeeze the floor
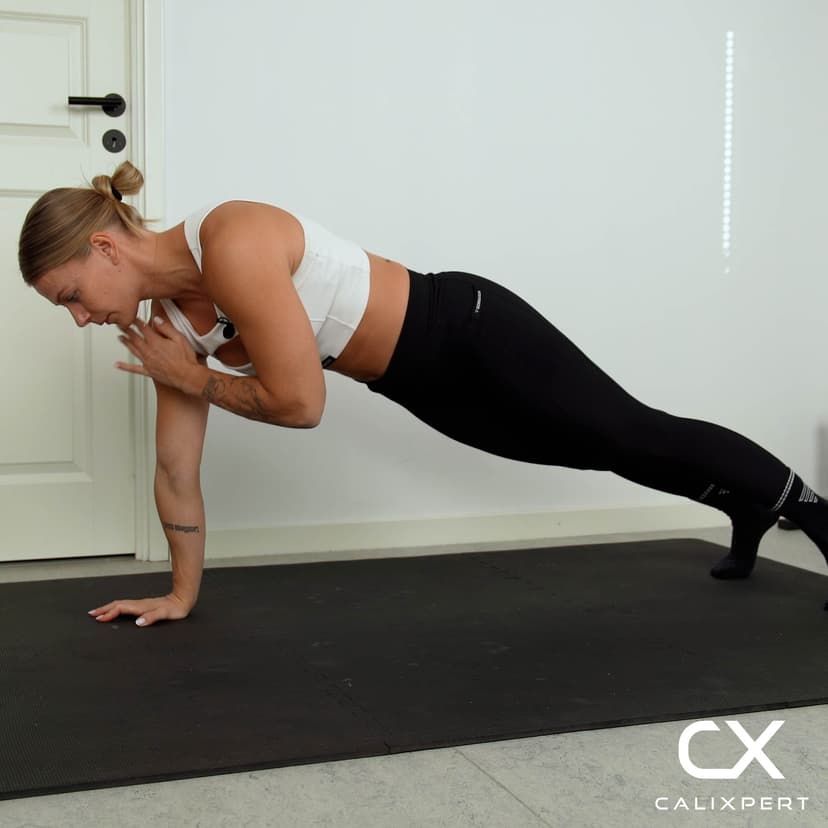
2. Walk Your Feet Up the Wall
Start in a push-up position with your feet against the base of the wall. Walk your feet up the wall while stepping your hands closer, climbing until your body is fully inverted with your chest facing the wall. Move slowly and keep your arms locked straight throughout the walk-up. This chest-to-wall entry is safer and more controlled than kicking up.
Walk up slowly, arms stay straight
3. Lock Out and Elevate Your Shoulders
Once fully inverted, push through your palms and drive your shoulders up toward your ears as hard as you can. This shoulder elevation, sometimes called shrugging into the floor, is what makes you as tall as possible and creates a strong, stacked position. Your arms must be completely straight with no bend at the elbows. Think about pushing the floor away from you rather than simply holding yourself up.
Push the floor away, get tall
4. Brace Your Core and Squeeze Everything
Tuck your pelvis slightly by drawing your belly button toward your spine and tightening your abs. Squeeze your glutes hard to lock your hips in a neutral position. Press your legs together and point your toes. This full-body tension creates a rigid line from wrists to toes and prevents your lower back from collapsing into an arch.
Tuck the belly, squeeze the glutes
5. Hold the Position and Breathe
Maintain steady, shallow breathing while holding total body tension. Keep your head in a neutral position with your eyes looking at the floor between your hands. Use the wall only as a light balance reference, not as something to lean your full weight into. Focus on maintaining shoulder elevation and core engagement for the entire duration of the hold.
Breathe steady, stay tight
6. Walk Down Under Control
To exit, walk your feet down the wall one at a time while stepping your hands away from the wall. Move slowly and keep your arms straight until your feet are back on the ground. Never drop out of the handstand or let yourself collapse. Rest fully before the next set to ensure quality holds.
Walk down slowly, never drop
Most people treat the wall handstand hold as a passive lean against the wall, and that is why they plateau. The difference between a productive hold and a wasted one is active pushing. Every second you are upside down, you should be driving through your palms, shrugging your shoulders up as hard as you can, and squeezing everything from your glutes to your toes. If you are not shaking by the end of the set, you are not pushing hard enough.
Muscles Worked During Wall Handstand Hold
Primary Muscles:
Secondary Muscles:


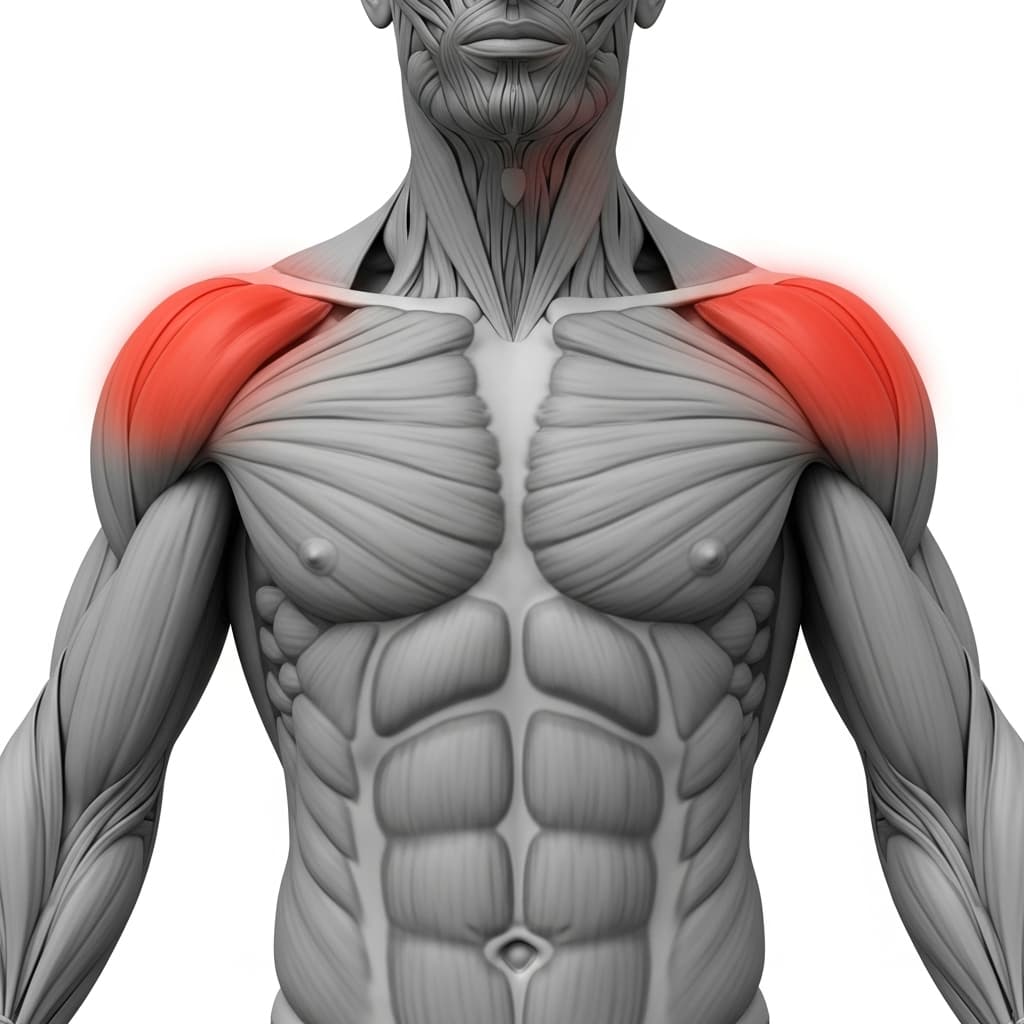
Primary Muscles
Anterior Deltoid (Front Deltoid) - The front deltoids bear the majority of your bodyweight in the inverted position, working isometrically to keep the arms locked overhead and the shoulders stacked over the wrists.
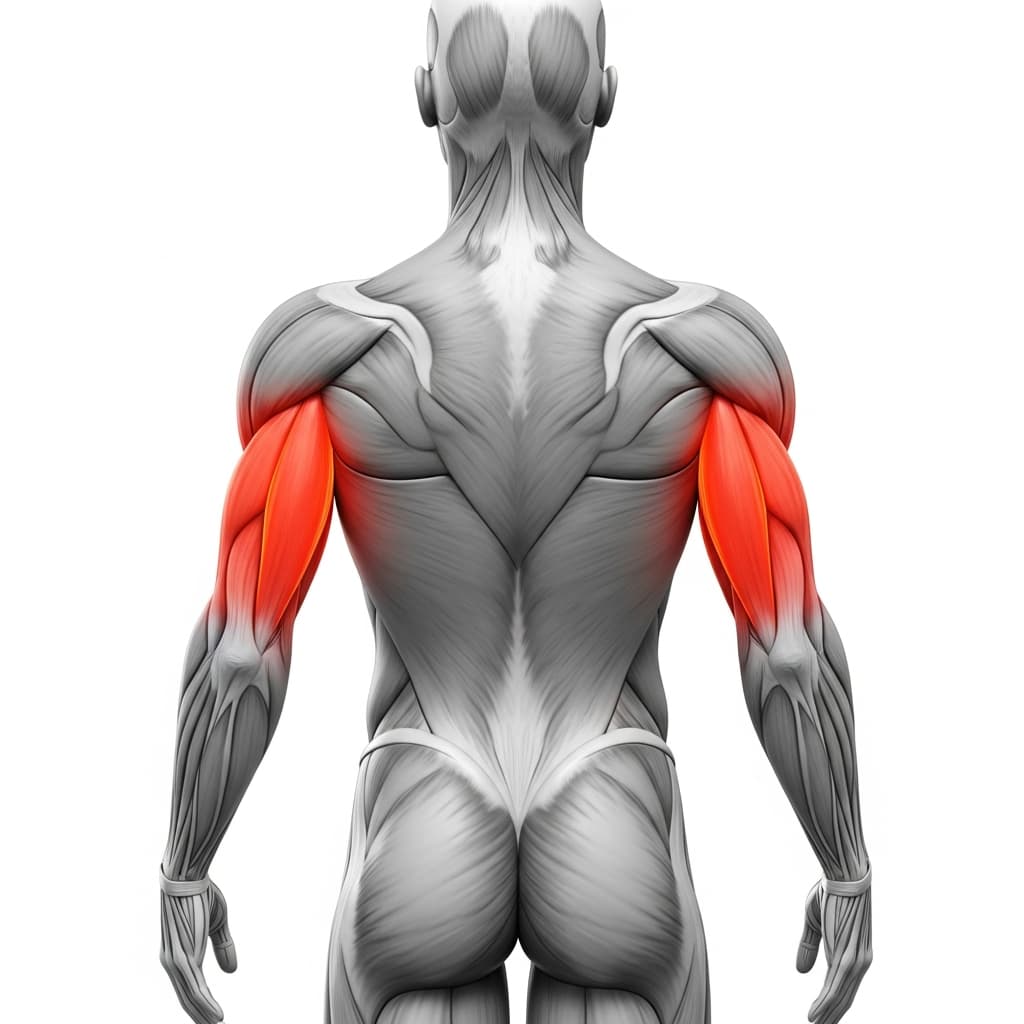
Triceps Brachii (Triceps) - The triceps maintain full elbow lockout throughout the hold, preventing the arms from collapsing under the sustained load of your bodyweight.
Secondary Muscles
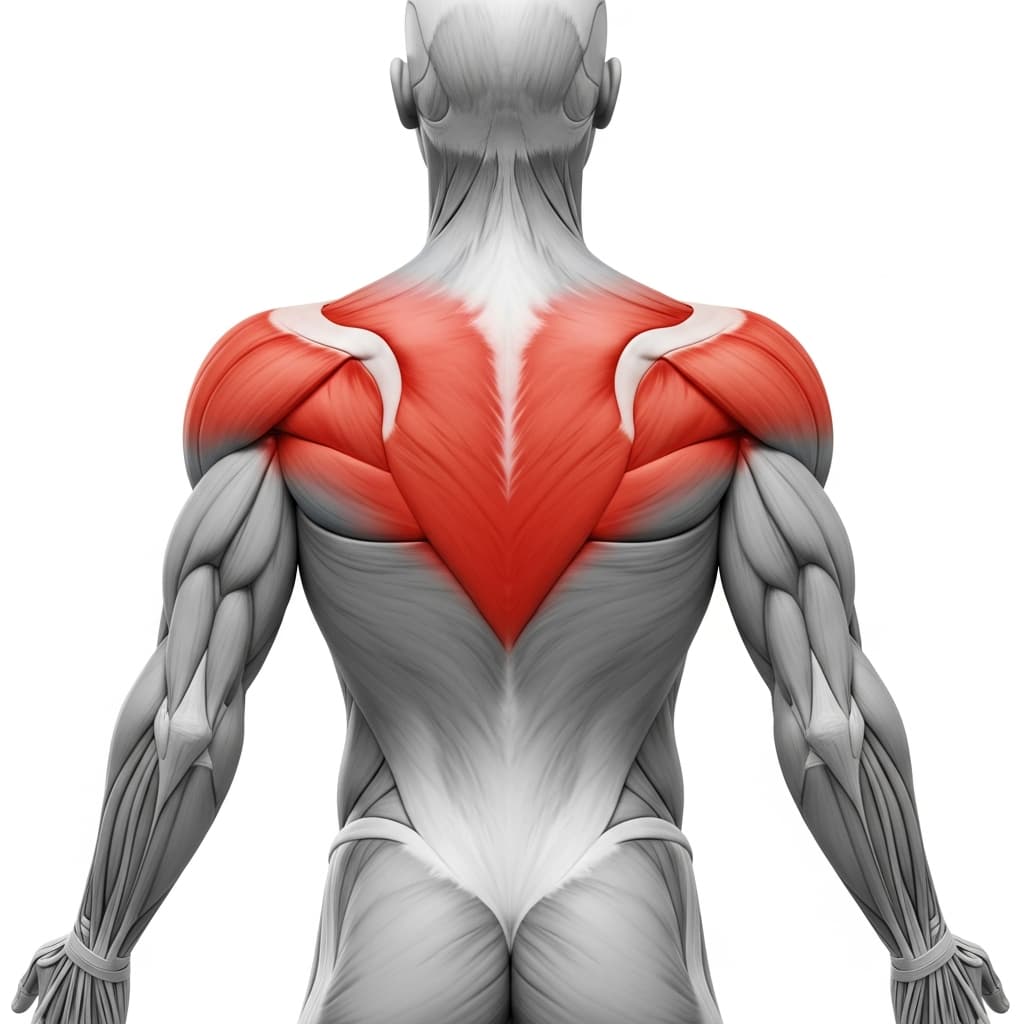
Trapezius (Trapezius) - The upper trapezius elevates the shoulder blades toward the ears, creating the active shrug that keeps the shoulders stacked and protects the joint from compression.
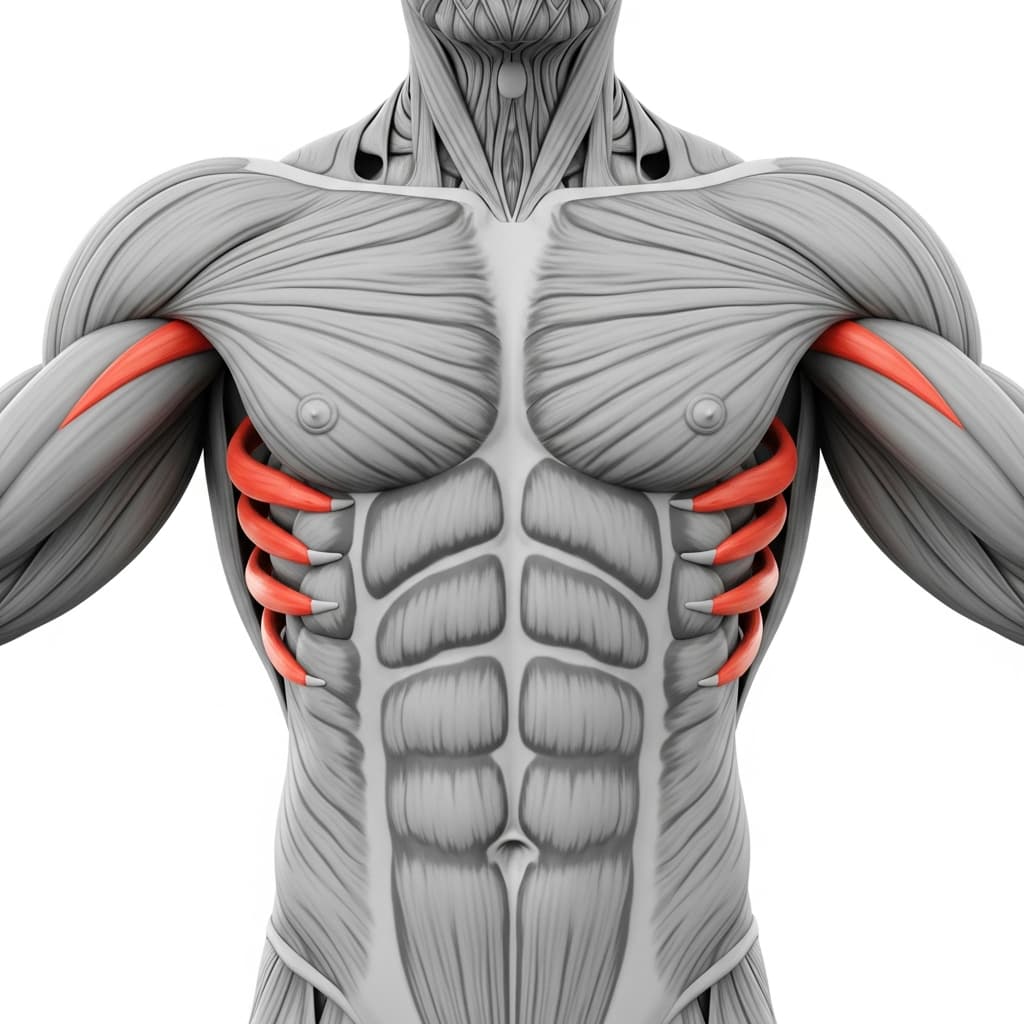
Serratus Anterior (Serratus Anterior) - The serratus anterior protracts and upwardly rotates the scapulae, allowing the shoulders to fully elevate and maintaining a stable shoulder girdle in the overhead position.
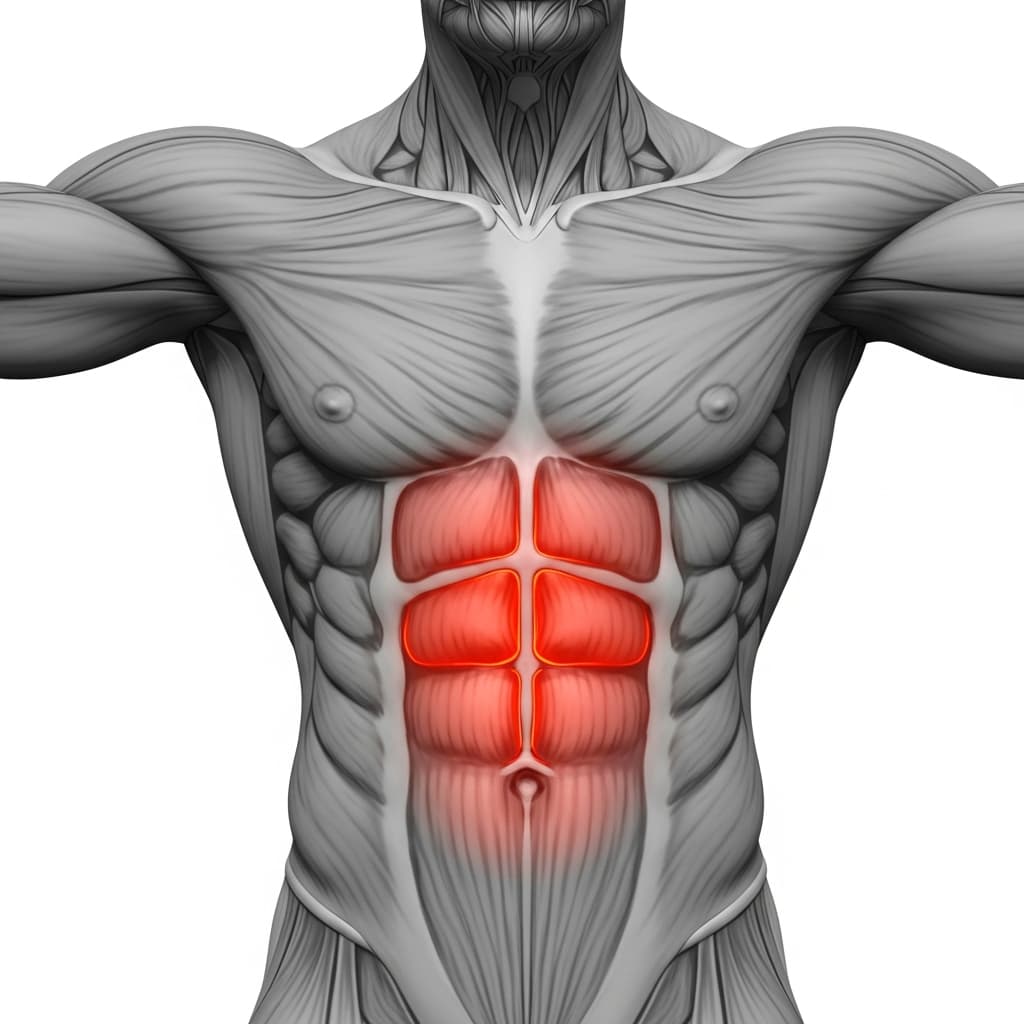
Rectus Abdominis (Abs) - The abdominals brace the midsection and resist spinal extension, preventing the lower back from arching and maintaining a straight body line from wrists to toes.
Forearm Flexors & Extensors (Forearms) - The forearm muscles stabilize the wrist joint under full bodyweight and make constant micro-adjustments through the fingers and palm to maintain balance.
Rhomboids & Upper Trapezius (Upper Back) - The upper back muscles work isometrically to stabilize the scapulae against the ribcage, providing a solid platform for the shoulders to push from.
Benefits of Wall Handstand Hold
- Builds pressing endurance and isometric strength in the front deltoids, which directly transfers to handstand push-ups and planche progressions
- Conditions the wrists to handle full bodyweight in extension, reducing injury risk in all hand-balancing work
- Develops the scapular elevation and protraction control needed to maintain a safe, stacked overhead position
- Trains full-body tension and midline stability in an inverted position, which is the exact skill required for freestanding handstands
- Strengthens the trapezius and serratus anterior, two muscles that are difficult to load effectively with non-inverted exercises
Who Is This Exercise For?
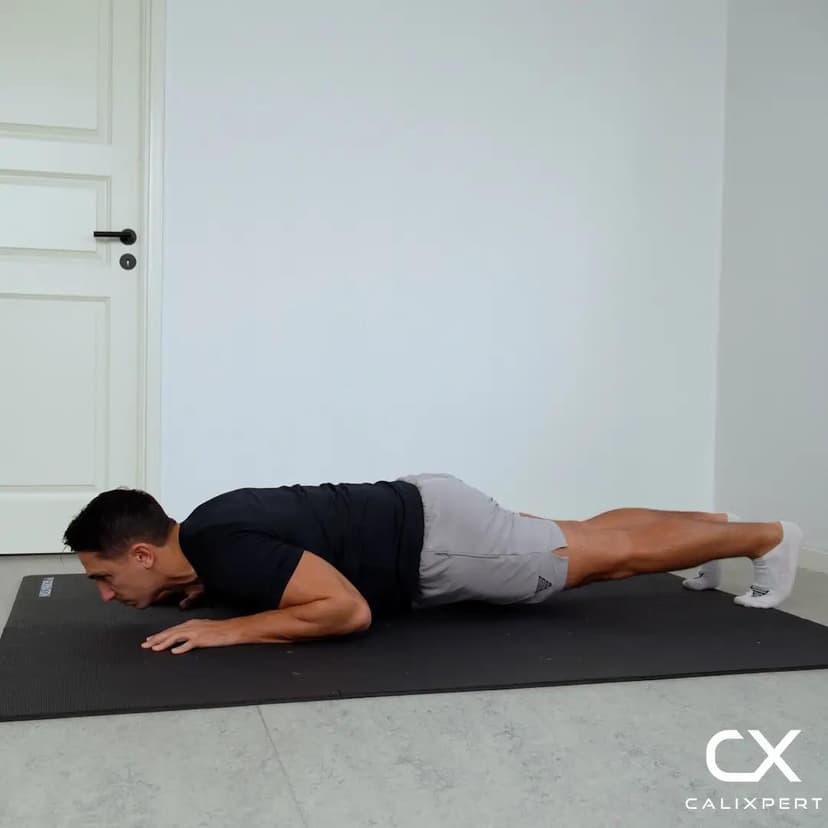
You should be able to hold a plank for at least 45 seconds with a flat back and hold a pike push-up position comfortably before attempting wall handstand holds. If your wrists ache after 10 seconds of bearing weight on your hands, spend time on wrist mobility and conditioning drills first. A solid elevated pike hold with your feet on a bench is the best preparation exercise.
Common Mistakes to Avoid
Arching the lower back: Tuck your pelvis by squeezing your glutes and pulling your belly button toward your spine. If you cannot hold a straight line, shorten your hold time and focus on maintaining the posterior pelvic tilt throughout.
Collapsing into the shoulders: Actively push the floor away from you for the entire hold, keeping your shoulders elevated toward your ears. If your shoulders sink, you are loading the joints instead of the muscles, which leads to fatigue and potential injury.
Placing hands too far from the wall: Keep your hands 15 to 20 centimeters from the wall so your body can stack vertically. Hands too far out creates a banana-shaped position that overloads the lower back and makes shoulder elevation nearly impossible.
Holding the breath: Practice steady, shallow breathing while maintaining tension. Holding your breath spikes blood pressure and drastically shortens how long you can sustain the hold. Breathe in through the nose and out through the mouth in a controlled rhythm.
Variations & Progressions
Pike Handstand Hold
Place your feet on a box or bench with your hips stacked over your shoulders in an inverted pike position. This reduces the load on the shoulders and wrists while still training overhead pressing endurance and shoulder elevation.
Wall Handstand Shoulder Taps
From the wall handstand position, briefly lift one hand off the floor and tap your shoulder, then switch sides. This adds a unilateral strength and balance demand that builds the stability needed for a freestanding handstand.