Reversed Plank
The reversed plank is an isometric hold that targets the glutes, lower back, hamstrings, and rear deltoids by maintaining a straight body position with the chest facing upward. Unlike a standard plank that loads the anterior chain, the reversed plank places all the demand on the posterior chain, forcing the glutes and spinal erectors to hold the hips in full extension. Building a solid reversed plank directly improves shoulder stability, hip extension strength, and postural endurance that carry over to bridges, levers, and every pressing movement in calisthenics.
The reversed plank is an isometric hold that targets the glutes, lower back, hamstrings, and rear deltoids by maintaining a straight body position with the chest facing upward. Unlike a standard plank that loads the anterior chain, the reversed plank places all the demand on the posterior chain, forcing the glutes and spinal erectors to hold the hips in full extension. Building a solid reversed plank directly improves shoulder stability, hip extension strength, and postural endurance that carry over to bridges, levers, and every pressing movement in calisthenics.
How to Do Reversed Plank
1. Set Your Hand Position
Sit on the floor with your legs extended in front of you. Place your hands flat on the floor slightly behind your hips. Point your fingers forward toward your feet or slightly outward to the sides, whichever feels more stable on your wrists. Keep your arms straight and your chest tall before initiating the lift.
Fingers forward or slightly outward
2. Position Your Legs and Feet
Extend both legs fully with your heels pressing into the floor. Keep your feet together or place them hip-width apart for more balance. Point your toes slightly forward to maintain a neutral ankle position throughout the hold.
Heels down, legs fully straight
3. Lift Your Hips Off the Floor
Press firmly through your palms and heels to drive your hips upward off the floor. Squeeze your glutes hard at the top of the lift to lock the hips into full extension. Your body should rise as one unit, not segment by segment.
Drive hips up, squeeze glutes hard
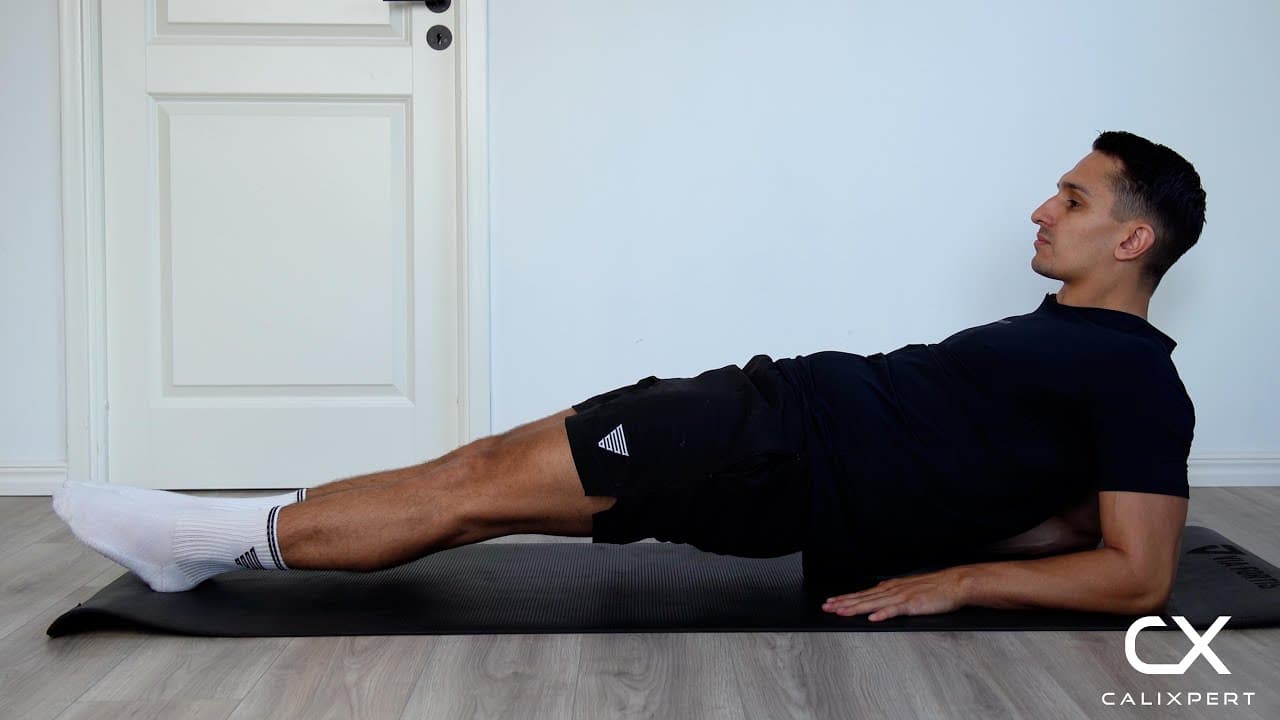
4. Align Into a Straight Line
Once your hips are elevated, create a straight line from your shoulders through your hips to your heels. Lift your chest slightly upward and keep your head in a neutral position, looking straight ahead or slightly up. Do not let your head drop back or your chin tuck into your chest.
Shoulders, hips, and heels in one line
5. Hold With Active Tension
Maintain the position by actively engaging your glutes, core, and upper back throughout the entire hold. Breathe steadily through your nose and avoid holding your breath. If your hips begin to sag, squeeze the glutes harder rather than pushing more through the arms.
Glutes on, core tight, breathe steady
6. Lower Under Control
Slowly lower your hips back to the floor by bending at the hips, resisting gravity on the way down. Do not drop or collapse out of the position. Reset your hand and leg position before starting the next rep or hold.
Slow descent, never drop
Most people lose the reversed plank at the hips because they try to hold longer than their glutes can sustain. Treat this as a maximal glute contraction, not a relaxed hold. If you squeeze your glutes as hard as you can and your core locks in automatically, the rest of the body just follows. The moment you feel the hips start to dip, end the set and rest rather than grinding through broken form.
Muscles Worked During Reversed Plank
Primary Muscles:
Secondary Muscles:
Primary Muscles
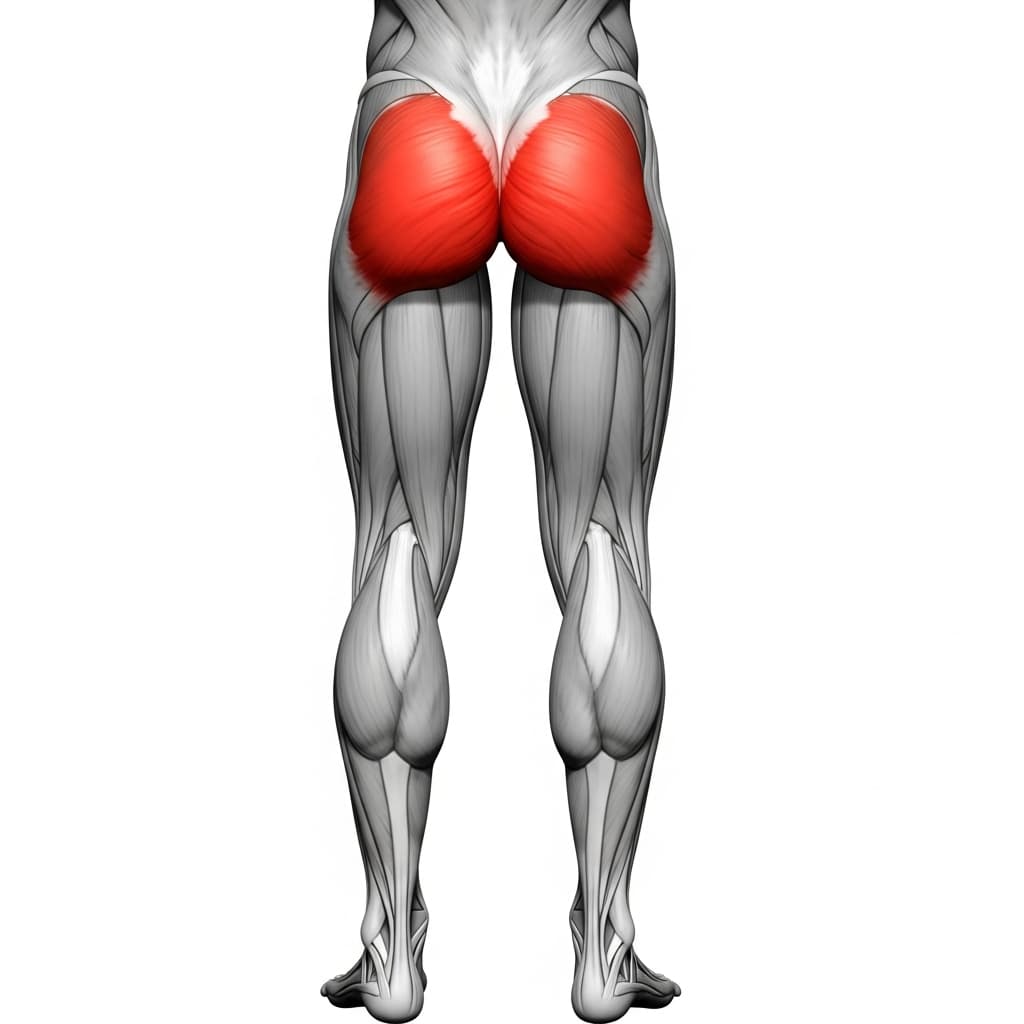
Gluteus Maximus (Glutes) - The glutes drive and maintain hip extension throughout the hold, keeping the hips elevated in line with the shoulders and heels.
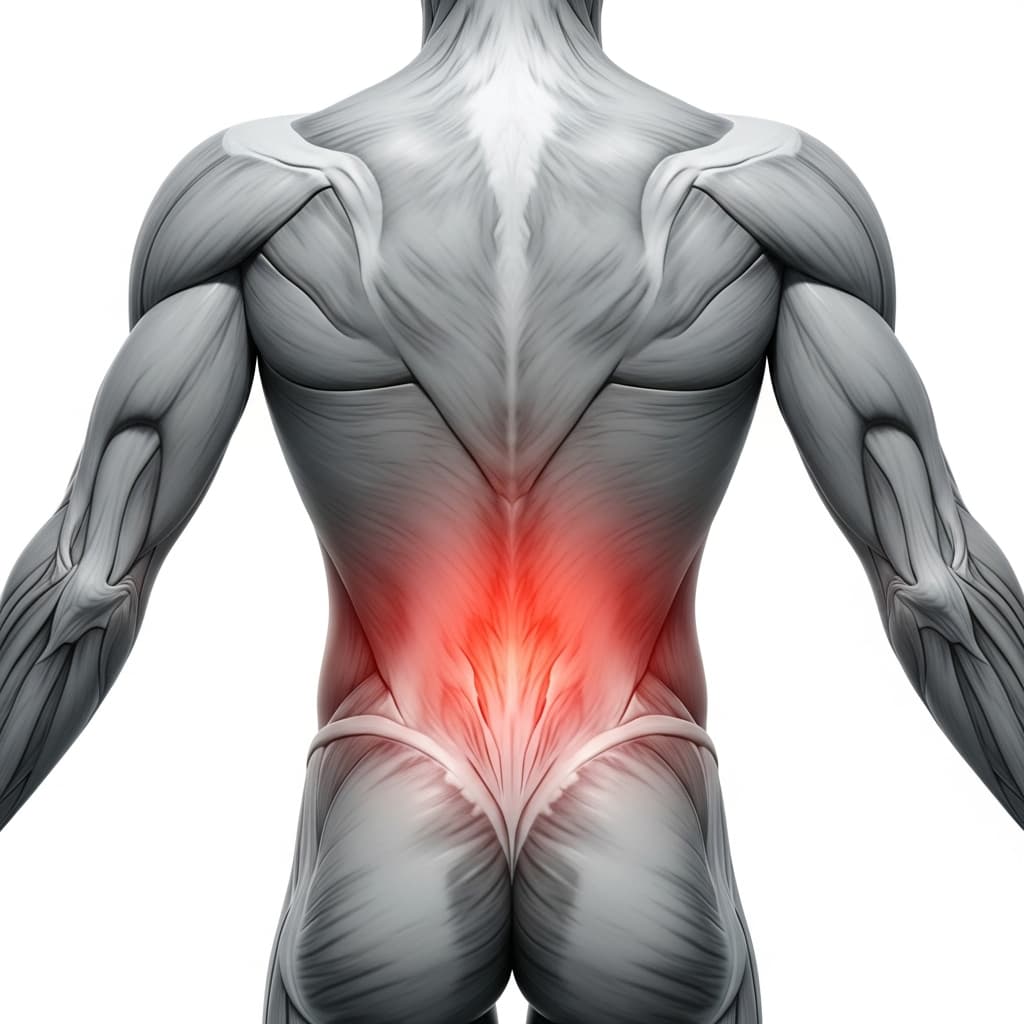
Erector Spinae (Lower Back) - The lower back muscles work isometrically to maintain spinal extension and prevent the torso from rounding or collapsing during the hold.
Secondary Muscles
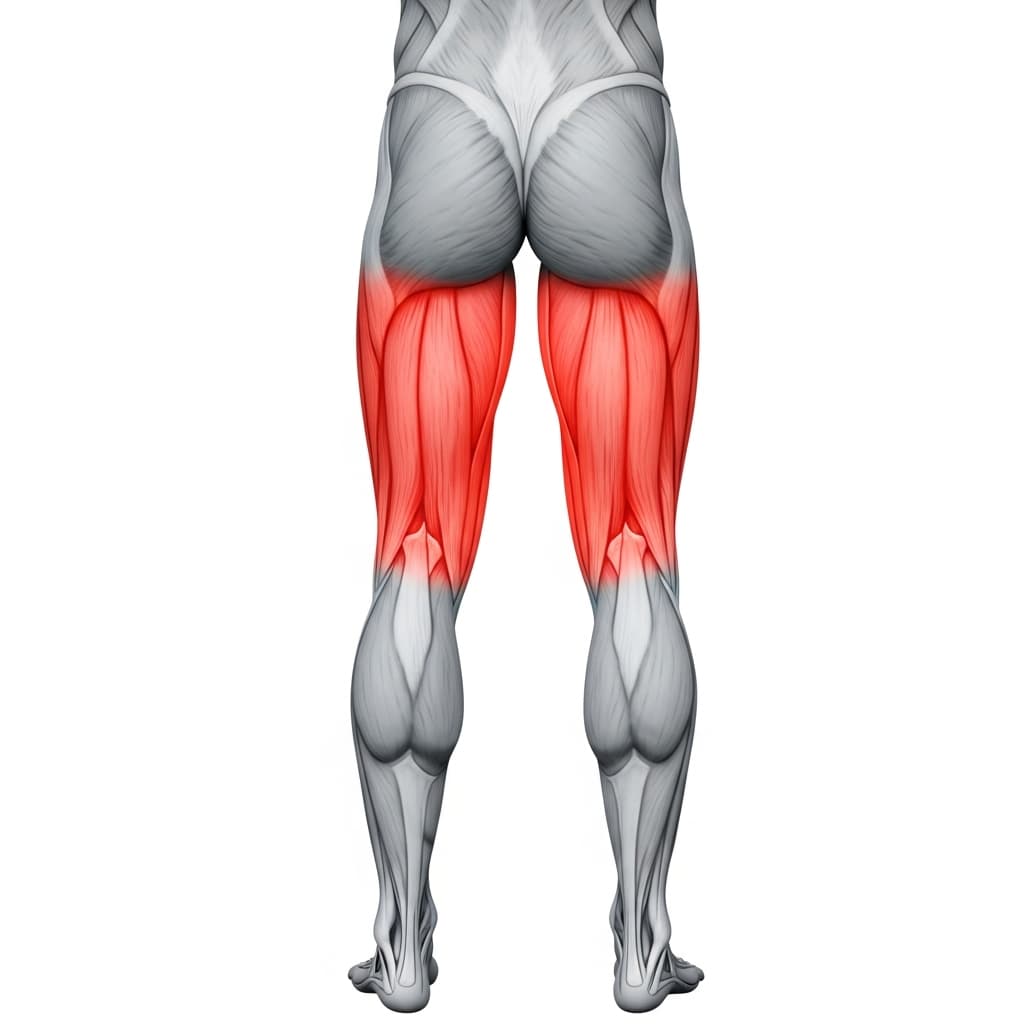
Hamstring Group (Hamstrings) - The hamstrings assist the glutes in maintaining hip extension and help stabilize the knee joint with the legs fully extended.
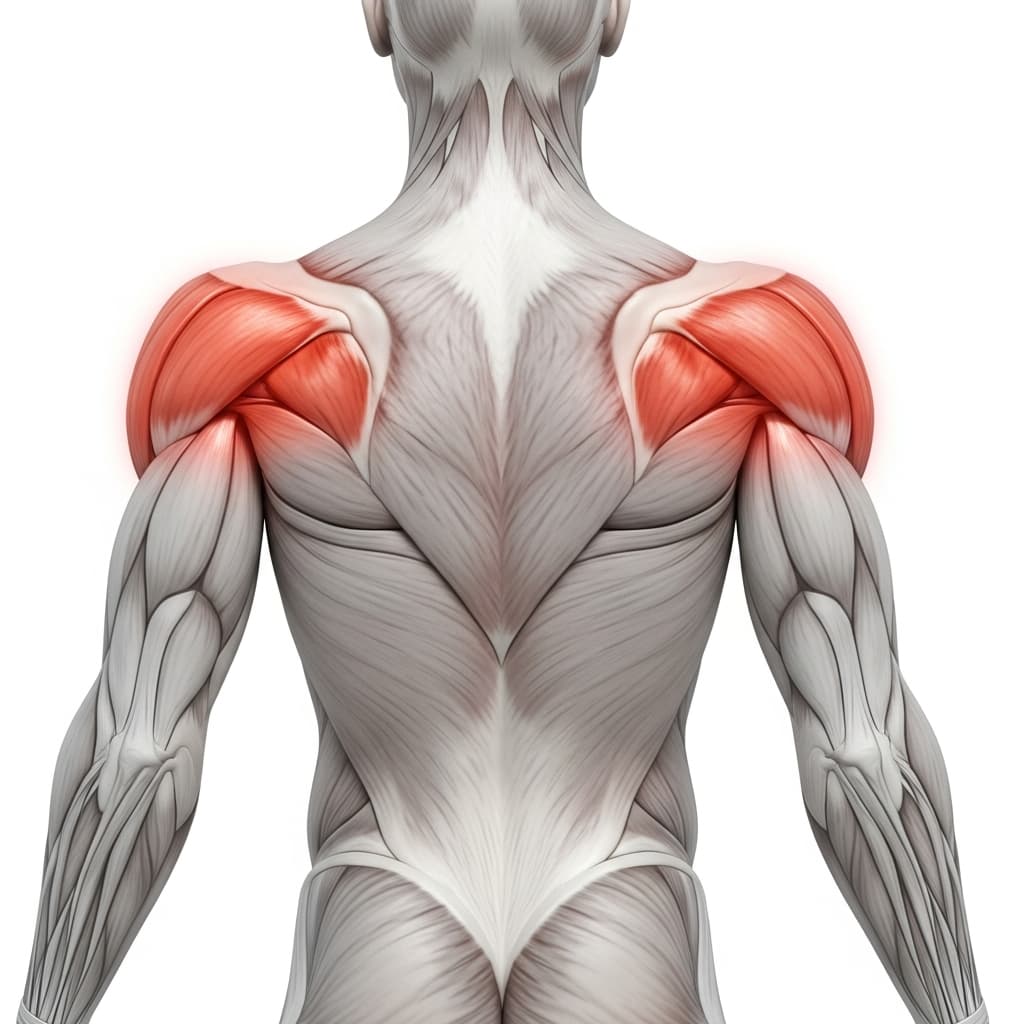
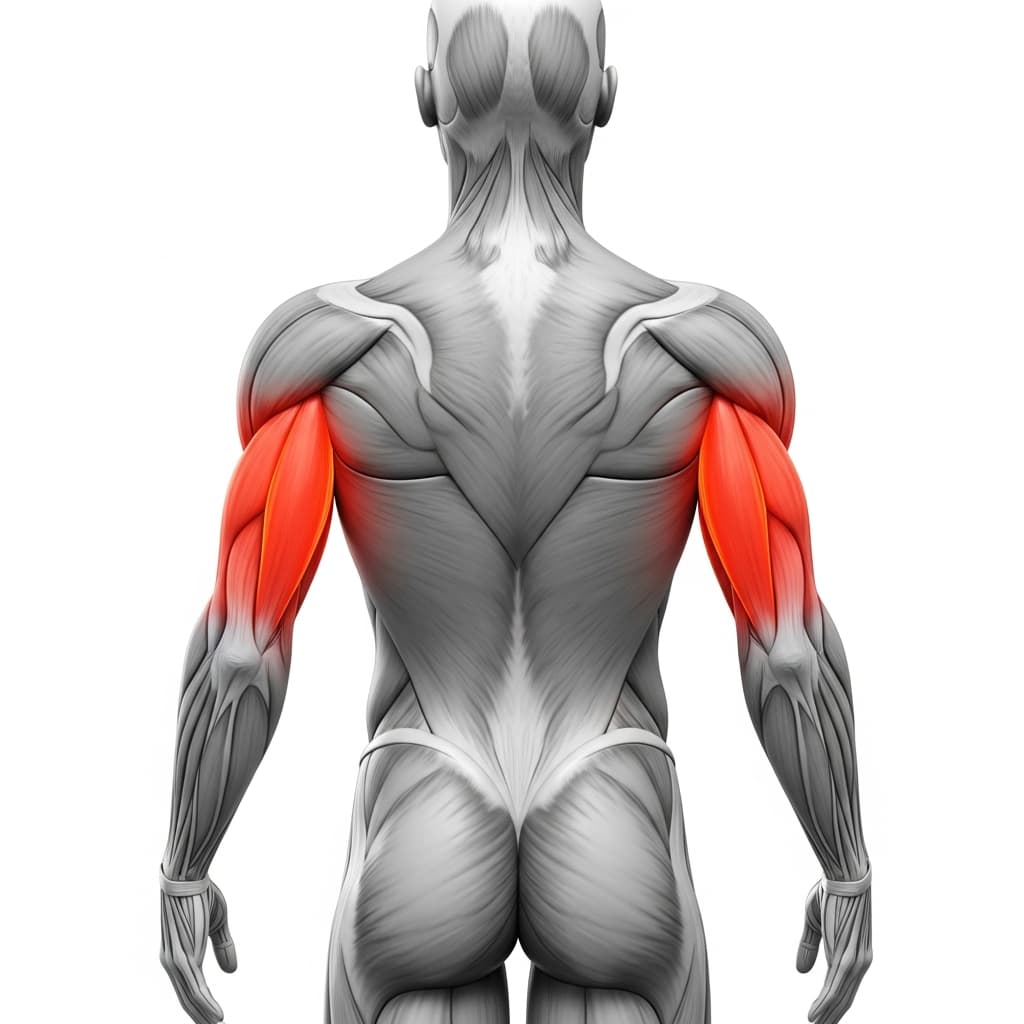
Posterior Deltoid (Rear Deltoid) - The rear deltoids stabilize the shoulder joint in extension, supporting the upper body's weight while the arms are positioned behind the torso.
Triceps Brachii (Triceps) - The triceps maintain elbow extension to keep the arms locked and stable, supporting the upper body throughout the hands-on-floor variation.
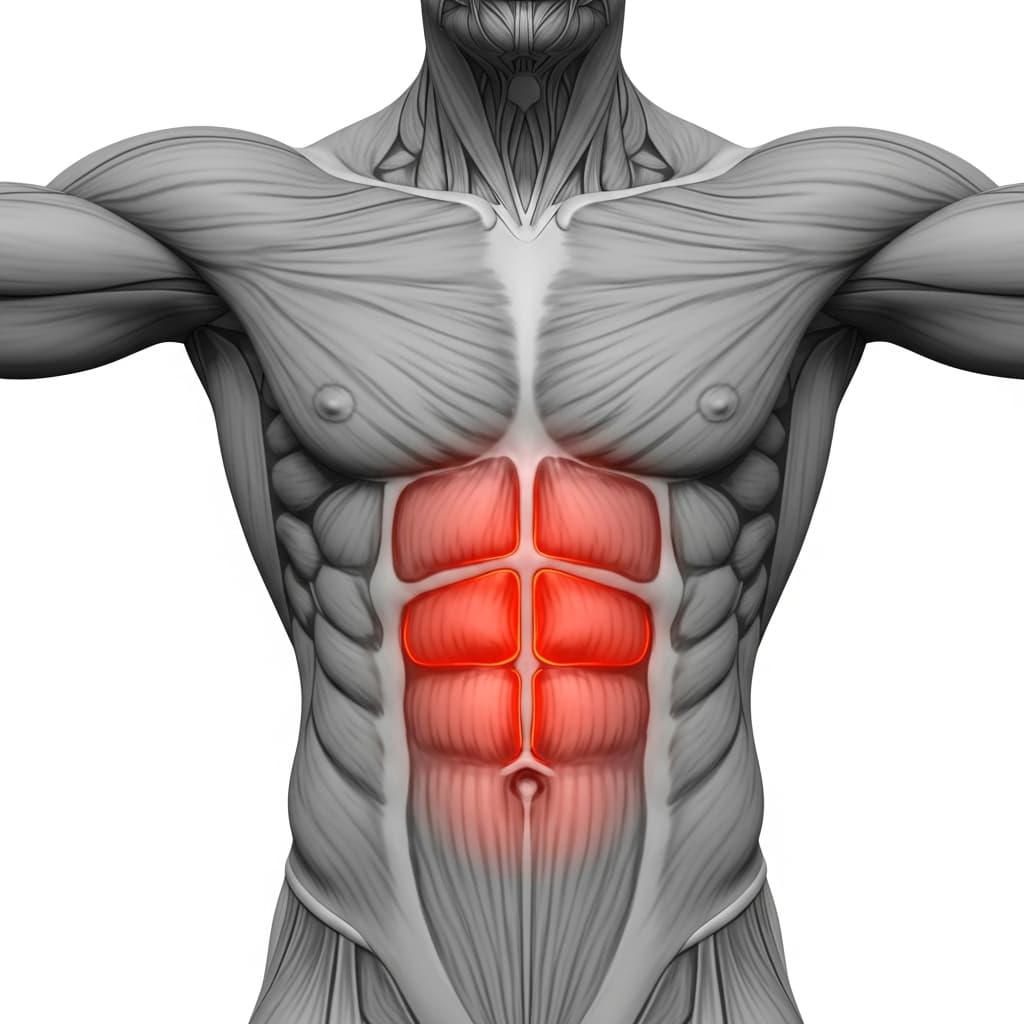
Rectus Abdominis (Abs) - The abdominals co-contract with the glutes and lower back to stabilize the trunk and prevent excessive lumbar extension during the hold.
Benefits of Reversed Plank
- Strengthens the entire posterior chain, specifically the glutes, hamstrings, and spinal erectors, which are underdeveloped in most people who sit for long periods
- Counteracts forward shoulder posture by loading the rear deltoids and upper back in an open-chest position that reinforces scapular retraction
- Builds wrist extension mobility and forearm endurance under load, which transfers directly to handstand and planche preparation
- Develops hip extension strength and awareness that carries over to bridges, back levers, and every movement requiring a locked-out hip position
Who Is This Exercise For?
You should be able to hold a standard forearm plank for at least 30 seconds and perform a glute bridge with controlled hip extension before attempting the reversed plank. If pressing through your palms with straight arms causes wrist discomfort, start with the forearm variation until your wrist mobility improves. Anyone who cannot hold their hips level in a basic glute bridge is not ready for this exercise.
Common Mistakes to Avoid
Letting the hips sag: Keep the glutes fully contracted throughout the hold. If your hips start to drop, the set is over. Shorten the hold duration and focus on maintaining a straight line rather than holding longer with broken form.
Shrugging the shoulders toward the ears: Actively depress your shoulders by pushing them down and away from your ears. Shrugged shoulders create unnecessary tension in the neck and traps while reducing stability in the hold.
Dropping the head backward: Keep your head in a neutral position with your gaze forward or slightly upward. Letting the head fall back compresses the cervical spine and pulls your alignment out of position.
Holding the breath: Breathe in a controlled rhythm throughout the hold. Breath-holding spikes blood pressure and forces you to break the position early. Steady nasal breathing keeps tension without compromising endurance.
Variations & Progressions
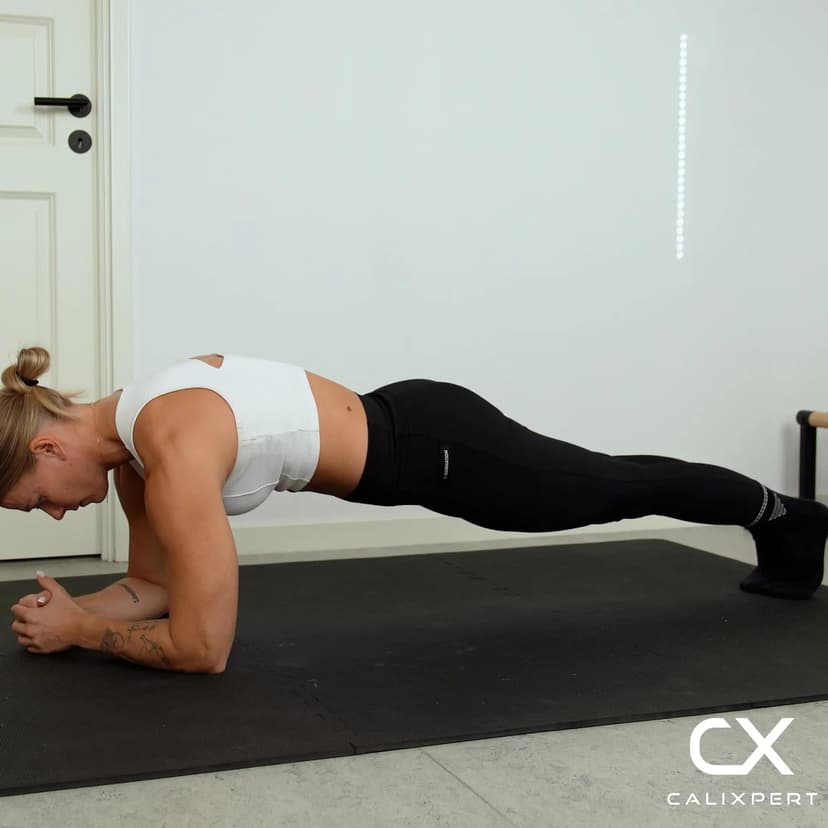
Reversed Tabletop Hold
Bend your knees to 90 degrees so your feet are flat on the floor instead of legs extended. This shortens the lever and reduces the demand on the glutes and hamstrings while still training shoulder and core stability.