Advanced Tuck Front Lever Raises
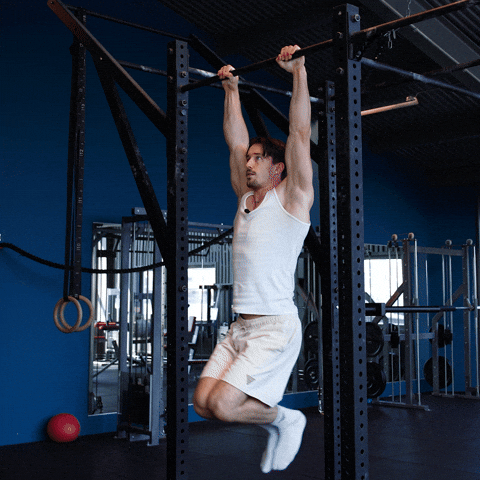
Advanced tuck front lever raises are a dynamic pulling exercise where you raise your body from a dead hang into a horizontal advanced tuck front lever position and lower back down under control. The movement primarily loads the lats through a large range of motion while demanding intense isometric work from the abs, upper back, and rear deltoids to hold body alignment. Mastering this exercise builds the pulling strength and full-body tension required to progress toward a full front lever.
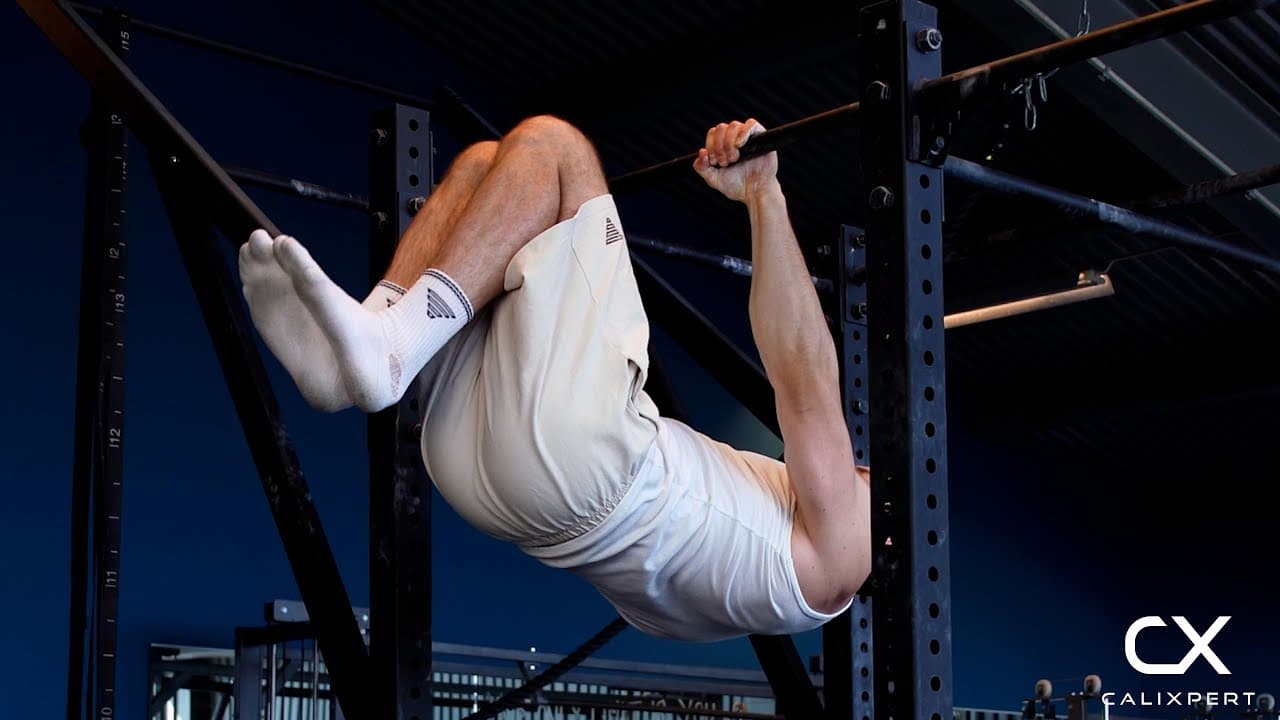
Advanced tuck front lever raises are a dynamic pulling exercise where you raise your body from a dead hang into a horizontal advanced tuck front lever position and lower back down under control. The movement primarily loads the lats through a large range of motion while demanding intense isometric work from the abs, upper back, and rear deltoids to hold body alignment. Mastering this exercise builds the pulling strength and full-body tension required to progress toward a full front lever.
How to Do Advanced Tuck Front Lever Raises
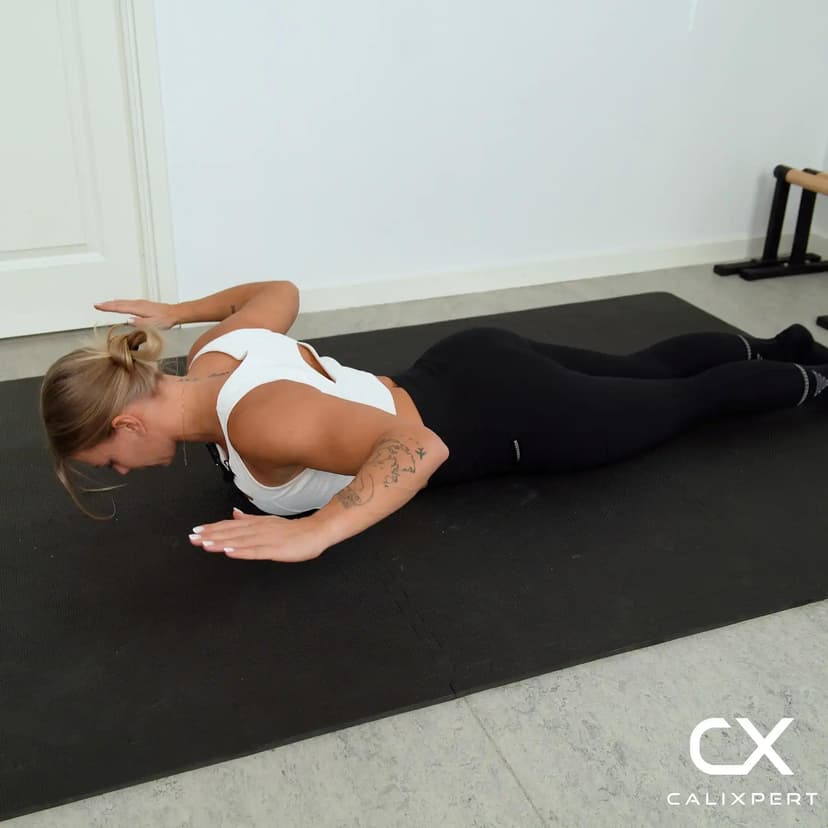
1. Hang With a Shoulder-Width Grip
Grip a pull-up bar with hands shoulder-width apart and palms facing away from you. Hang with arms fully extended and feet off the ground. Keep your shoulders active by pulling them slightly away from your ears rather than sinking into a passive hang.
Active shoulders, no passive hanging
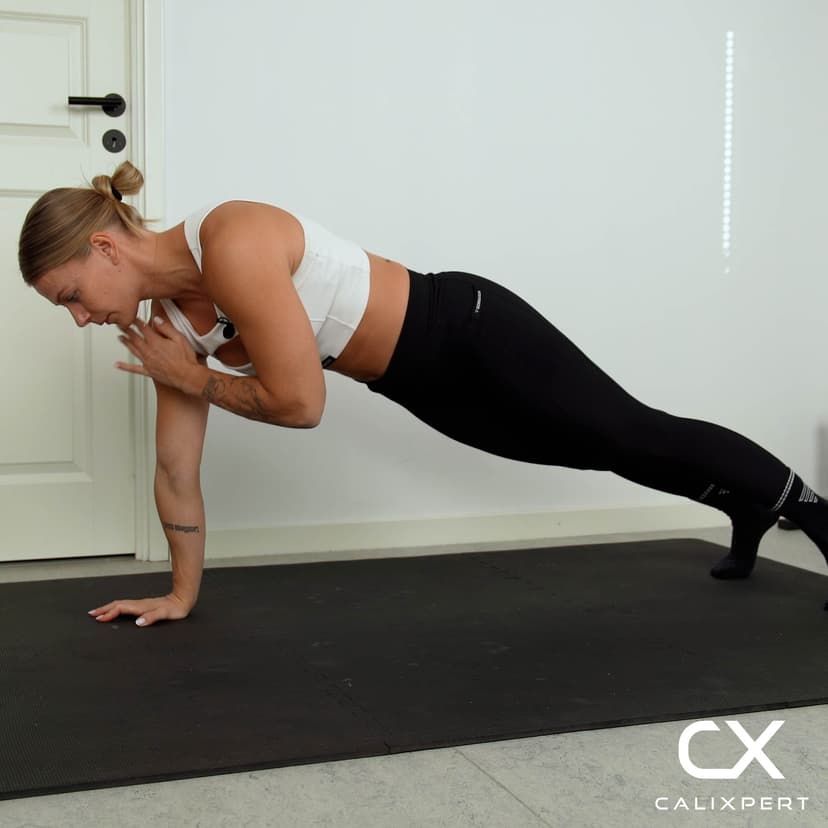
2. Set the Advanced Tuck Position
Bring your knees toward your chest with your thighs angled roughly 90 degrees from your torso, not pulled tight against your body. This is the advanced tuck, where the knees sit further from the chest than a standard tuck. Engage your abs hard to lock this leg position in place before you begin pulling.
Knees away from chest, core locked
3. Retract and Depress the Scapulae
Before pulling your body upward, squeeze your shoulder blades together and pull them down toward your hips. This scapular set is critical for activating the lats and protecting the shoulder joint under load. Do not skip this step or begin pulling with relaxed shoulders.
Shoulder blades down and together first
4. Pull Into the Horizontal Position
Drive your elbows down and back to raise your torso and hips toward a horizontal line. Keep the scapular retraction engaged throughout the pull and fight to keep your hips level with your shoulders. The pull ends when your body reaches the horizontal front lever position with knees still in the advanced tuck.
Hips up to shoulder height
5. Mark the Top and Lower With Control
Hold the horizontal position for a brief moment to confirm you have reached full range of motion. Then slowly reverse the movement, lowering your body back to the dead hang while resisting gravity the entire way down. Reset your scapulae and tuck position before starting the next rep.
Mark the hold, then 3-second descent
Most people fail this exercise at the hips, not the arms. If your chest reaches horizontal but your hips stay low, the problem is core tension, not pulling strength. Focus on driving the hips toward the ceiling as the main goal of each rep, and you will feel the lats and abs working together in a completely different way.
Muscles Worked During Advanced Tuck Front Lever Raises
Primary Muscles:
Secondary Muscles:
Primary Muscles
Latissimus Dorsi (Lats) - The lats drive the entire pulling arc from dead hang to horizontal, acting as the primary force producer that raises the torso and hips against gravity.
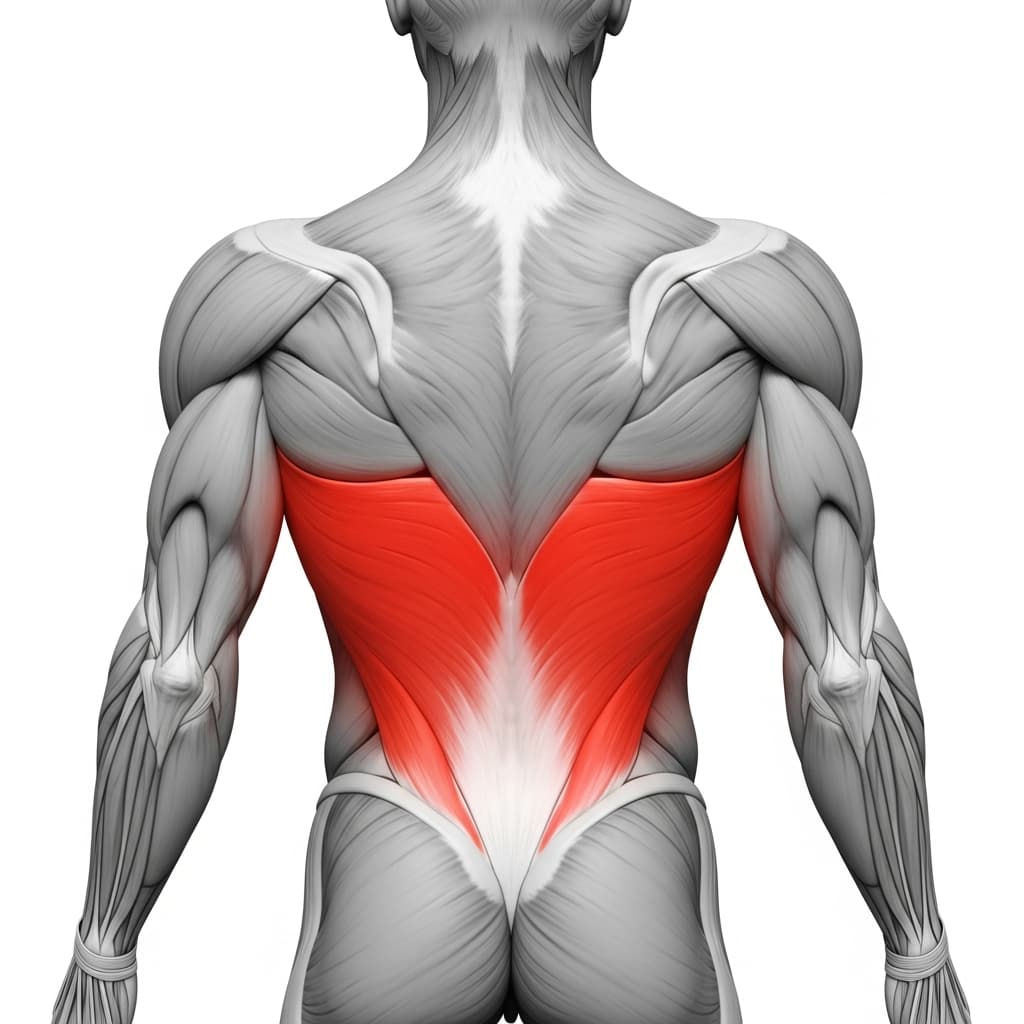
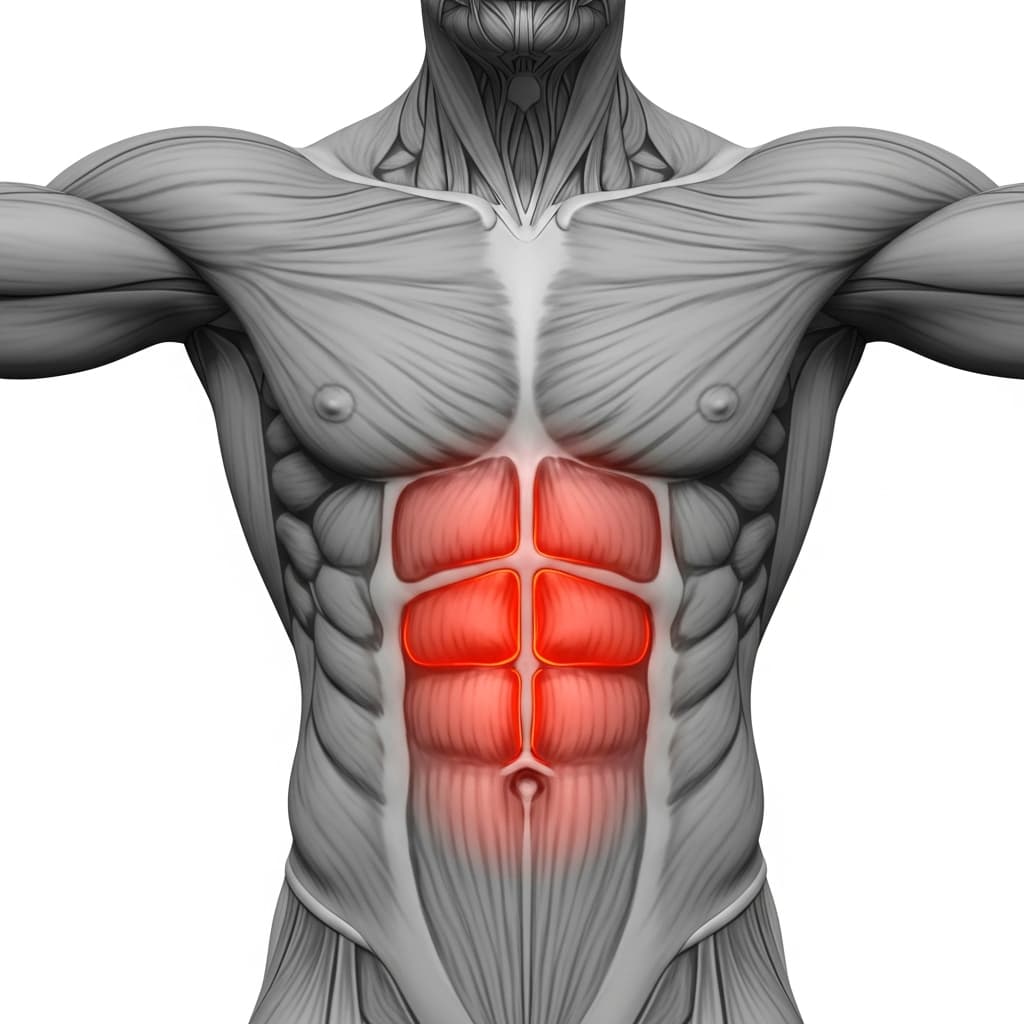
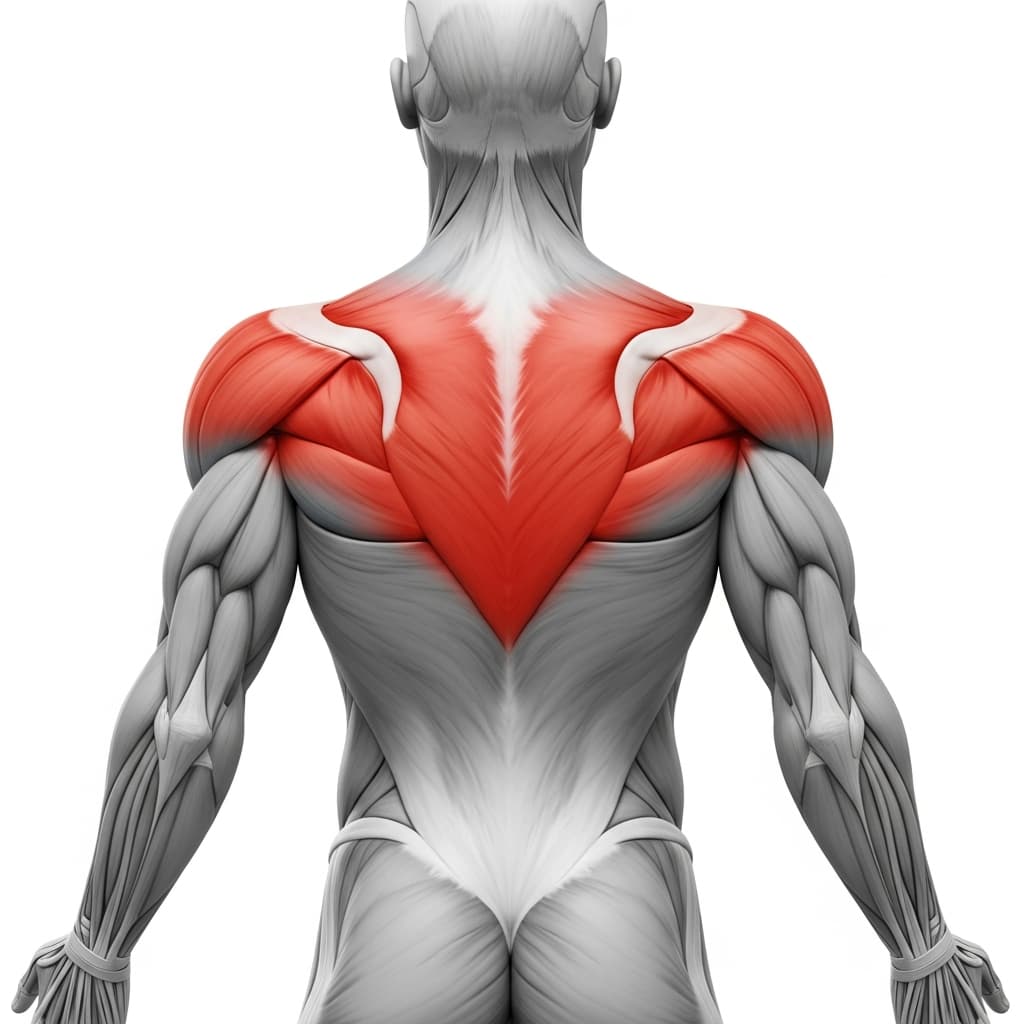
Secondary Muscles
Rectus Abdominis (Abs) - The abs maintain the tuck position and prevent the hips from sagging below the shoulders throughout both the raising and lowering phases.
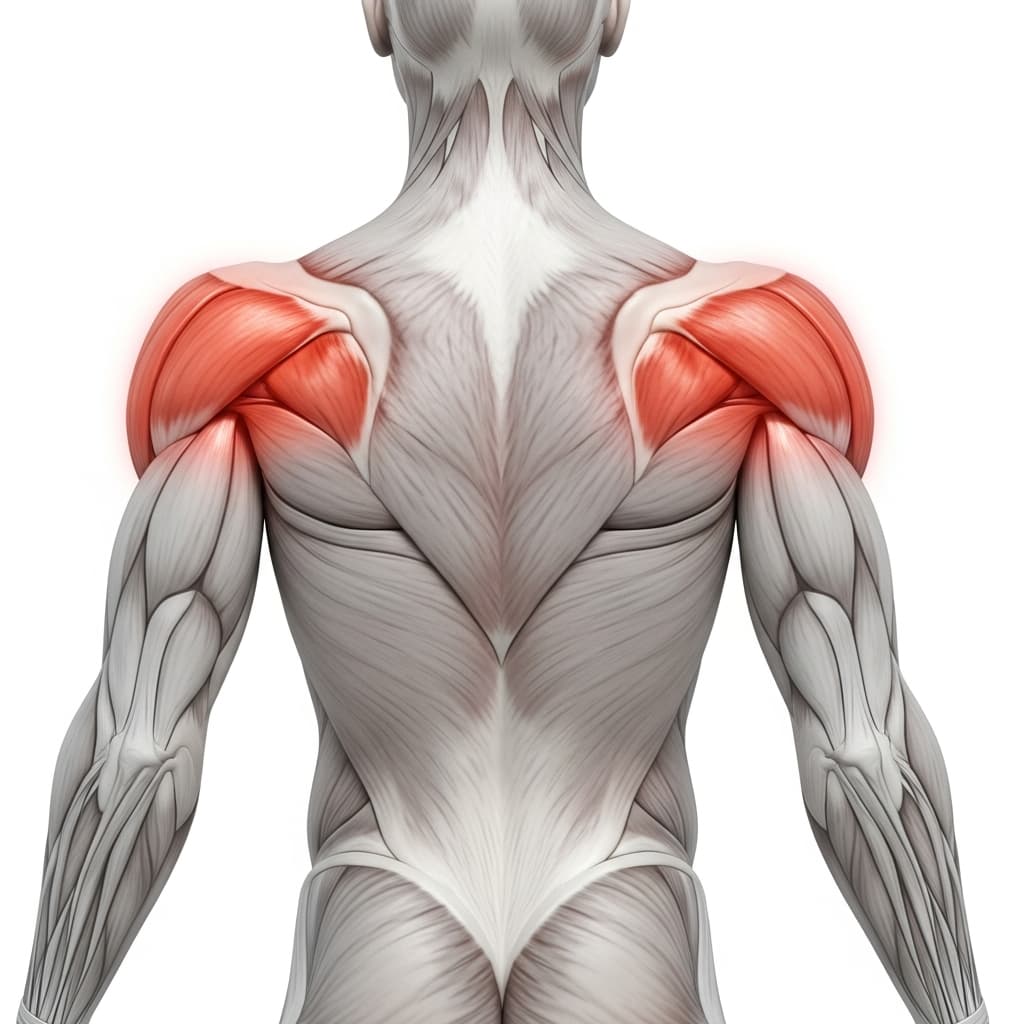
Rhomboids & Upper Trapezius (Upper Back) - The upper back muscles retract and stabilize the scapulae, keeping the shoulder blades packed together during the pull and at the top of each rep.
Posterior Deltoid (Rear Deltoid) - The rear deltoids assist scapular retraction and help maintain horizontal alignment of the shoulders at the top of the movement.
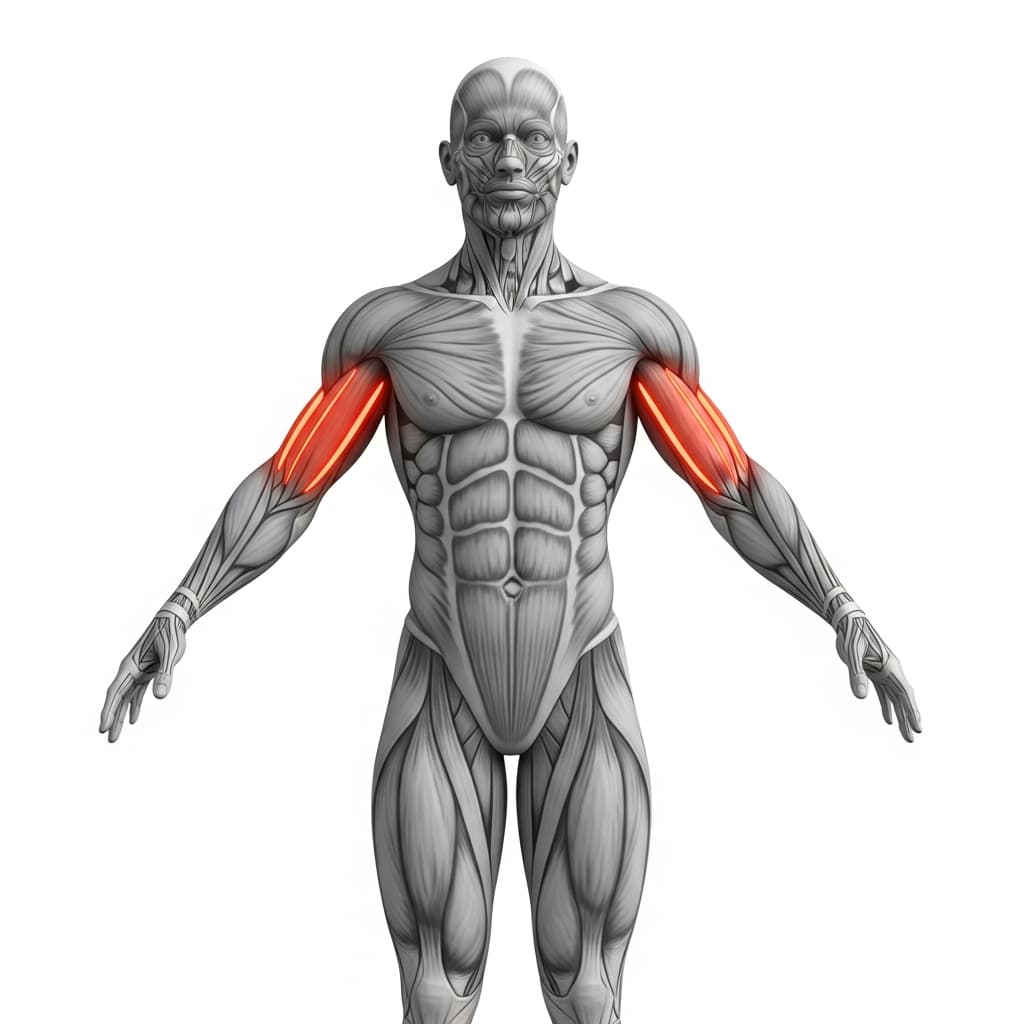
Biceps Brachii (Biceps) - The biceps assist the lats by flexing the elbows during the pulling phase, helping drive the body from the hang into the horizontal position.
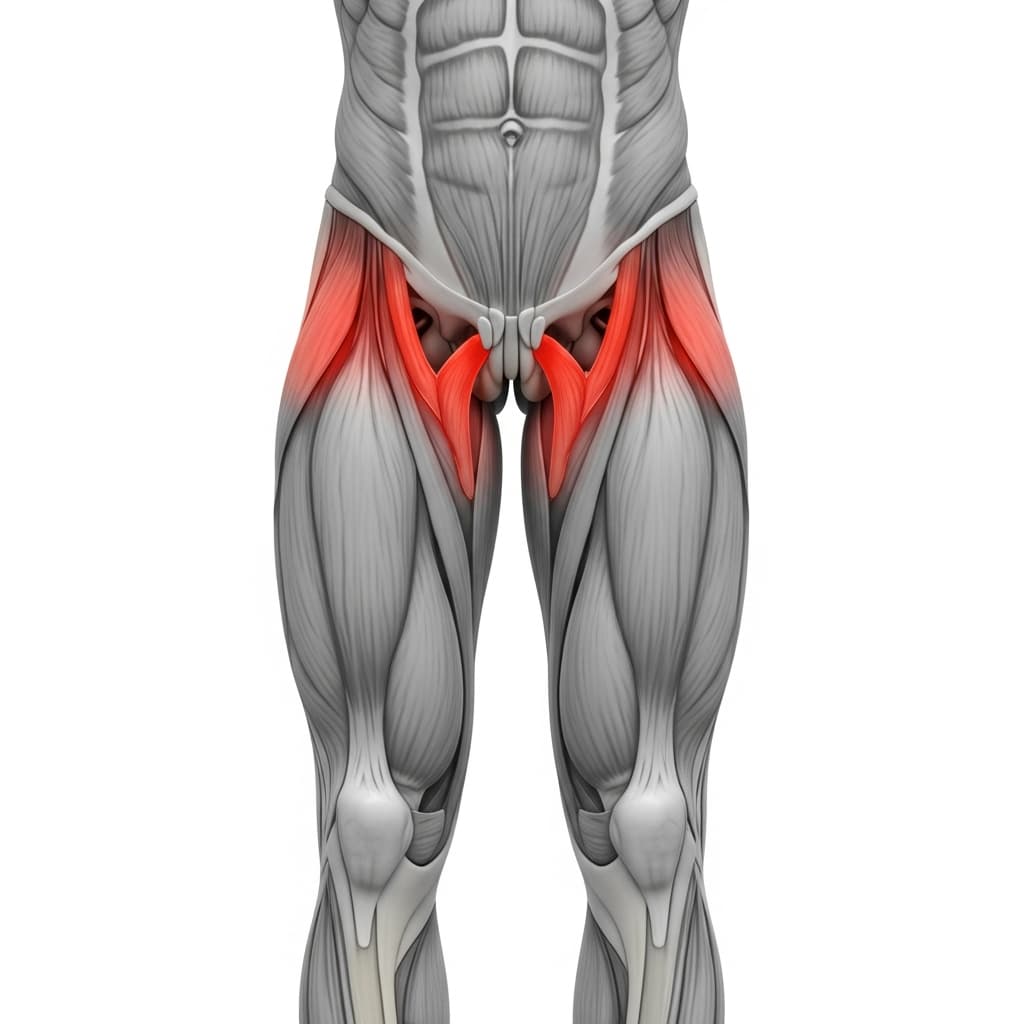
Iliopsoas (Hip Flexors) - The hip flexors hold the knees in the advanced tuck position throughout the movement, preventing the legs from dropping and lengthening the lever arm unintentionally.
Benefits of Advanced Tuck Front Lever Raises
- Builds lat strength through a full range of horizontal pulling motion, developing the specific pulling power needed for front lever progression
- Trains the core to maintain rigid body tension under dynamic load, which transfers directly to every static hold in calisthenics
- Strengthens scapular retraction and depression under heavy bodyweight resistance, improving shoulder stability for all hanging and pulling movements
- Develops the specific strength and motor pattern required to progress from tuck-level front lever work to full front lever holds and raises
Who Is This Exercise For?
You should be able to hold an advanced tuck front lever for at least 8 to 10 seconds with stable hips and retracted scapulae before adding the raise component. Comfortable sets of tuck front lever raises with controlled form are also a prerequisite. If your hips drop immediately when you attempt the static hold, spend more time building isometric strength with tuck front lever holds and scapular pull-ups first.
Common Mistakes to Avoid
Letting the hips drop below shoulder level: The hips sagging is the most common failure point and usually means the core or lats are giving out before the rep is complete. Focus on driving the hips up as the primary intent of the pull, not just lifting the chest.
Skipping scapular retraction before pulling: Starting the pull with relaxed shoulders shifts the load onto the biceps and places the shoulder joint in a weak position. Set your scapulae down and back before every single rep.
Swinging or using momentum: Each rep should start from a controlled dead hang with zero swing. If you need momentum to reach the top, the exercise is too advanced and you should regress to tuck front lever raises.
Pulling knees too close to the chest: Tucking the knees tightly against the chest shortens the lever arm and reduces the training stimulus. Keep the thighs angled away from the torso in the advanced tuck position throughout the entire set.
Variations & Progressions
Tuck Front Lever Raises
Pull the knees tight against the chest instead of extending them outward. The shorter lever arm significantly reduces the load on the lats and core, making this a good stepping stone if advanced tuck raises are too demanding.
Full Front Lever Raises
Extend the legs completely straight while performing the raise. The fully extended body creates the longest possible lever arm, requiring substantially more lat and core strength to pull into the horizontal position.