Hollow Body To Tuck V-ups
Hollow Body To Tuck V-ups are a dynamic core exercise that combines the isometric tension of a hollow body hold with an explosive tuck movement targeting the abs, hip flexors, and obliques. The exercise demands that you maintain a rigid hollow position between each rep, then drive your knees toward your chest while reaching your hands to the outside of your feet. This constant switching between static hold and controlled movement builds the kind of core endurance and body awareness that directly transfers to L-sits, levers, and every pressing skill in calisthenics.
Hollow Body To Tuck V-ups are a dynamic core exercise that combines the isometric tension of a hollow body hold with an explosive tuck movement targeting the abs, hip flexors, and obliques. The exercise demands that you maintain a rigid hollow position between each rep, then drive your knees toward your chest while reaching your hands to the outside of your feet. This constant switching between static hold and controlled movement builds the kind of core endurance and body awareness that directly transfers to L-sits, levers, and every pressing skill in calisthenics.
How to Do Hollow Body To Tuck V-ups
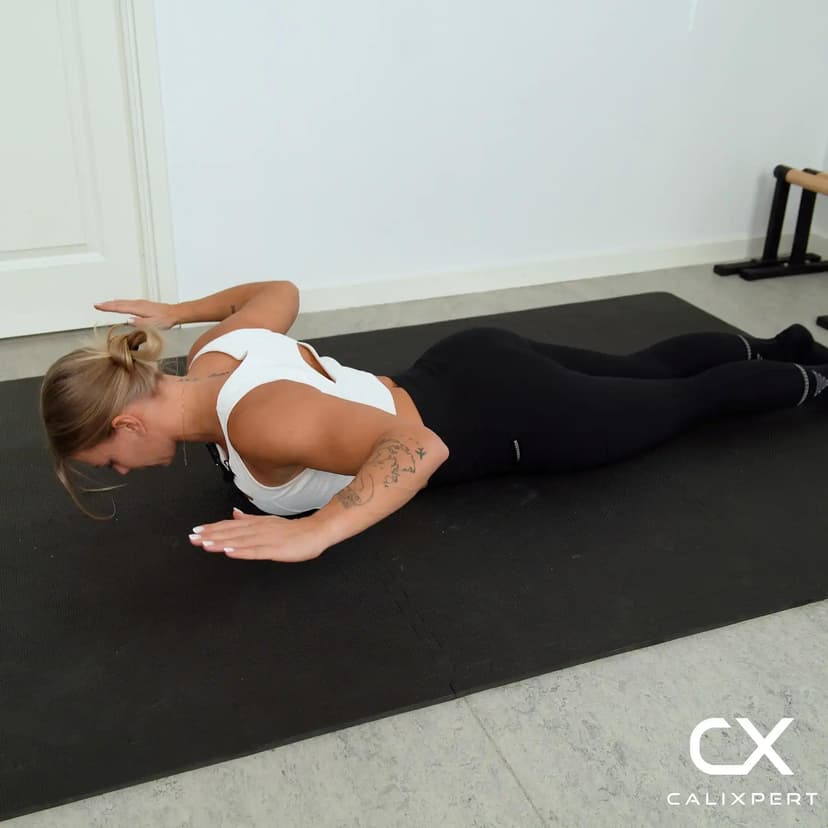
1. Set Up the Hollow Body
Lie flat on your back with your arms extended overhead and your legs straight out in front of you. Press your lower back firmly into the floor by engaging your abs and tilting your pelvis slightly. Lift your shoulders and legs a few inches off the ground so your body forms a shallow curve. Keep your arms by your ears and your legs together with toes pointed.
Lower back glued to the floor
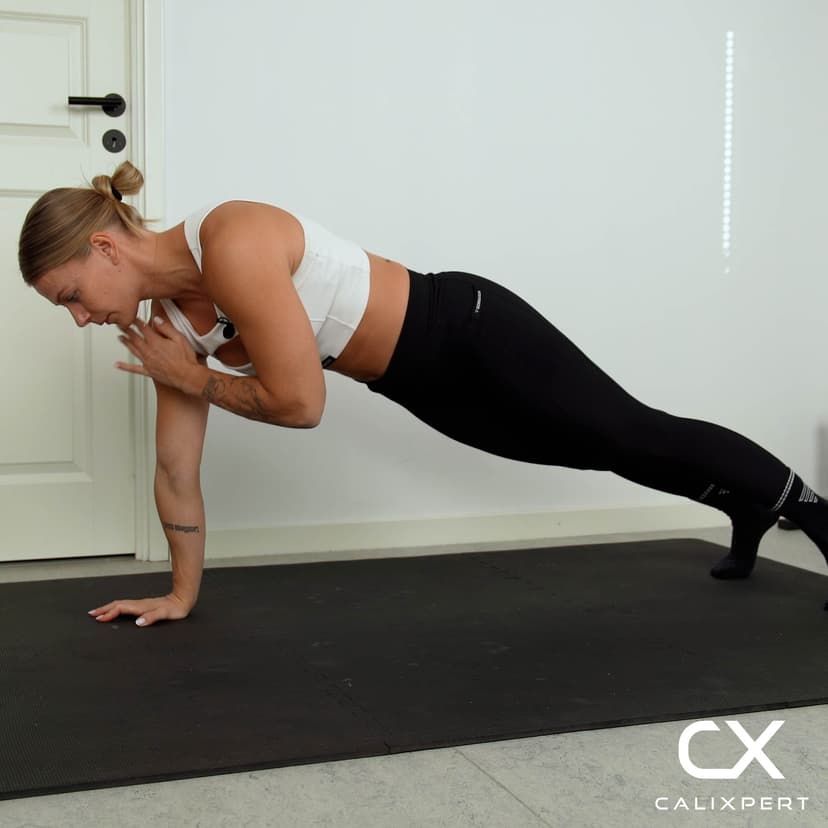
2. Initiate the Tuck
From the hollow body position, begin pulling your knees toward your chest while simultaneously lifting your upper body. Drive the movement with your abs, not by swinging your arms forward. Your torso and thighs should close the distance together, meeting in the middle.
Abs pull you in, not your arms
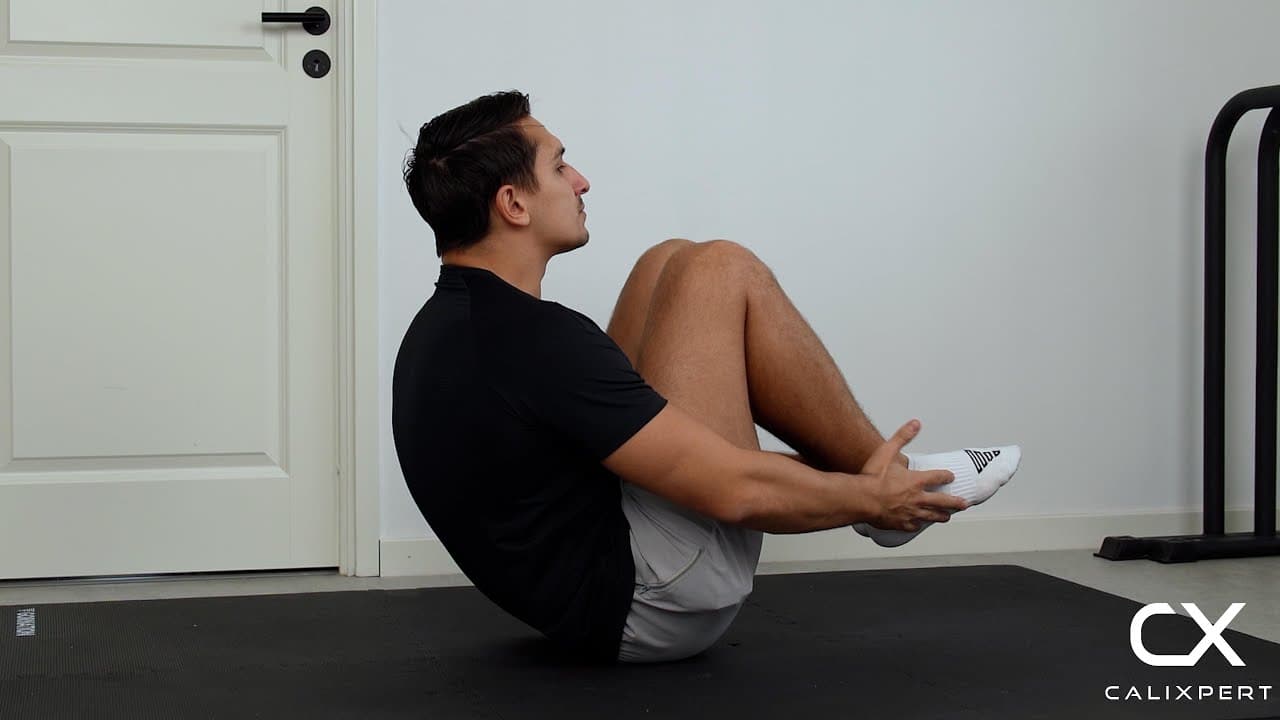
3. Touch Outside Your Feet
As you reach the top of the tuck, extend your hands forward and touch the outside of your feet or heels. This reach ensures your upper body comes far enough forward to complete the full range of motion. Keep your shoulders rounded slightly forward and your core braced throughout the contact.
Hands to the outside of the feet
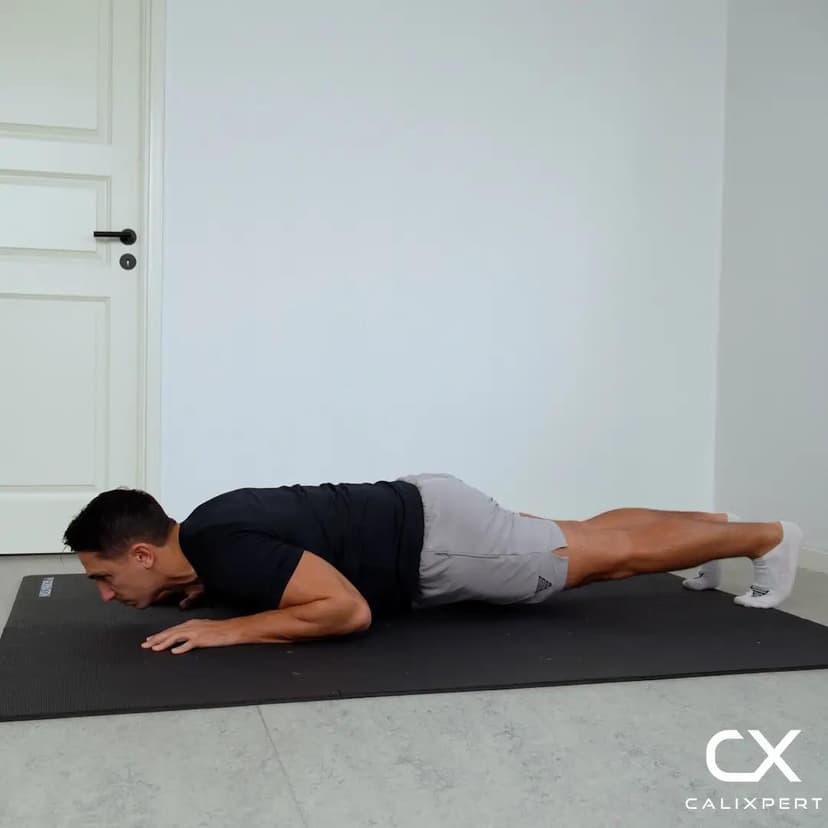
4. Return to Hollow Body
Slowly extend your legs and arms back out to the starting hollow body position. Resist the urge to let your legs or shoulders drop to the floor between reps. Maintain tension in your abs as you extend so the hollow position is re-established under control, not by falling back into it.
Extend with control, never collapse
5. Choose Your Tempo
You can perform this exercise at two speeds. A faster tempo lets you use some momentum, making it slightly easier but still effective for building endurance. A slower, controlled tempo removes all momentum, increases time under tension, and challenges your balance significantly more. Start with the controlled version to build proper mechanics before adding speed.
Slow builds control, fast builds endurance
Most people lose this exercise in the transition. They nail the tuck, but then just flop back into the hollow position and call it a rep. The real work happens when you extend back out slowly with full tension in your abs, fighting gravity the entire way. If you can control the extension for a solid two-count on every rep, you will feel your core working in a completely different way than if you just snap back and forth.
Muscles Worked During Hollow Body To Tuck V-ups
Primary Muscles:
Secondary Muscles:


Primary Muscles
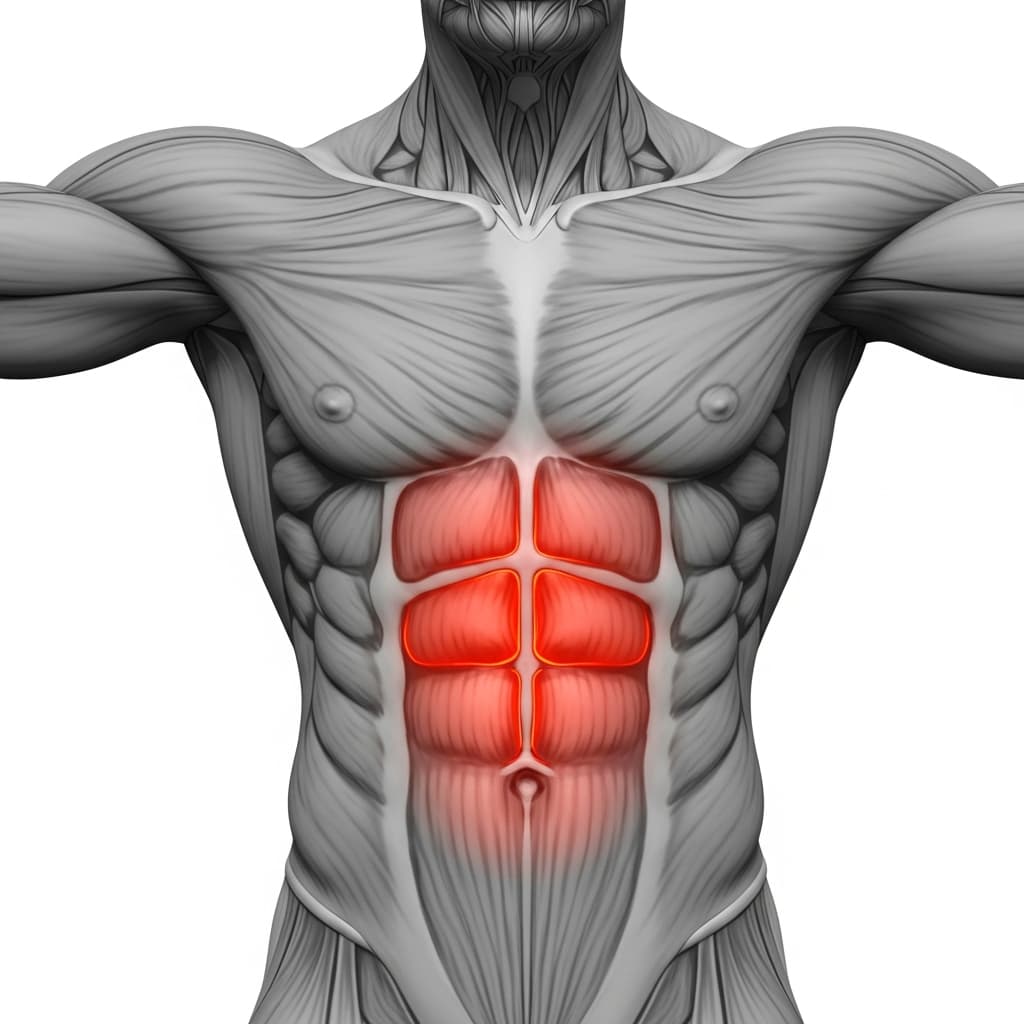
Rectus Abdominis (Abs) - The rectus abdominis drives both the isometric hold during the hollow body phase and the dynamic flexion of the spine during the tuck, making it the primary mover throughout the entire exercise.
Secondary Muscles
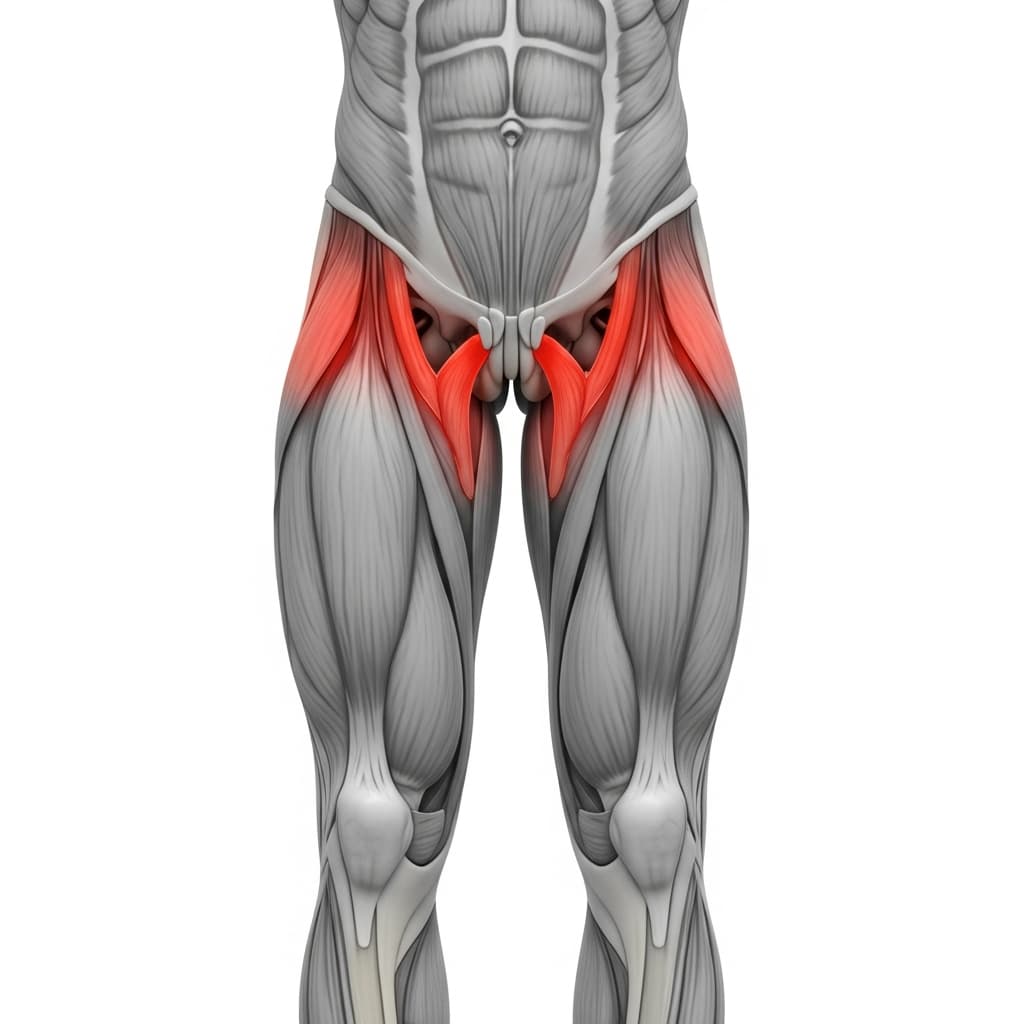
Iliopsoas (Hip Flexors) - The hip flexors actively pull the knees toward the chest during each tuck and control the lowering of the legs back into the hollow body position.
Obliques (Obliques) - The obliques stabilize the torso and resist rotation as the hands reach to the outside of the feet, keeping the trunk aligned during the tuck.
Quadriceps (Quads) - The quadriceps contract isometrically to keep the legs extended and elevated during the hollow body phase between each rep.
Benefits of Hollow Body To Tuck V-ups
- Builds sustained core endurance by combining isometric holds with dynamic contractions in a single movement, training the abs under two distinct loading patterns
- Develops the hollow body position under fatigue, which is the foundational shape for handstands, levers, and every gymnastics-based calisthenics skill
- Strengthens the hip flexors through a full range of motion, improving active leg-lift capacity for L-sits, hanging leg raises, and compression work
- Teaches body awareness and midline control by forcing you to transition between two positions without losing tension or allowing your back to arch
Who Is This Exercise For?
You should be able to hold a solid hollow body position for at least 15 seconds with your lower back fully pressed into the floor before attempting this exercise. If your lower back lifts off the ground during a basic hollow hold, work on dead bugs and tucked hollow holds until you develop the core control to maintain that position. Comfort with regular tuck-ups or knee raises is also recommended so the hip flexor demand does not compromise your form.
Common Mistakes to Avoid
Letting the lower back arch in the hollow position: Press your lower back into the floor before every rep by squeezing your abs and tilting your pelvis. If your back lifts off the ground, raise your legs slightly higher until your core is strong enough to maintain the flat-back position at a lower angle.
Dropping to the floor between reps: Your shoulders and legs should never touch the ground during the set. The hollow body position between each tuck is an active hold, not a rest. If you cannot maintain it, reduce your rep count rather than losing tension.
Using arm momentum to swing into the tuck: Your arms follow the movement, they do not create it. If you find yourself throwing your arms forward to generate the tuck, slow down and focus on initiating the crunch from your abs.
Rushing through the extension phase: The return to hollow body is where most of the strength is built. Aim for a controlled 2-second extension back to the starting position. Dropping quickly wastes the eccentric portion of the exercise and reduces core activation.
Variations & Progressions
Tucked Hollow Hold to Crunch
Instead of extending fully into a hollow body between reps, keep your knees bent in a tucked position. This shortens the lever arm and reduces the core demand, making it accessible for athletes who cannot yet hold a full hollow body.
Hollow Body to Full V-up
Instead of tucking the knees, keep your legs completely straight as you fold into a full V-up position. The longer lever arm demands significantly more ab and hip flexor strength, and the balance requirement at the top is much greater.