Assisted Tuck Front Lever Pull Ups
Assisted tuck front lever pull ups turn the front lever from a hold into a rep. A band is fastened above you and sits across your lower back, taking off just enough weight that you can pull your body up toward a separate bar underneath while staying horizontal. The lats and upper back do the pulling, and the abs and hip flexors keep the tuck closed. It is the bridge between holding a tuck front lever and pulling in one.
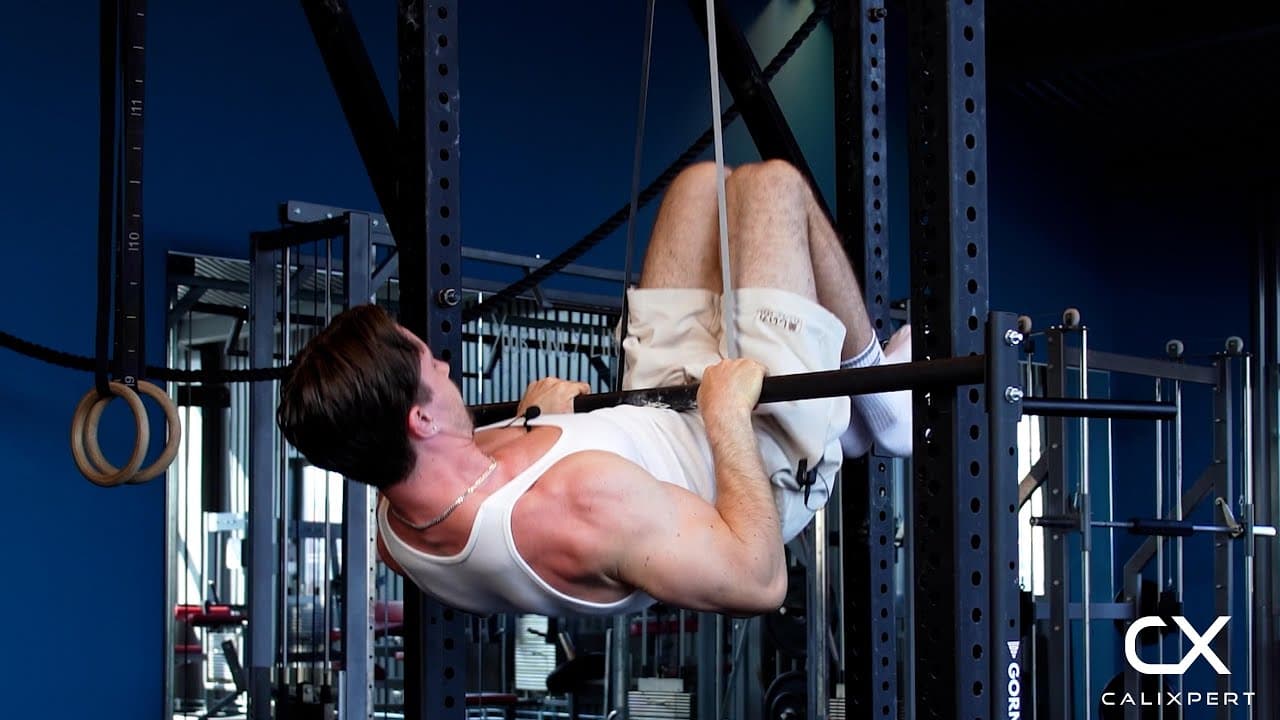
Assisted tuck front lever pull ups turn the front lever from a hold into a rep. A band is fastened above you and sits across your lower back, taking off just enough weight that you can pull your body up toward a separate bar underneath while staying horizontal. The lats and upper back do the pulling, and the abs and hip flexors keep the tuck closed. It is the bridge between holding a tuck front lever and pulling in one.
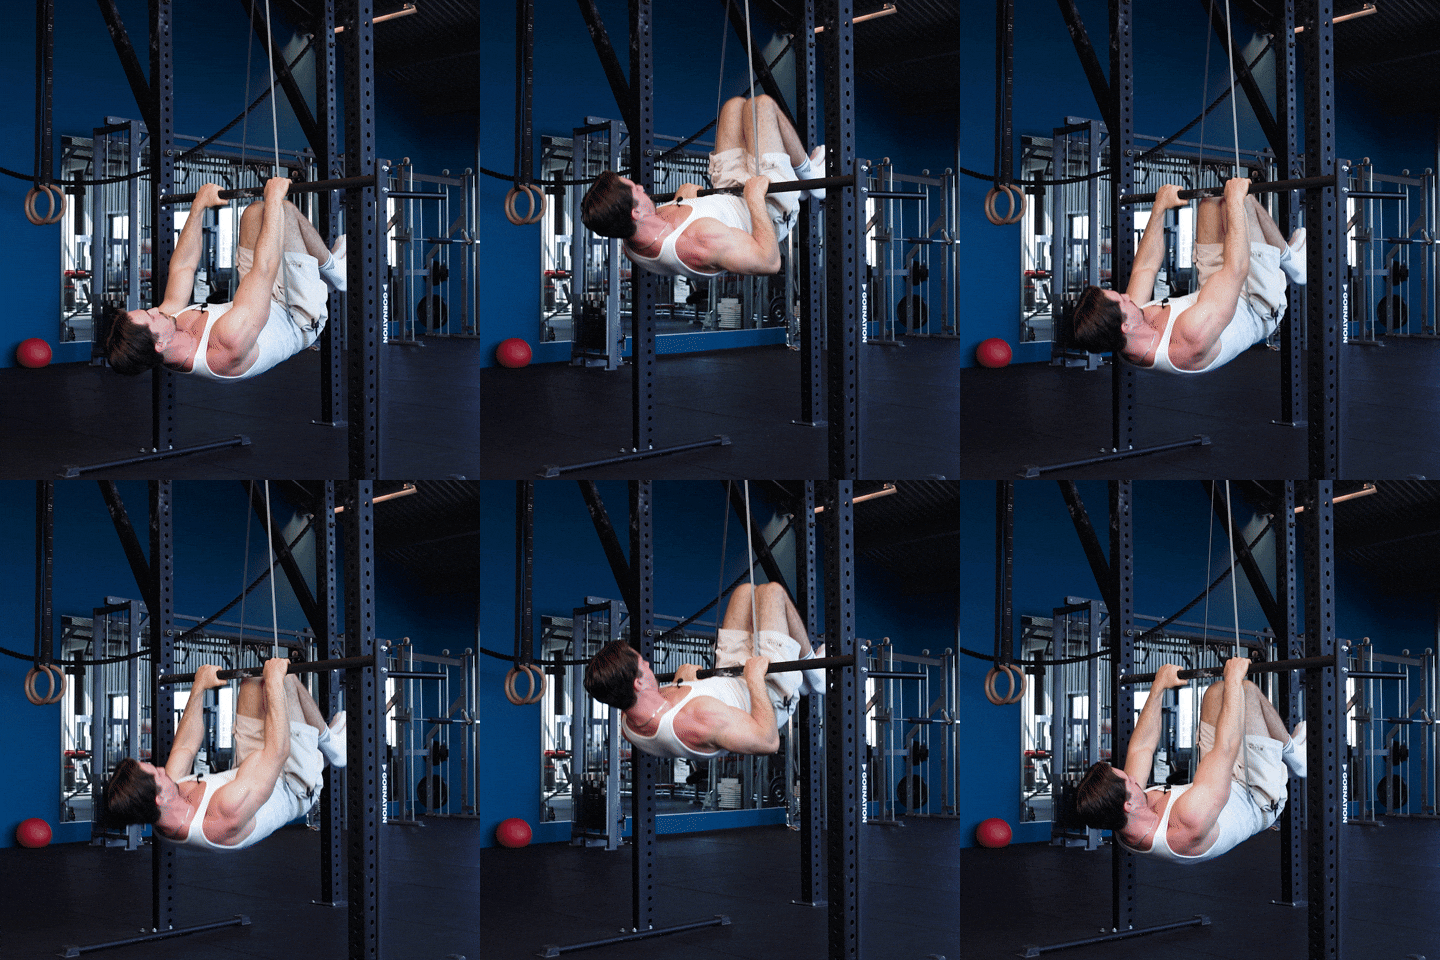
How to Do Assisted Tuck Front Lever Pull Ups
1. Fasten The Band Above And Set A Bar Below
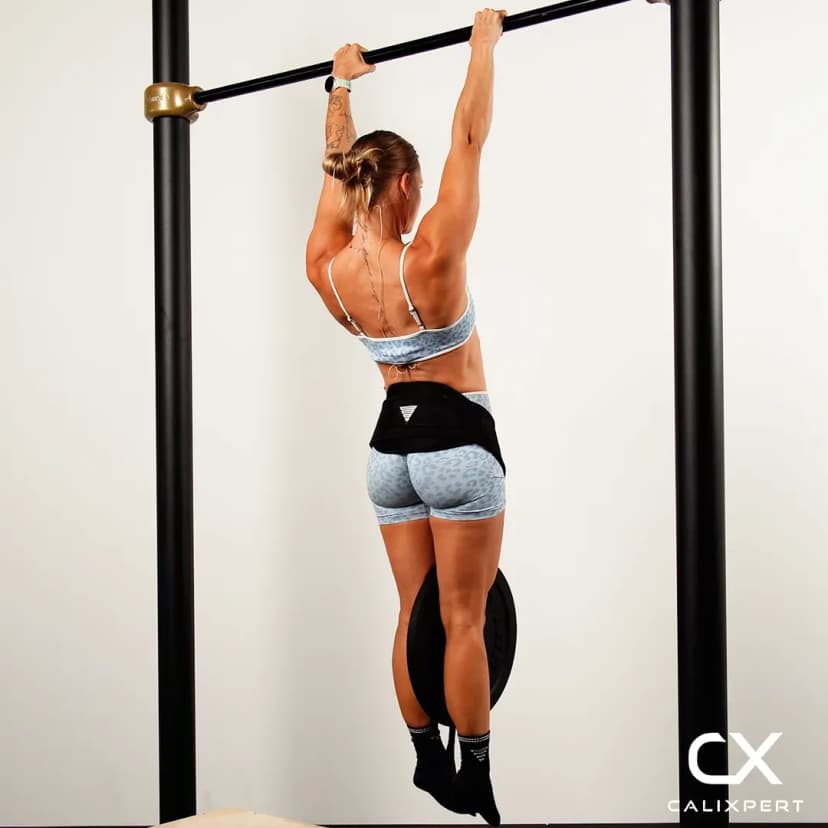
Fasten the resistance band to a bar or rig above you, and set a separate bar underneath it so the band hangs down into the space your body will occupy. That lower bar has to be high enough that you can hang under it with the arms straight and still clear the floor, and in the video it crosses Daniel at the bottom of his ribcage when he stands beside it. Pick the thinnest band you can finish your reps with.
Band overhead, bar underneath.
2. Enter On One Side, Come Up On The Other
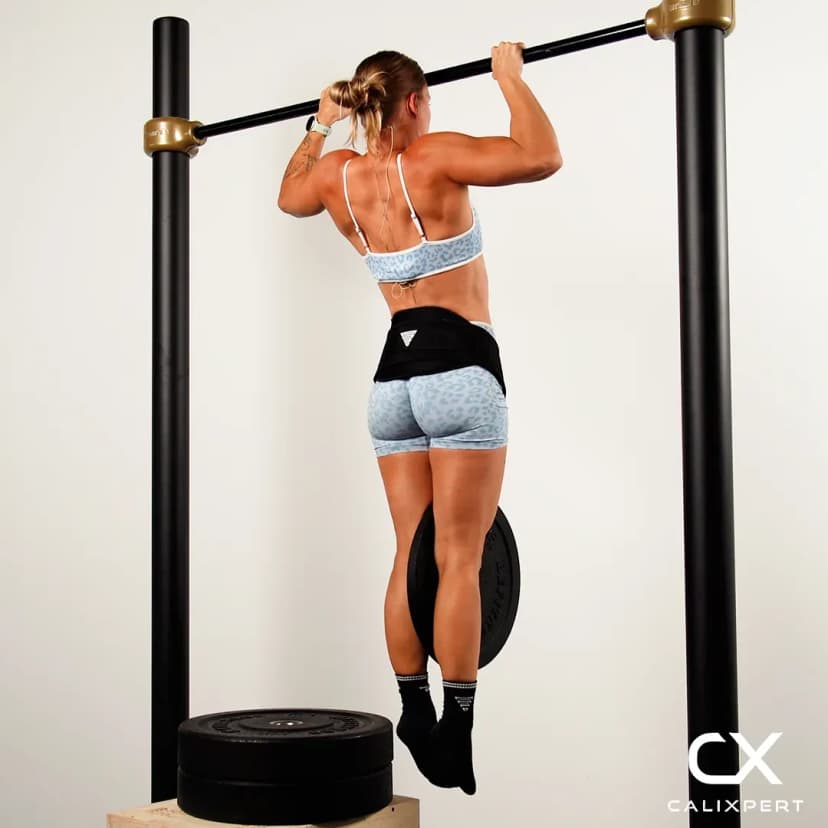
Stand on one side of the lower bar and step into the band. Daniel recommends going up on the other side of the bar, then adjusting from there until the band sits where you want it.
In on one side, up on the other.
3. Adjust The Band Onto Your Lower Back
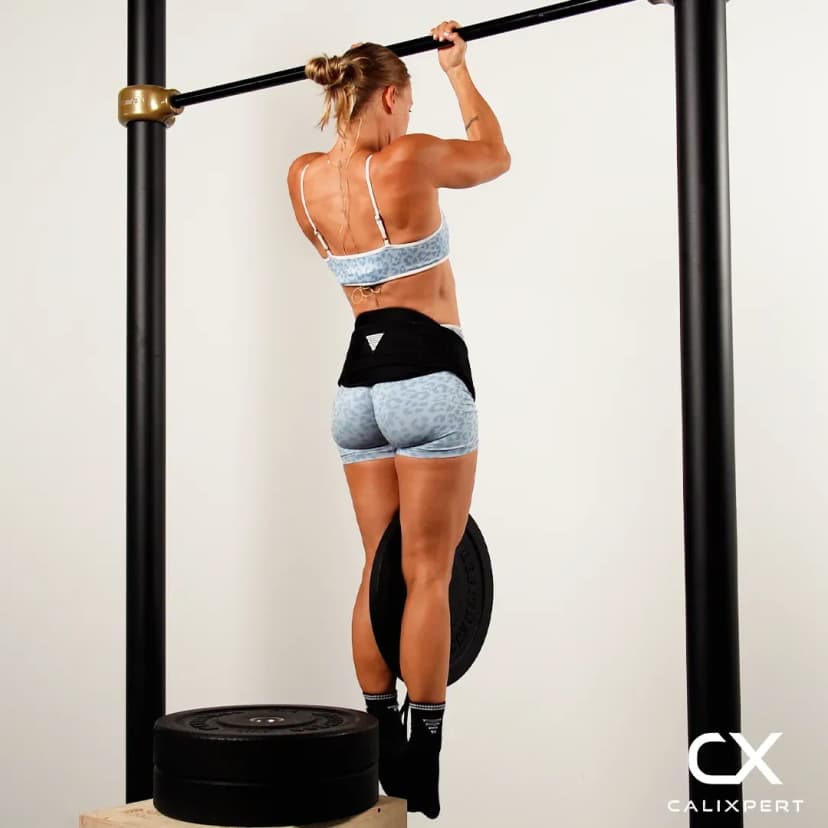
Shuffle the band until it sits across your lower back. In a tuck your hips are flexed, so a band on the hips or feet has nothing to sit against and slides straight off. Lower back placement also keeps the assistance close to your shoulders, which means it takes less of the exercise away from you.
Lower back, not hips, not feet.
4. Grab Some Extra False Grip
Before you lever out, roll your hands further over the top of the bar so the wrist sits above it rather than hanging underneath. Daniel calls this grabbing some extra false grip and says it will be helpful for the pull ups.
Roll the hands over the bar.
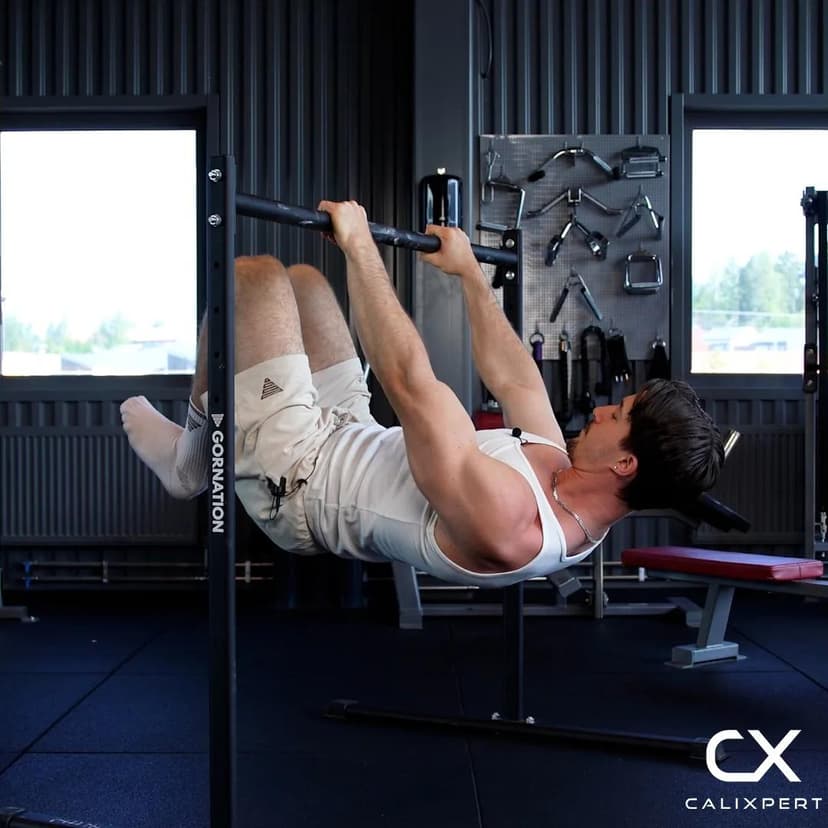
5. Lower Into The Tuck Front Lever
Pull your shoulder blades back and down, then lower yourself out until your body is horizontal with the knees tucked. Set that shoulder position before your feet leave the floor. If you let the shoulders roll forward first, you will spend the whole set trying to win them back instead of pulling.
Shoulders back and down first.
6. Pull Up Without Touching The Bar
Pull yourself up toward the bar and keep the body horizontal the whole way. Daniel's target is to get as close to the bar as possible without touching it. He also notes that the shape here sits a bit more towards advanced tuck, so the knees are not crushed into the chest.
As close as you can, no contact.
7. Lower Under Control And End The Set Early
Straighten the arms slowly and keep the hips at shoulder height on the way back out. The lowering half is where a lot of the strength gets built, so do not drop back into a straight arm hang. Stop the set on the first rep where the hips finish below the shoulders rather than grinding out one more.
Own the way down.
Fasten the band above you and use a separate bar underneath. Step in on one side, come up on the other, and adjust until the band sits on your lower back, not on your hips and not on your feet. Then grab some extra false grip, roll the hands over the top of the bar, it is helpful for the pull ups. Enter the tuck front lever and pull. Do not touch the bar, get as close to it as you possibly can.
Muscles Worked During Assisted Tuck Front Lever Pull Ups
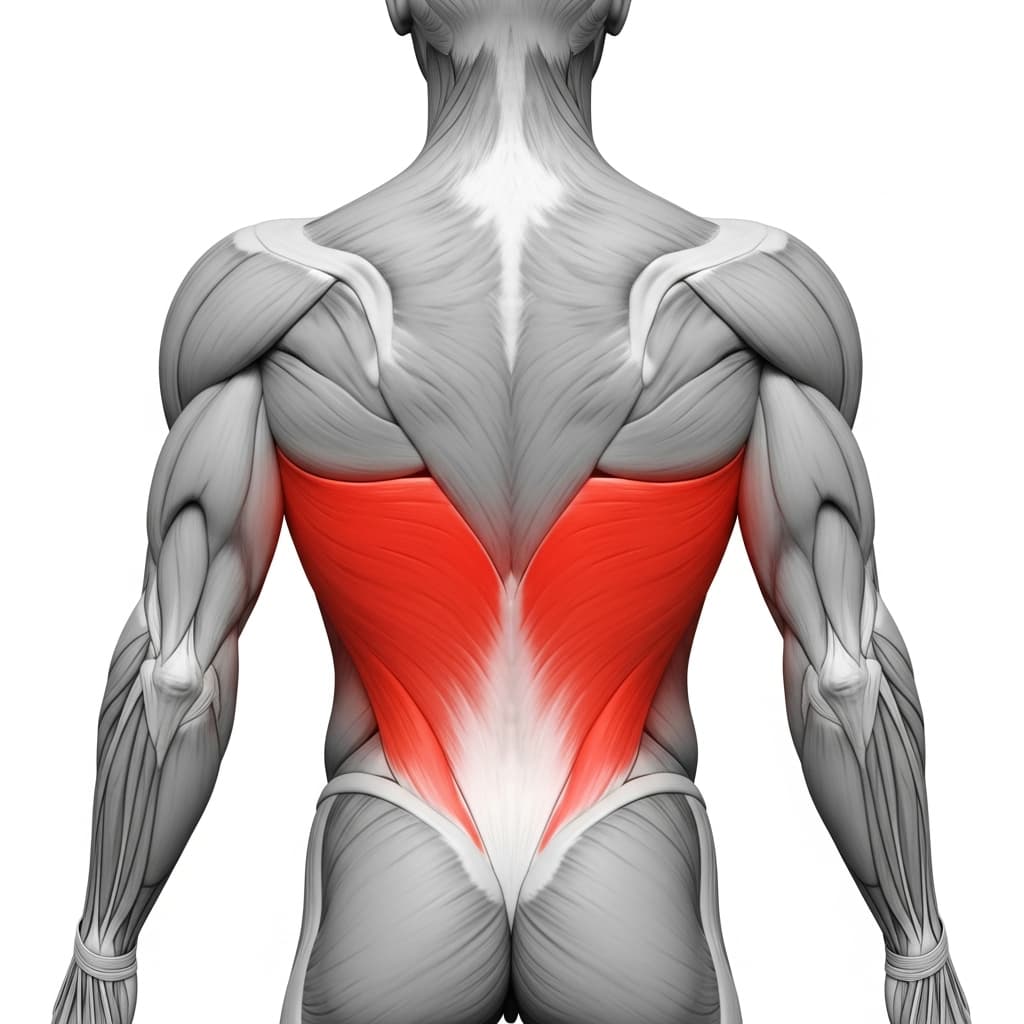
Primary Muscles:
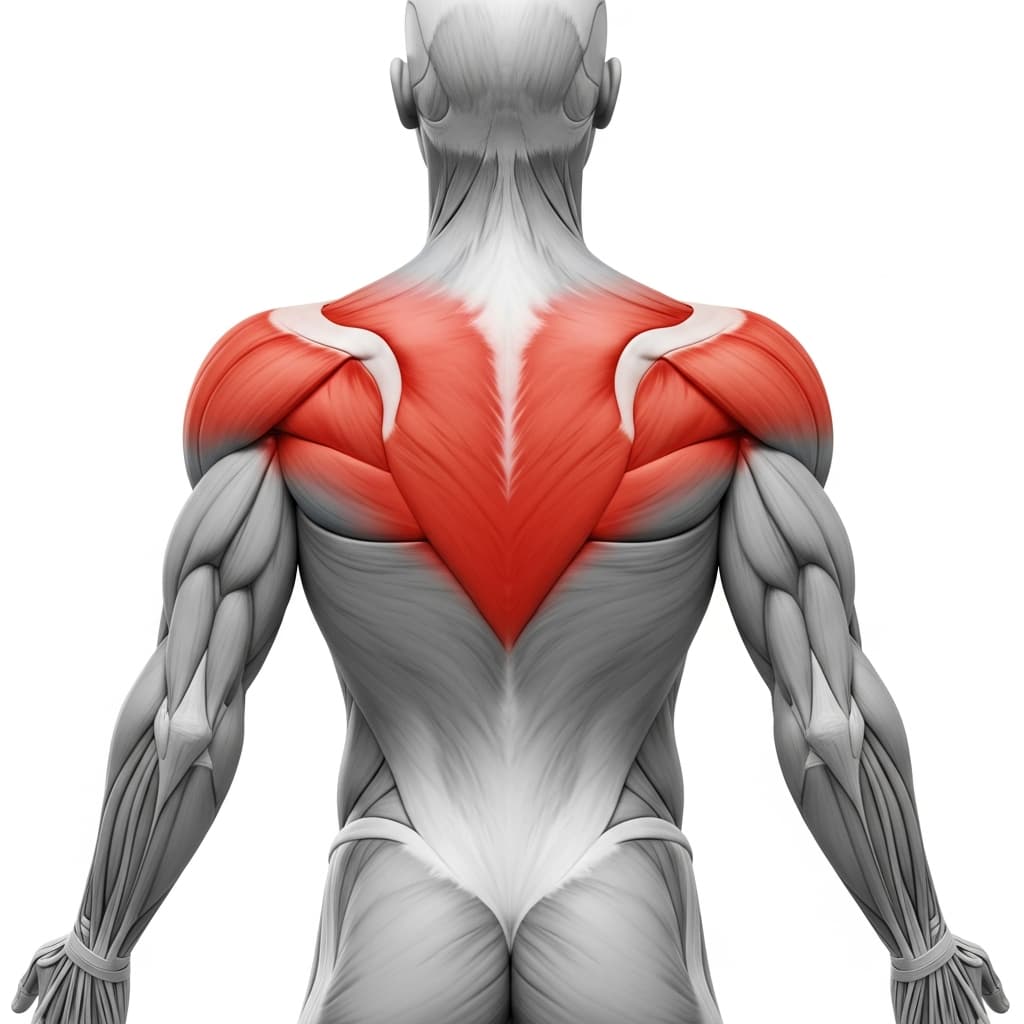
Secondary Muscles:
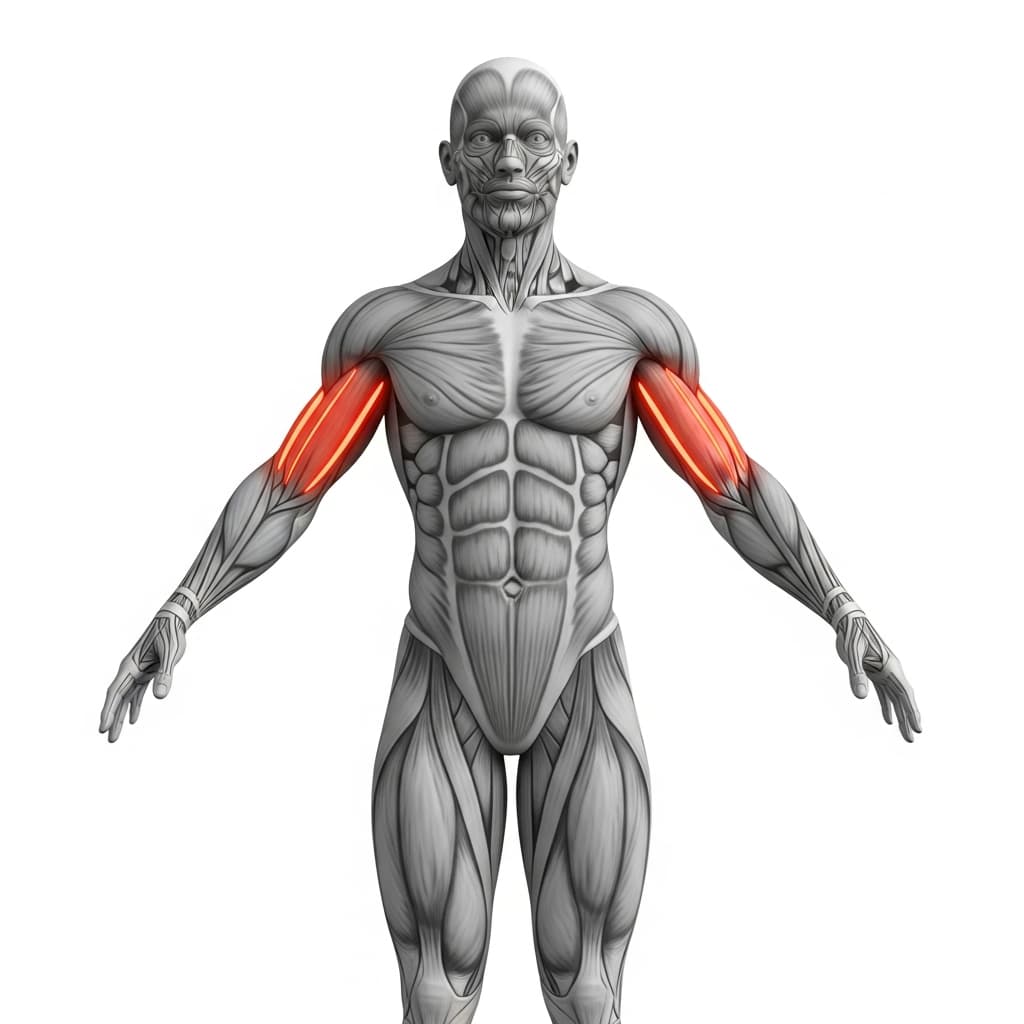
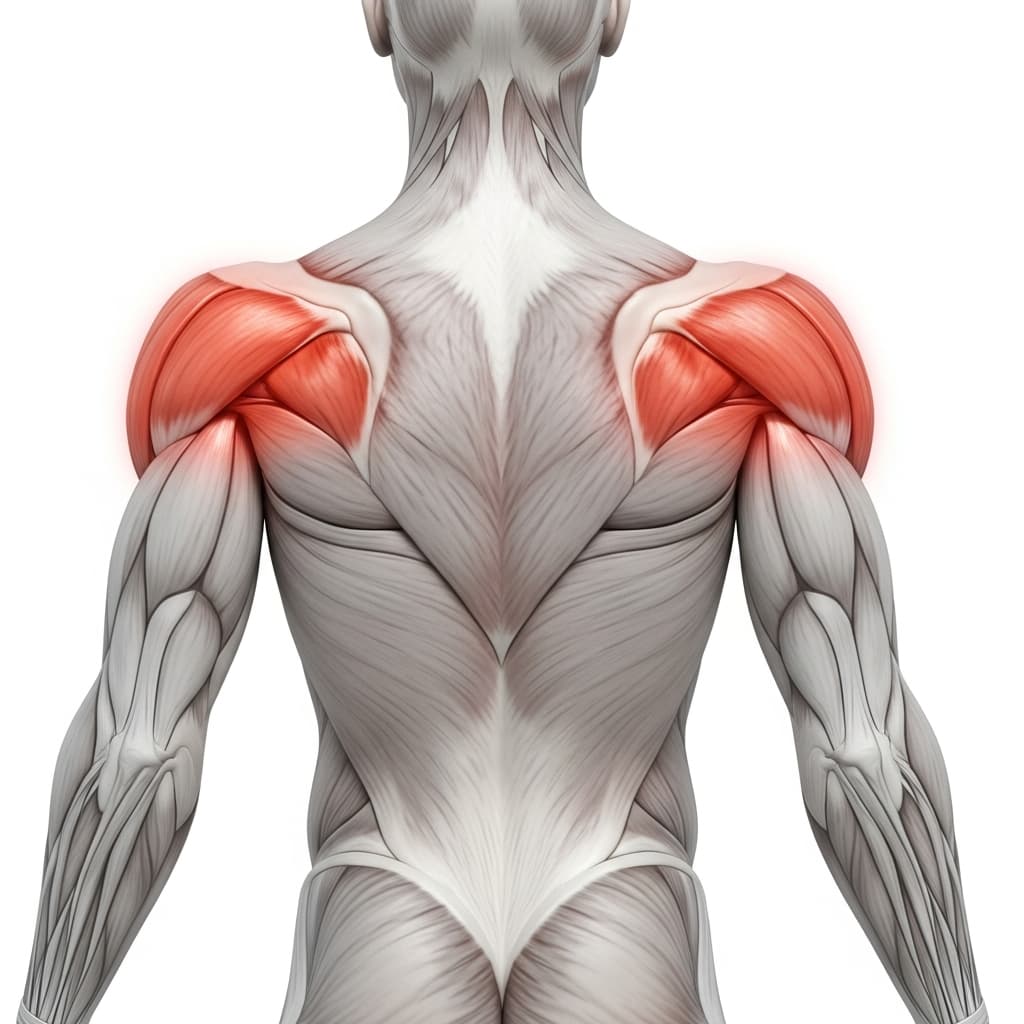
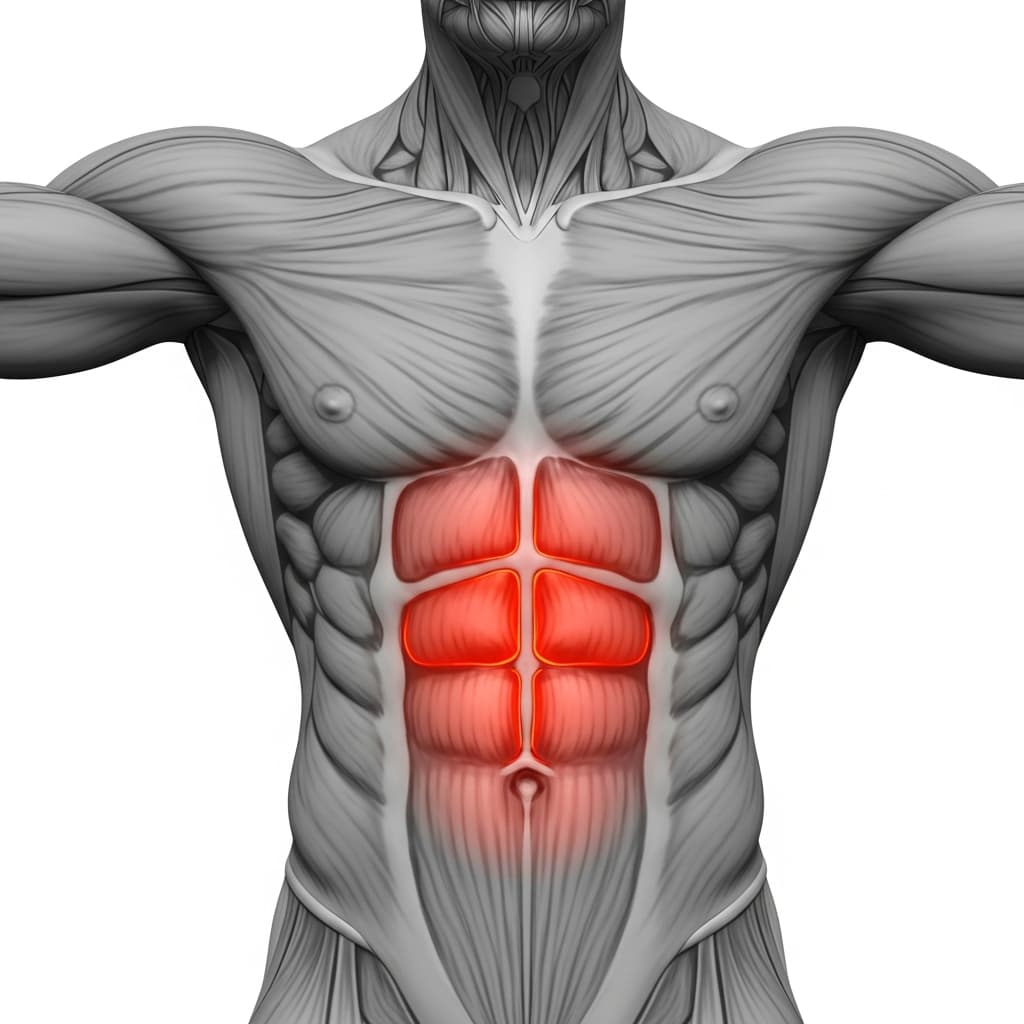
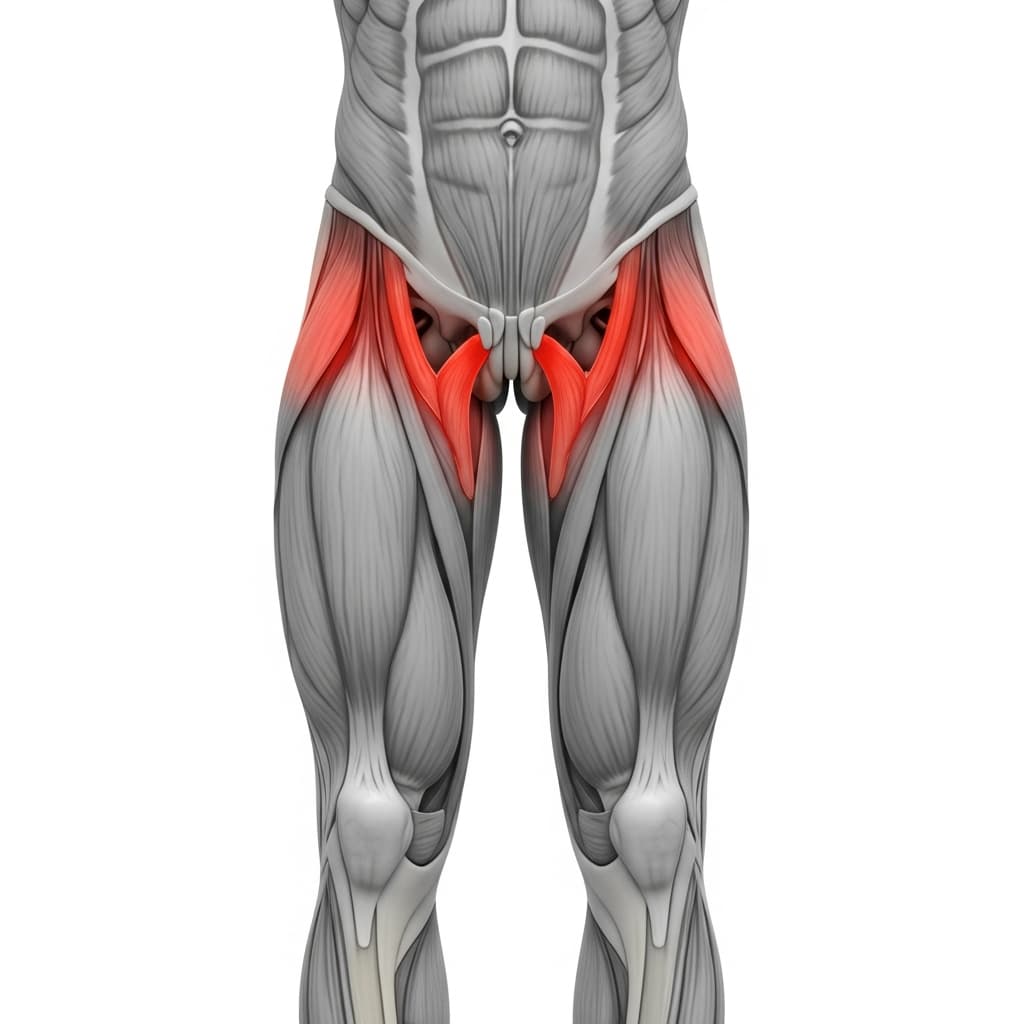
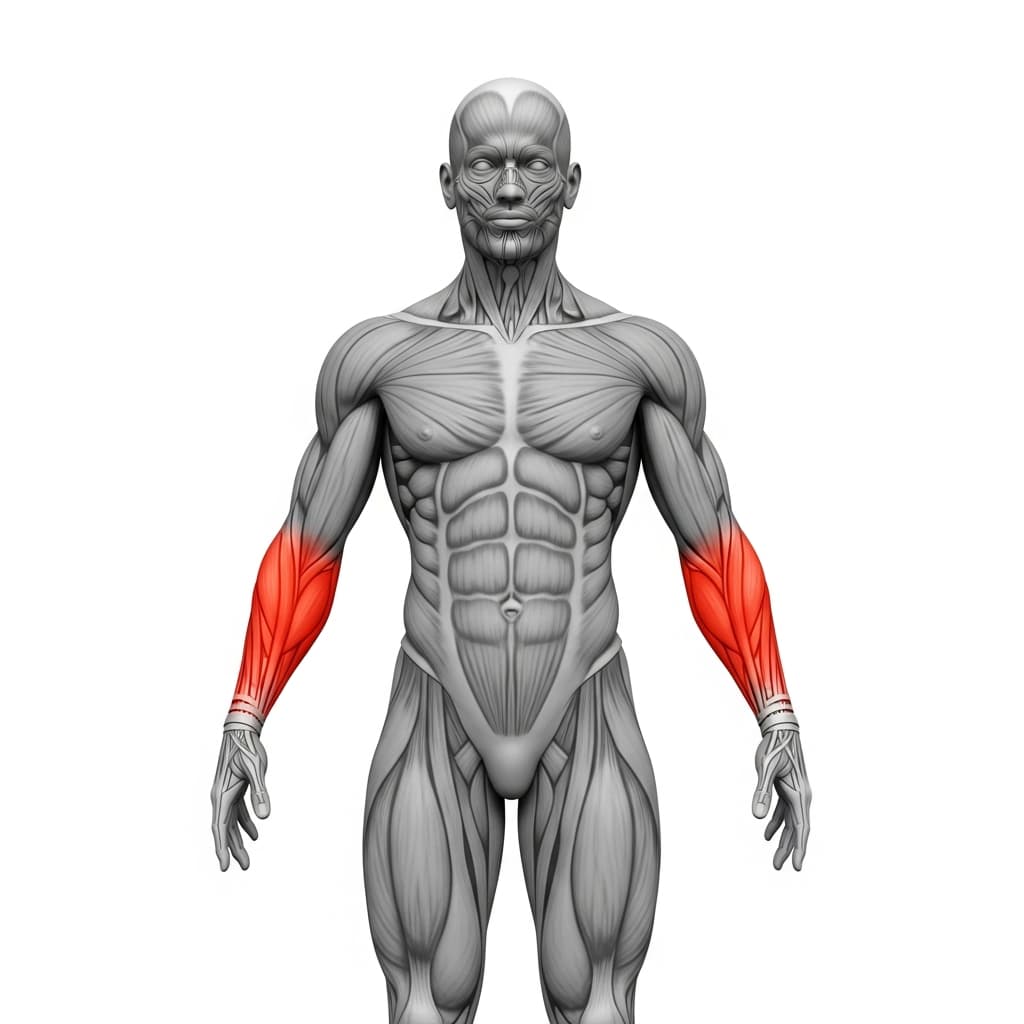
Primary Muscles
Latissimus Dorsi (Lats) - The lats do the main work, holding your body horizontal by extending the shoulder and then driving each pull toward the bar.
Rhomboids & Upper Trapezius (Upper Back) - The upper back keeps the shoulder blades back and down against a lever that is constantly trying to drag them forward.
Secondary Muscles
Biceps Brachii (Biceps) - The biceps handle the bending half of every rep, which is what makes this a pull up instead of a hold.
Posterior Deltoid (Rear Deltoid) - The rear deltoids help pull the upper arm back behind the body, especially through the last part of each rep.
Rectus Abdominis (Abs) - The abs stop the lower back arching, which is what keeps your hips at shoulder height instead of sinking.
Iliopsoas (Hip Flexors) - The hip flexors hold the knees tucked in, because a band on your lower back does nothing to keep your legs up.
Forearm Flexors & Extensors (Forearms) - The forearms work hard in the false grip, holding the wrist over the top of the bar for the whole set.
Benefits of Assisted Tuck Front Lever Pull Ups
- Turns the front lever into a rep movement, so you train the shape through a range instead of only at one point.
- Gives you far more quality time in a tuck front lever position than an unassisted max hold ever allows.
- Teaches scapular retraction and depression under real load, which is the fault that stalls most front lever progress.
- Builds the horizontal pulling strength an unassisted tuck front lever pull up needs, dialled down band by band.
- Loads the abs and hip flexors properly, because a band on the lower back does nothing to hold your knees up.
Who Is This Exercise For?
Before this you want a tuck front lever you can genuinely hold, around 10 seconds of a clean shape with the shoulders back and down and the hips level with the shoulders. Scapula pull ups from a hang, and the same pattern in the tuck front lever position, build the straight arm shoulder strength this borrows from. A solid pull up helps too, because the top half of every rep is a horizontal pull. The setup needs two anchor points: something above you for the band, and a separate bar underneath it that is high enough to hang from with straight arms and still clear the floor.
Common Mistakes to Avoid
Putting the band under your feet: It is the easiest setup to rig and the worst one for a tucked shape. Your hips are flexed here, so a band at the feet lifts your legs into position instead of taking weight off you, and you end up training a shape the band is producing. Keep it across the lower back where Daniel puts it, so the band only reduces the load and you still have to build the position yourself.
Using a band that is far too thick: A thick band hides the exact fault the exercise exists to fix. It lifts your hips into a line you cannot hold on your own, so the reps look clean and almost nothing carries over. Use the thinnest band that lets you finish your reps, and treat the band as a bridge across one rung, not three.
Letting the shoulders roll forward at the top: The lever spends every rep trying to drag your shoulder blades forward around your ribcage. When it wins, the shoulders creep toward your ears, the lats lose the position they pull from, and the hips drop with them. You are pulling into retraction and depression the whole time just to keep the shoulders neutral, so it is a fight you hold to a draw rather than a maximum pinch you chase.
Turning the rep into a diagonal row: When the abs and hip flexors tire, the hips sink first and the body stops being horizontal, so the pull quietly becomes a steep bodyweight row with the feet low. It feels like extra reps and it is training something easier. Watch the hips, not the arms, and end the set when the line breaks.
Variations & Progressions
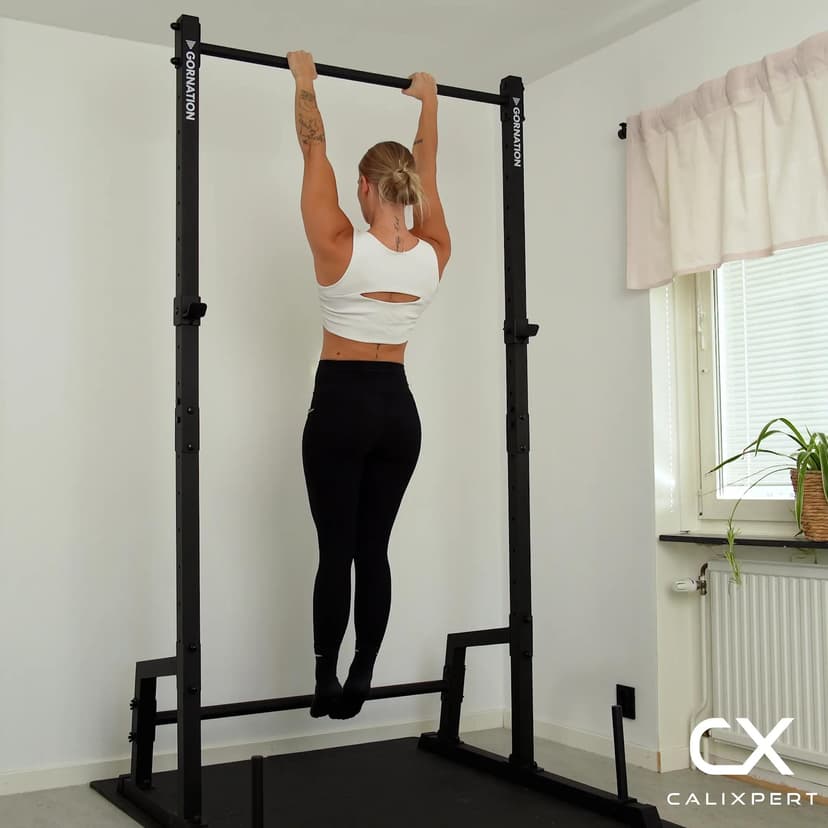
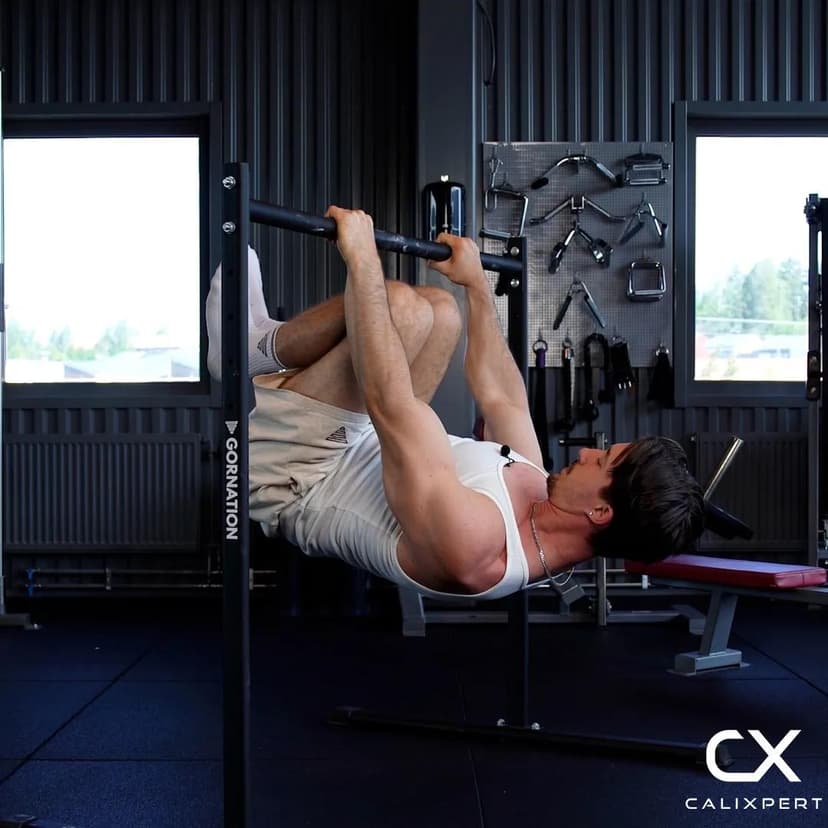
Tuck Front Lever Pull Ups
The same reps with the band taken away, which is the whole reason you train the assisted version in the first place.