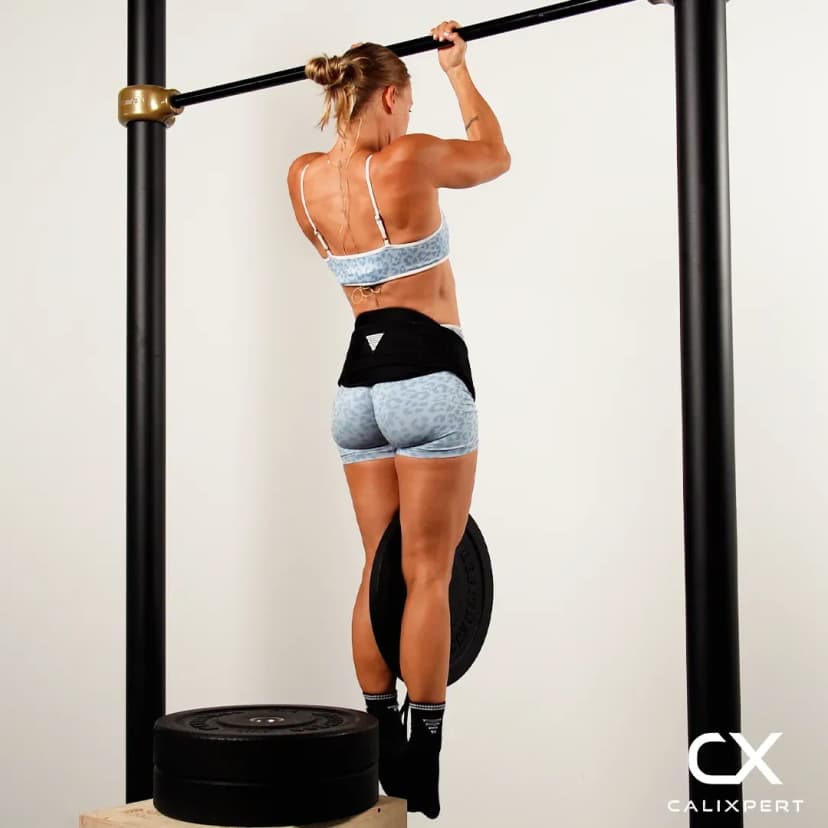
Tuck Front Lever Scapula Pull Ups
Tuck front lever scapula pull ups take the tuck front lever and turn it into a rep. You hang under the bar with straight arms, let the shoulders travel up into protraction, then pull them back and down again using the shoulder blades alone. The elbows never bend. That is the exact strength a front lever is built on, because the moment you lose retraction the shoulders rise, the hips sink and the whole position falls apart.
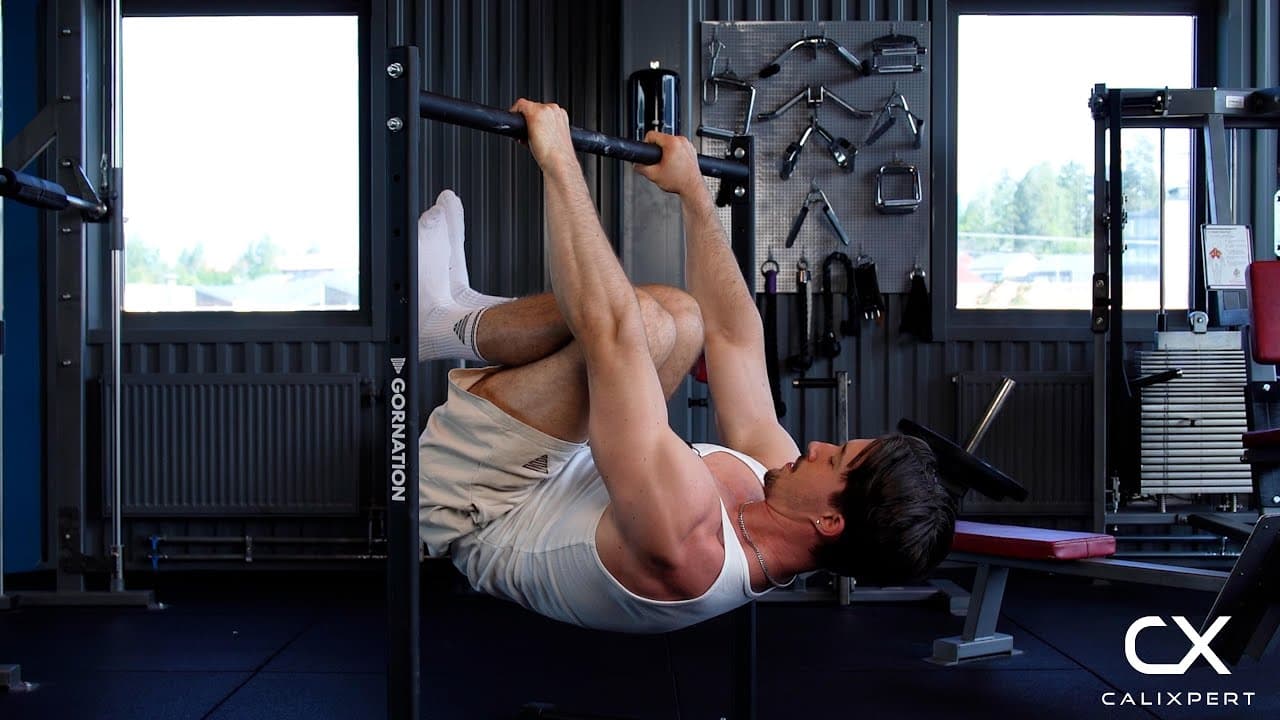
Tuck front lever scapula pull ups take the tuck front lever and turn it into a rep. You hang under the bar with straight arms, let the shoulders travel up into protraction, then pull them back and down again using the shoulder blades alone. The elbows never bend. That is the exact strength a front lever is built on, because the moment you lose retraction the shoulders rise, the hips sink and the whole position falls apart.
How to Do Tuck Front Lever Scapula Pull Ups
1. Set The Bar Height
Use a bar you can hang from with completely straight arms and with clear space underneath you. This movement drops you a long way down at the bottom of each rep, so a bar that is too low runs you out of floor and cuts the range short.
Straight arms, room to sink
2. Grip And Pull Into The Tuck
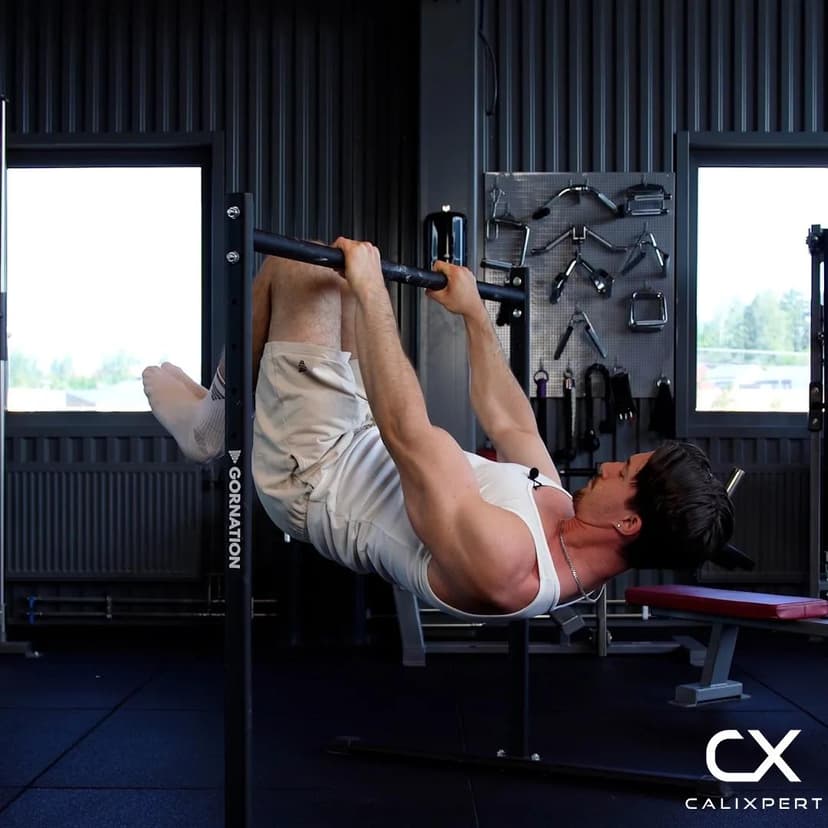
Take an overhand grip at roughly shoulder width. Pull the shoulder blades back and down first, then bring the knees in to the chest and lift the hips until your body is level under the bar. Setting the shoulders before you tuck is much easier than trying to find them once you are already out there.
Start retracted, then tuck
3. Lose The Retraction On Purpose
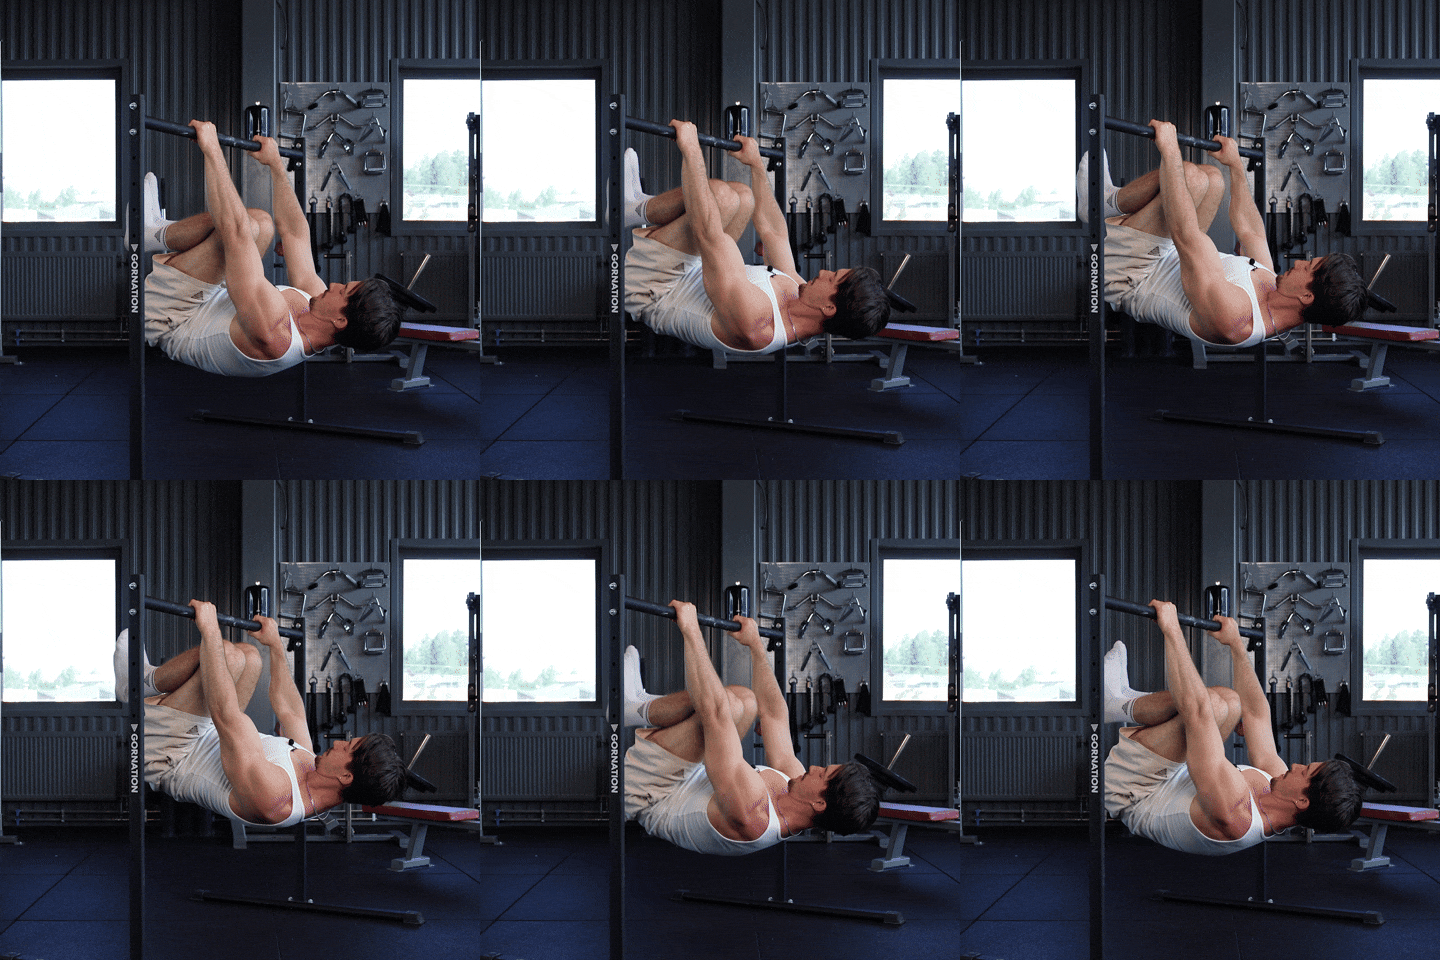
Keep the arms locked and allow the shoulders to rise toward your ears into a protracted position. Your whole body will sink lower under the bar as this happens. This is the start of the rep, not a mistake, and skipping it leaves you training only the top half of the range.
Let the shoulders travel up
4. Pull Back With The Scapula Only
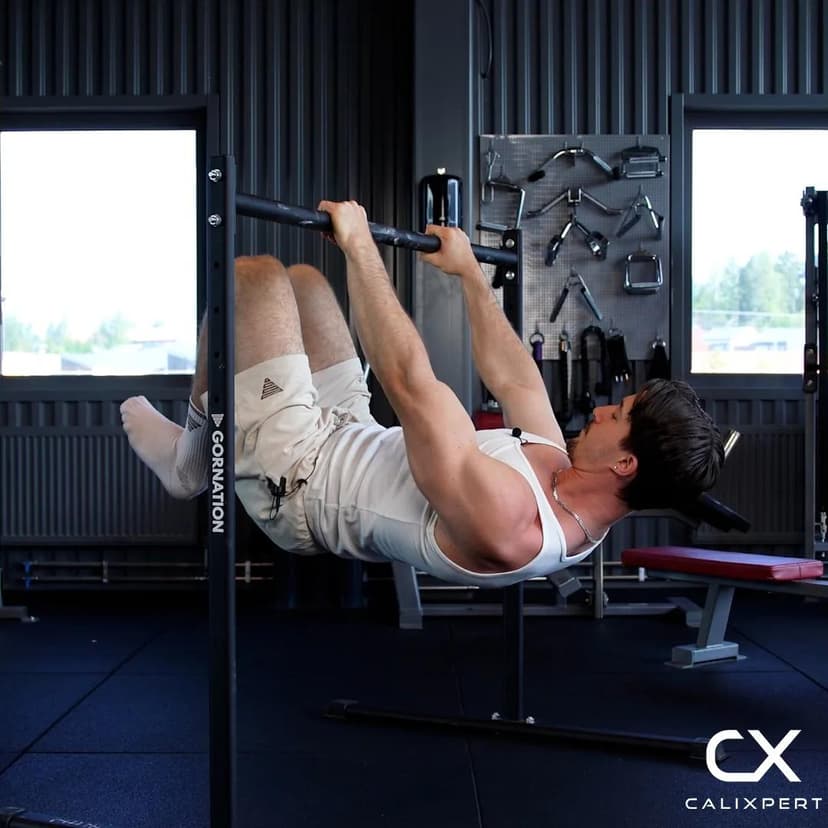
Drive the shoulder blades back down and in toward each other until the shoulders are packed and your chest travels back up toward the bar. The elbows stay straight the entire time. Nothing else in the body changes shape, only the shoulder blades move.
Shoulder blades back and down
5. Twist The Bar
As you pull back into retraction, try to twist the bar in your hands. It helps engage the scapula and get the shoulders retracted. The bar itself will not move, the intent is what does the work.
Twist the bar in your hands
6. Repeat For Controlled Reps
Hold the retracted position at the top with the shoulder blades pulled back and down, then let them travel up again under control. Stop the set as soon as the tuck starts to open or the elbows start to bend, and lower your feet to the floor.
Same shape every rep
The rep starts by letting the retraction go. From the tuck front lever, let the shoulders travel all the way up into protraction, then use the scapula alone to pull back into retraction. That whole travel is your full range of motion, not just the top of it. When I pull back in, I also try to pretty much twist the bar. It helps engage the scapula and get the shoulders retracted. Keep the arms locked the whole time and do a few reps.
Muscles Worked During Tuck Front Lever Scapula Pull Ups
Primary Muscles:
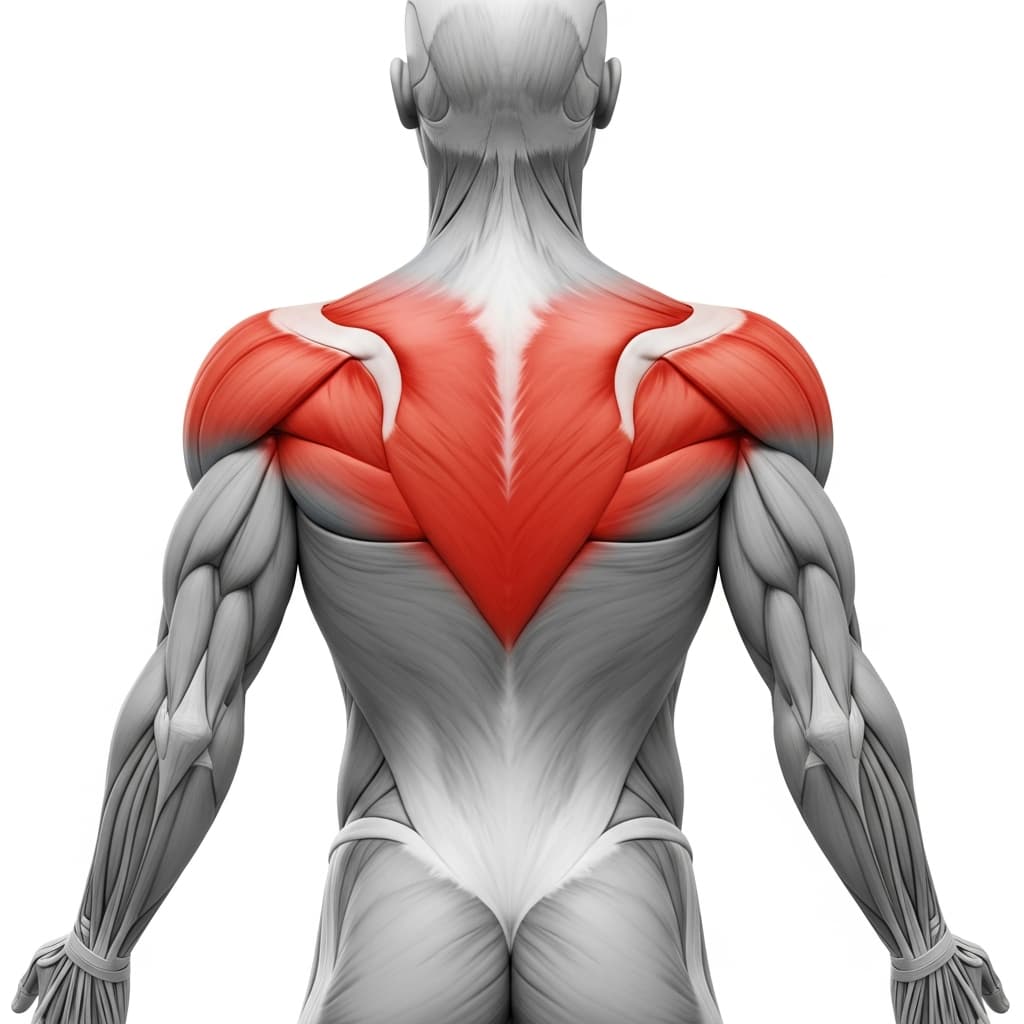
Secondary Muscles:
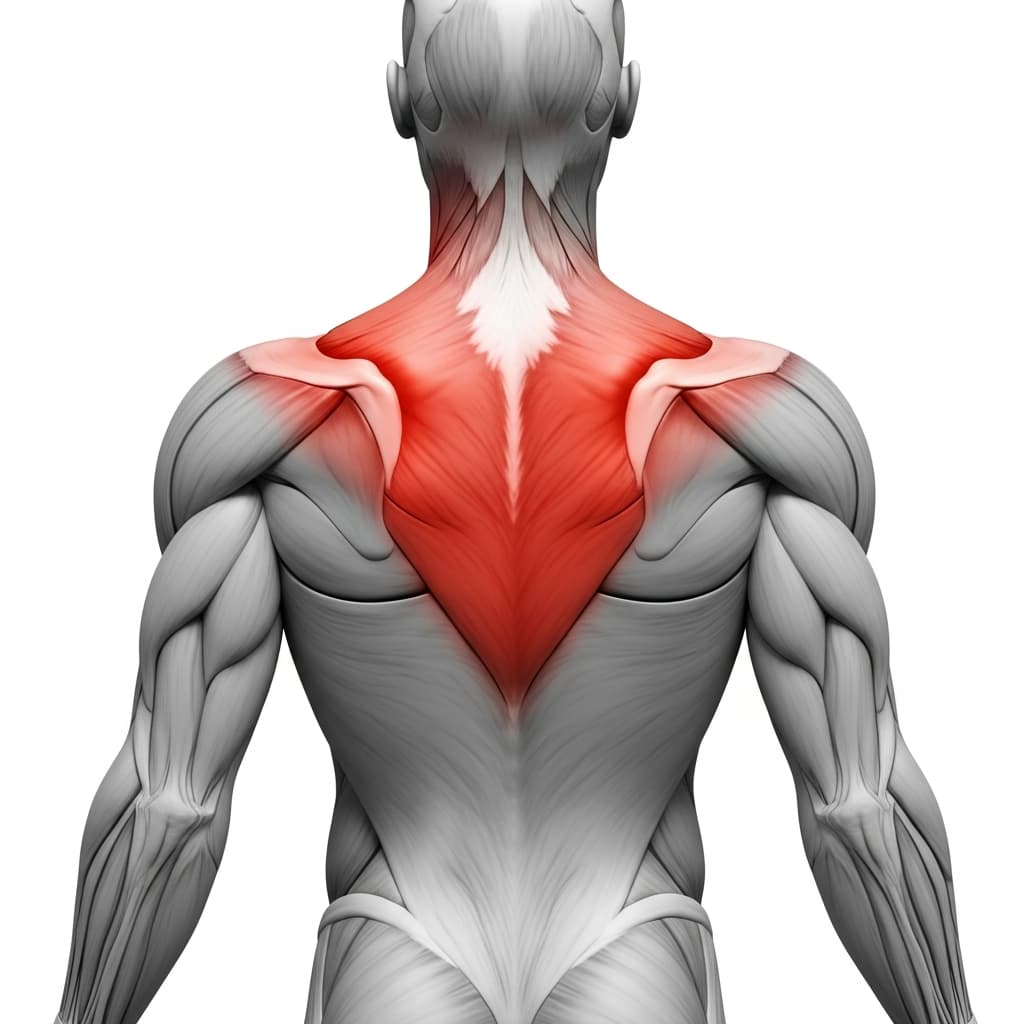
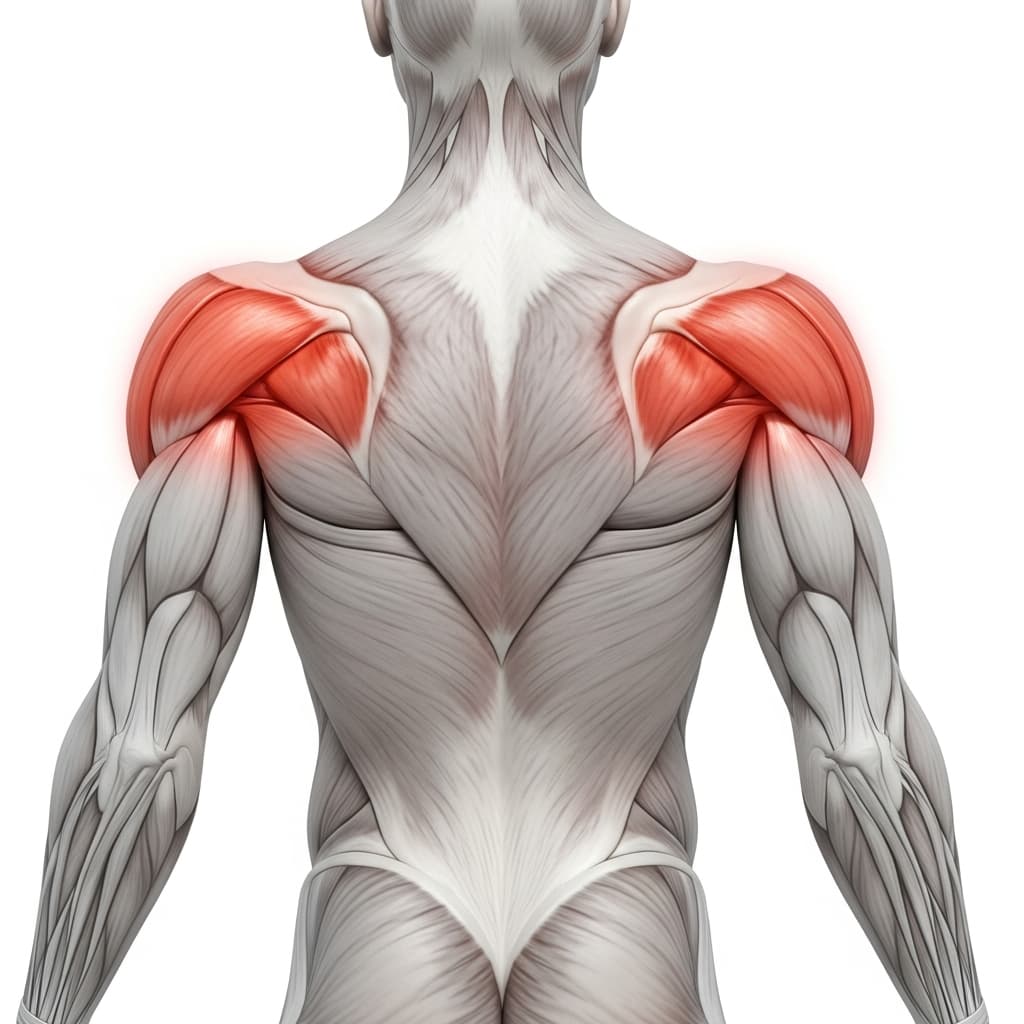
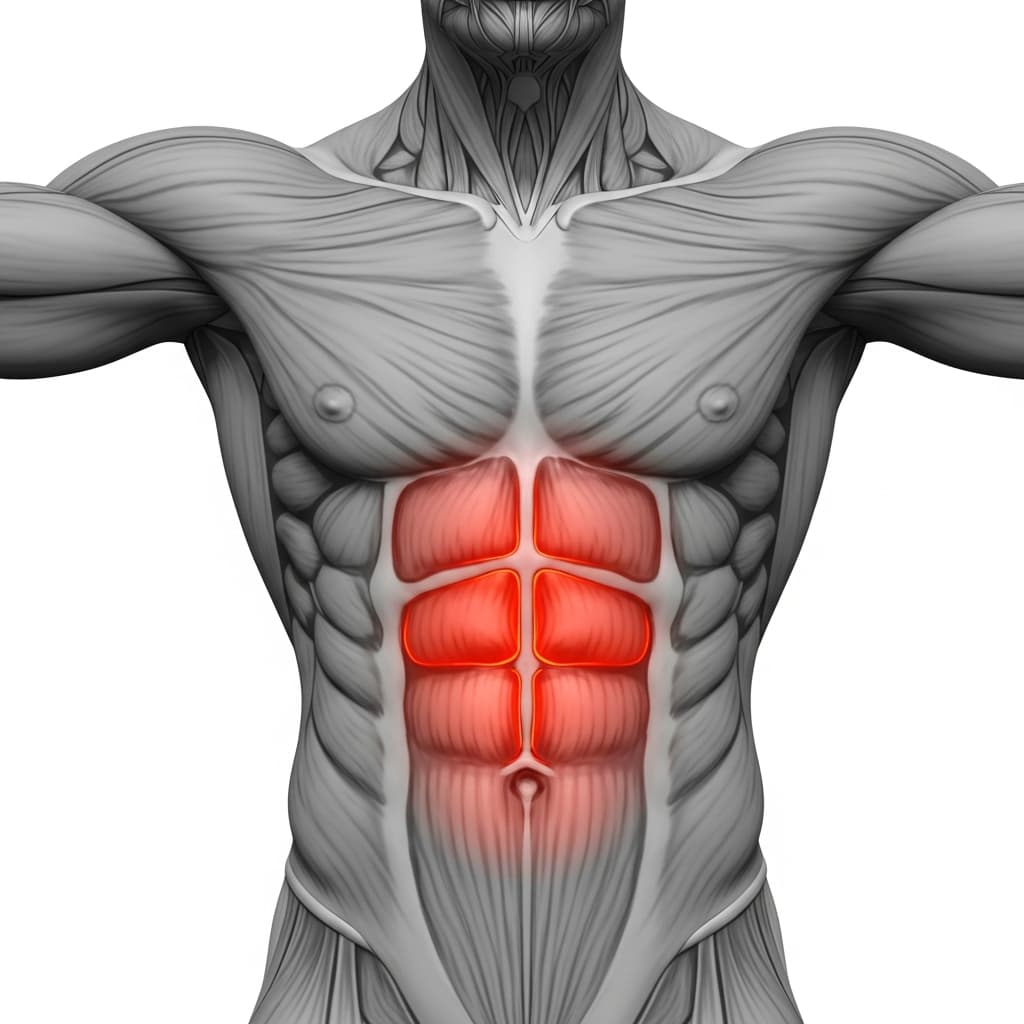
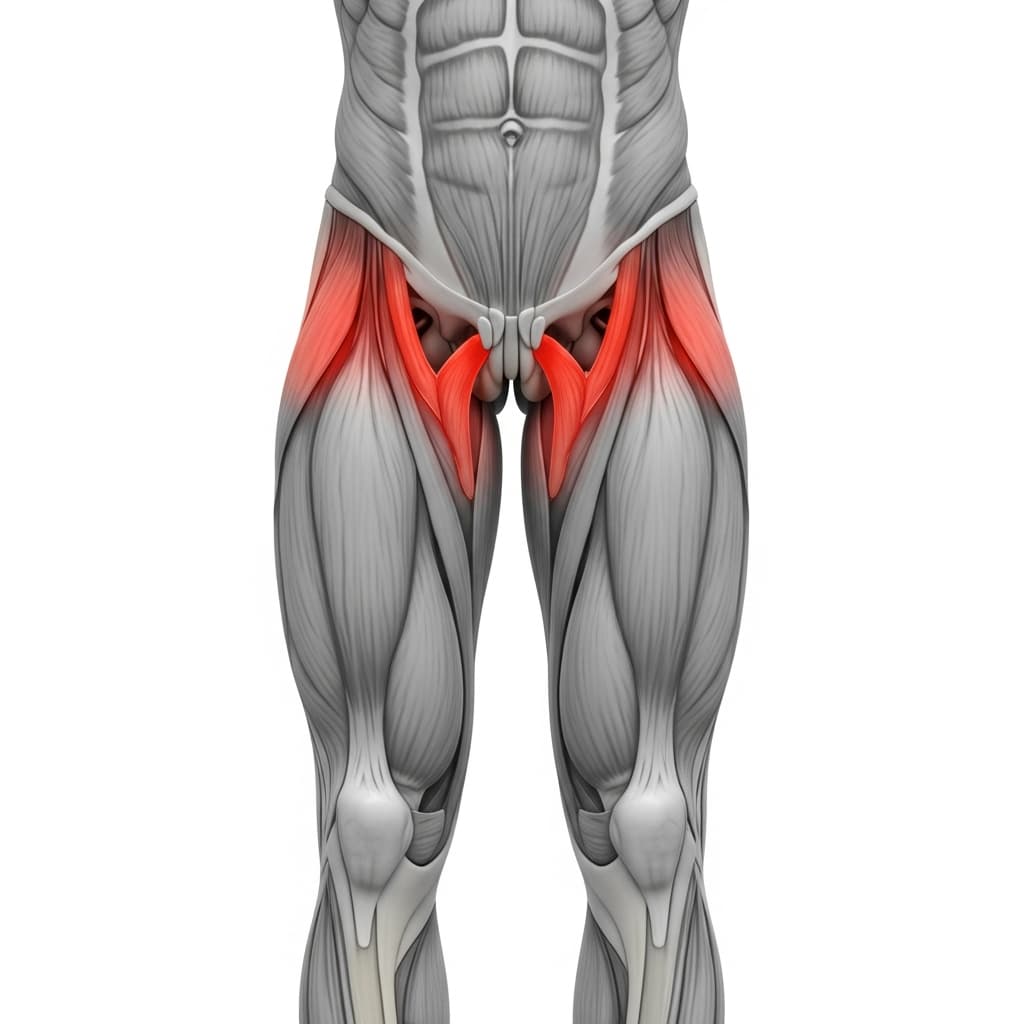
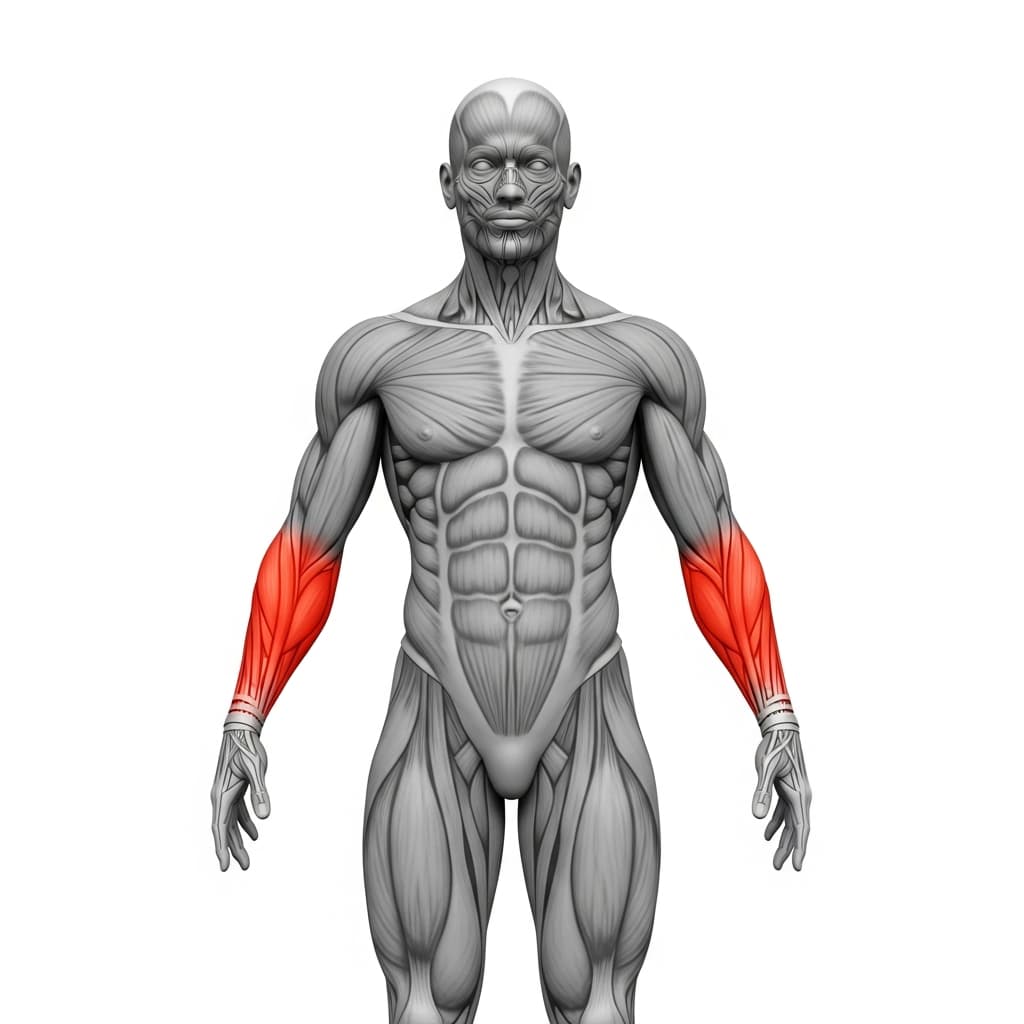
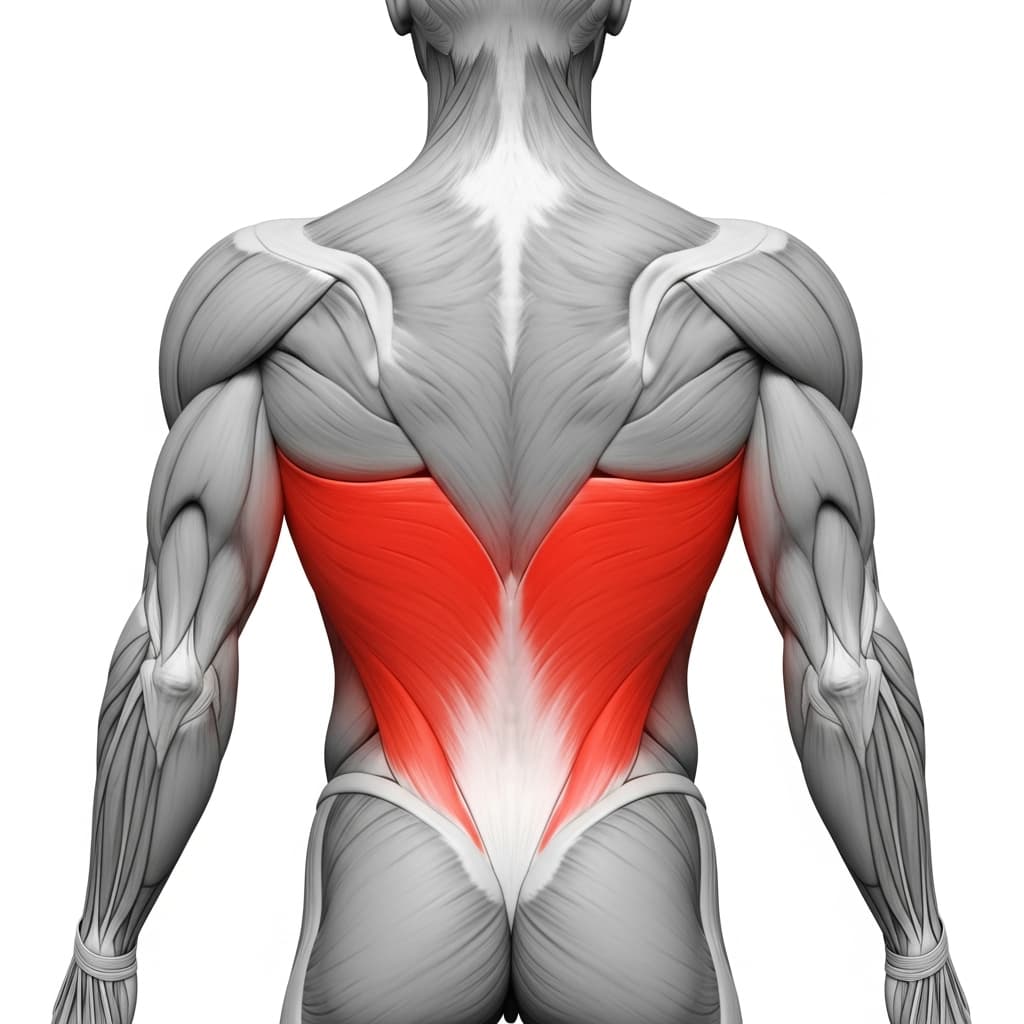
Primary Muscles
Latissimus Dorsi (Lats) - The lats pull the shoulders back and down and hold the upper arms behind you, which is what lifts your chest toward the bar without the elbows bending.
Rhomboids & Upper Trapezius (Upper Back) - The mid back draws the shoulder blades in toward the spine, and that squeeze is the working half of every single rep.
Secondary Muscles
Trapezius (Trapezius) - The lower traps pull the shoulder blades down away from your ears and stop the shoulders creeping back up as you tire.
Posterior Deltoid (Rear Deltoid) - The rear deltoids help hold the upper arm steady so the movement comes from the shoulder blades rather than the arm swinging.
Rectus Abdominis (Abs) - The abs keep the ribs down and the tuck locked together, so the body travels as one piece instead of folding at the middle.
Iliopsoas (Hip Flexors) - The hip flexors hold the knees in tight to the chest, which keeps the lever short and the load on your shoulders manageable.
Forearm Flexors & Extensors (Forearms) - The forearms grip the bar and apply the twist that helps switch the shoulder blades on.
Benefits of Tuck Front Lever Scapula Pull Ups
- Builds the scapular retraction and depression that every front lever progression above this one is standing on.
- Teaches you what the correct front lever shoulder position feels like by taking you through both ends of it on every rep.
- Loads the straight arm position in short reps rather than long holds, so your elbows and shoulders get conditioned gradually.
- Gives you a version of the front lever pattern you can count, so you can see progress week to week instead of guessing.
- Carries straight over to pull ups, rows and muscle ups, where the first part of the pull comes from the shoulder blades.
Who Is This Exercise For?
You should already be comfortable hanging from a bar and able to do standard scapula pull ups for controlled reps, so the shoulder blades move on their own without the arms helping. You also need to be able to pull yourself into a tuck front lever and hold the shape for a few seconds, with the knees tight to the chest and the body roughly level. The front lever ladder runs tuck, advanced tuck, halflay, straddle, one leg and then full, and this drill sits at the tuck rung, building the shoulder strength you need before the advanced tuck. Pick a bar you can hang from with straight arms and with room to sink underneath, because this movement travels a long way down.
Common Mistakes to Avoid
Bending the elbows: The second the arms bend, the biceps take over and the exercise turns into a small row that trains none of the straight arm strength you came for. Keep the elbows locked for the whole set and let the shoulder blades produce all of the movement. If you cannot hold them straight, tuck tighter or go back to standard scapula pull ups for a few weeks.
Only training the top half: Staying in the retracted end and never letting the shoulders go turns this into a half rep that looks tidy and builds very little. The drill is built the other way around: let the shoulders rise into protraction first, then pull back out of it with the scapula. Letting the shoulders travel up and pulling them back down is the full range of motion, and the bottom half is the part that builds the strength.
Losing the tuck: When the abs and hip flexors give up, the knees drift away from the chest and the hips sag toward the floor. The lever gets longer at exactly the moment your shoulders are weakest, which is how a set of reps turns into a swing. Keep the knees in tight and the ribs down, and end the set when the shape changes rather than grinding out two ugly reps.
Bouncing through the reps: Momentum carries you straight through the part of the range you are trying to train, so the set feels hard on the grip and easy on the back. Move slowly in both directions and hold the retracted position at the top before letting it go. A few controlled reps are worth more than a long set of bounced ones.
Variations & Progressions
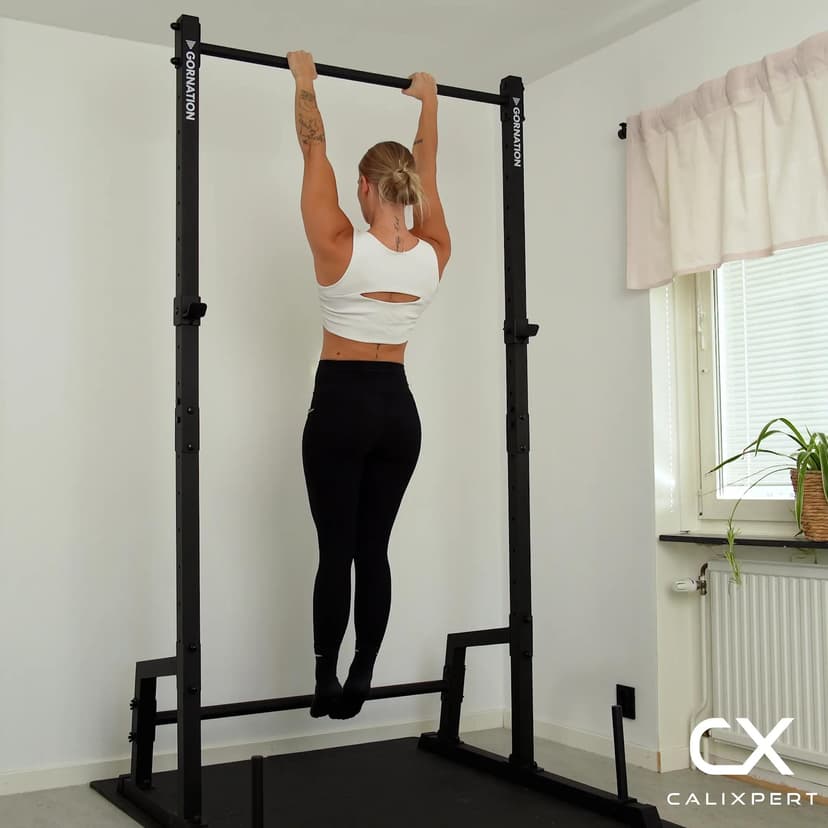
Tuck Front Lever
The rung this drill is done in, held still for time instead of moved through, and the shape you should already own before you start adding reps.