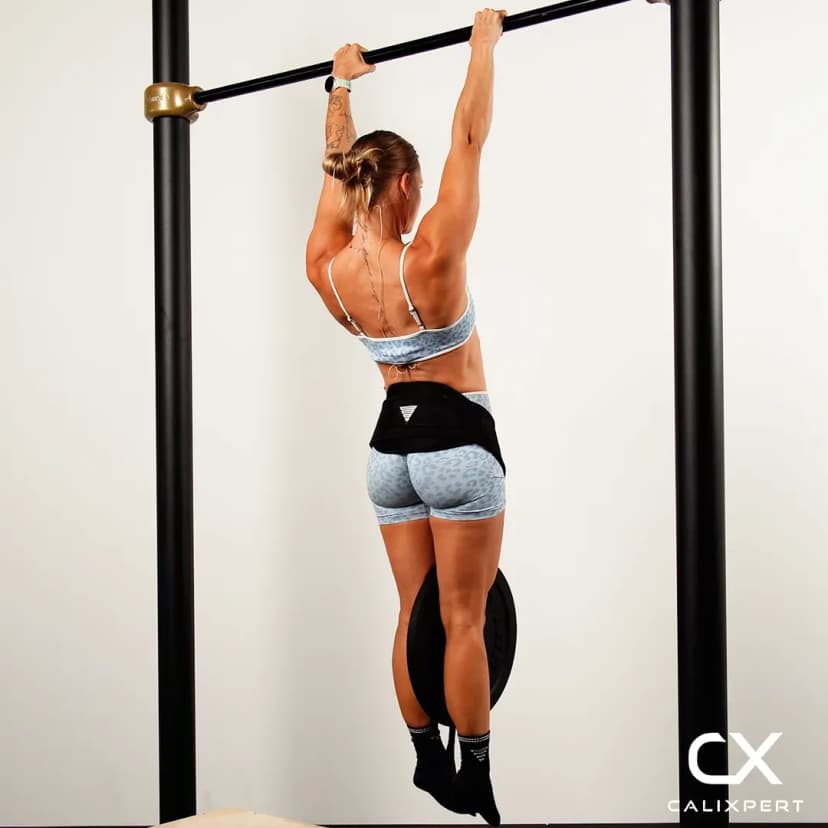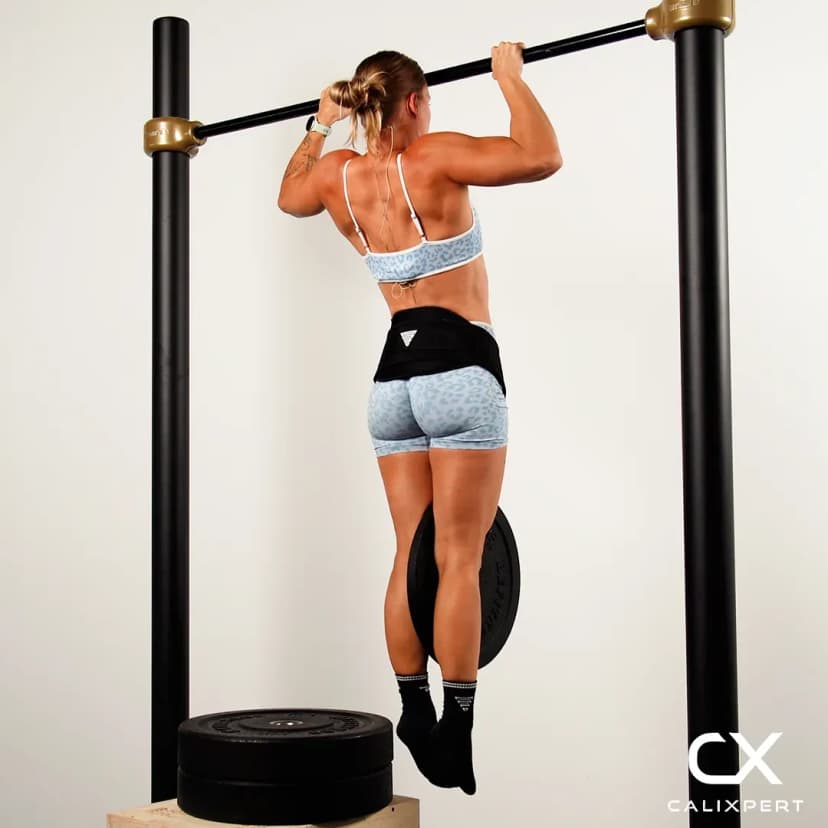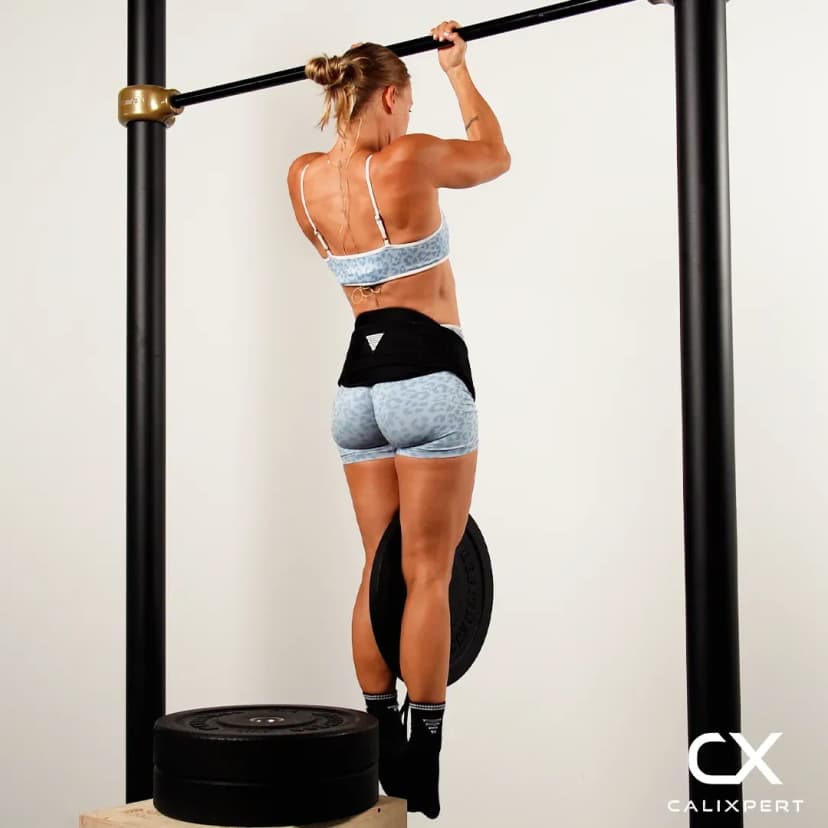
Advanced Tuck Scapula Pull Ups
Advanced tuck scapula pull ups take the scapula pull up and move it into the advanced tuck front lever position, so your shoulder blades work against a long horizontal lever instead of against a body hanging straight down. The arms stay locked the whole time. You let the retraction go, then pull it back, and that small range is the entire exercise. This is the drill for anyone whose front lever falls apart at the shoulders rather than at the hips.
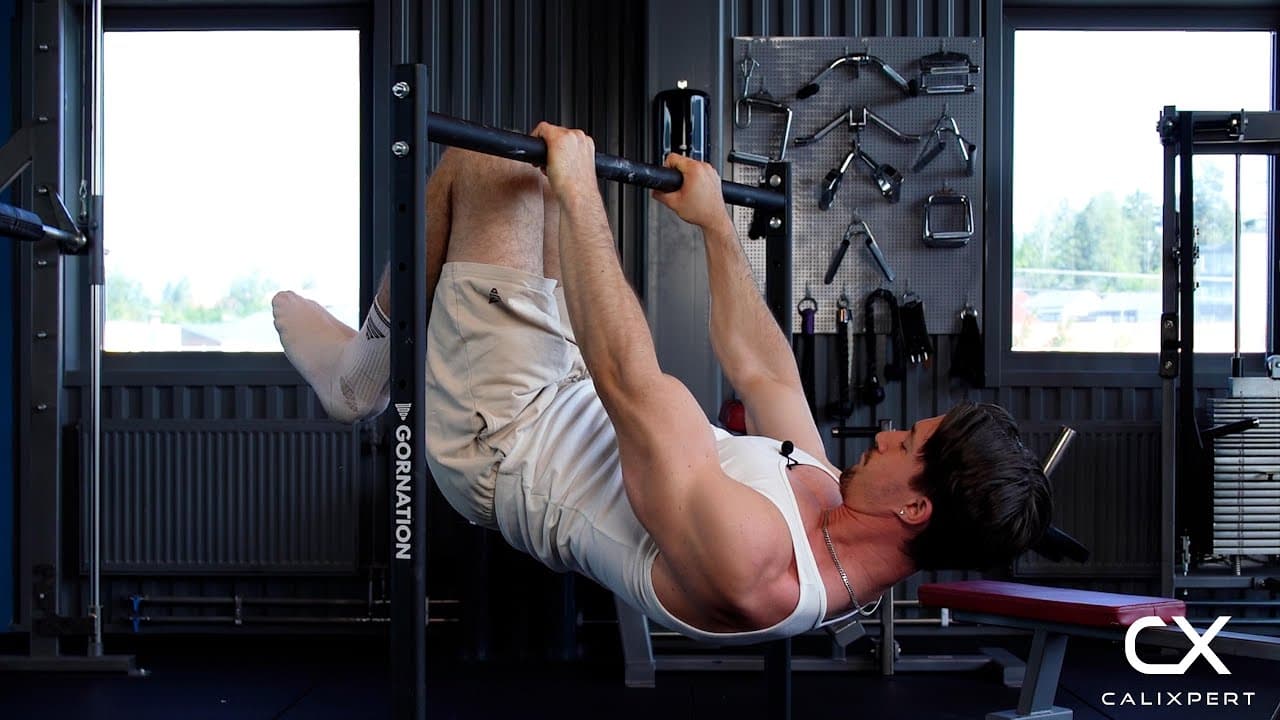
Advanced tuck scapula pull ups take the scapula pull up and move it into the advanced tuck front lever position, so your shoulder blades work against a long horizontal lever instead of against a body hanging straight down. The arms stay locked the whole time. You let the retraction go, then pull it back, and that small range is the entire exercise. This is the drill for anyone whose front lever falls apart at the shoulders rather than at the hips.
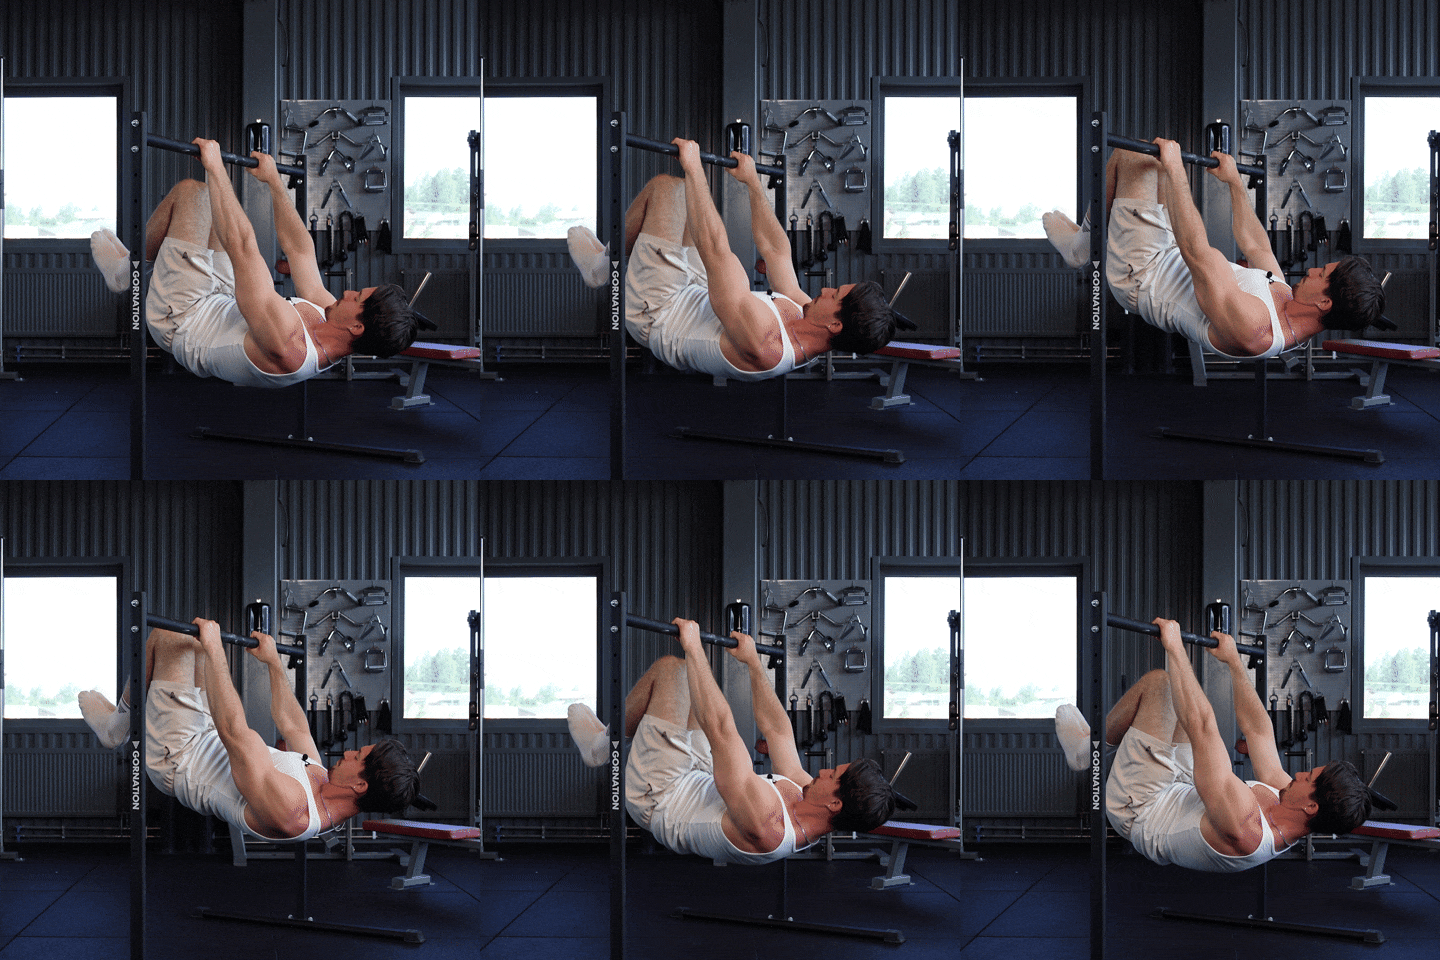
How to Do Advanced Tuck Scapula Pull Ups
1. Set The Bar Low And Take Your Grip
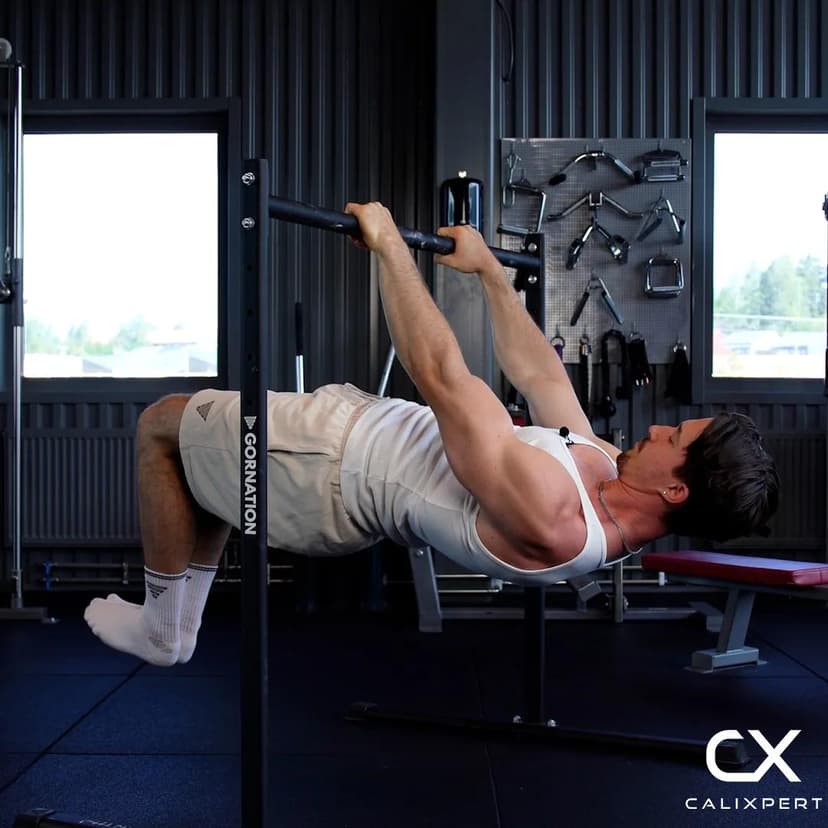
Set a bar at roughly hip height, low enough that your back can pass underneath it without touching the floor. Take an overhand grip at about shoulder width, straighten your arms and lean back with your feet flat on the floor. A low bar lets you build the shape from the ground and step out of it the same way, which matters when the position breaks mid set.
Hip height bar, overhand grip
2. Lift The Feet Into The Advanced Tuck
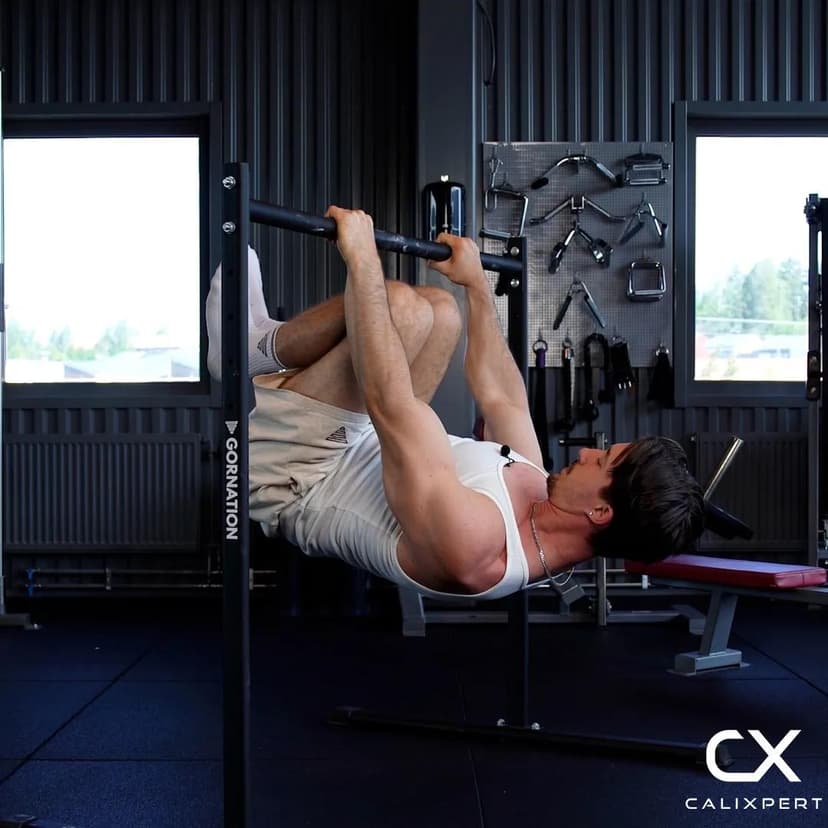
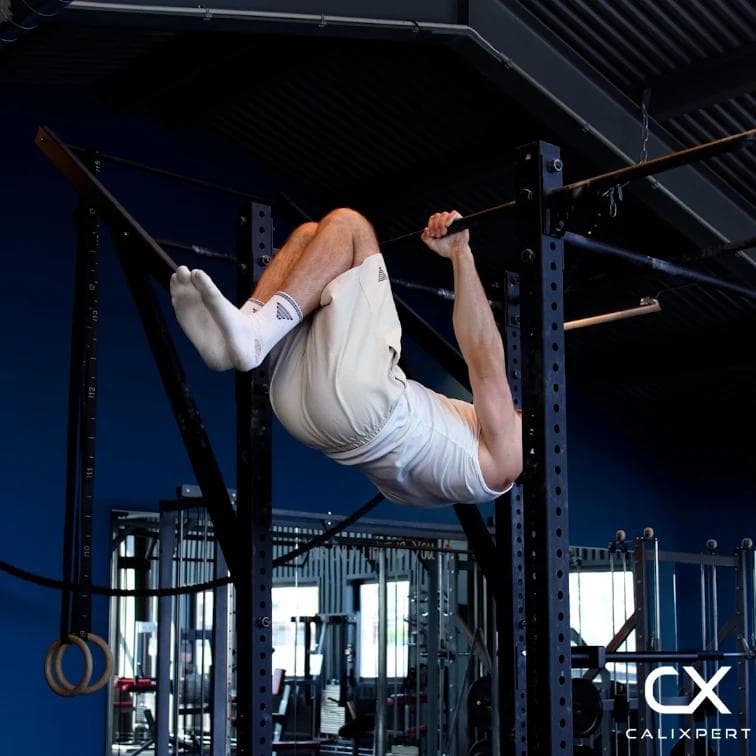
Lift your feet off the floor and draw your knees up until your torso is close to horizontal. Open the knees away from your chest so your thighs sit at roughly 90 degrees from your torso, and flatten your back. A rounded back with the knees near your chest means you are in a normal tuck, not an advanced one.
Feet off, knees up, back flat
3. Lock The Arms And Retract
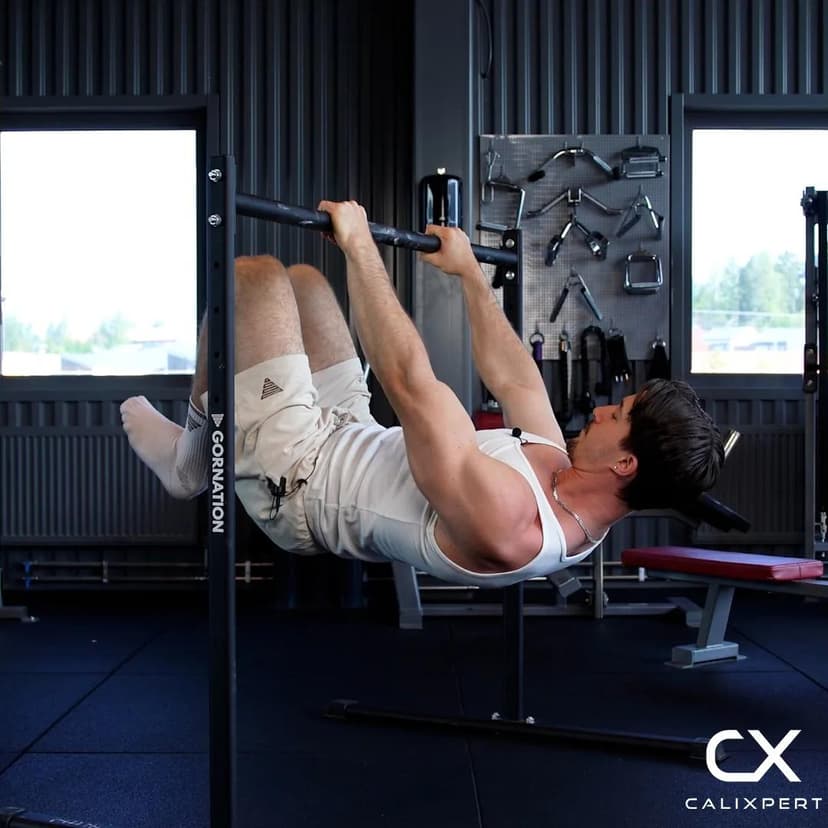
Straighten the elbows fully and hold them there actively. Pull your shoulder blades back and down hard, so your chest rises slightly toward the bar without the arms bending. This is your starting position and it should feel solid.
Elbows straight, shoulders back and down
4. Let The Retraction Go
Release the retraction under control and let your shoulders travel forward and up while the arms stay locked. Your whole body will drop a little, which is normal. Do not let the knees drift toward your chest or the hips sink, the shape must stay exactly the same.
Shoulders travel forward, slowly
5. Pull The Retraction Back
Pull the shoulder blades back and down again and lift the body back to the starting height. Nothing bends. If the elbows break, you have turned it into a small pull up and the drill stops doing its job.
Blades back and down, no elbow bend
6. Pause And Repeat
Hold the retracted position for about a second before you release again, so every rep ends at a position you actually own. Keep the tempo slow and repeat for reps, then put your feet back on the floor and stand up out of the shape rather than dropping out of it.
One second at the top of every rep
Most people think the front lever is an arm exercise. It is not, it is your shoulder blades. In this one I want you to actually feel the shoulders travel forward when you let the retraction go, and then pull them back and down without a single degree of bend at the elbow. Slow is the whole point. If the elbows start bending, the set is finished, go back to the tuck version and earn the position there first.
Muscles Worked During Advanced Tuck Scapula Pull Ups
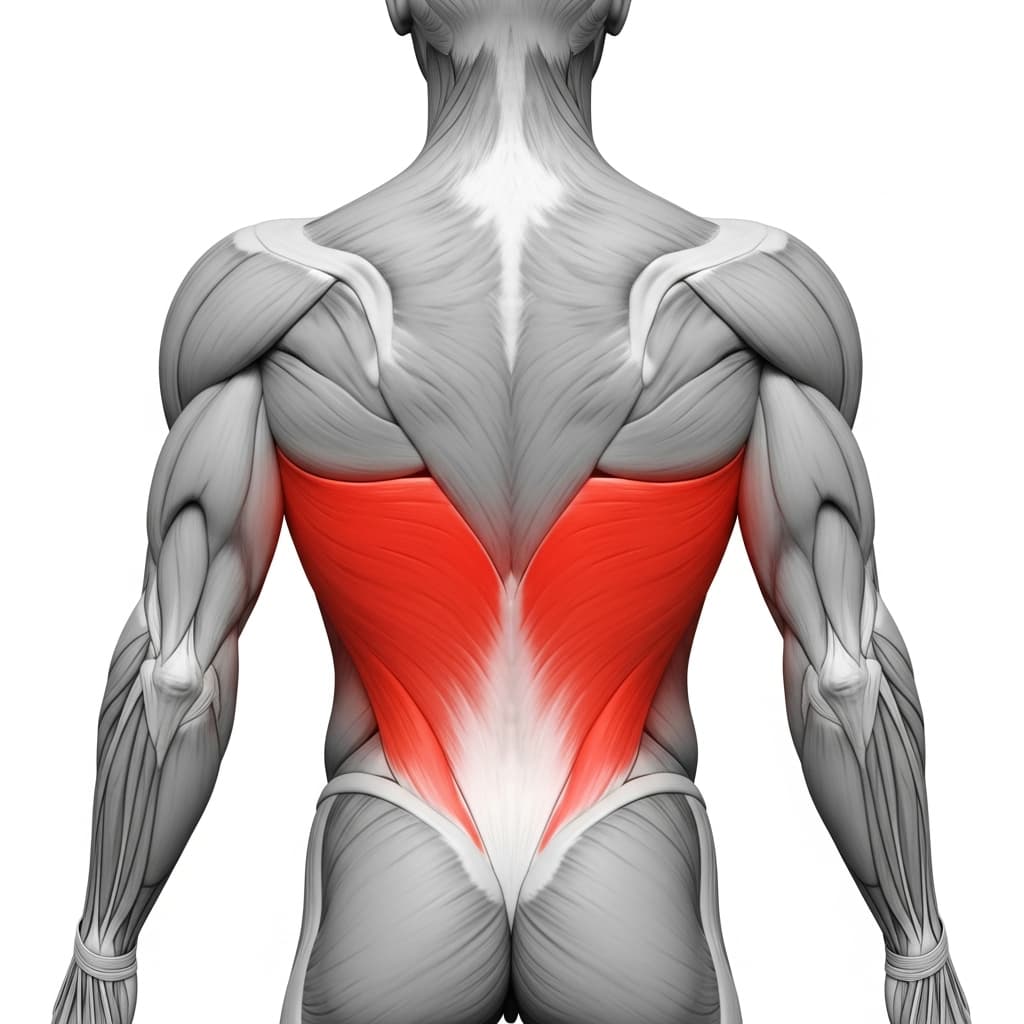
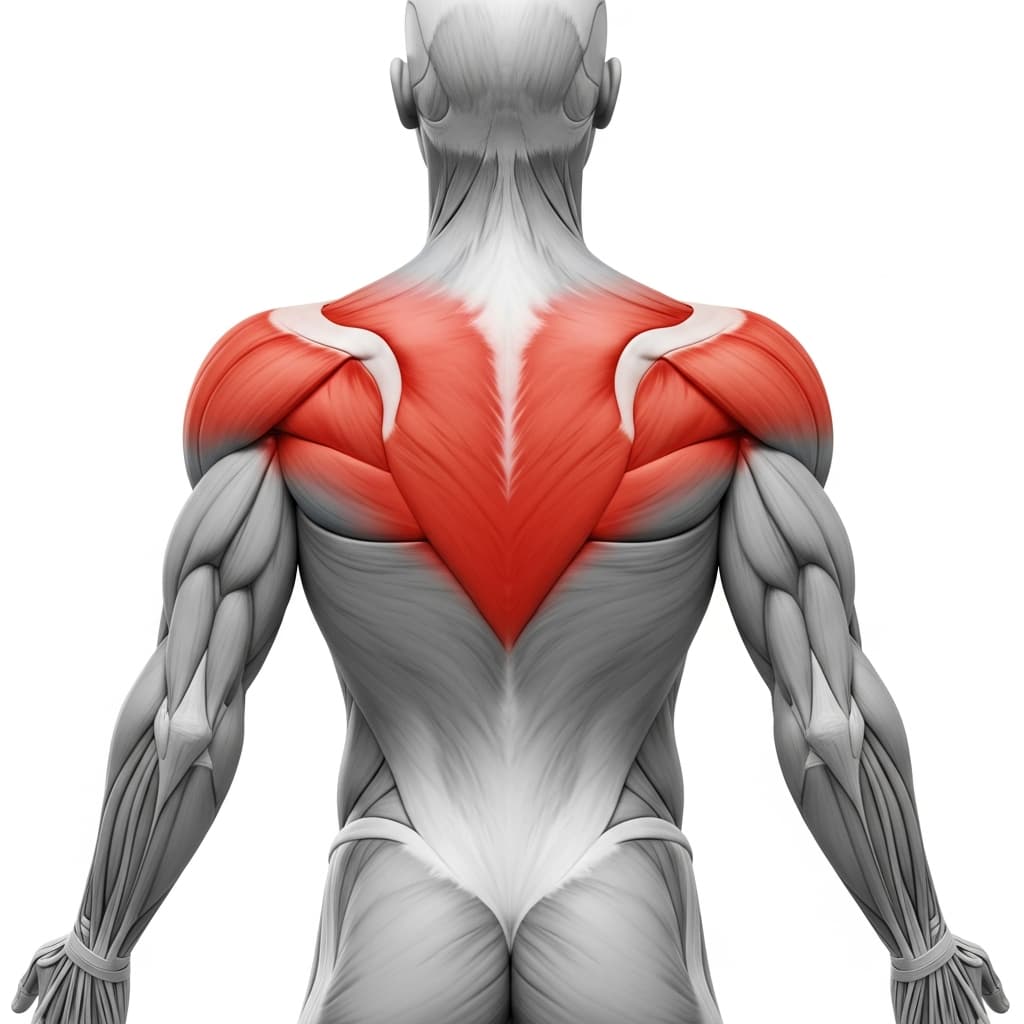
Primary Muscles:
Secondary Muscles:
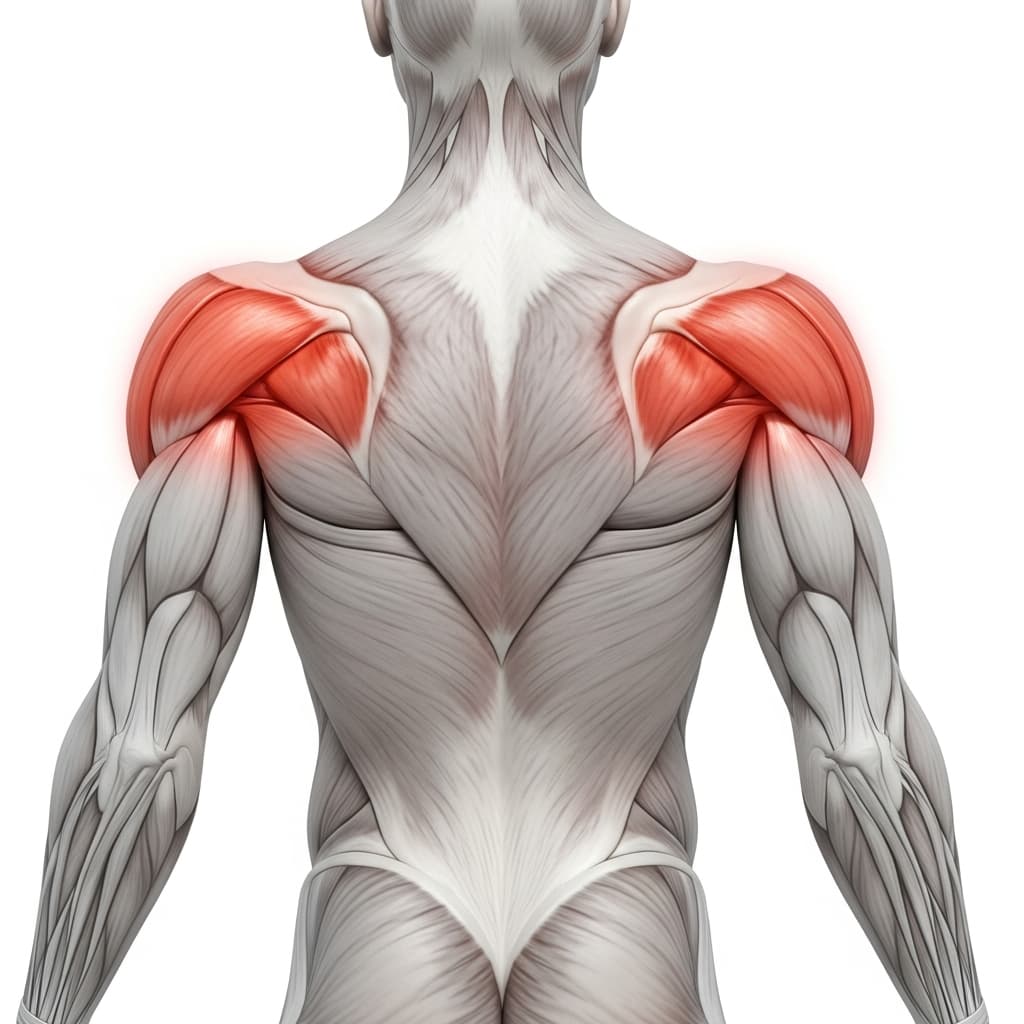
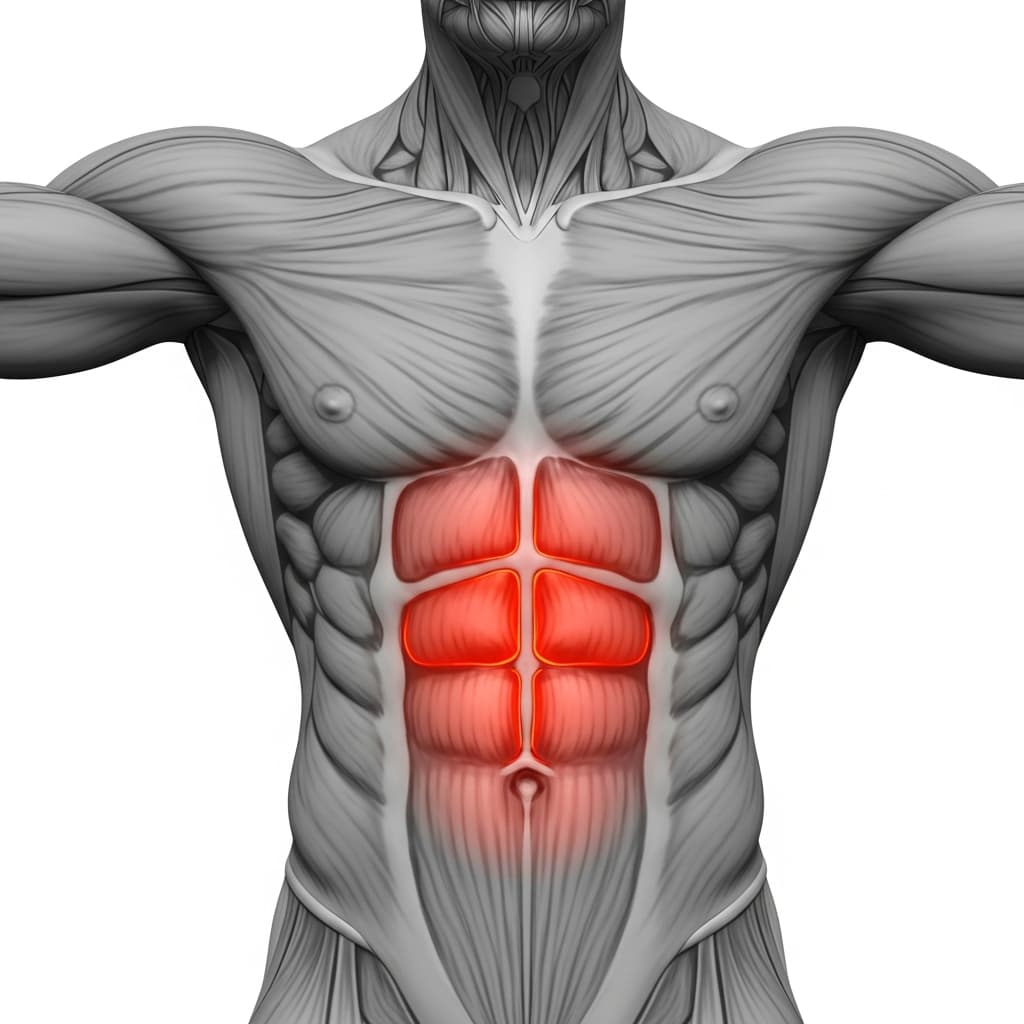
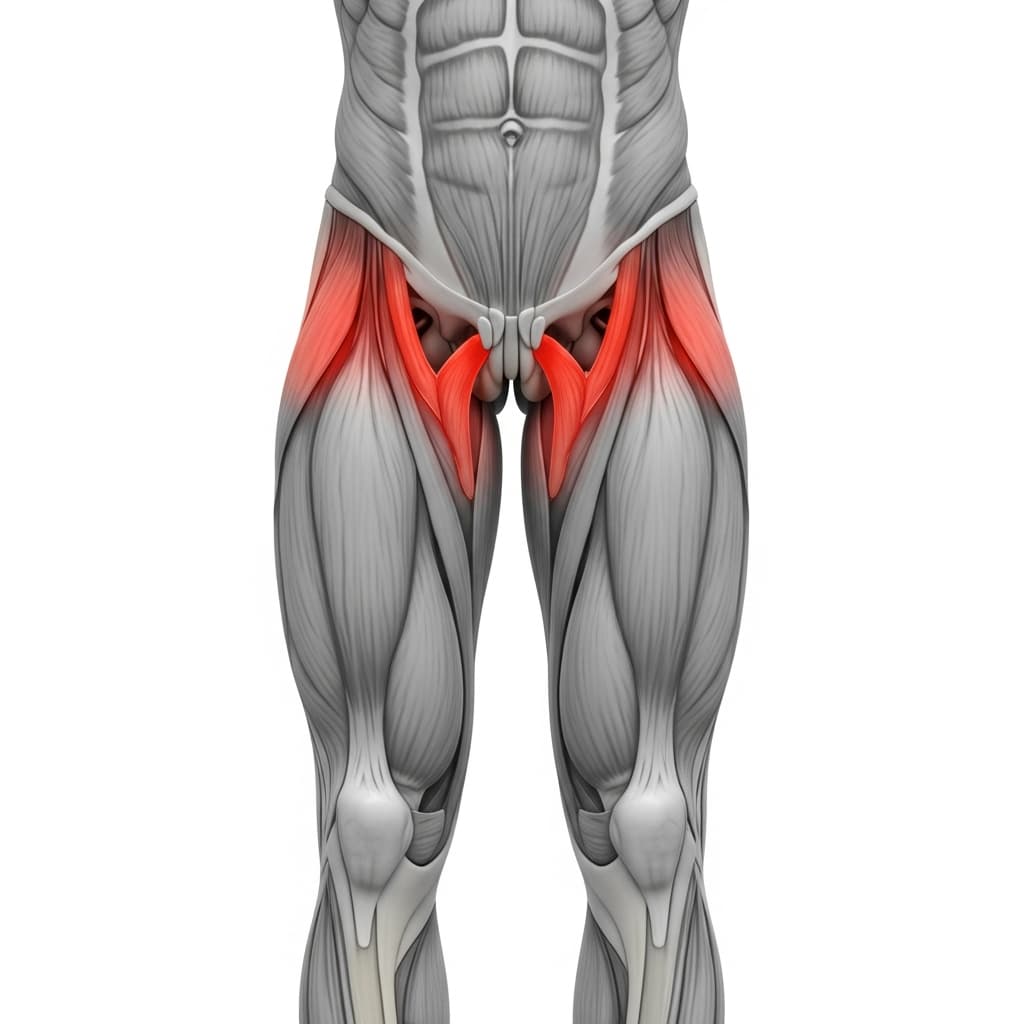
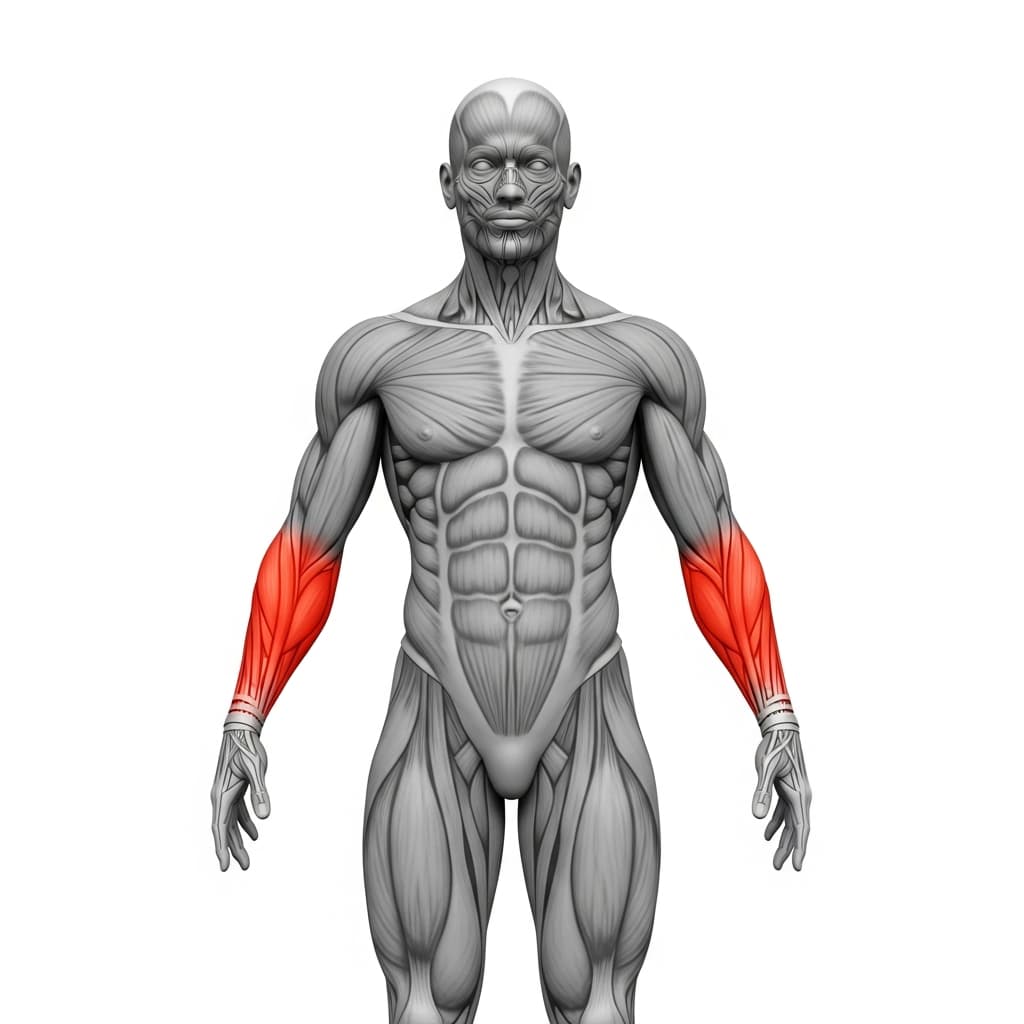
Primary Muscles
Latissimus Dorsi (Lats) - The lats hold your body out from the bar with straight arms and drive the pull back into retraction and depression on every rep.
Rhomboids & Upper Trapezius (Upper Back) - The rhomboids and mid traps stop the lever from dragging your shoulder blades forward around your ribcage, which is the exact strength this drill is built to train.
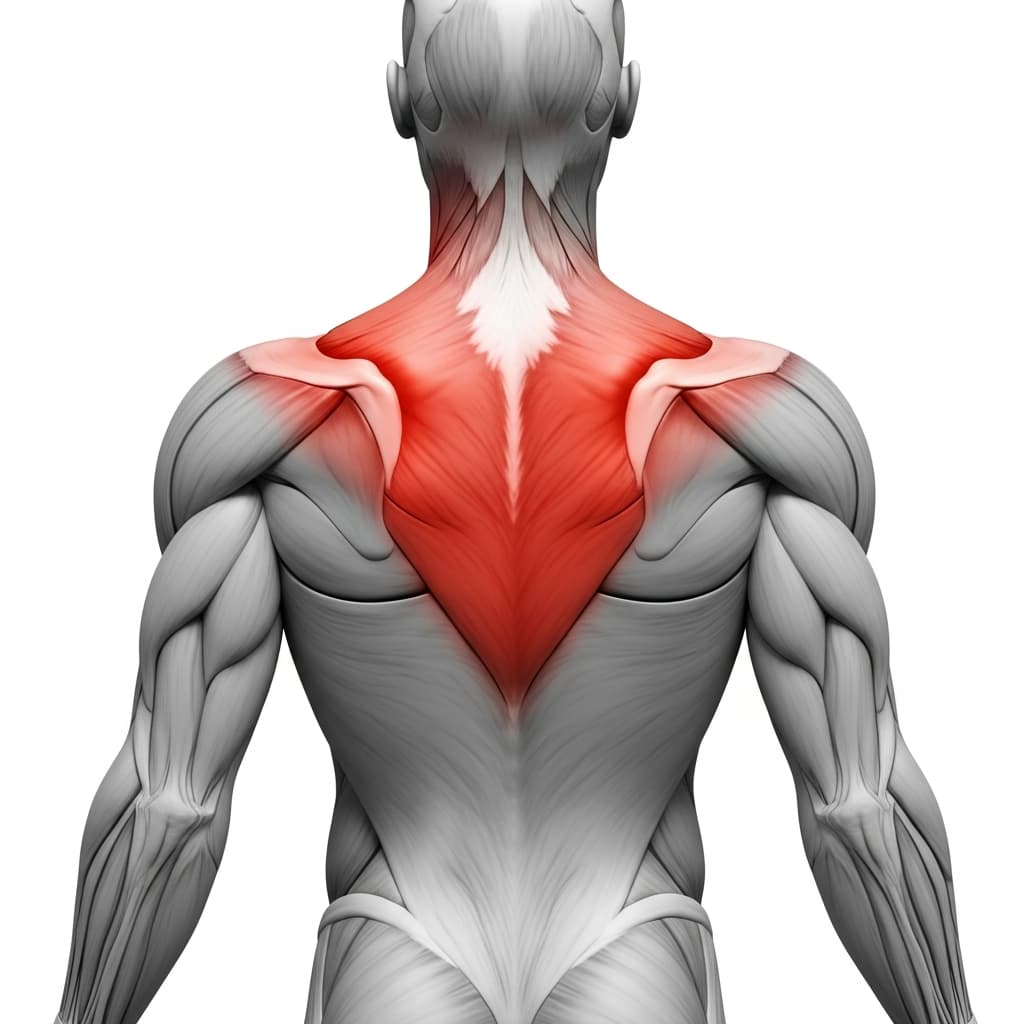
Secondary Muscles
Trapezius (Trapezius) - The lower traps pull the shoulder blades down and away from your ears, and losing that depression is what makes the whole body sink.
Posterior Deltoid (Rear Deltoid) - The rear delts help pull the shoulders back and keep the upper arm from rolling forward as you reach the protracted end of the range.
Rectus Abdominis (Abs) - The abs stop your lower back from arching and keep the hips level with the shoulders while the shoulder blades move.
Iliopsoas (Hip Flexors) - The hip flexors hold the thighs at roughly 90 degrees so the advanced tuck shape does not quietly shrink into a normal tuck.
Forearm Flexors & Extensors (Forearms) - The forearms and grip hold you to the bar for the whole set, and they are often what ends the set before the back does.
Benefits of Advanced Tuck Scapula Pull Ups
- Builds straight arm retraction and depression at the exact angle the front lever demands it, which is the strength that fails first when a hold collapses.
- Gives you a rep based way to train the front lever, so you can accumulate real training volume without grinding out maximum holds every session.
- Trains the lats and upper back with locked elbows, a pattern that pull ups and rows never load in the same way.
- Teaches you to keep the advanced tuck shape while your shoulders are moving, which is what makes the hold feel stable instead of wobbly.
- Prepares the shoulders and elbows for the longer levers ahead, so halflay and straddle work does not arrive on unconditioned connective tissue.
Who Is This Exercise For?
You should already be able to hold a tuck front lever and run tuck front lever scapula pull ups with slow control before you lengthen the lever like this. A comfortable dead hang, clean scapula pull ups from a vertical hang, and some straight arm shoulder conditioning such as skin the cat or a German hang all belong in place first, because straight arm loading is what your elbows and shoulders are least used to. You also need to be able to hold the advanced tuck front lever itself: thighs roughly 90 degrees from your torso, knees bent and further from your chest than in a normal tuck, and a flat back rather than a rounded one.
Common Mistakes to Avoid
Bending the elbows to pull: This happens the moment the shoulder blades run out of strength, because the biceps are simply stronger and they take over. It changes the exercise into a short pull up and removes the exact quality you came for. Keep the elbows fully extended for every rep, and if you cannot, drop to tuck front lever scapula pull ups and build it there.
Losing the advanced tuck shape as the set goes on: As the reps get hard the knees creep toward the chest and the back rounds, which shortens the lever and makes the reps easier without you noticing. Watch a side view of yourself and check the thighs are still around 90 degrees from your torso with a flat back. End the set when the shape breaks, not when the reps run out.
Shrugging up instead of pulling down: Many people move the shoulder blades back but let them rise toward the ears at the same time, so the shoulders never actually depress. Depression is what puts the lats in a position to hold you out from the bar. Think of pulling the shoulder blades into your back pockets, and keep a long neck with your ears away from your shoulders.
Swinging through the bottom of the range: The protracted end of the range is the part your shoulders are weakest in, so it is tempting to bounce straight back out of it and use the swing. That is also the part that builds the position. Slow the release down, stop the swing before you start the next rep, and treat the bottom as a position you pass through under control rather than fall into.