Halflay Front Lever
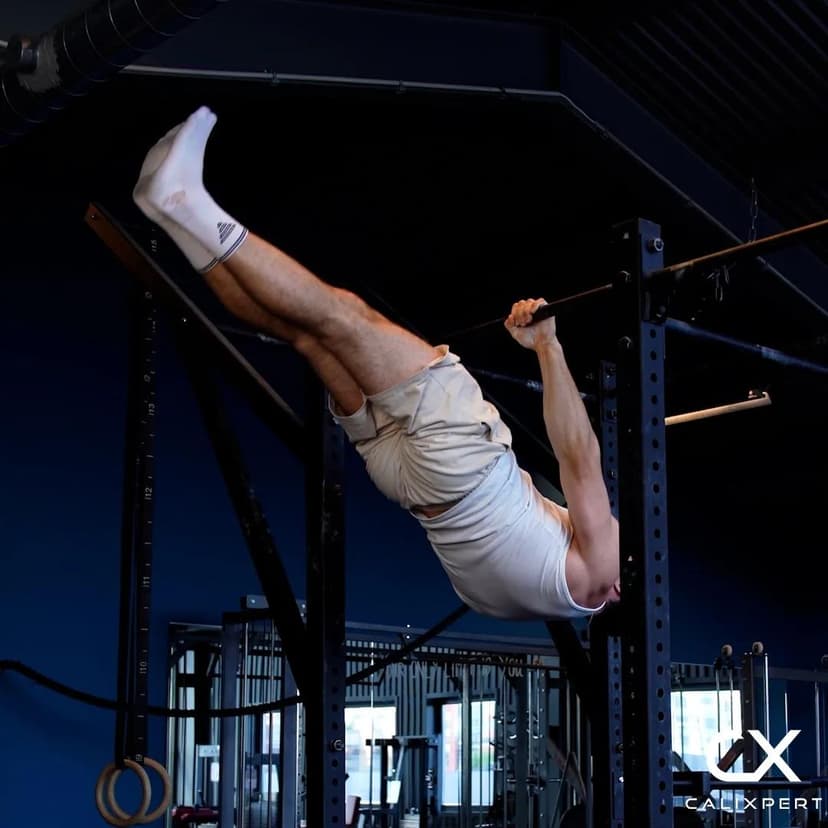
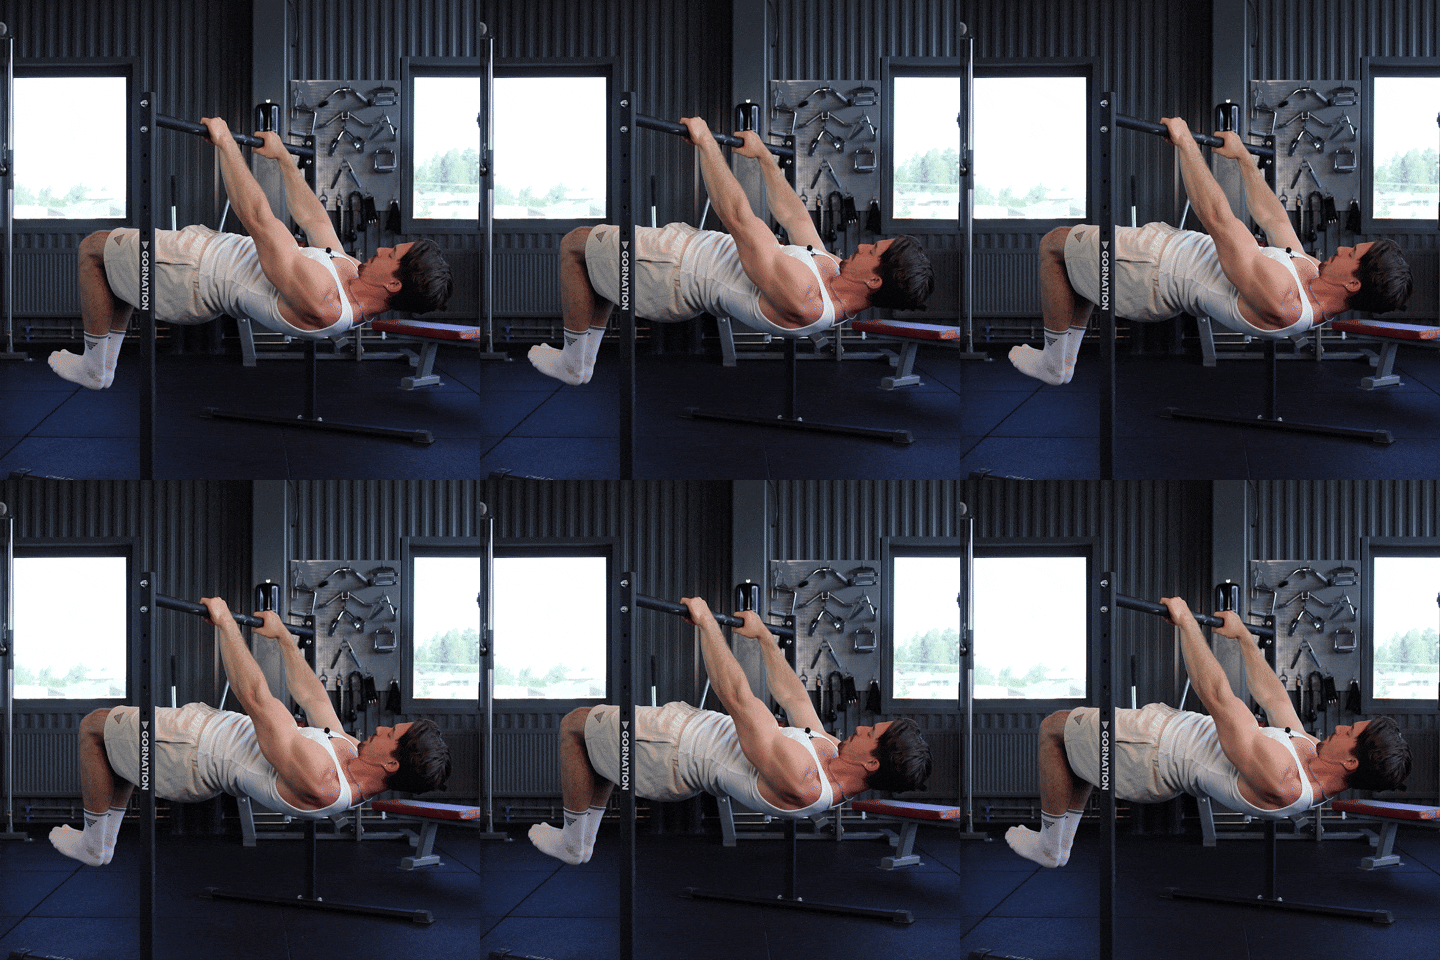
The halflay front lever is the rung where your hips finally open. Your thighs line up with your torso and only your knees stay bent at about 90 degrees. It sits directly above the advanced tuck front lever, which uses the same knee angle but keeps the hips folded, and below the straddle and one leg holds that lead to the full front lever. Opening those hips pushes your weight much further from the bar. Your lats and upper back hold the line, your abs and glutes stop it breaking.
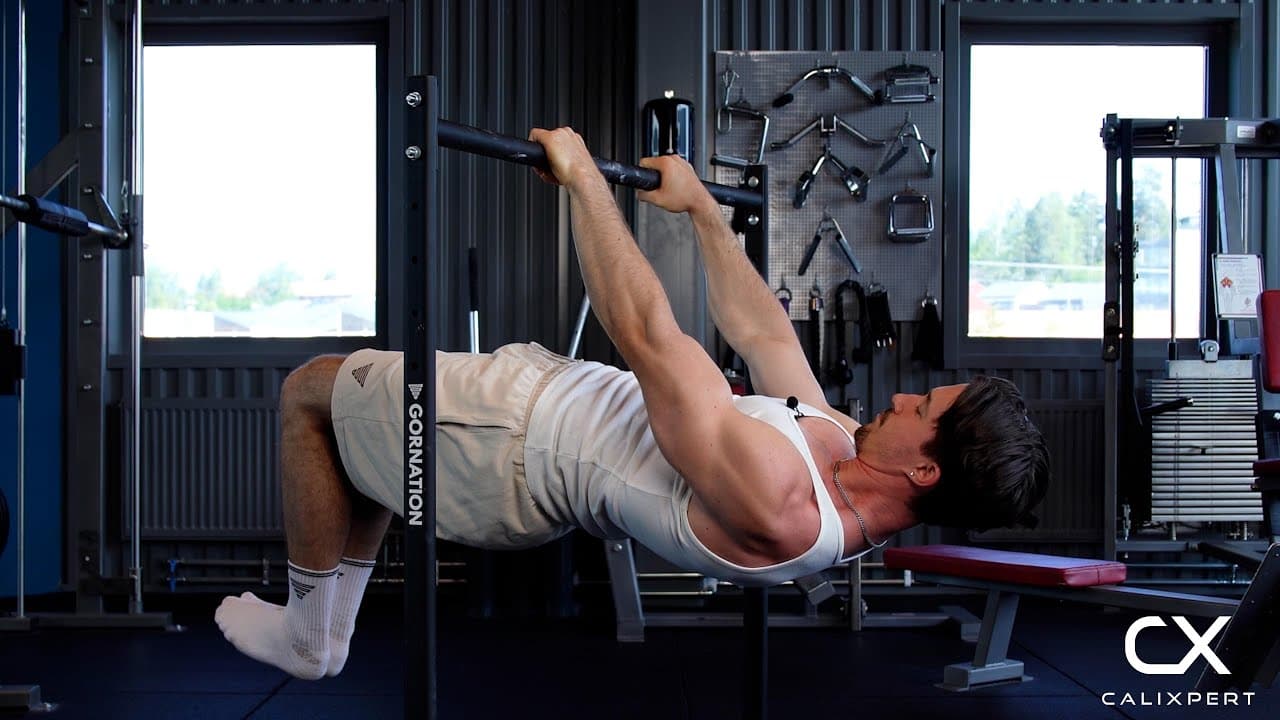
The halflay front lever is the rung where your hips finally open. Your thighs line up with your torso and only your knees stay bent at about 90 degrees. It sits directly above the advanced tuck front lever, which uses the same knee angle but keeps the hips folded, and below the straddle and one leg holds that lead to the full front lever. Opening those hips pushes your weight much further from the bar. Your lats and upper back hold the line, your abs and glutes stop it breaking.
How to Do Halflay Front Lever
1. Set A Low Bar And Take Your Grip
Set the bar at about waist height, low enough that one foot can still reach the floor. Take an overhand grip at roughly shoulder width and sit back underneath it so your chest ends up under the bar. That height is what lets the support leg do its job.
Bar around waist height, hands shoulder width.
2. Keep One Leg Down As Support
Lean back under the bar with one foot on the floor and the other leg off it. The support leg is there to build the position before you have to hold it, so use it to place yourself, not to swing yourself into the shape.
One foot stays planted.
3. Lock The Arms And Set The Shoulders
Straighten your elbows and keep them straight. Then pull your shoulders back and down into retraction. You have to pull hard into that position to end up neutral, because the lever is constantly trying to drag your shoulder blades forward.
Elbows straight, shoulders back and down.
4. Press The Hip Up
Push through the support foot and press your hips up until your thighs are in line with your torso. Squeeze the glutes and keep the ribs down, so you get there by extending the hip rather than by arching the lower back.
Drive the hip toward the ceiling.
5. Hold Both Knees At Ninety
Both knees stay bent at about 90 degrees, so your shins hang straight down under your knees. Holding that angle is what makes this a halflay and not a full front lever, and your hamstrings have to work to keep it there.
Shins hanging straight down.
6. Take The Leg Away And Hold
When the arms, shoulders and hips all feel connected, lift the support foot away and hold your body horizontal, shoulders, hips and thighs in one line. You will sit well below the bar with your arms angled up, and that is normal, so do not chase height by pulling. Hold quality seconds rather than maximum seconds, and put the foot back down before the hips start to sink.
Lift off and hold the line.
I do not jump straight into the hold. I set the bar low, keep one foot on the floor, and use that leg to get into the right position first. Arms locked, shoulders back and down retracted, then I press the hip up until I feel the connection is there and I am aligned. Only then do I lift up without the leg into the halflay.
Muscles Worked During Halflay Front Lever
Primary Muscles:
Secondary Muscles:
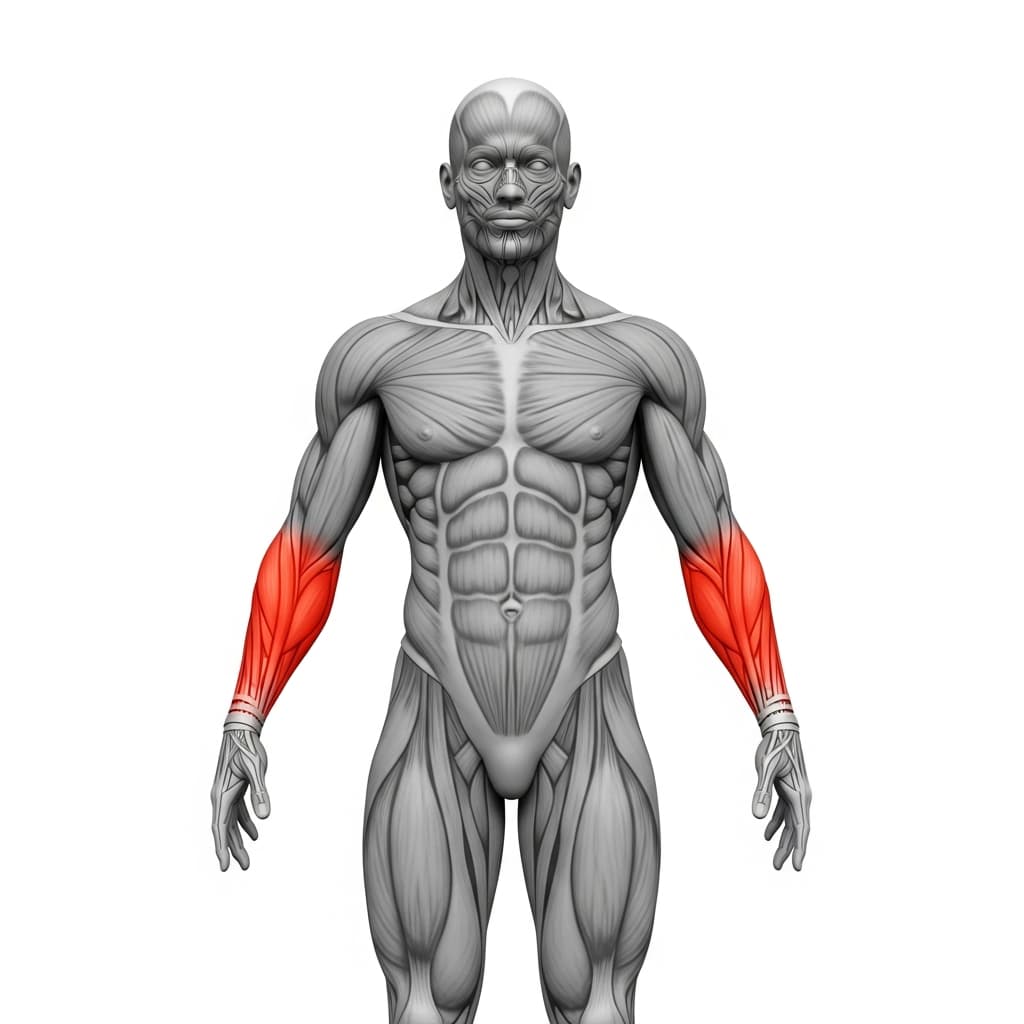
Primary Muscles
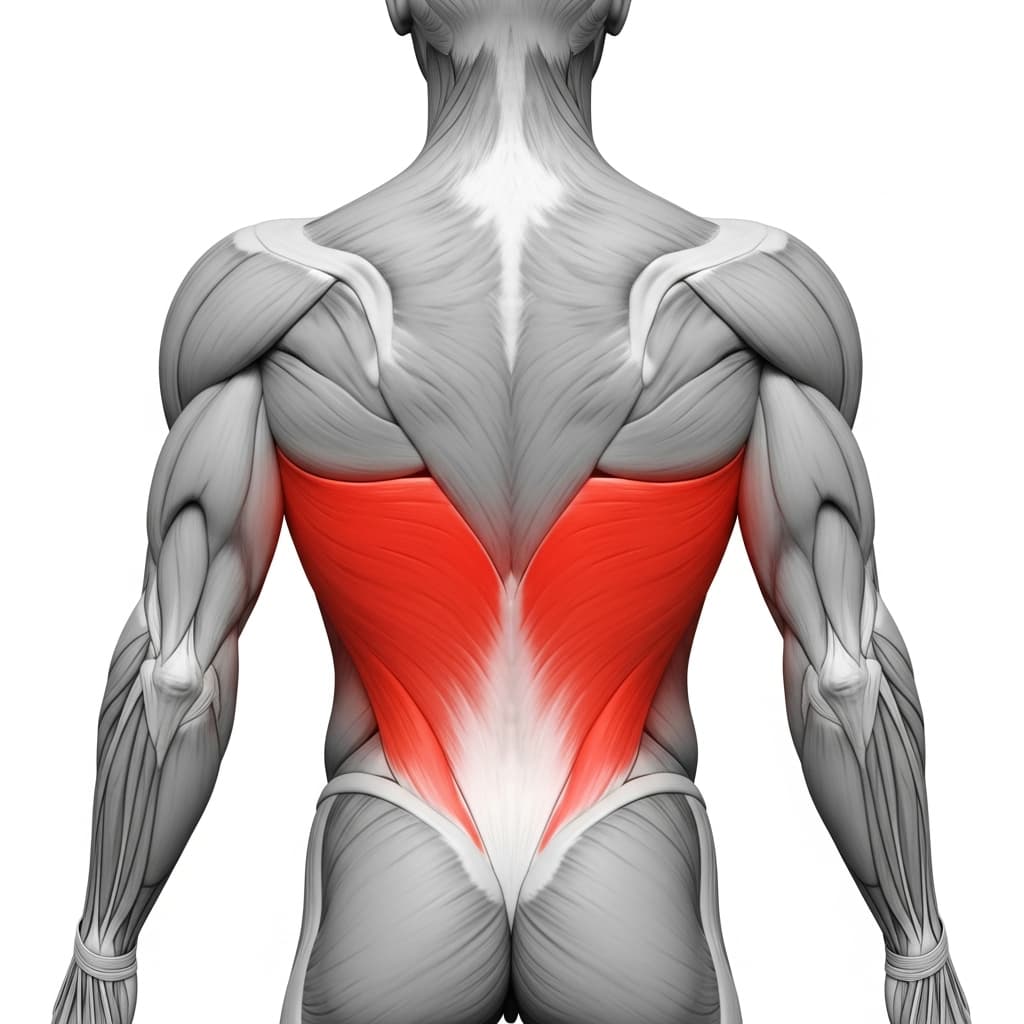
Latissimus Dorsi (Lats) - The lats do the actual work, extending the shoulder against your whole bodyweight while the arm stays straight.
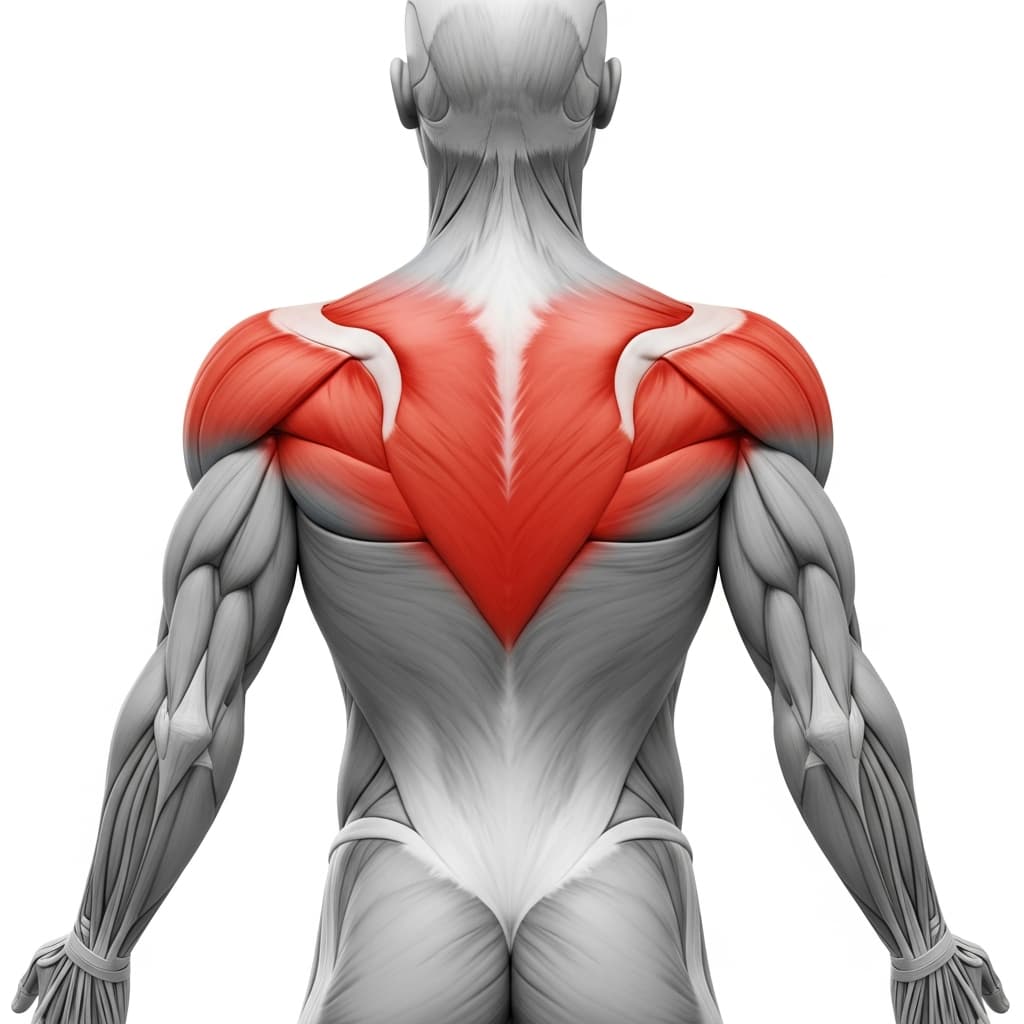
Rhomboids & Upper Trapezius (Upper Back) - The upper back holds the shoulder blades back and down so the lats have something solid to pull from, and it is usually the first thing to give way.
Secondary Muscles
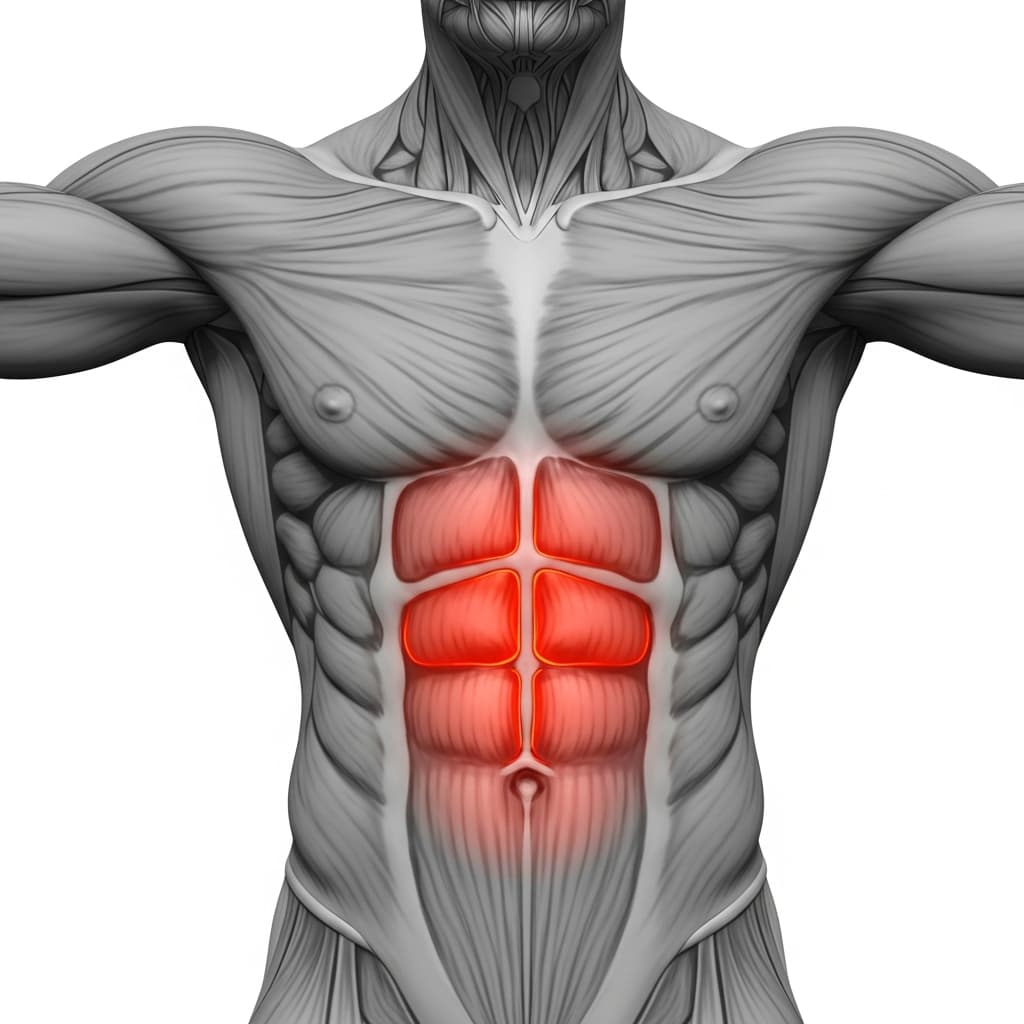
Rectus Abdominis (Abs) - The abs stop the hips dropping and stop the lower back arching, keeping the torso in one flat line.
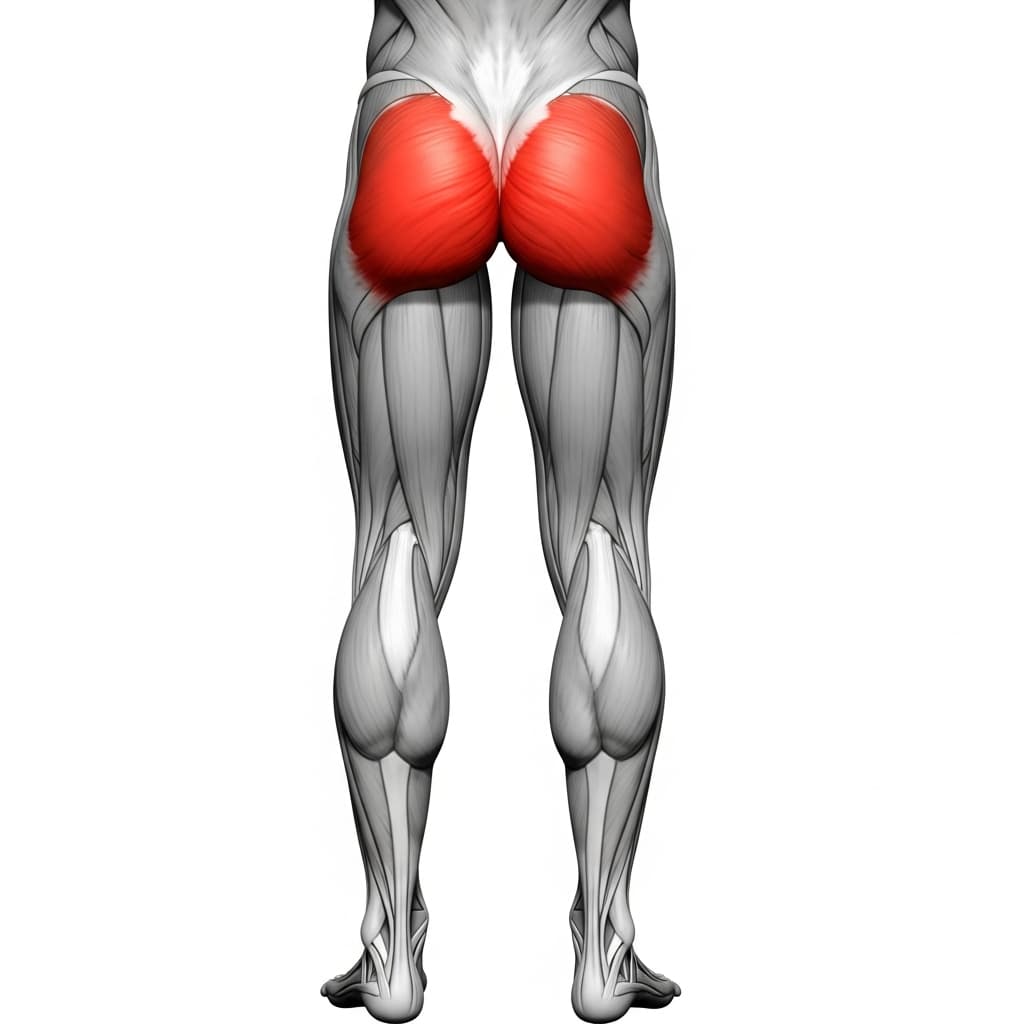
Gluteus Maximus (Glutes) - The glutes lock the hips into full extension, which is the whole difference between this and an advanced tuck.
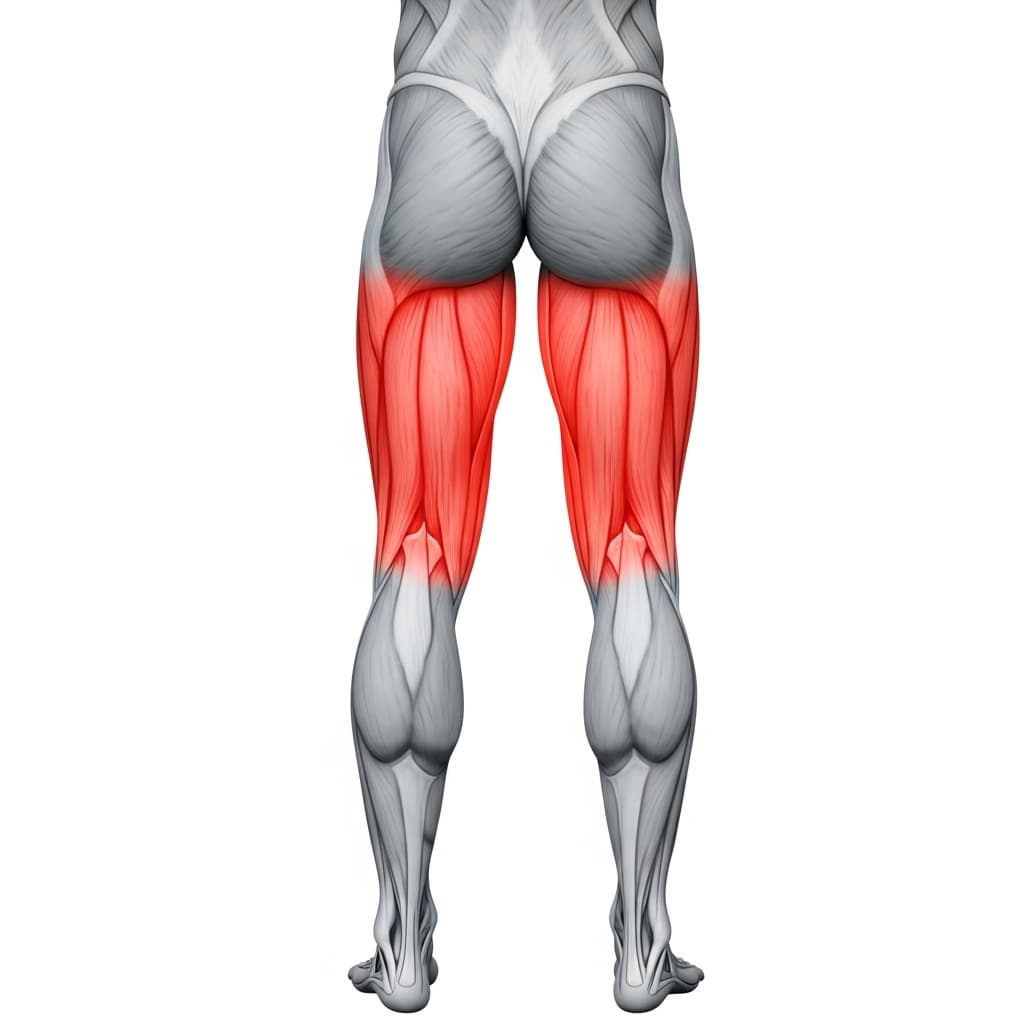
Hamstring Group (Hamstrings) - The hamstrings hold the knee bent at 90 degrees so the shin hangs straight down instead of the leg drifting out straight.
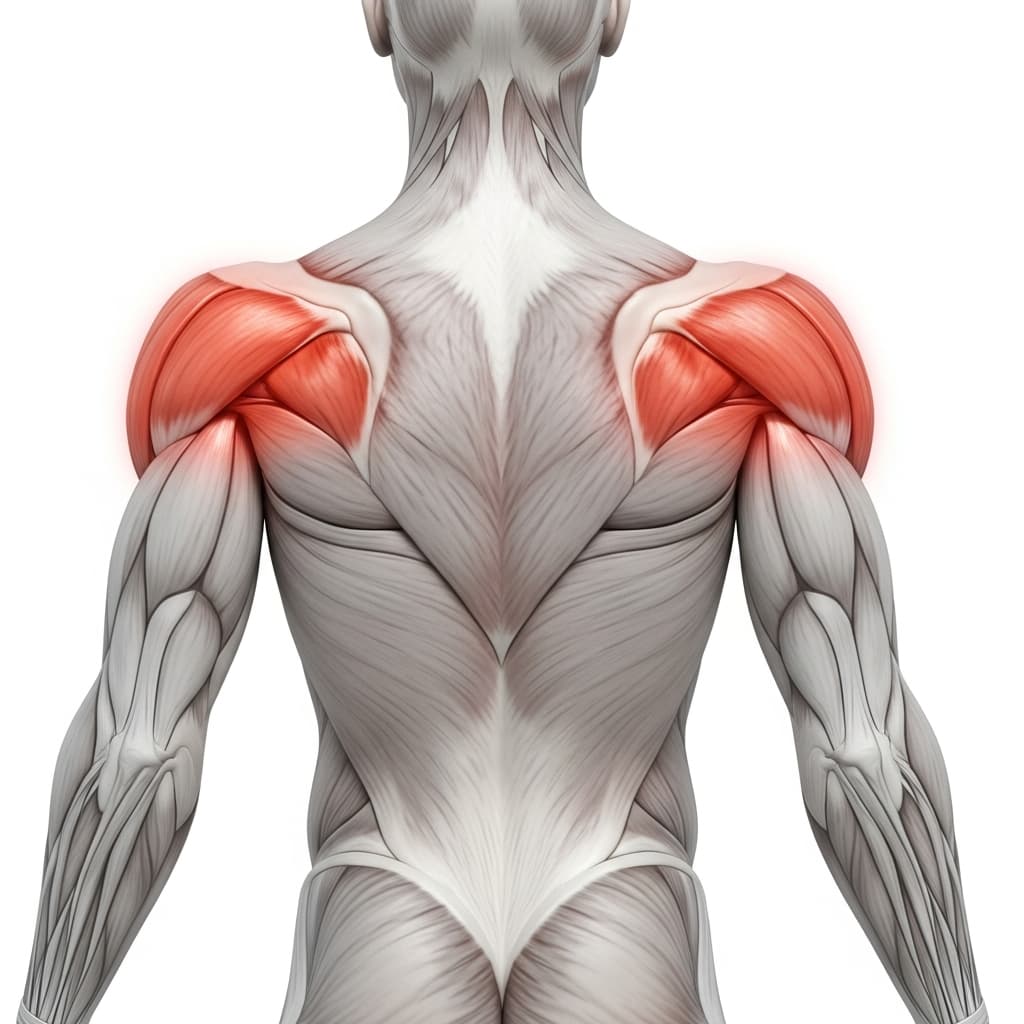
Posterior Deltoid (Rear Deltoid) - The rear deltoids assist the shoulder extension and help keep the shoulders pulled back rather than rolling forward.
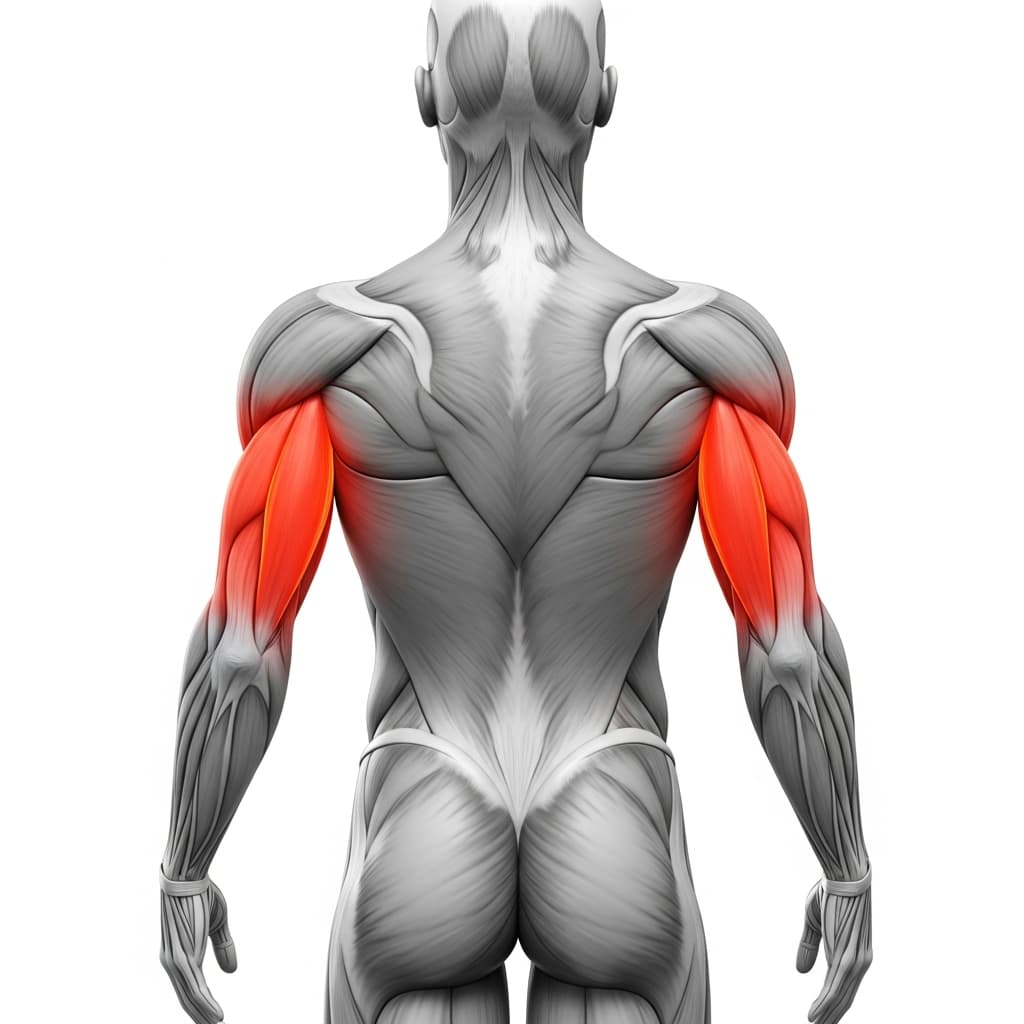
Triceps Brachii (Triceps) - The long head of the triceps helps extend the shoulder and keeps the elbows locked straight for the whole hold.
Forearm Flexors & Extensors (Forearms) - The forearms and grip keep you attached to the bar while your bodyweight tries to pull your hands open.
Benefits of Halflay Front Lever
- Builds straight arm pulling strength with the hips fully open, which is the exact quality the straddle and one leg holds ask for next.
- Teaches you to hold the hips fully extended, the position most people never get past on the way to a front lever.
- Forces scapular retraction and depression under real load, so the shoulder position stops being a cue you think about and becomes strength you own.
- Loads the lats and upper back with the arms straight, a quality that bent arm pulling like chin ups and rows does not build.
- Develops the anti arch trunk control that carries straight over to dragon flags, toes to bar and hollow body work.
Who Is This Exercise For?
Before you train this, you should own the advanced tuck front lever, meaning a clean 10 to 20 second hold with a flat back and locked elbows, not a one off best effort. Straight arm scapular strength comes first too, so scapula pull ups and skin the cat should already feel easy, because the shoulders are what fail first here. Your elbows and biceps need to be pain free under a straight arm hang. Hollow body and dragon flag work off the bar give you the anti arch strength this position asks for.
Common Mistakes to Avoid
Losing the shoulder retraction: This is the first fault to look for, because everything else follows it. Once the shoulder blades slide forward, the lats can no longer extend the shoulder, the shoulder rises and the whole body drops with it, and most people then blame their abs. Set the retraction before you take the leg off and keep actively pulling into it for the whole hold.
Letting the hips fold back toward a tuck: As you fatigue the hips quietly flex and the thighs drop below the line of your chest, which turns the hold back into an advanced tuck without you feeling it happen. Film a set from the side. If the thighs are no longer in line with your torso, the set is finished, and stopping there is better than banking seconds in a shape you are not actually holding.
Bending the elbows: A bent arm hands the work to the biceps and stops it being a front lever, and it is the usual reason a hold looks right on video but does not carry over to the next progression. Straighten the elbow fully and hold it straight with muscle. If you cannot keep it locked, the shape is too hard for that day and you should drop back to an easier one.
Arching the lower back to look horizontal: When the abs give out first, people arch instead of dropping, which loads the lower back in a stretched position and is where most front lever back complaints come from. Pull the ribs down and squeeze the glutes, and if the line still breaks, regress to an assisted version rather than arching your way to level.
Variations & Progressions
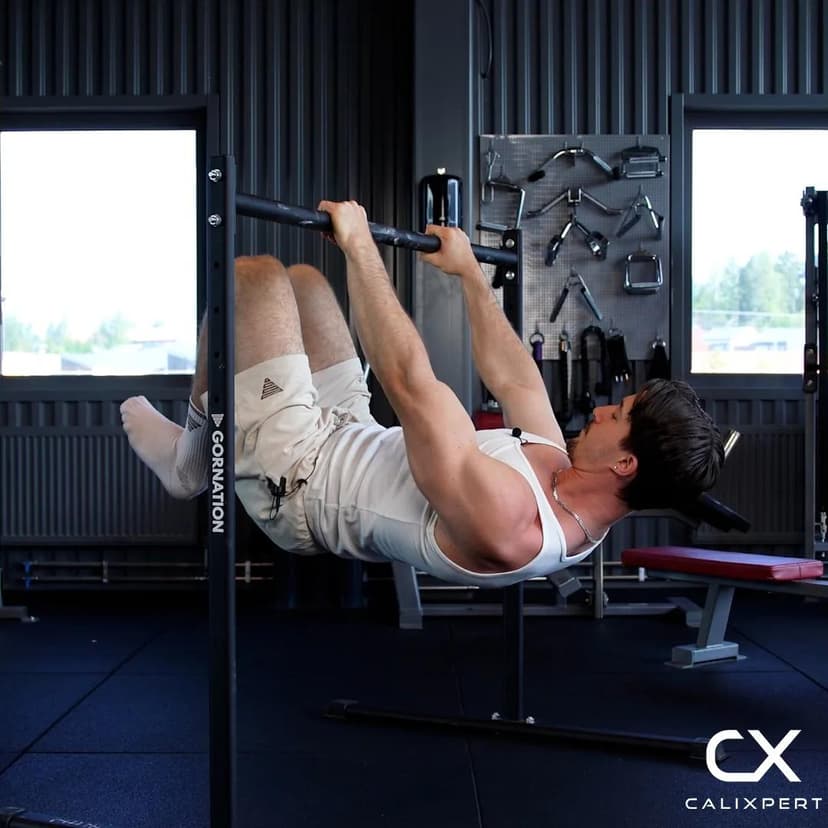
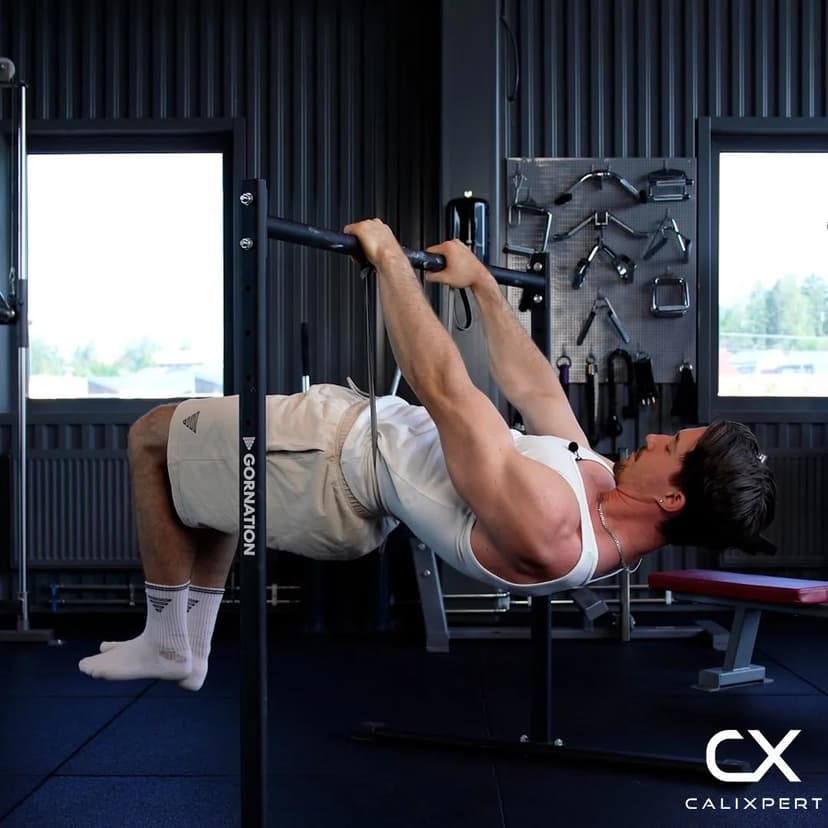
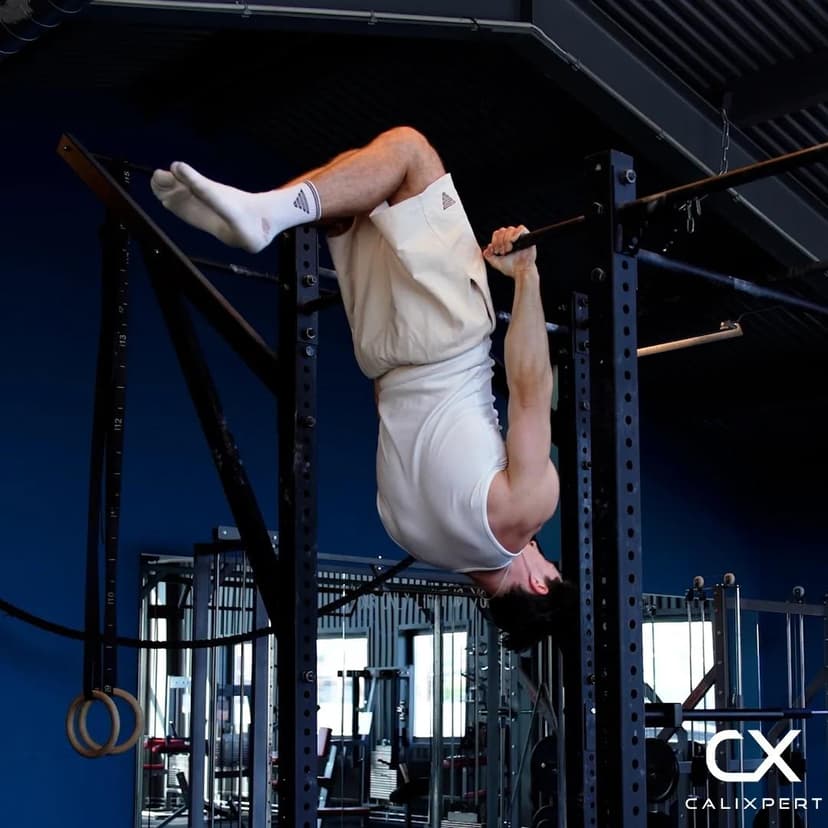
Full Front Lever
The end of the progression, with the knees straightened so your whole body forms one horizontal line, and the straddle and one leg holds sitting between this and that.