Assisted Halflay Front Lever
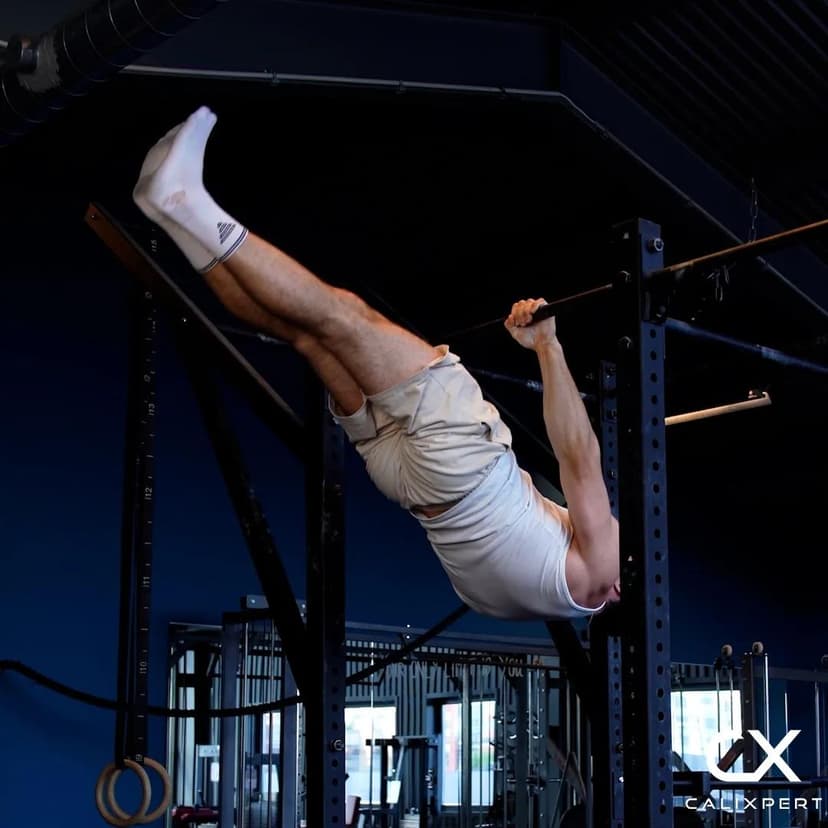
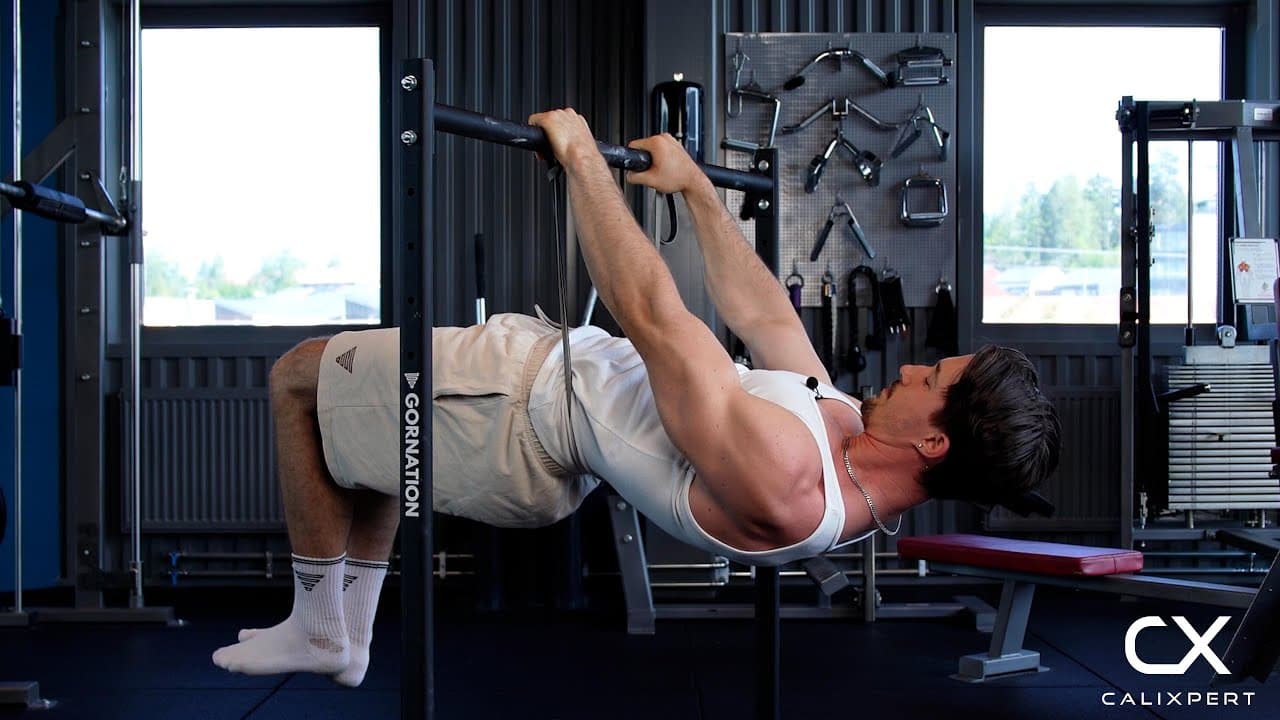
The halflay front lever is the first rung where the hips come fully open, sitting directly above the advanced tuck and below the straddle, one leg and full lever shapes. Straightening the hips while the knees stay bent pushes your centre of mass far away from the shoulders, and the whole line collapses. A band across the lower back takes a slice of that load off so you can hold the real shape, keep the shoulders retracted, and train the position instead of fighting to reach it.
The halflay front lever is the first rung where the hips come fully open, sitting directly above the advanced tuck and below the straddle, one leg and full lever shapes. Straightening the hips while the knees stay bent pushes your centre of mass far away from the shoulders, and the whole line collapses. A band across the lower back takes a slice of that load off so you can hold the real shape, keep the shoulders retracted, and train the position instead of fighting to reach it.
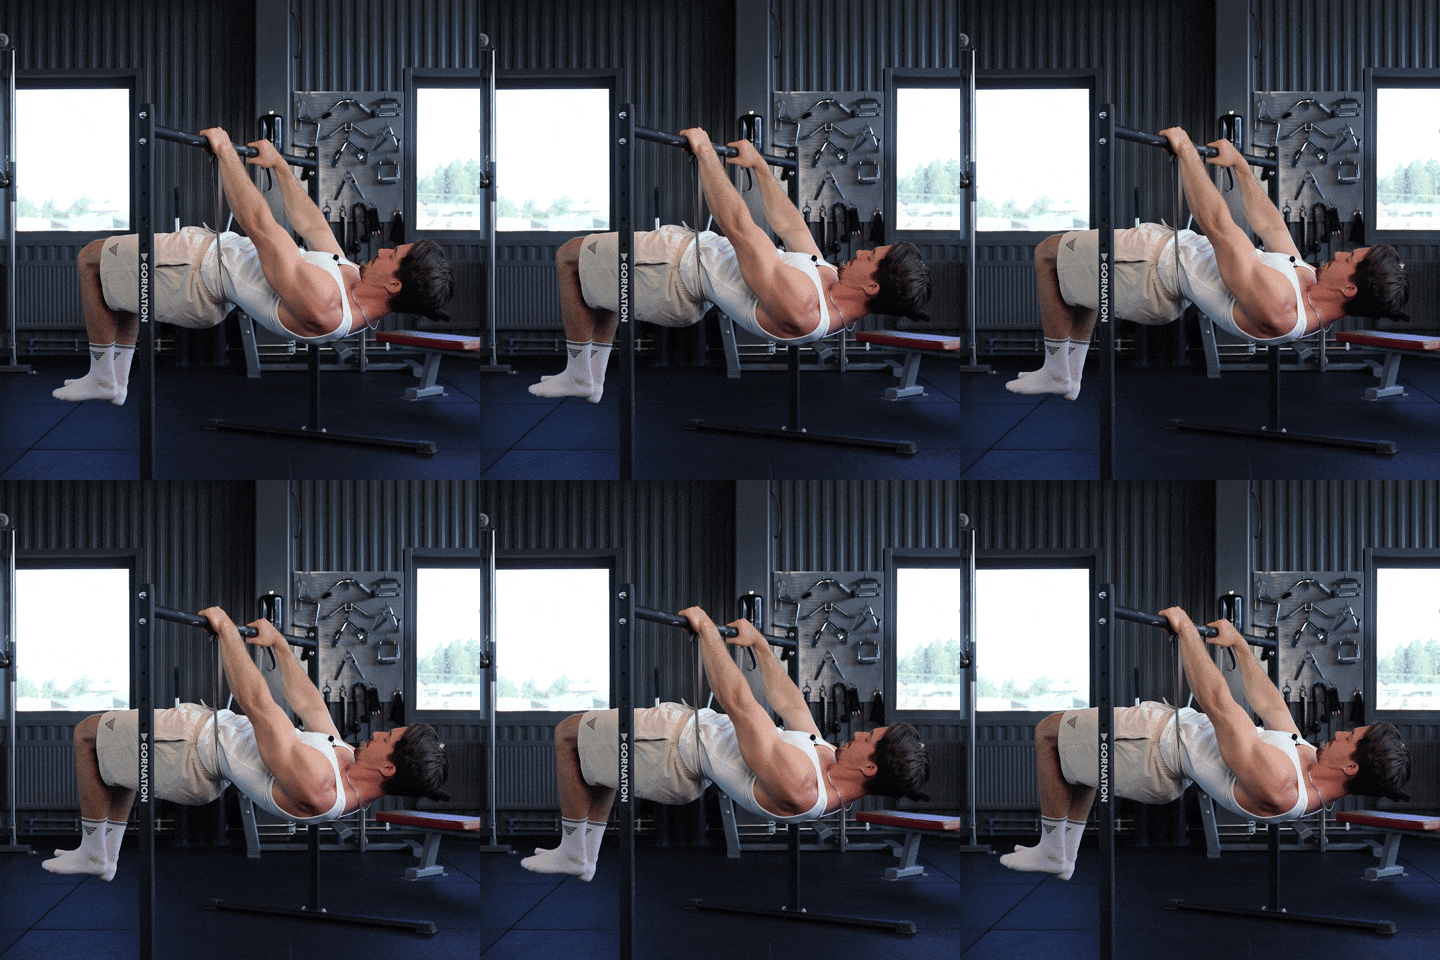
How to Do Assisted Halflay Front Lever
1. Fasten The Band To The Bar
Loop the resistance band over one side of the pull up bar and pull it tight against itself. It does not matter which side you pick, so use whichever is easier to reach. Start with the thinnest band you can actually hold the shape with, because a thick band will do the job for you.
Either side, it does not matter
2. Set The Band On Your Lower Back
Pull the free end of the band across your lower back so it sits above your waistband. This is the detail that decides whether the exercise works at all. Sitting it under your bum or hips moves the assistance away from your shoulders and lets the band lift your legs instead of just removing load.
Lower back, never under the bum
3. Take The Bar And Trap The Band
Reach up and take an overhand grip on the bar. Put one hand over the band so it is held against the bar and cannot slide sideways, then set the other hand at about shoulder width. Check the band is still sitting on your lower back before your feet leave the floor.
One hand pins it, both hands grip
4. Lock The Arms And Retract The Shoulders
Straighten the elbows fully and keep them locked there for the whole hold. Pull the shoulder blades back and down, away from your ears. You have to pull hard into retraction just to keep the shoulders neutral, because the lever is constantly trying to drag them forward.
Arms straight, shoulders back and down
5. Lift Up And Get The Hip High
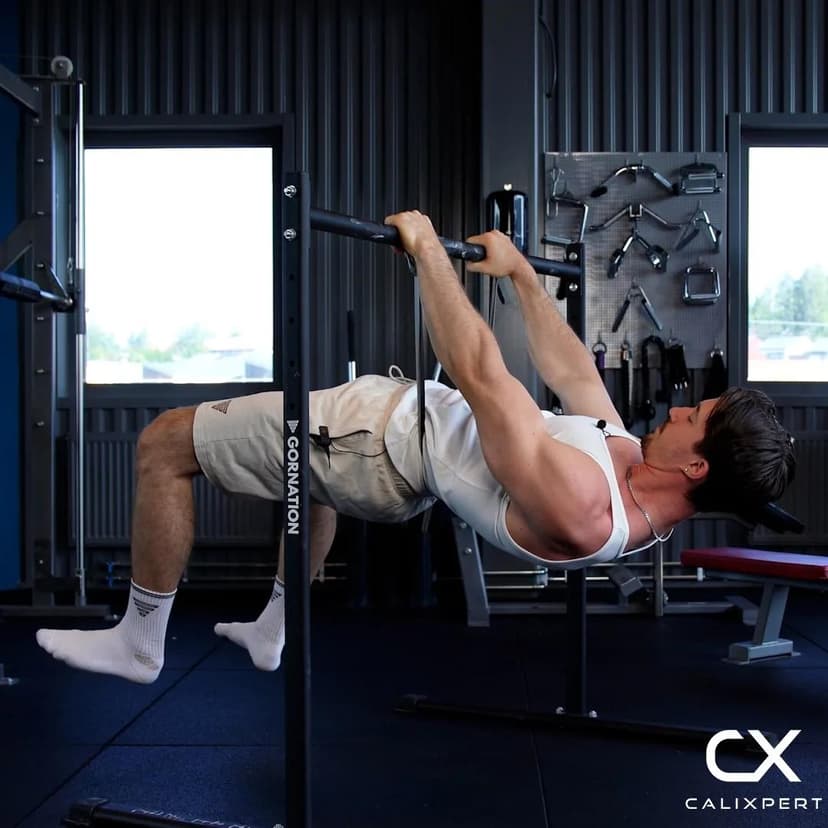
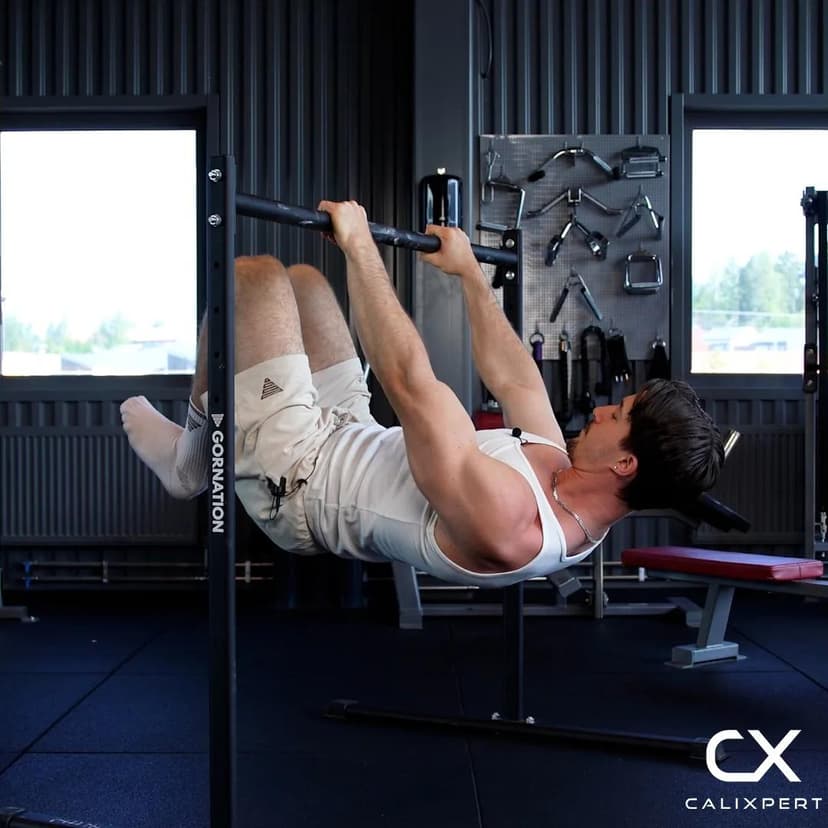
Lean back and lift up. You can use one leg as a support while you get the hip high enough, with the knee of the working leg bent to about 90 degrees. Drive that hip up until the thigh is in line with your torso, because getting the hip up is the actual job here, not getting the foot up.
Hip first, foot second
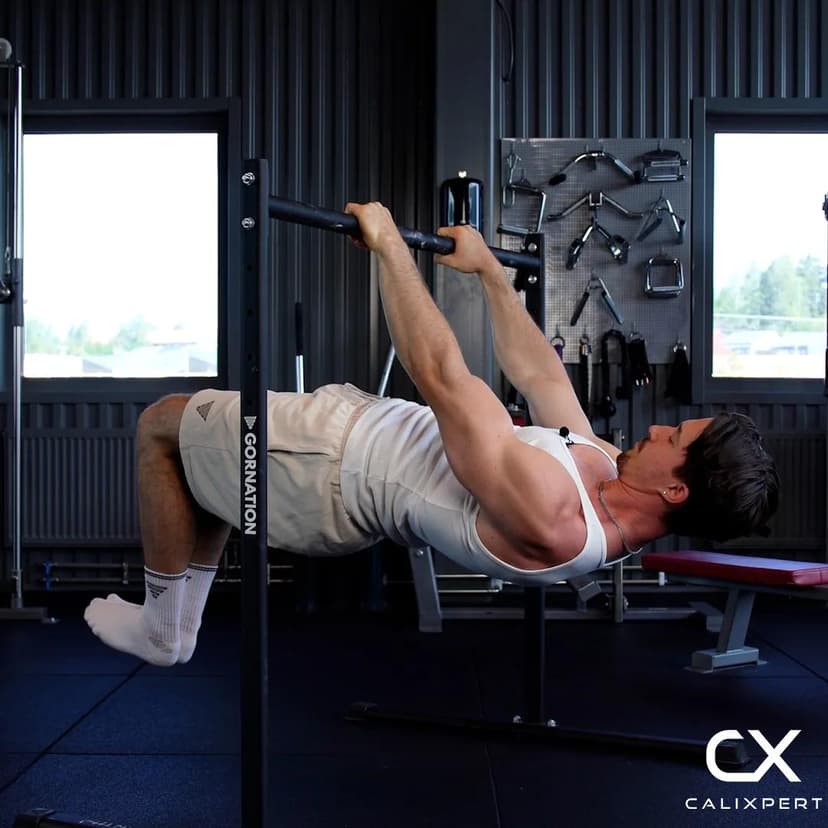
6. Bring The Second Leg Up
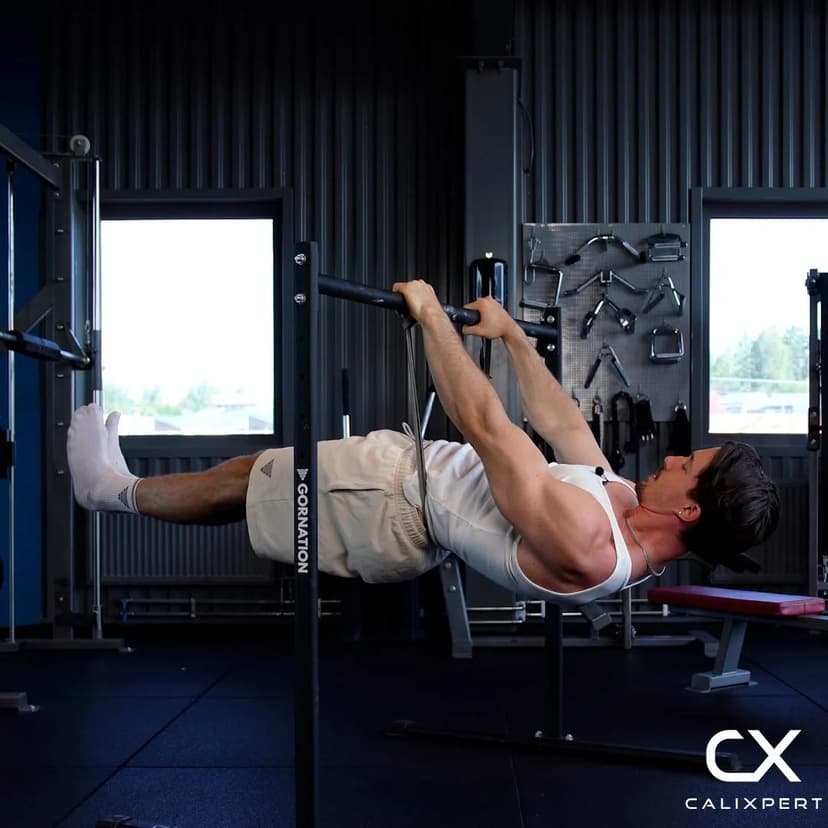
Once the hip is high and the first leg is set, lift the other leg up to join it. Both knees stay bent at roughly 90 degrees and both thighs stay in line with the torso. Your heels sit behind you rather than tucking in toward your chest.
Match it to the first
7. Hold, Then Come Down Under Control
Hold with the body parallel to the floor for 5 to 12 seconds, and end the set the moment the hips sink or the shoulders roll forward. Lower one leg at a time and step down rather than dropping off the bar. Four to six sets with 2 to 3 minutes rest is plenty of work for one session.
Quality seconds, not maximum seconds
The band goes on your lower back, not under your bum. That is crucial. Sit it under the bum and it lifts your legs for you, so you are holding a shape the band made and you learn nothing. On the lower back it only takes weight off, and the position is still yours. From there, arms fully locked, shoulders back and down, lift up with one leg as support until the hip is high enough, then bring the other leg up to meet it.
Muscles Worked During Assisted Halflay Front Lever
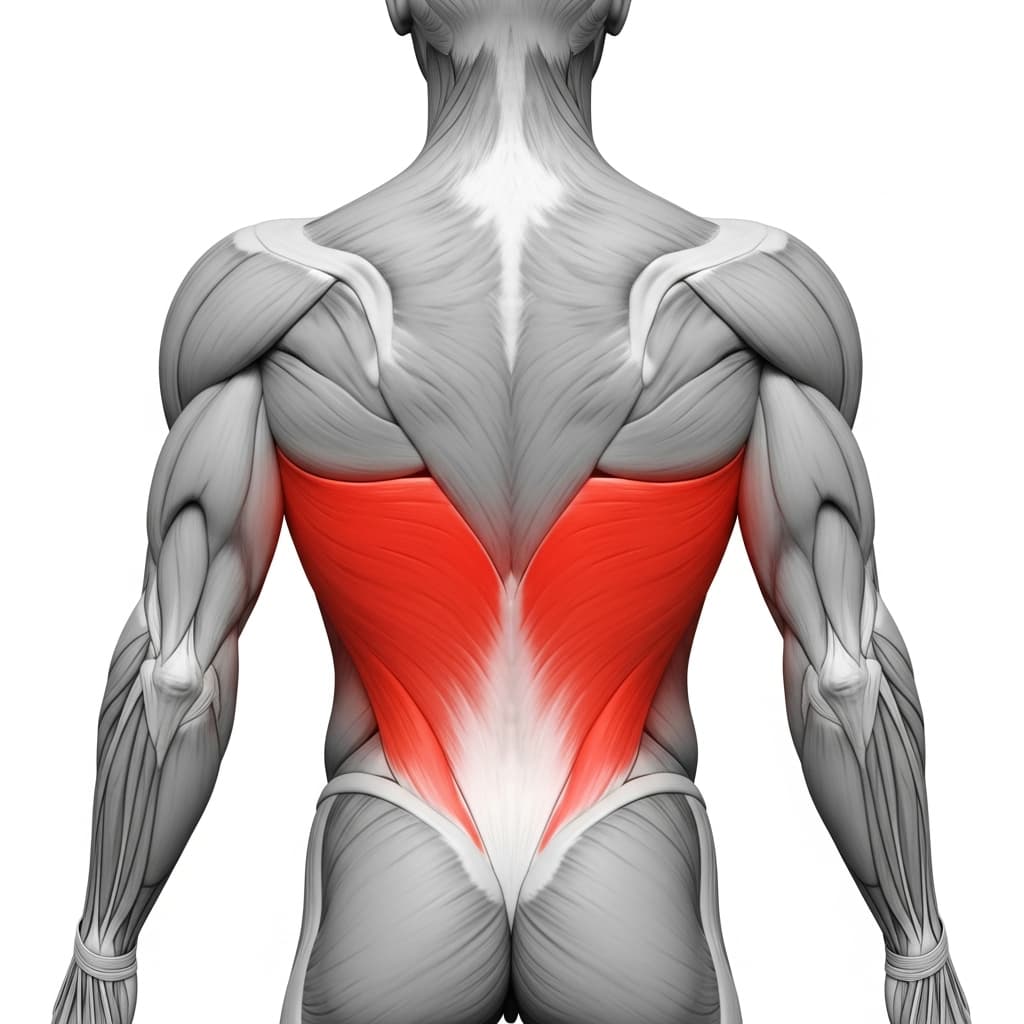
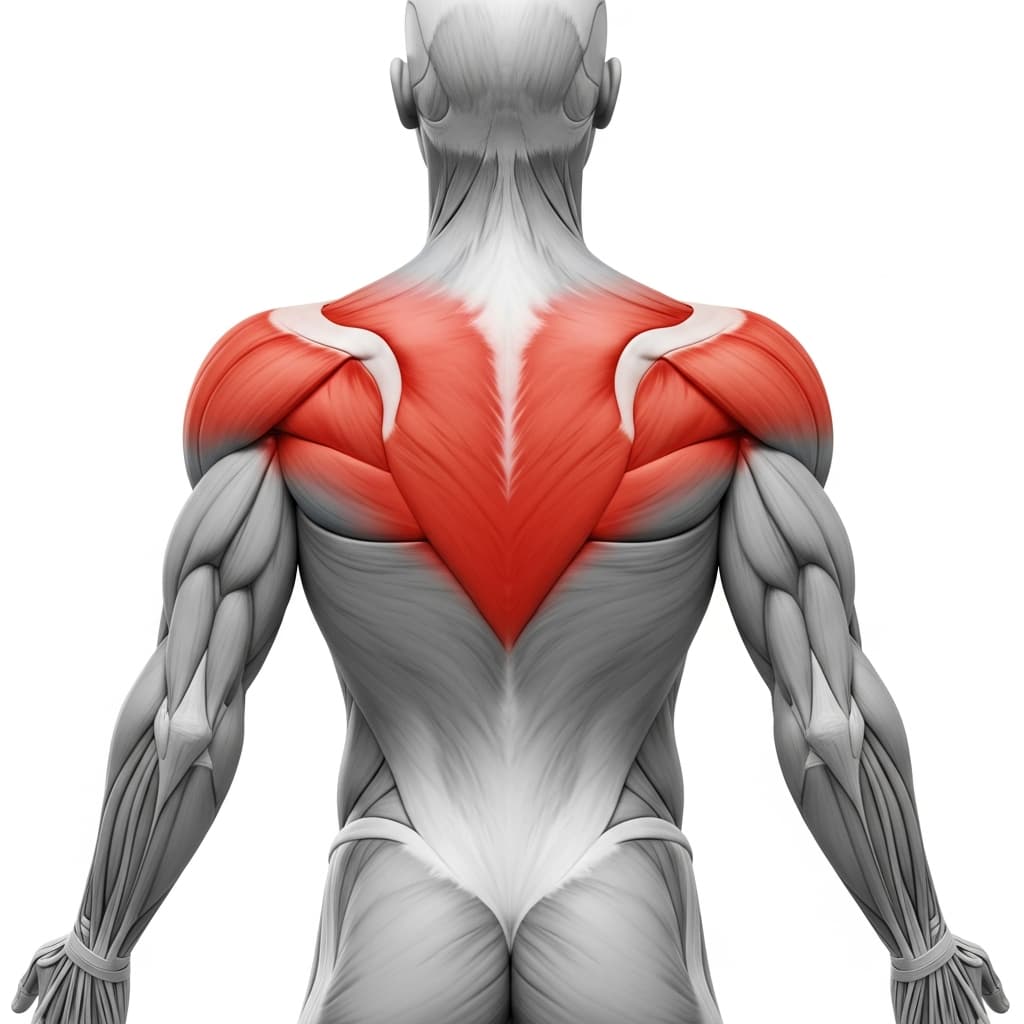
Primary Muscles:
Secondary Muscles:
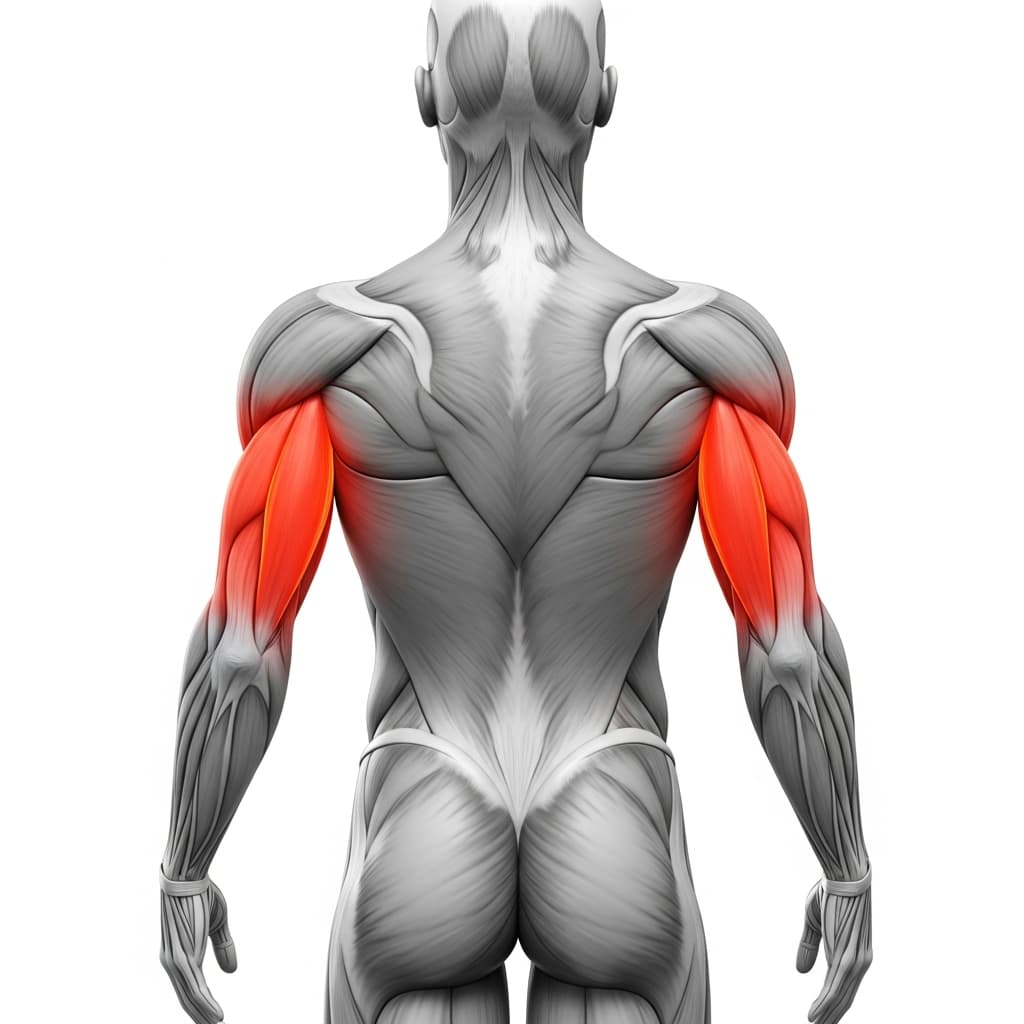
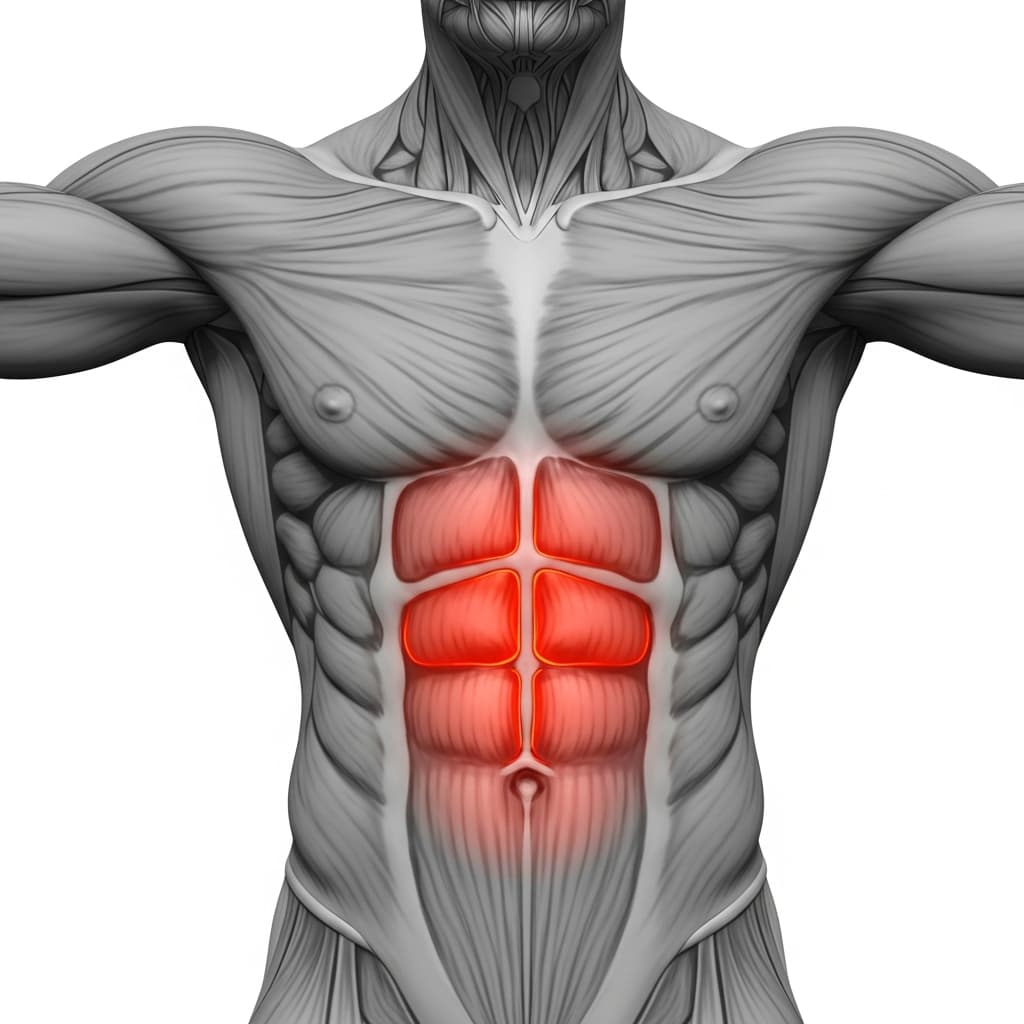
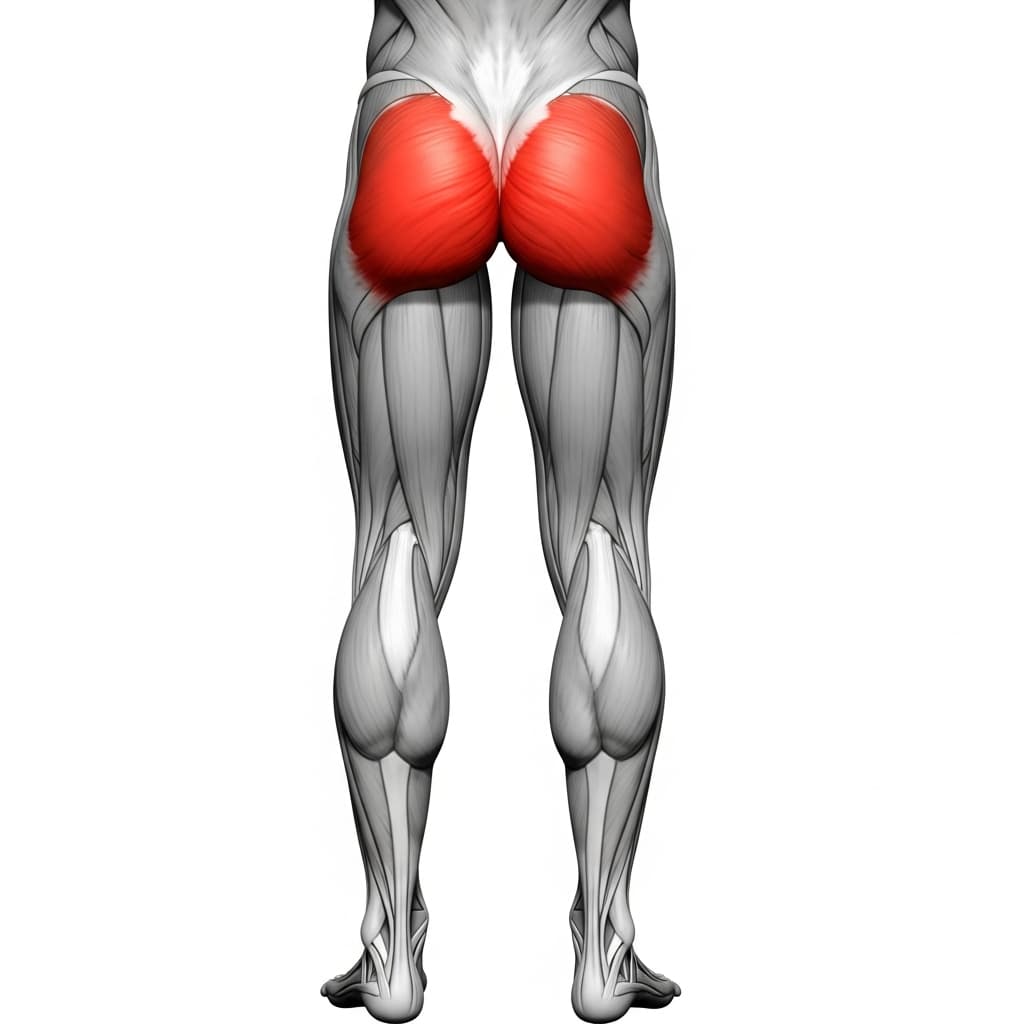
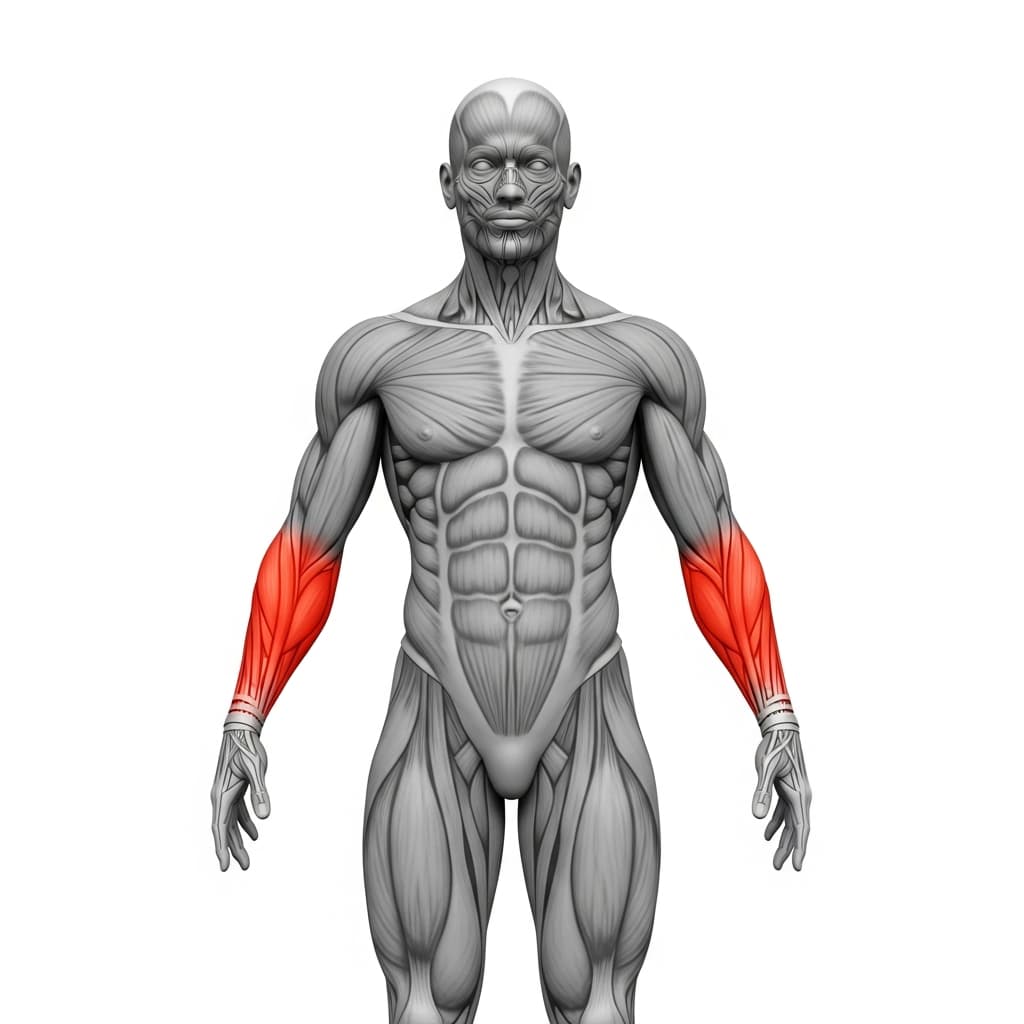
Primary Muscles
Latissimus Dorsi (Lats) - The lats do the straight arm shoulder extension that holds your body up under the bar, and they are what runs out first when the hips start to sink.
Rhomboids & Upper Trapezius (Upper Back) - The mid and upper back hold the shoulder blades back and down so the lever cannot drag them forward around your ribcage.
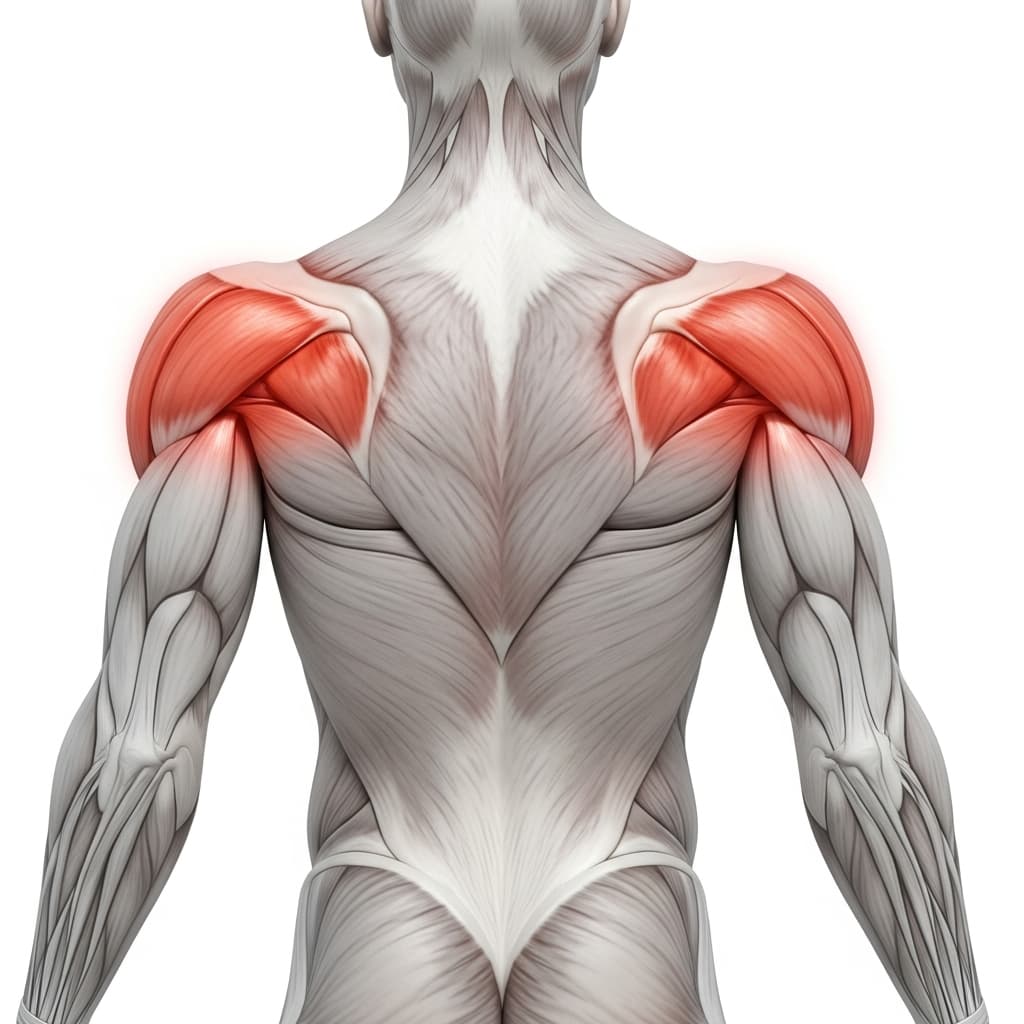
Secondary Muscles
Posterior Deltoid (Rear Deltoid) - The rear deltoids help the lats pull the arms back toward the body and stop the shoulder rolling forward under load.
Triceps Brachii (Triceps) - The long head of the triceps crosses the shoulder, so it assists the pull backwards while also keeping the elbow locked straight.
Rectus Abdominis (Abs) - The abs stop the pull at your hips from arching the lower back, which is what keeps the torso and thighs in one line.
Gluteus Maximus (Glutes) - The glutes hold the hips fully extended so the thighs stay level with the torso instead of folding back into a tuck.
Forearm Flexors & Extensors (Forearms) - The forearms and grip keep you attached to the bar for the whole hold, and they work harder here because one hand is also pinning the band.
Benefits of Assisted Halflay Front Lever
- Trains the hips extended position, which is the exact point where most people stall for months, before you can hold it on your own
- Builds straight arm pulling strength in the lats and upper back through a range that no amount of pull ups will reach
- Teaches you to hold scapular retraction and depression under real load, which is what stops the shoulders rolling forward and the body dropping
- Bridges the gap from advanced tuck to halflay without arching your lower back to fake a horizontal line
- Lets you accumulate 5 to 12 second quality holds instead of 2 second maximum efforts, which is where the strength actually gets built
Who Is This Exercise For?
Own the advanced tuck front lever unassisted first, ideally a clean 10 to 20 second hold, and have scapula pull ups where you can pause a second at the top. A band is a bridge across one rung, not a way to jump three, so the honest test is whether the rung directly below this one is already yours. You also want shoulders and elbows that are used to straight arm hanging work, because this is tendon load and connective tissue adapts more slowly than muscle.
Common Mistakes to Avoid
Putting the band under your bum instead of your lower back: The lower the band sits, the closer it gets to your legs and the more of the position it produces for you. Under the bum or hips it lifts your legs, so you end up holding a shape the band built rather than one you can make. Slide it up onto the lower back, above the waistband, and it only takes weight off while the shape stays yours.
Letting the shoulders roll forward: The lever pulls your shoulder blades forward around the ribcage, and once they go the lats lose the position they pull from. The shoulder rises, the whole body drops with it, and people then blame their core. Pull the blades back and down hard for the entire hold. You are pulling that hard just to keep them neutral, not to pinch them together as tightly as possible.
Folding at the hips so it turns back into a tuck: Halflay means the hips are fully extended with the knees bent, so the thighs stay level with the torso. As soon as the thighs drift toward your chest you are holding a banded advanced tuck, which is a much easier shape and not what you came for. Squeeze the glutes and think about pushing the front of your hips up toward the bar.
Letting the elbows bend: A bent elbow turns a straight arm lat exercise into a biceps exercise and takes the load off the muscles you are trying to build. It also loads the elbow in the position that produces the tendon pain this whole family is known for. Keep the elbow straight and actively held there, so you are locking it with muscle rather than hanging on the joint.