Assisted Front Lever
The assisted front lever puts you in the full front lever shape and takes a slice of the load off with a resistance band. The band fastens round one side of the bar and runs across your lower back, so the help pulls you straight up rather than lifting your legs for you. Your lats and upper back still hold the line, and your abs and glutes still keep the hips level. You practise the real position long before you can hold it on your own.
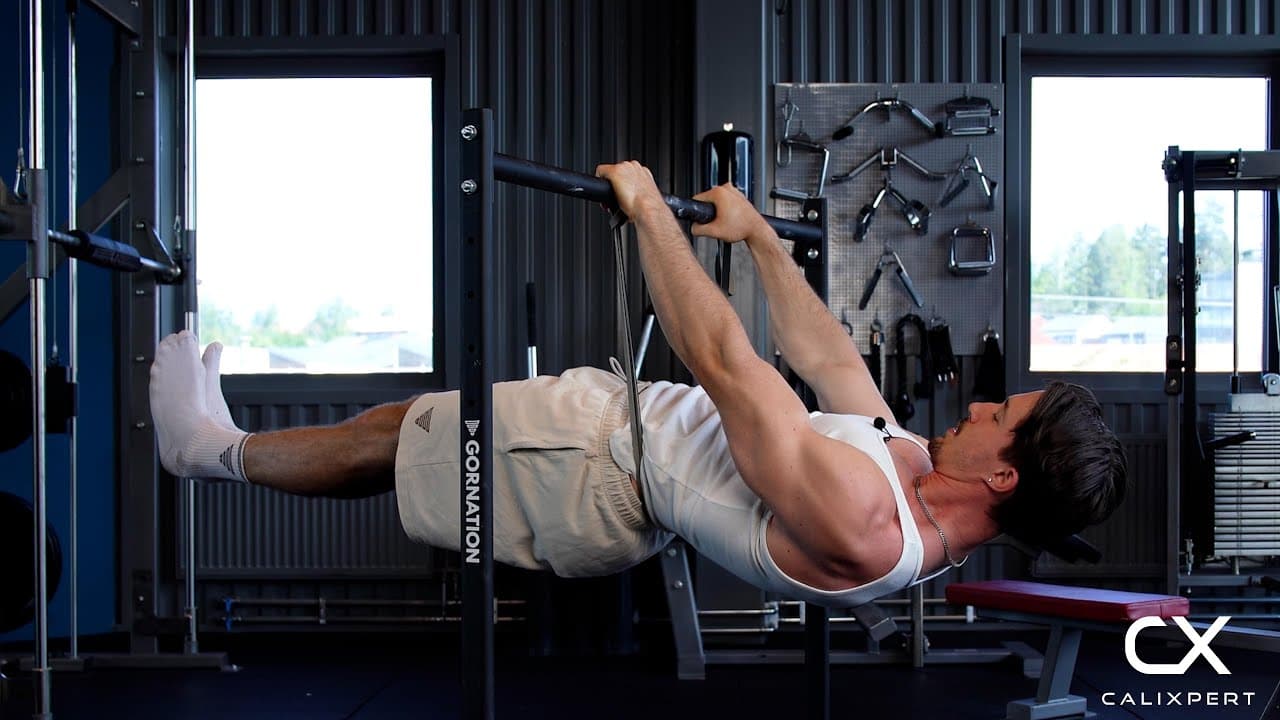
The assisted front lever puts you in the full front lever shape and takes a slice of the load off with a resistance band. The band fastens round one side of the bar and runs across your lower back, so the help pulls you straight up rather than lifting your legs for you. Your lats and upper back still hold the line, and your abs and glutes still keep the hips level. You practise the real position long before you can hold it on your own.
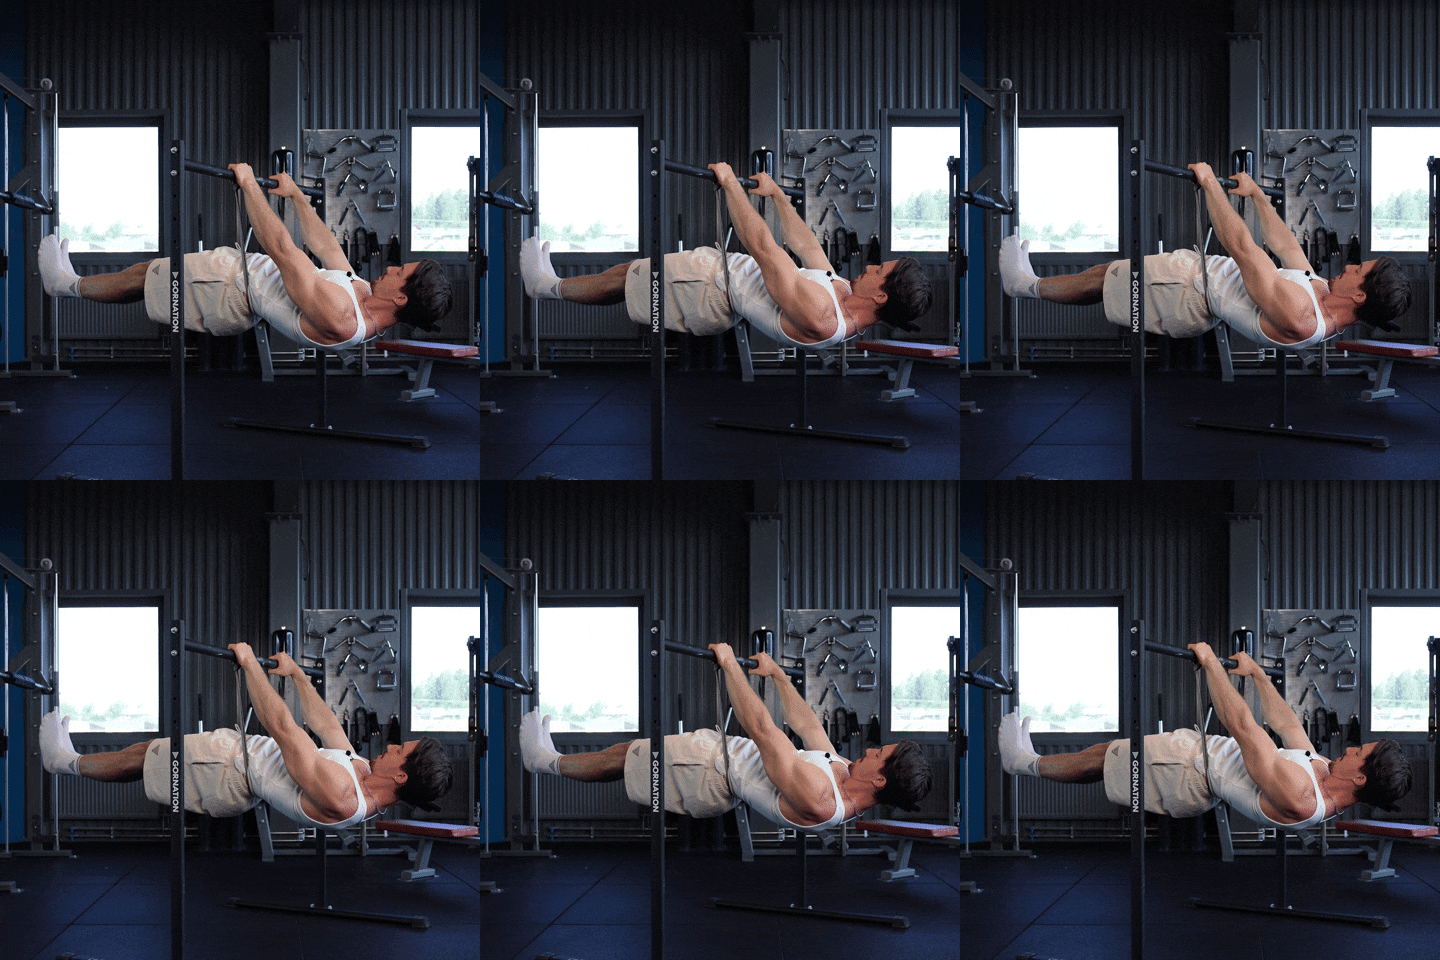
How to Do Assisted Front Lever
1. Fasten The Band To The Bar
Loop the resistance band round one side of the pull up bar so it hangs straight down inside where your hands will go. Pick the thinnest band that lets you hold a flat body, because band thickness is your main dial on how hard this is. How far the band gets stretched matters too, so keep the same band, the same bar and the same setup between sessions, otherwise your hold times mean nothing.
One side of the bar, band hanging down
2. Put The Band On Your Lower Back
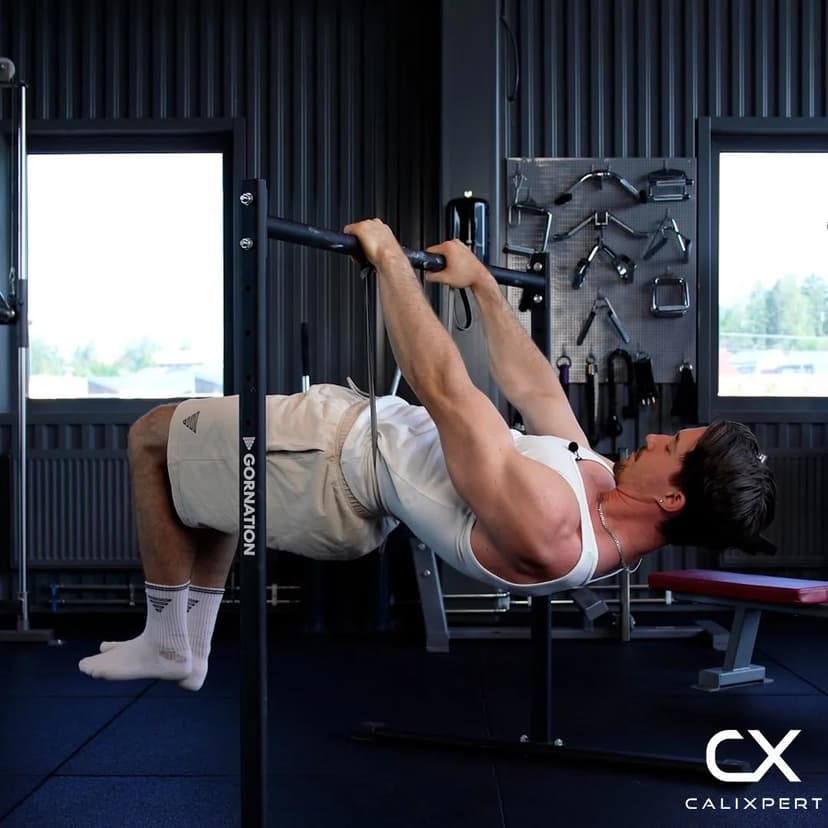
This is the crucial part. The band sits across your lower back so the help pulls you straight up, close to the shoulders, and you still have to hold your own hips in place. Move it under your hips or your feet and the band starts building the shape for you, which is the exact part of the exercise you came for.
Lower back, not under the bum
3. Grip The Bar And Pin The Band
Take an overhand grip on the bar with one hand. Place the other hand onto the band where it crosses the bar and hold it in place while you settle in, then take that hand onto the bar as well. The band will try to slide sideways until your bodyweight sets it.
One hand on the bar, the other holds the band
4. Enter With One Leg As Support
Strongly suggested here: enter with one leg as support. Keep one foot on the floor and use that leg while you build the shape from the shoulders down, so you get into the right position before you are in the full front lever. Arriving under control beats fighting to fix a bad position once you are already loaded.
One foot stays down
5. Lock The Arms And Set The Retraction
Straighten the elbows fully and hold them there actively rather than hanging on the joint. Then pull hard into retraction and depression, shoulder blades back and down. You are pulling that hard to end up neutral, because the lever is constantly trying to drag the shoulders forward and up.
Elbows straight, shoulders back and down
6. Set The Hip
With the support leg still down, squeeze the glutes and brace the abs so the hips come level with the shoulders. Check that the hip is in the right position before you commit, because a hip that starts low never comes back up mid hold.
Glutes on, ribs down, body flat
7. Lift Into The Full Front Lever
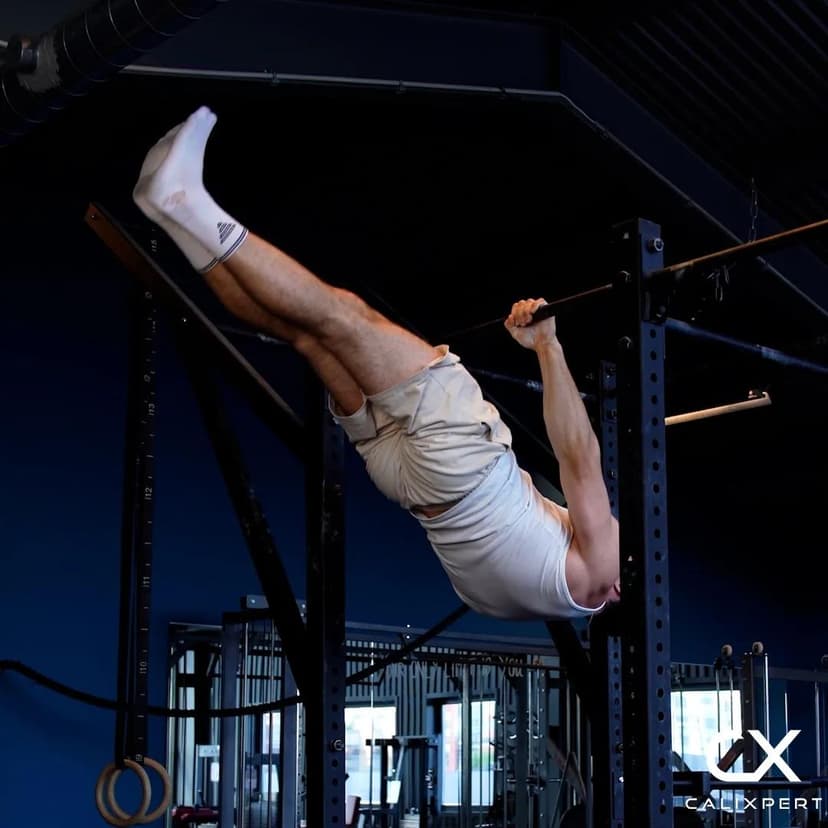
Lift the support leg to join the other one and hold the body parallel to the floor with the legs together. Work 4 to 6 sets of 5 to 12 quality seconds with 2 to 3 minutes rest, and stop the set the moment the hips drop or the elbows bend. Come down through the support leg the same way you came up.
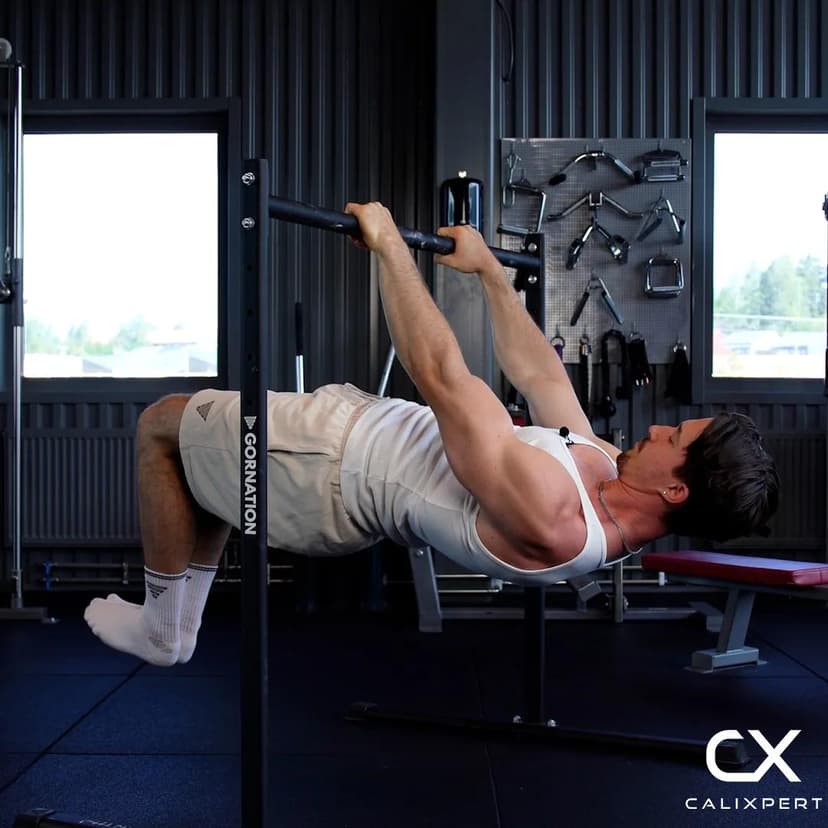
Both legs up, one flat line
Two things decide whether this works. Put the band on the lower back, not under your bum, so the help comes straight up and you still have to hold your own hips in place. Then get in one leg at a time. I strongly suggest you use one leg as support, set your locked arms and your retraction, check the hip is in the right position, and only then lift the leg into the full front lever.
Muscles Worked During Assisted Front Lever
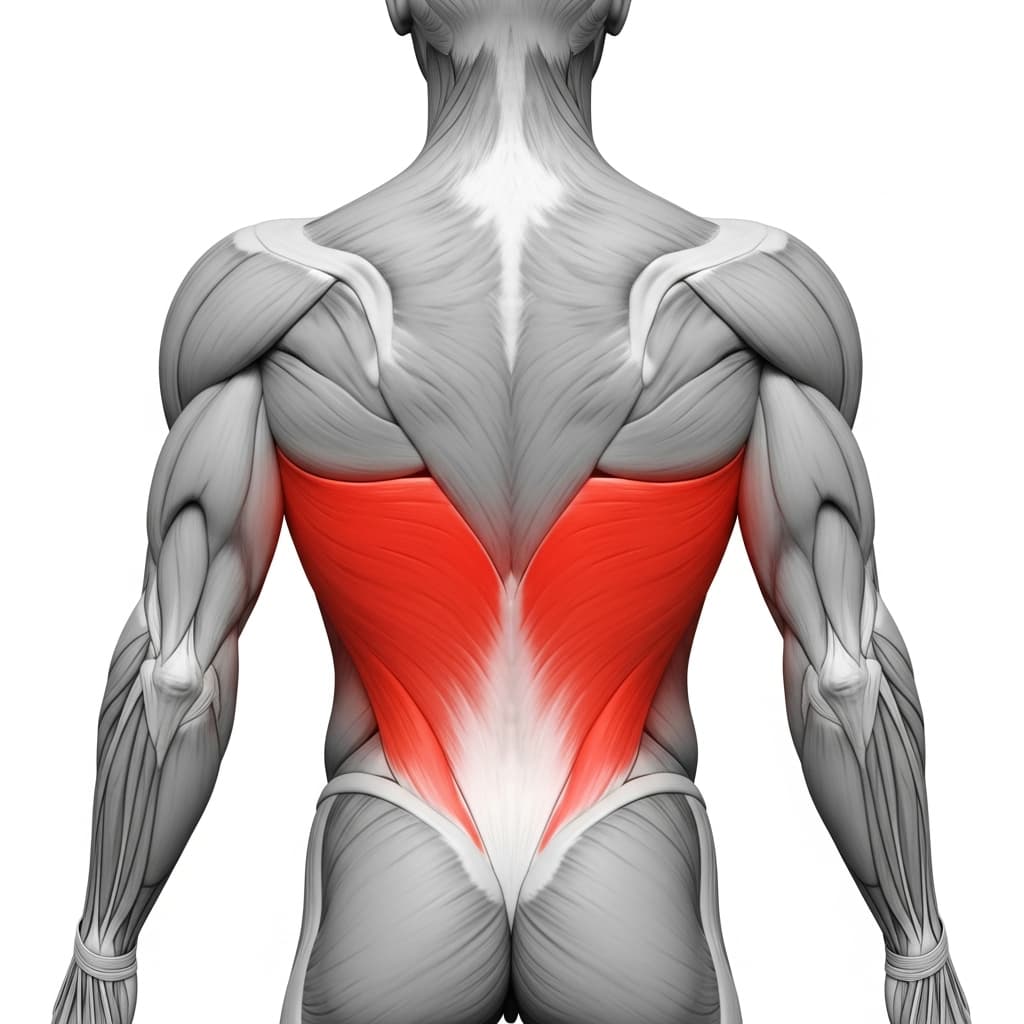
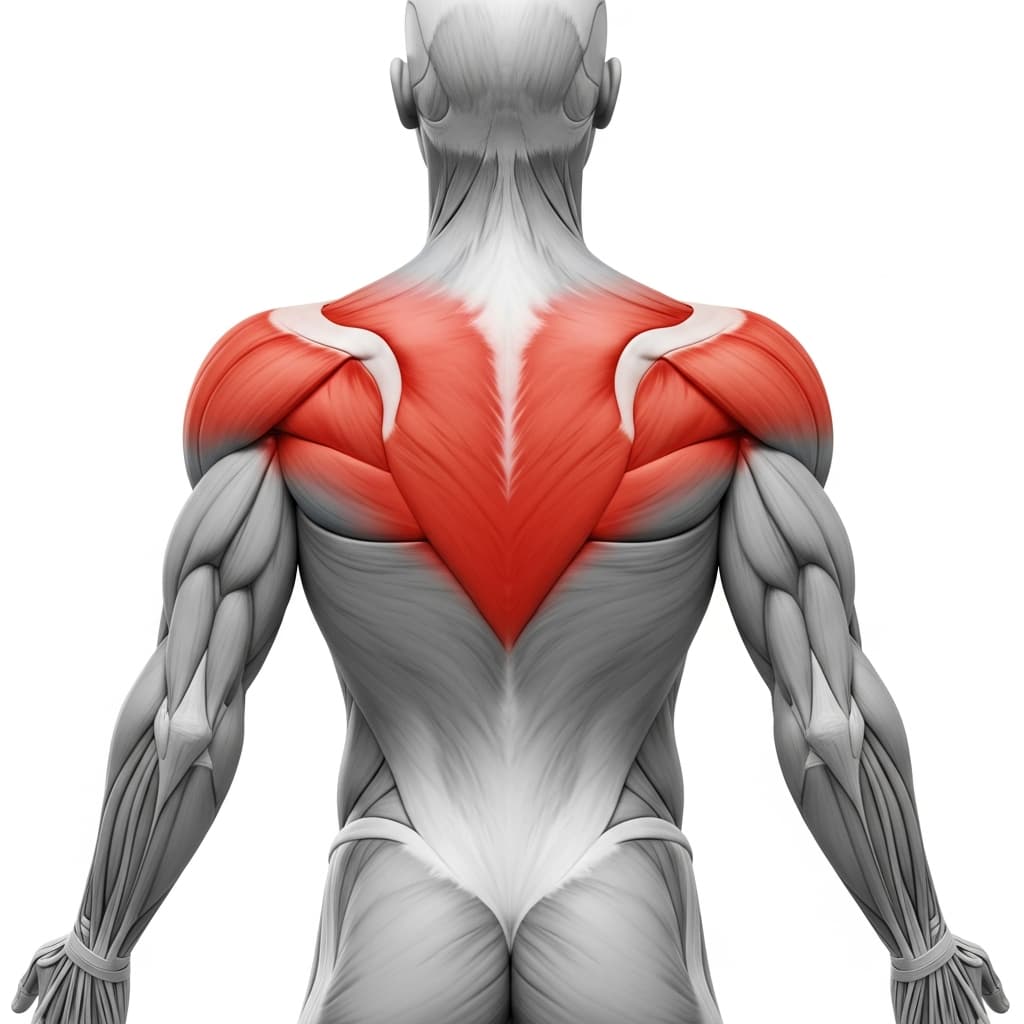
Primary Muscles:
Secondary Muscles:
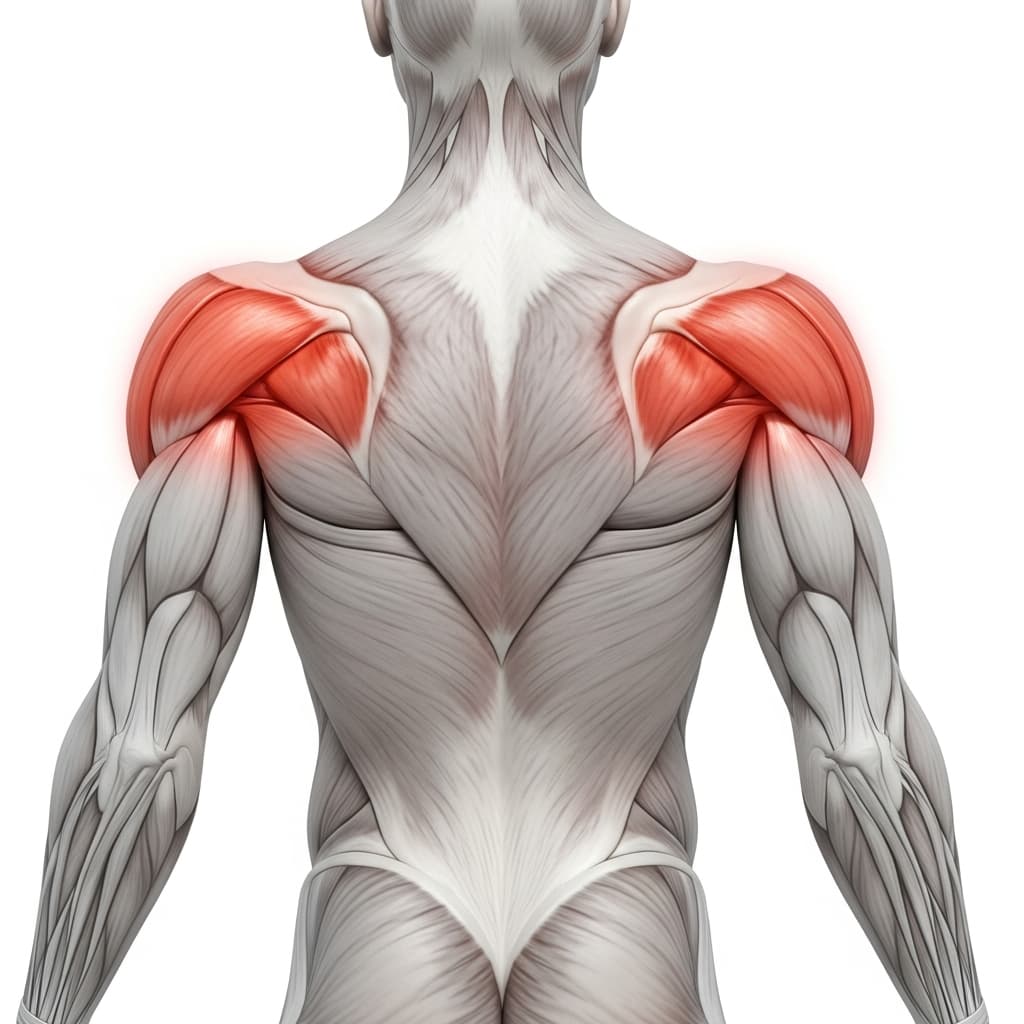
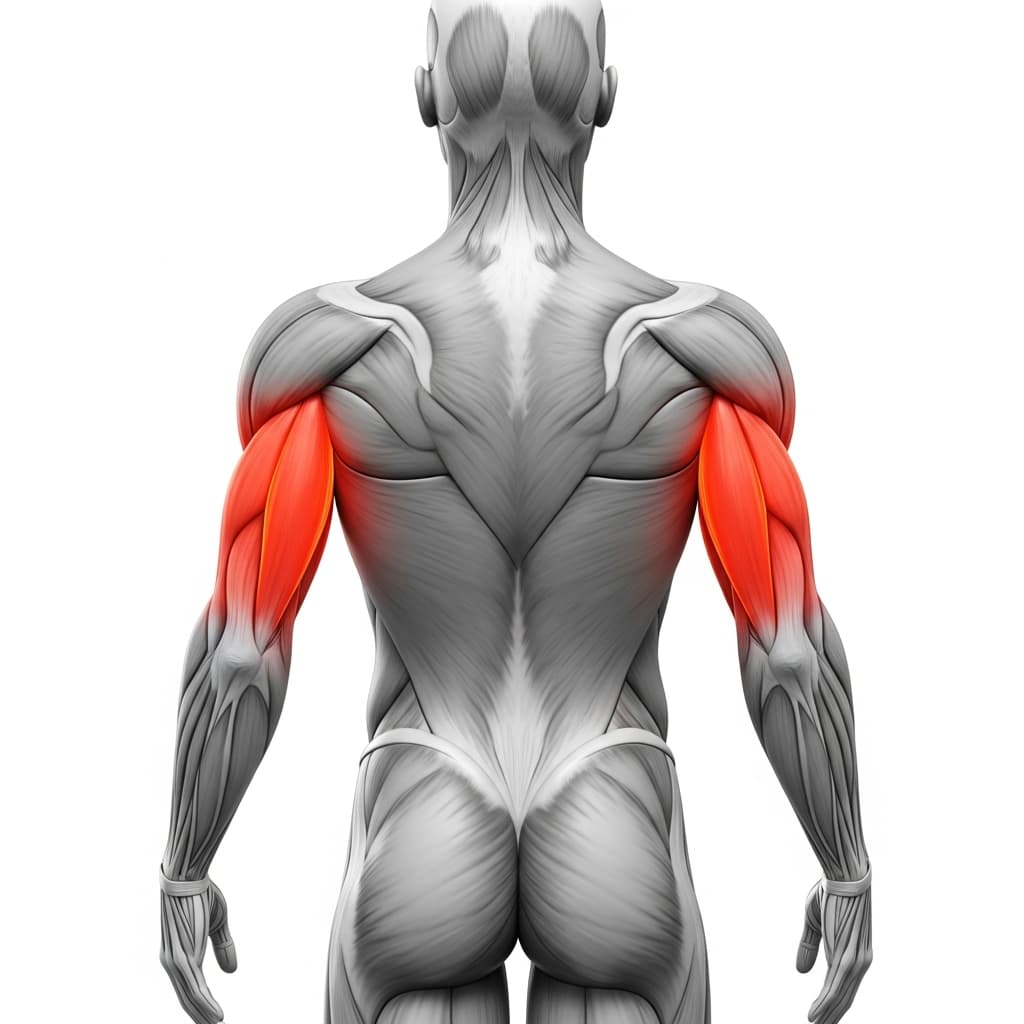
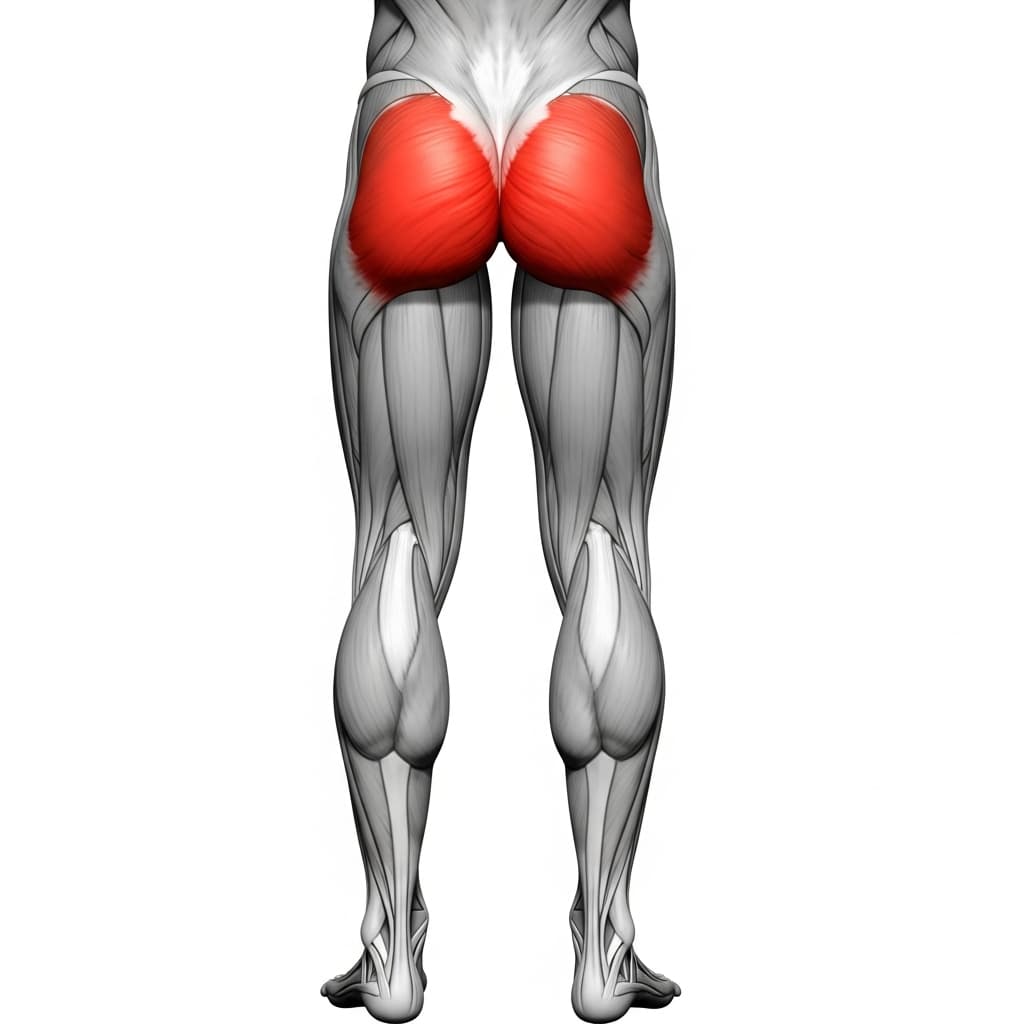
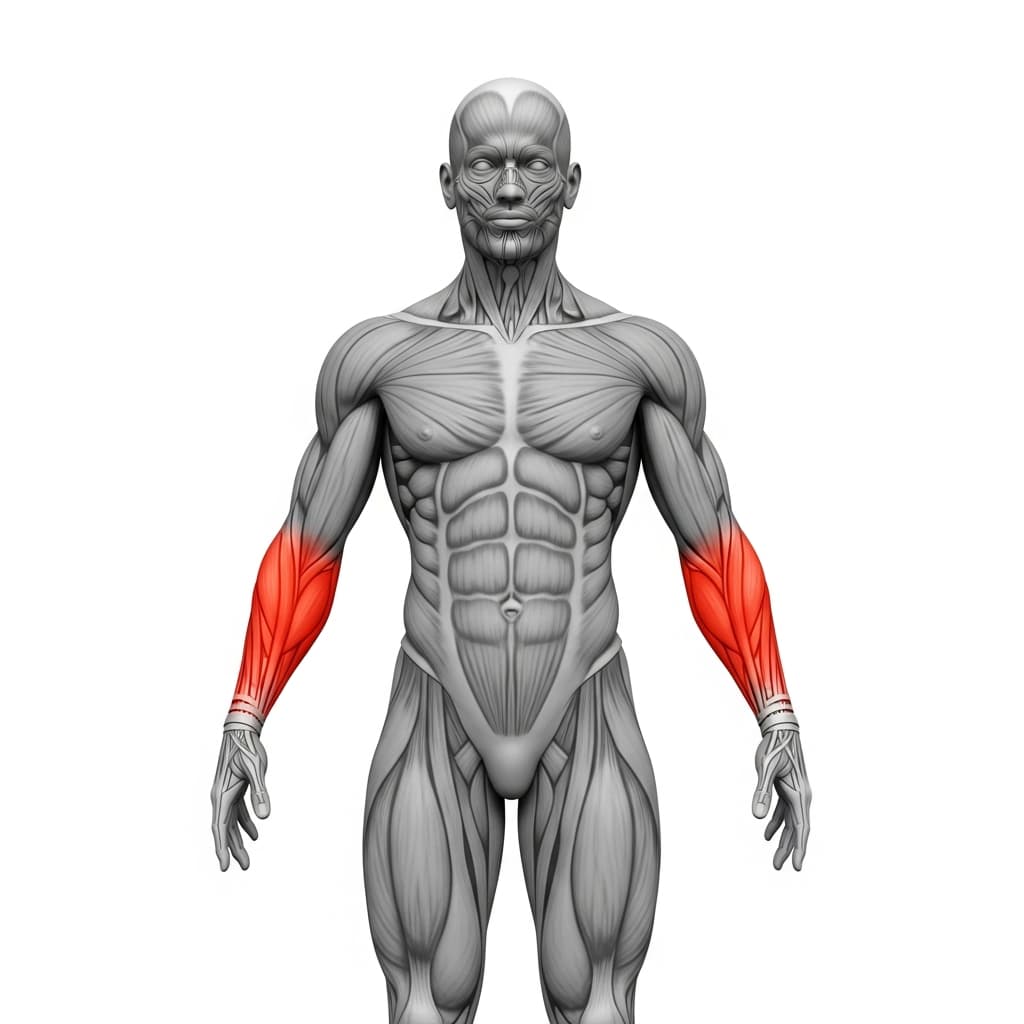
Primary Muscles
Latissimus Dorsi (Lats) - The lats do the main work, pulling the arms back toward your body so your chest stays under the bar and your torso stays horizontal.
Rhomboids & Upper Trapezius (Upper Back) - The upper back fights the pull into protraction and keeps the shoulder blades back and down, which is the stable base the lats pull from.
Secondary Muscles
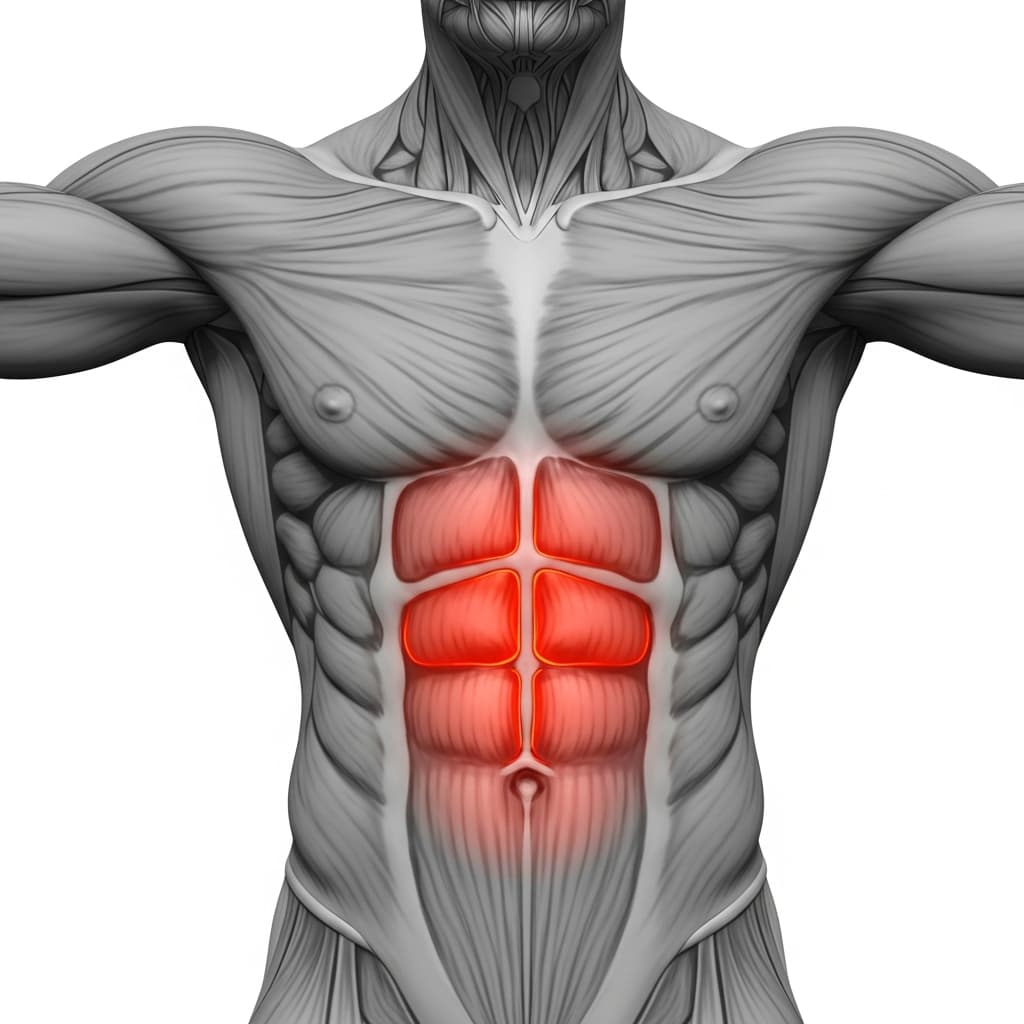
Rectus Abdominis (Abs) - The abs stop the lever from dragging your lower back into an arch, so the body stays flat instead of folding at the hips.
Posterior Deltoid (Rear Deltoid) - The rear deltoids help extend the shoulder and stop it rolling forward once the hold gets heavy.
Triceps Brachii (Triceps) - The long head of the triceps crosses the shoulder and helps hold the arm behind you with the elbow locked straight.
Gluteus Maximus (Glutes) - The glutes keep the hips extended in line with the torso, which is what stops the legs hanging below the body.
Forearm Flexors & Extensors (Forearms) - The forearms hold you on the bar for the whole set, and the grip is often what ends a long hold before the back does.
Benefits of Assisted Front Lever
- Lets you train the full front lever shape, hips extended and legs together, long before you can hold it unassisted
- Builds straight arm pulling strength in the lats and upper back at a load you can actually accumulate seconds in
- Teaches you to hold the shoulder blades back and down under real lever load, which is the fault that stalls most people
- Gives you a precise dial on difficulty, since shaving band thickness is a much smaller step than jumping a whole rung
- Keeps the abs and glutes working because the band sits on the lower back, so the flat line stays yours and not the band's
Who Is This Exercise For?
Before you put a band on the full shape, you want the rung below it held cleanly and unassisted, so a one leg front lever, or a straddle at a push. A band bridges one step, not three. You also want straight arm pulling that has been conditioned rather than rushed: scapula pull ups where you can keep the shoulder blades pulled back and down under load, a comfortable skin the cat or german hang, and no current elbow or biceps tendon pain. If your elbows bend the moment you go horizontal, spend more time on the tuck and advanced tuck rungs first.
Common Mistakes to Avoid
Band under the hips or the feet: The further the band sits from your shoulders, the more of the exercise it takes over. Under the feet it simply holds your legs up, so you get to present a shape you cannot produce. Keep it across the lower back where it only reduces load, and leave the abs and hip flexors doing their own job.
Using far too thick a band: A thick band hides the exact fault the exercise exists to fix, and it turns the hold into something you cannot compare to anything. Pick a band you can hold the flat shape in for about 10 to 15 seconds at your best, so your working sets sit inside that, rather than one that parks you there for 30. If your best unassisted hold is an advanced tuck, this is not your rung yet.
Losing the retraction: The shoulders roll forward and creep toward the ears, the lats lose the angle they pull from, and the whole body drops. People then blame their abs, when the failure happened at the shoulder blades. Reset, pull back and down hard from the first second, and end the set when you feel that position go rather than riding it out.
Bending the elbows to stay horizontal: Bent arms shorten the lever and hand the work to the biceps, so it is no longer a front lever. It usually means the band is too thin or the rung is too high for now. Straighten the arms fully, hold them there actively, and take a thicker band or drop back to a shorter lever such as a halflay shape rather than letting the elbows fold.
Variations & Progressions
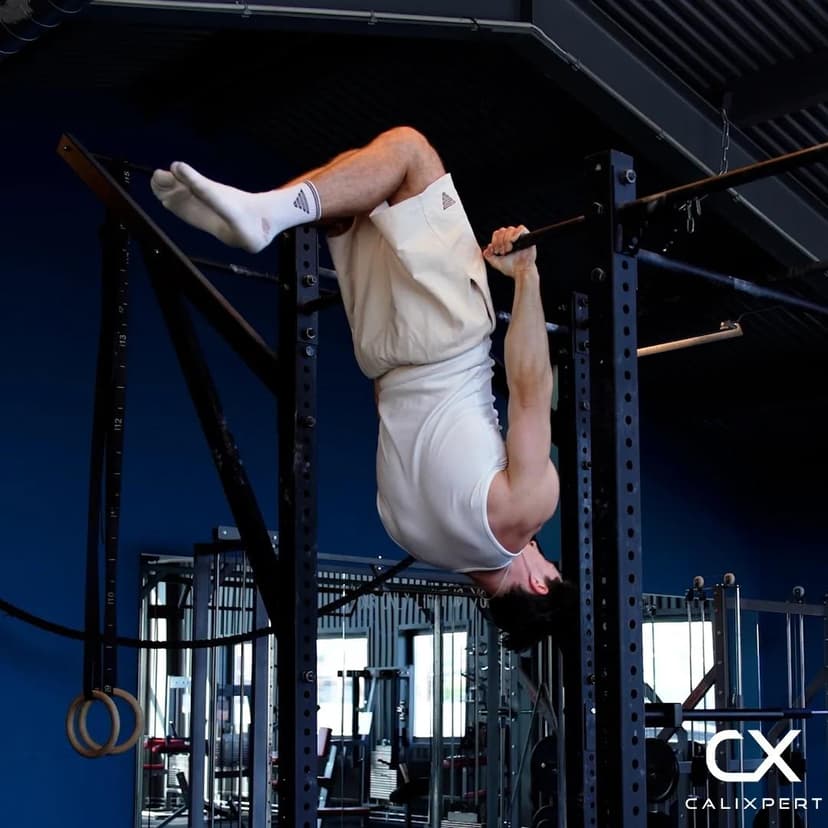
Full Front Lever
The same position with no band at all, which is the whole point of training this one.