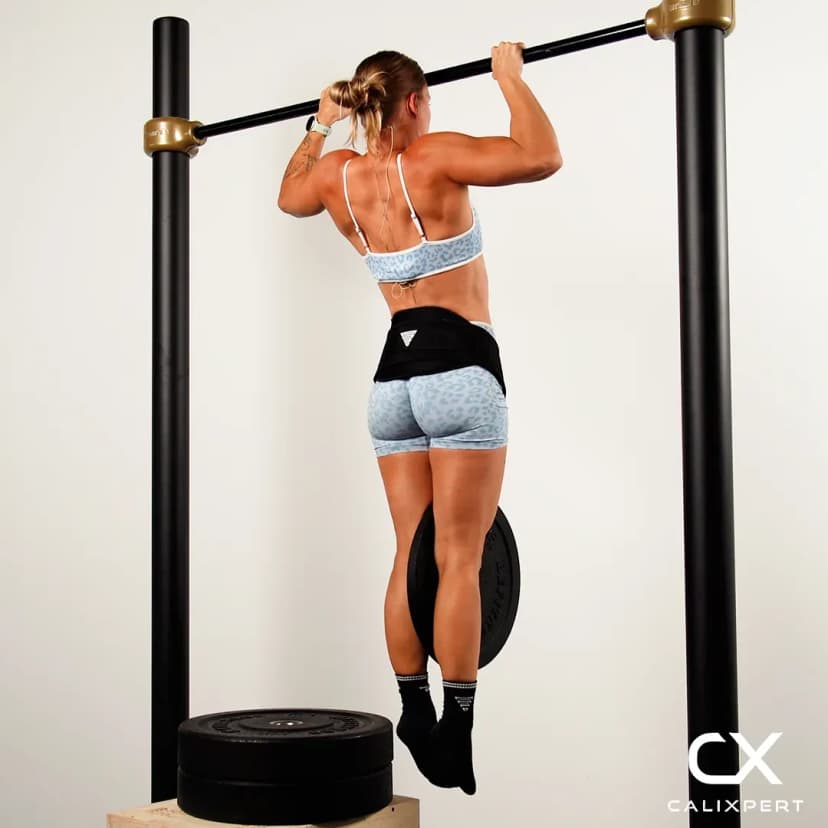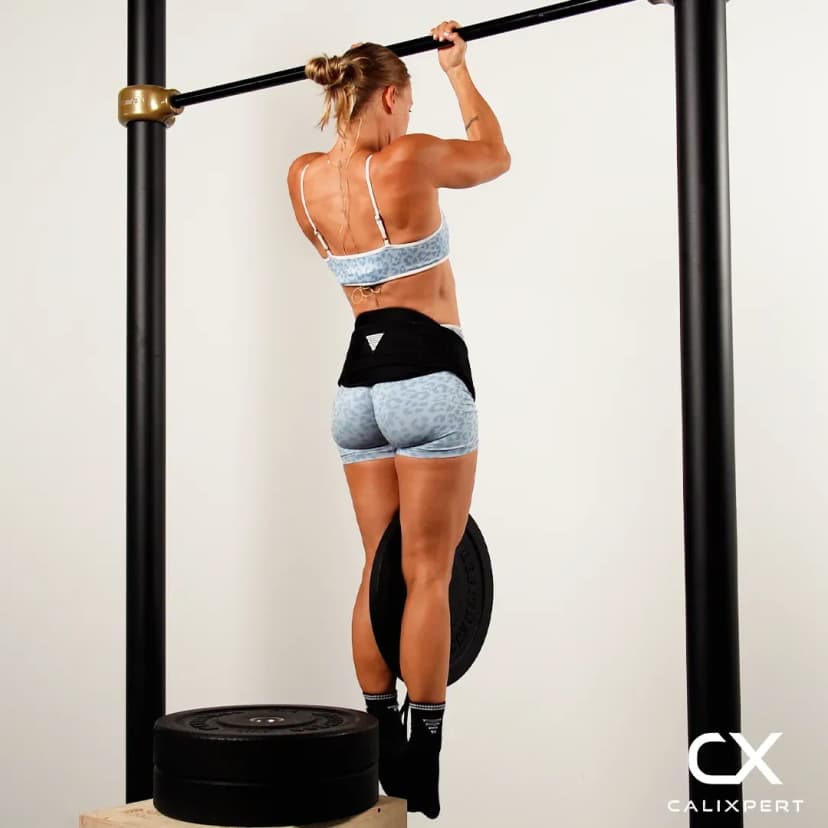
Advanced Tuck Front Lever
The advanced tuck front lever sits one rung above the tuck front lever. You hang under the bar with straight arms and hold your body horizontal, but instead of keeping your knees at your chest you push them further out, so your thighs sit at roughly 90 degrees to your torso and your back stays flat. That small change moves more of your weight away from your shoulders, so the hold gets noticeably harder. The lats and upper back produce the position, the abs and hip flexors stop it collapsing.
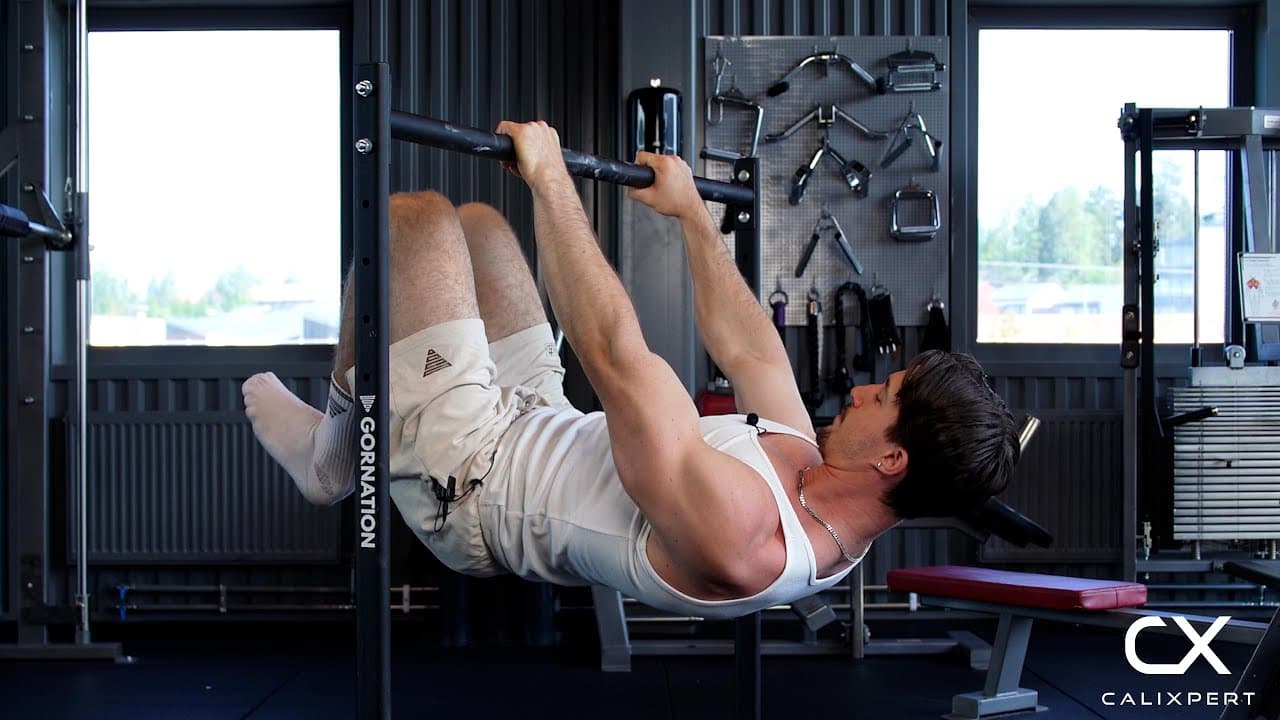
The advanced tuck front lever sits one rung above the tuck front lever. You hang under the bar with straight arms and hold your body horizontal, but instead of keeping your knees at your chest you push them further out, so your thighs sit at roughly 90 degrees to your torso and your back stays flat. That small change moves more of your weight away from your shoulders, so the hold gets noticeably harder. The lats and upper back produce the position, the abs and hip flexors stop it collapsing.
How to Do Advanced Tuck Front Lever
1. Check The Bar Height First
Before anything else, make sure the bar is high enough. You want to be able to hold your body horizontal under it with your arms completely straight and nothing touching the floor. If the bar is too low you will bend your elbows to fit under it, and then it is no longer a straight arm hold.
High enough to keep the arms locked
2. Grip And Lock The Elbows
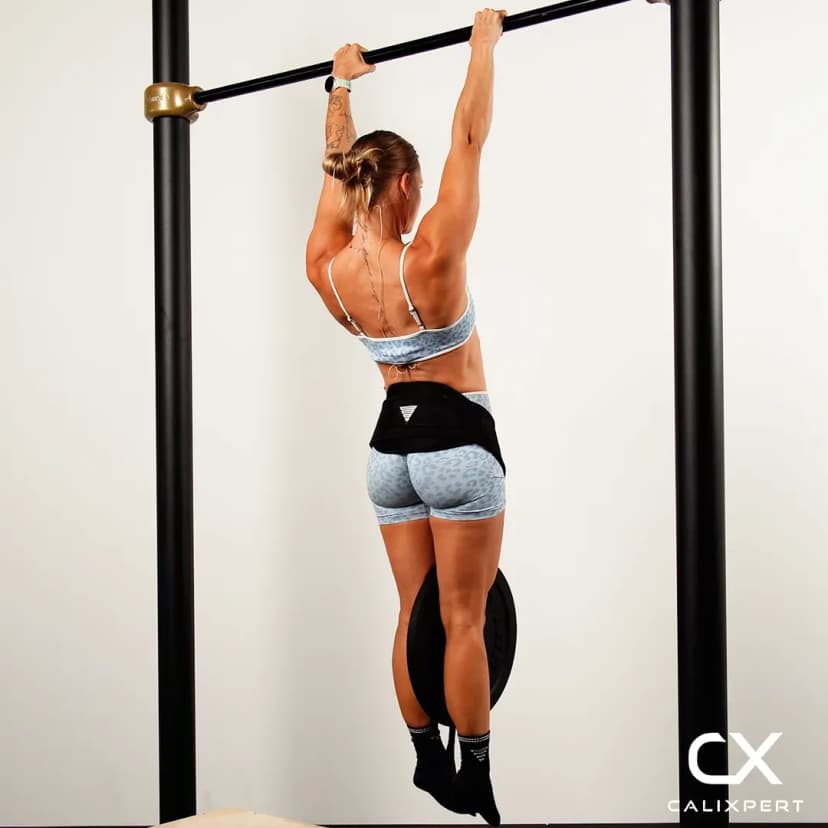
Take an overhand grip at about shoulder width. Straighten your elbows fully and keep them straight for the whole hold. The moment they bend, the biceps take over, the lever shortens and the work comes off the lats.
Straight arms from the first second to the last
3. Set The Retraction
Pull your shoulders back and down, away from your ears. That is retraction, and it has to be set before your feet leave the floor, because you will not find it once you are loaded. The lats can only hold you horizontal if the shoulder blades stay back and down.
Shoulders back and down before you lift
4. Enter With One Leg
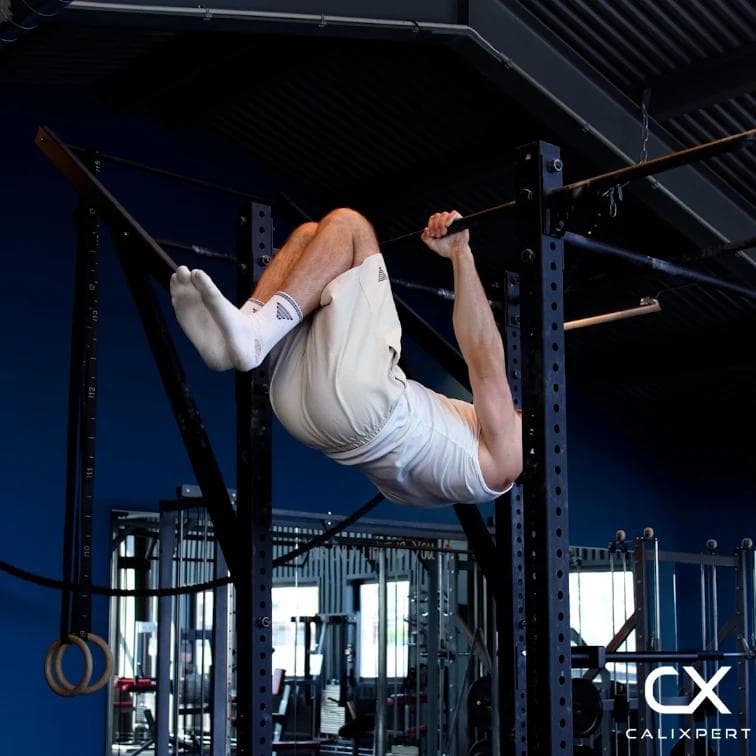
Start kneeling under the bar with your hands already on it and your arms locked. Lean your chest back and use one of your legs on the floor to feed yourself into the position instead of swinging into it. A slow entry means you arrive with the shoulders still retracted.
Kneel under the bar and lean back
5. Push The Knees Further Out
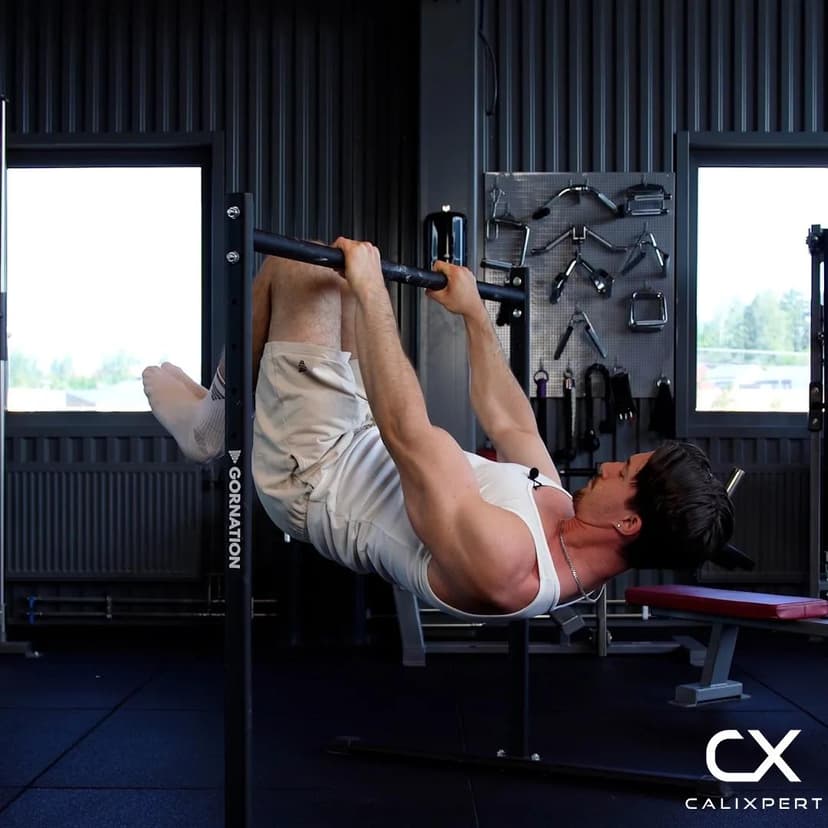
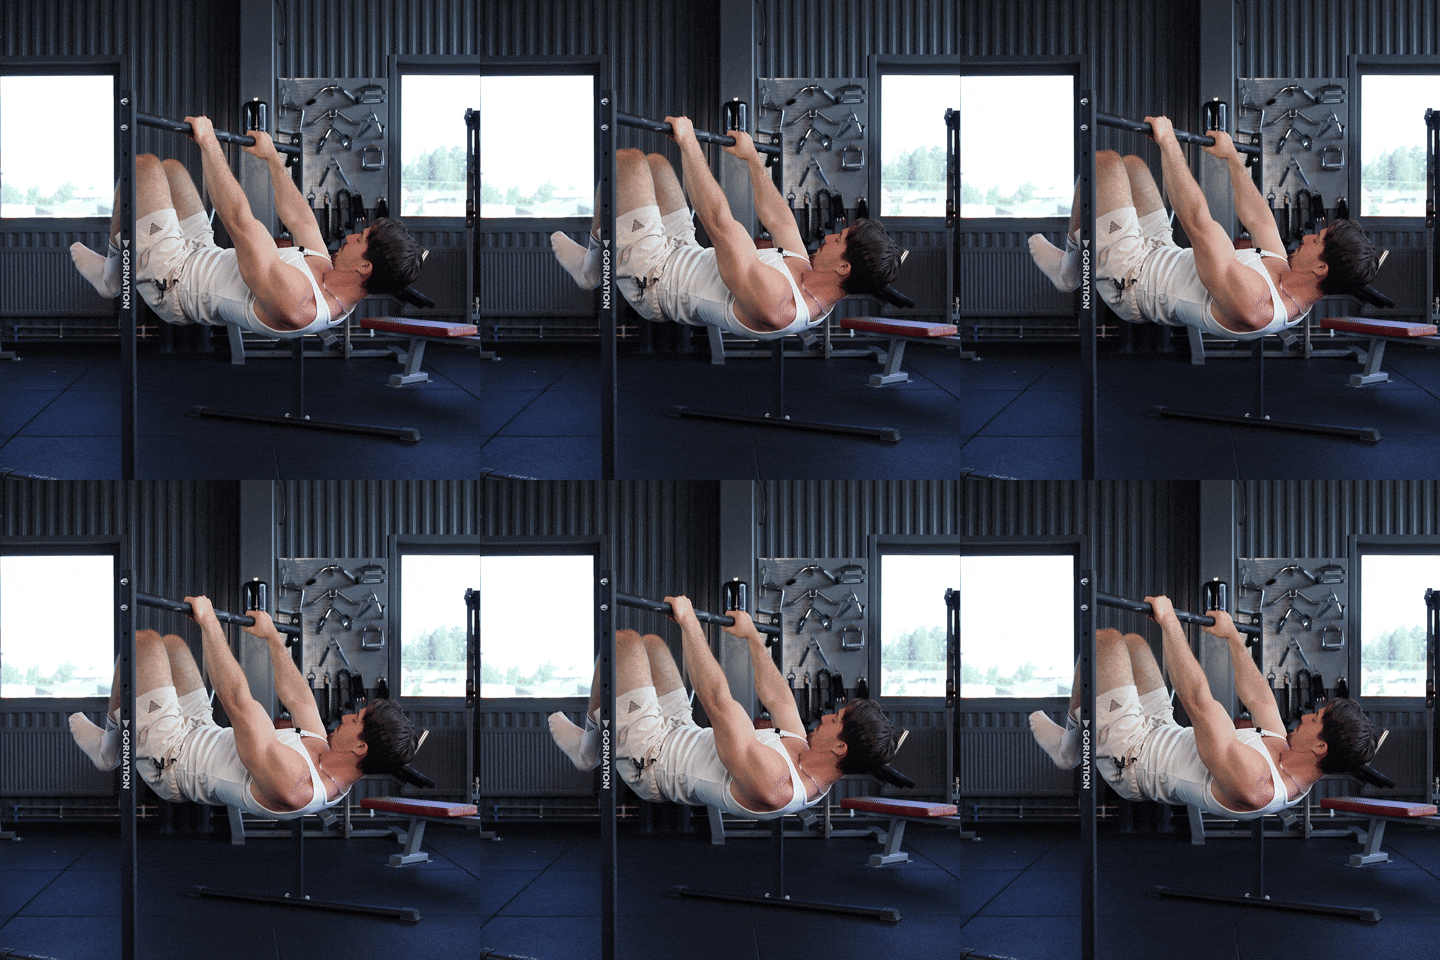
This is the one detail that makes it advanced tuck rather than tuck. Open your hips so your thighs sit at roughly 90 degrees to your torso, with the knees pushed a bit further out than a normal tuck and your back flat rather than rounded. Knees further from the chest means more weight further from your shoulders, which is exactly why it is harder.
Thighs out to about 90 degrees, back flat
6. Lift To Horizontal And Hold
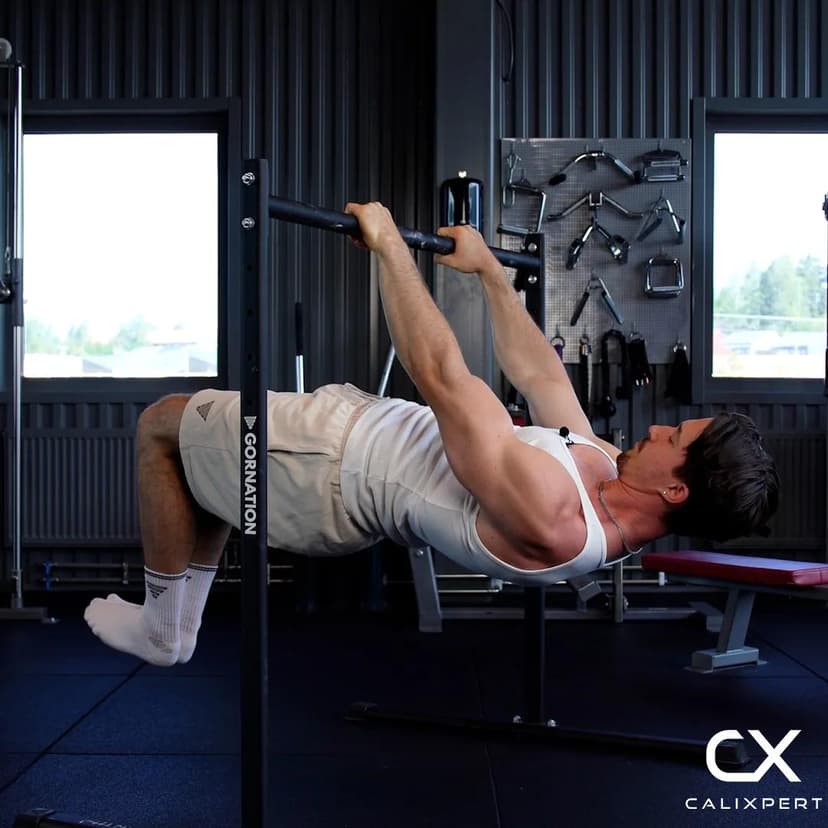
Lift until your torso is parallel with the floor and your hips are level with your shoulders. Keep the ribs pulled down so the lower back does not arch, and keep breathing rather than holding your breath. Work sets of roughly 5 to 12 seconds in a shape you can hold cleanly, not sets that end in a collapse.
Chest and hips on one line
7. Come Down Under Control
Finish the hold while the shape is still good. Bring one foot back to the floor with the arms still straight and the shoulders still set, then let go of the bar. Dropping out of the position with bent arms is where a lot of elbow trouble starts.
End the set on purpose, not by falling out of it
Two things decide this hold before you ever leave the floor. The bar has to be high enough that you can keep your arms locked, because you want to maintain locked arms throughout the whole hold. And the shoulders have to be pulled back and down, that is your retraction, set before your feet come up. Then use one leg to enter, push the knees a bit further out than a normal tuck, lift up and hold. When the elbows start bending, the set is finished.
Muscles Worked During Advanced Tuck Front Lever
Secondary Muscles:
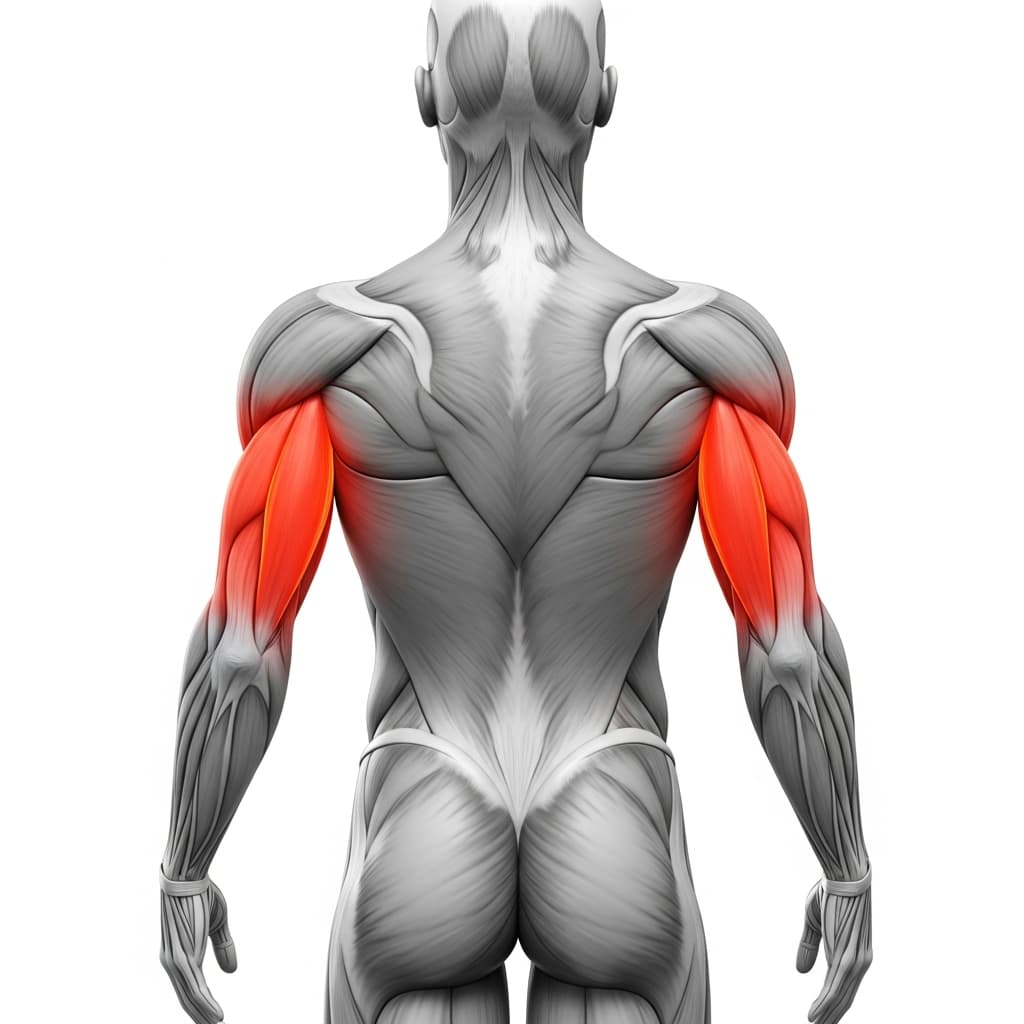
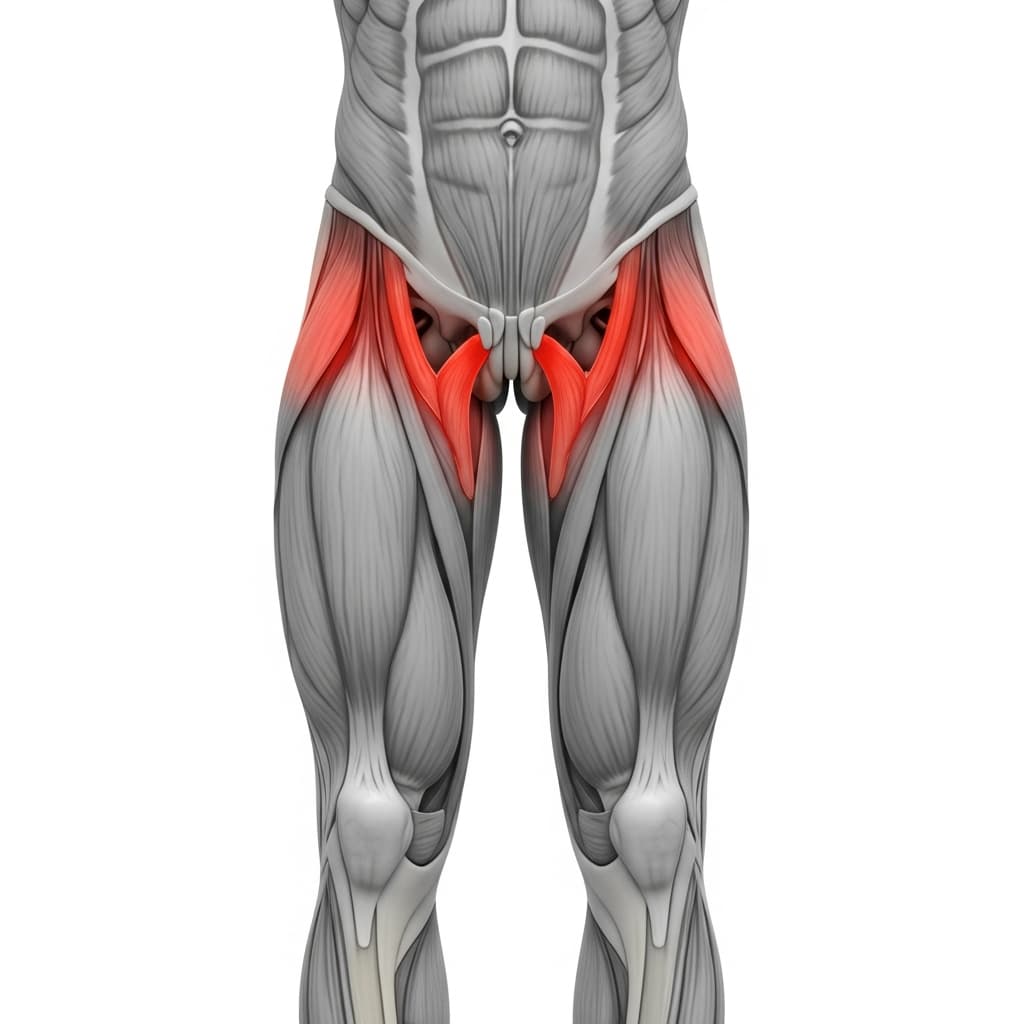
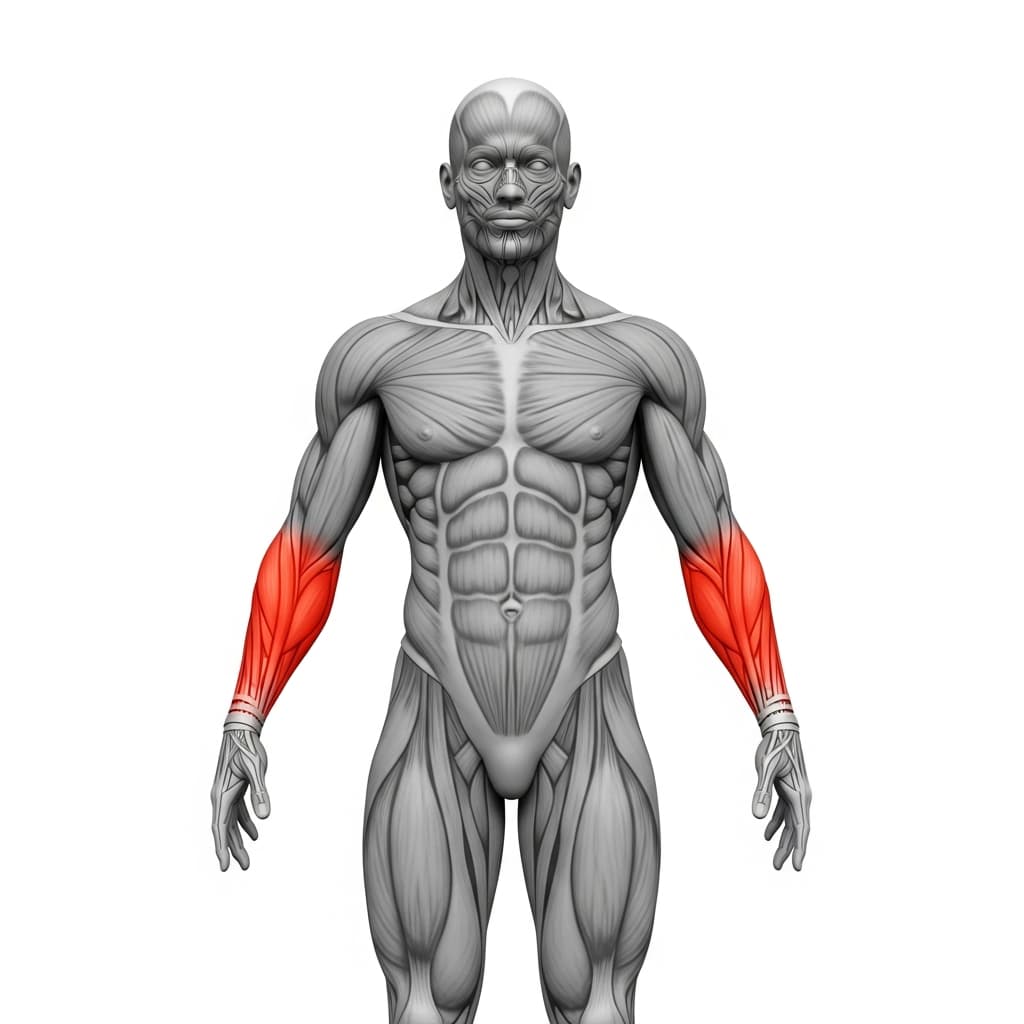
Primary Muscles
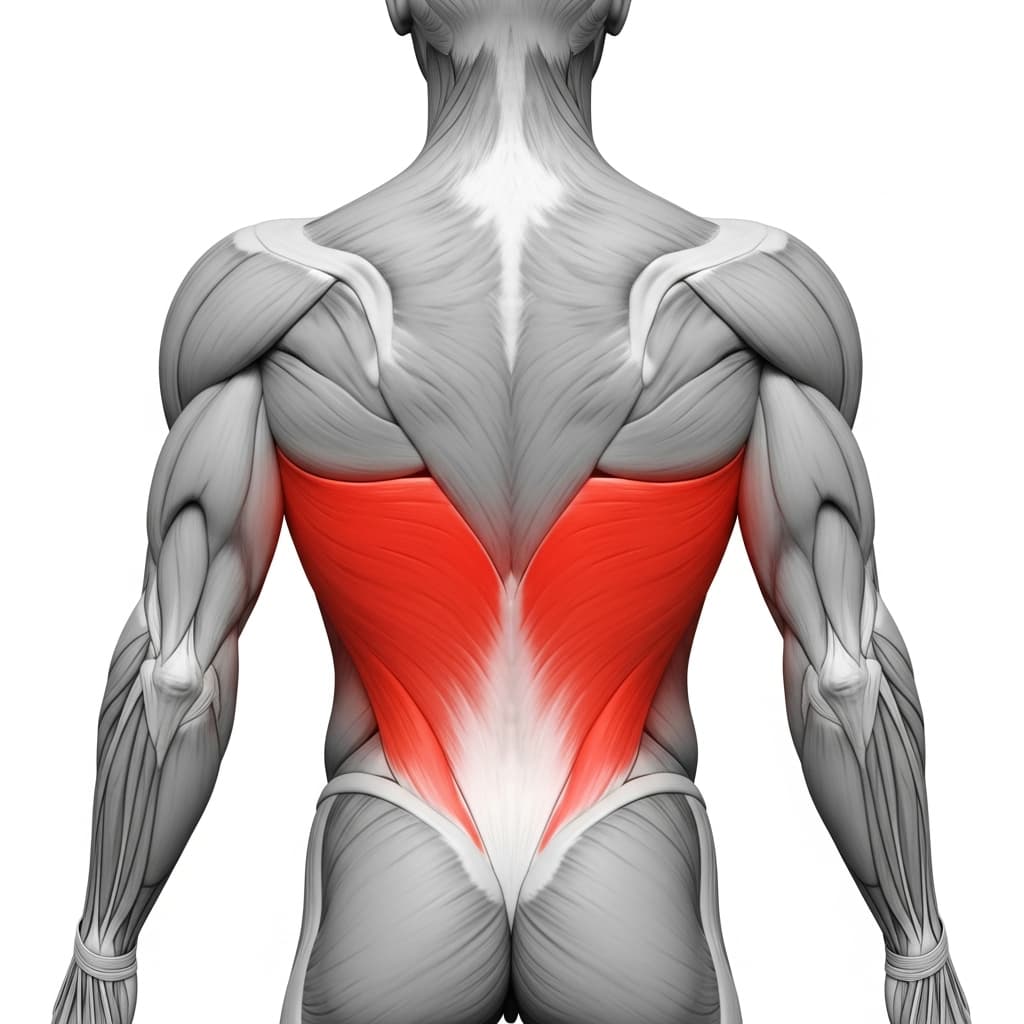
Latissimus Dorsi (Lats) - The lats do the main work, holding your arms in line with your torso against a bodyweight that is trying to swing your hips straight to the floor.
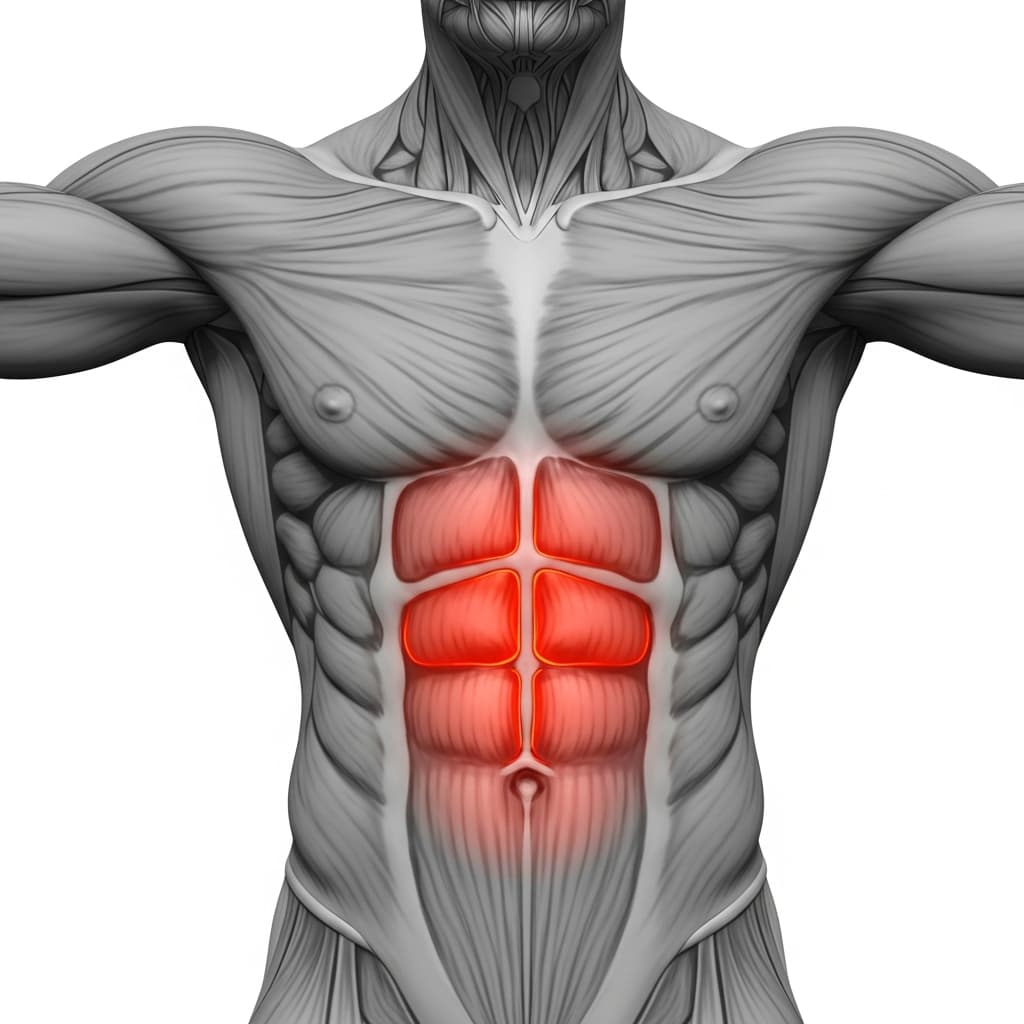
Rectus Abdominis (Abs) - The abs stop your lower back arching, which is what keeps your hips level with your shoulders instead of sagging under the bar.
Secondary Muscles
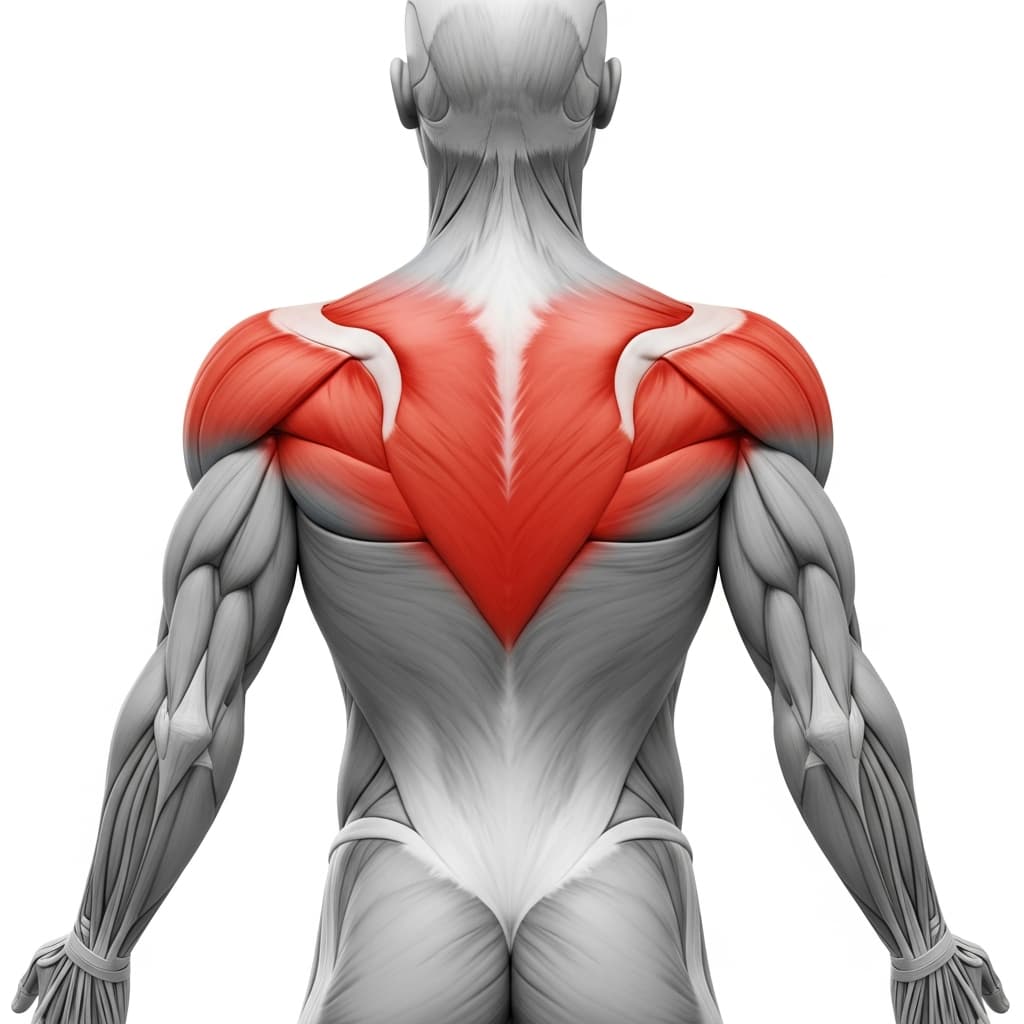
Rhomboids & Upper Trapezius (Upper Back) - The mid traps and rhomboids hold the shoulder blades back and down so the lever cannot drag them forward around your ribcage.
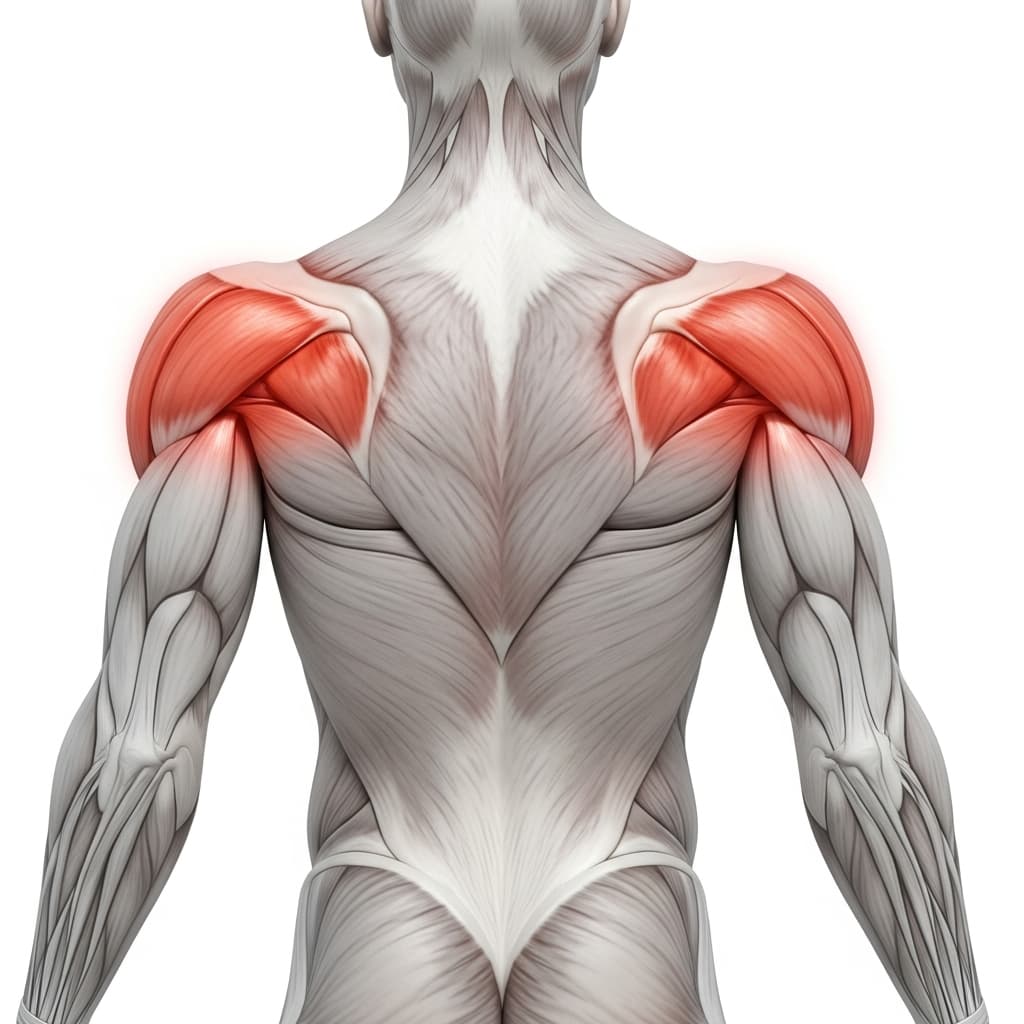
Posterior Deltoid (Rear Deltoid) - The rear deltoids assist the lats in pulling the arms toward your body and help keep the shoulder joint stable while it is loaded with a straight arm.
Triceps Brachii (Triceps) - The long head of the triceps crosses the shoulder and helps hold the arm back, while the rest of it keeps the elbow locked out.
Iliopsoas (Hip Flexors) - The hip flexors hold your thighs out at roughly 90 degrees to your torso, which is the detail that separates this from a normal tuck.
Forearm Flexors & Extensors (Forearms) - Your grip keeps you fixed to the bar for the whole hold, and for some people it gives out before the back does.
Benefits of Advanced Tuck Front Lever
- Builds straight arm pulling strength through the lats and teres major, which bent arm work like pull ups does not develop.
- Teaches your shoulder blades to stay back and down under real load, which is the position every harder front lever rung depends on.
- Trains the abs and hip flexors to keep the lower back from arching while the shoulders are working hard.
- Conditions elbow and shoulder connective tissue gradually, before you ask it to hold the longer shapes further up the ladder.
- Gives you one clean number to track, hold time in a fixed shape, so progress is obvious from week to week.
Who Is This Exercise For?
Before you try this you want a tuck front lever you can hold for 10 to 20 seconds with locked arms, plus scapula pull ups you can control at the top of the range. A comfortable active hang, a solid dead hang and some skin the cat work matter too, because they prepare the shoulders and elbows for straight arm loading, which is slower to build than pulling strength. You also need a bar you can hang horizontally under with your arms completely straight and nothing touching the floor. If your back rounds the moment you push the knees out, stay on the tuck a while longer.
Common Mistakes to Avoid
Letting the elbows bend: It creeps in as the shoulders tire, and it feels like you are still holding the position because the body stays horizontal. What has actually changed is the exercise. Bent arms bring the biceps in and shorten the lever, so you stop training straight arm strength and start loading the elbow in a position it is not ready for. Straighten fully, hold that actively, and end the set when you cannot.
Losing the retraction: The lever is constantly trying to drag your shoulder blades forward around your ribs, which is protraction. When it wins, the shoulders roll forward and creep toward your ears, the lats lose the position they pull from, and your hips drop. Pull the shoulders back and down before you leave the floor, then keep pulling them back and down for the whole hold. The moment you cannot, the set is finished.
Knees drifting back toward the chest: As you fatigue the knees quietly close in, the lever shortens and the set turns back into a normal tuck front lever while the clock keeps running. The hold time then means nothing, because you are no longer timing the shape you think you are timing. Film a set from the side, and stop the hold at the moment the knees start closing in rather than when you fall off the bar.
Arching the lower back to look horizontal: When the abs give out before the back does, most people arch instead of dropping, so the hips stay up while the lower back takes the load lengthened. That is where the lower back complaints come from. Keep the ribs pulled down and the midsection braced. If the only way to stay level is to arch, bring the knees in slightly or go back to the tuck and build a shape you can actually hold.
Variations & Progressions
Tuck Front Lever
The rung below this one, with the knees held in at the chest, where a slightly rounded upper back is still acceptable.