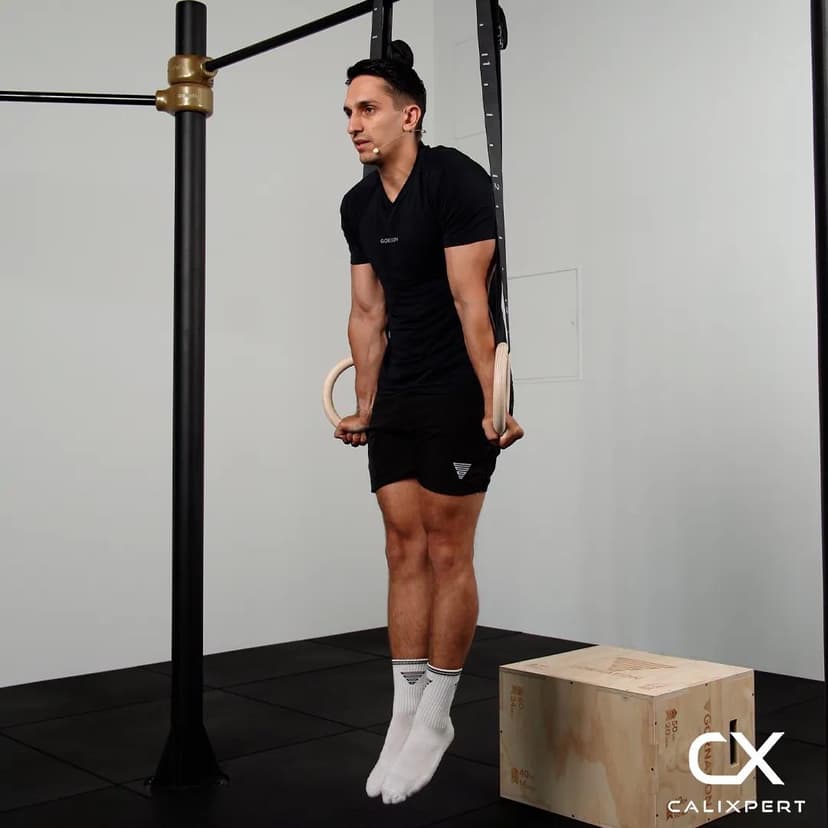
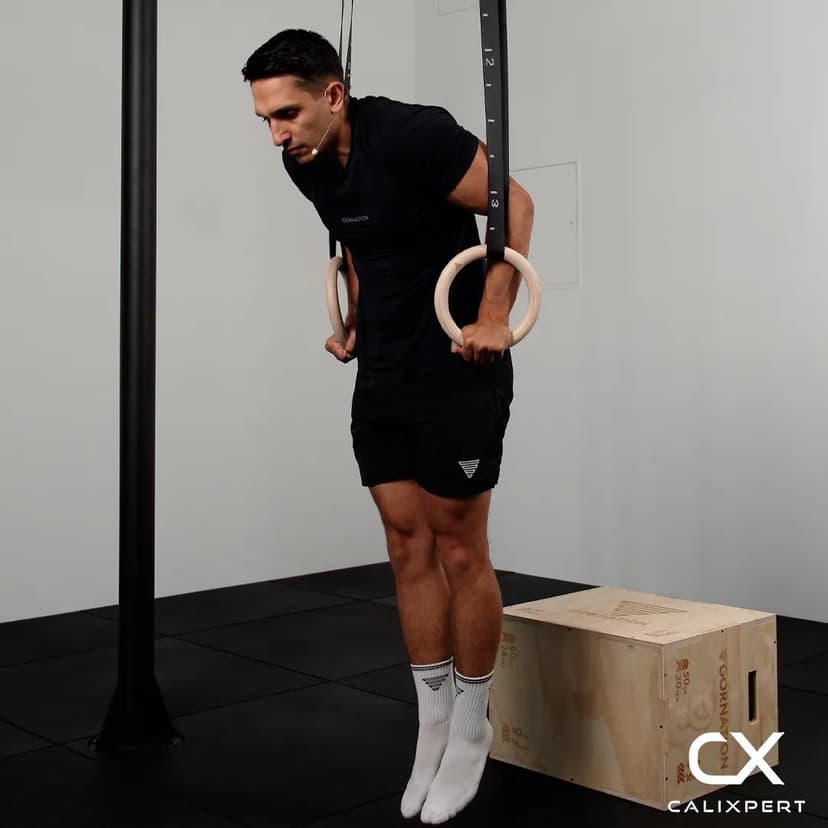
Shoulder Circuit
A shoulder circuit is a series of exercises designed to target all the major muscles in the shoulder area. It typically includes a combination of movements that work the deltoids, traps, and rotator cuff, ensuring balanced development and strength. Proper form and execution are crucial to avoid injury and maximize effectiveness.

How to Do Shoulder Circuit
A shoulder circuit is a series of exercises designed to target all the major muscles in the shoulder area. It typically includes a combination of movements that work the deltoids, traps, and rotator cuff, ensuring balanced development and strength. Proper form and execution are crucial to avoid injury and maximize effectiveness.
Step By Step Guide to Properly Execute Shoulder Circuit
- Starting Position
- Begin by selecting a set of light to moderate dumbbells. Stand with your feet shoulder-width apart, knees slightly bent, and core engaged. Hold the dumbbells at your sides with a neutral grip.
- Execution
- Perform a series of exercises such as shoulder presses, lateral raises, front raises, and bent-over reverse flyes. Focus on controlled movements, keeping your elbows slightly bent during raises and maintaining a straight back during presses.
- Top Position
- At the peak of each movement, pause briefly to ensure muscle engagement. For presses, your arms should be fully extended but not locked. For raises, your arms should be parallel to the floor.
- Lowering Phase
- Slowly return to the starting position with control, avoiding any swinging or jerking motions. This helps maintain tension on the muscles and reduces the risk of injury.
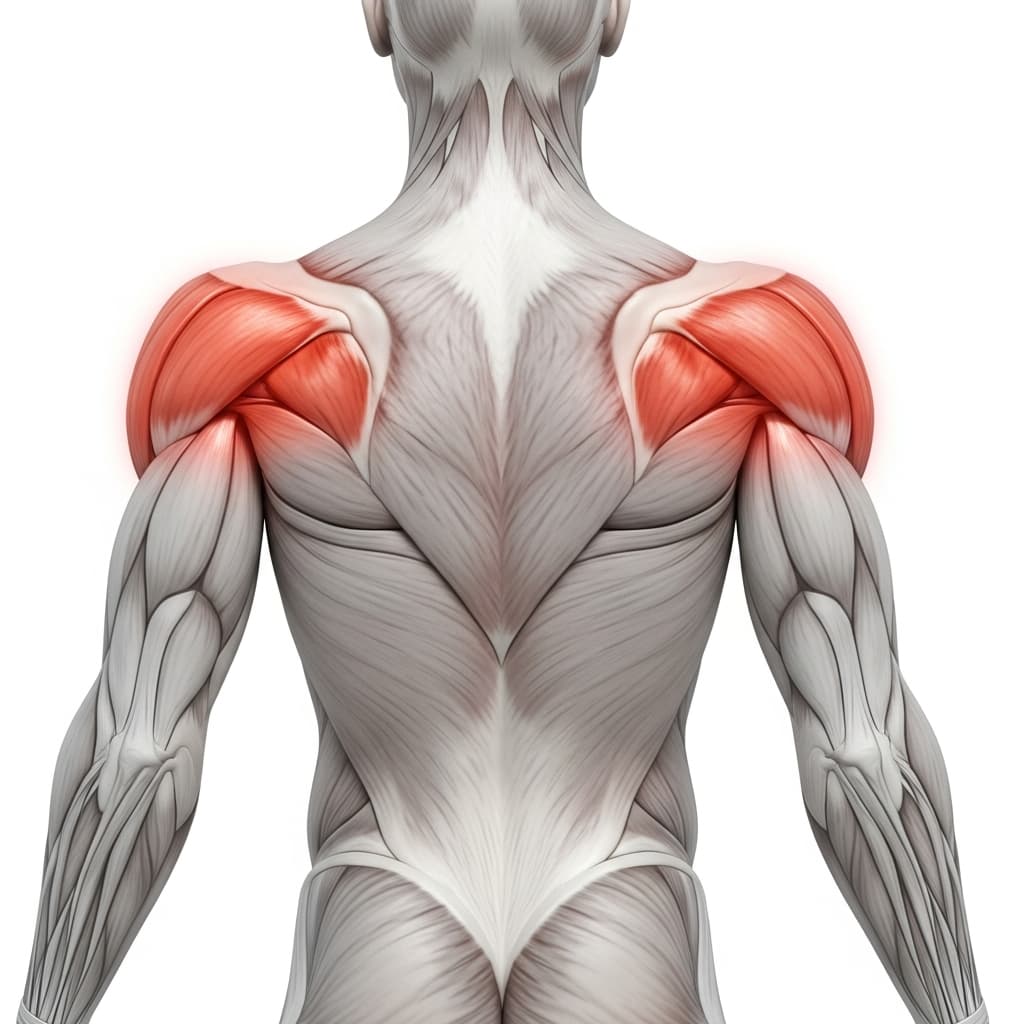
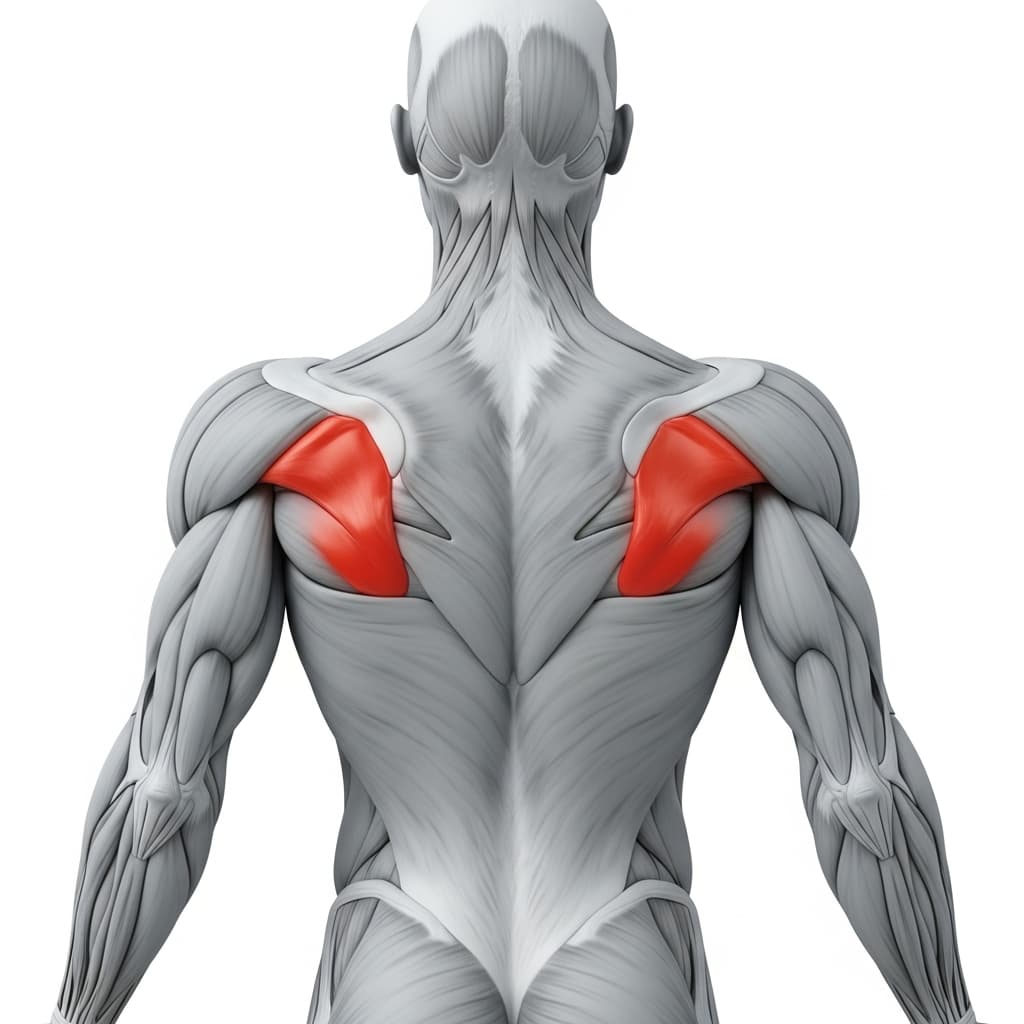
Benefits of Shoulder Circuit
- Improves shoulder strength and stability.
- Targets multiple muscle groups, including deltoids, traps, and rotator cuff.
- Enhances shoulder mobility and flexibility.
- Promotes balanced muscle development and reduces the risk of injury.
Common Mistakes to Avoid
- Using too much weight, which can compromise form and increase injury risk.
- Allowing momentum to control the movement instead of muscle engagement.
- Neglecting to engage the core, leading to poor posture and potential back strain.
- Rushing through the exercises without proper control and focus.
Follow these steps and tips to master the Shoulder Circuit with proper form and efficiency.
How to Do Shoulder Circuit
Step By Step Guide to Properly Execute Shoulder Circuit
- Starting Position
- Begin by selecting a set of light to moderate dumbbells. Stand with your feet shoulder-width apart, knees slightly bent, and core engaged. Hold the dumbbells at your sides with a neutral grip.
- Execution
- Perform a series of exercises such as shoulder presses, lateral raises, front raises, and bent-over reverse flyes. Focus on controlled movements, keeping your elbows slightly bent during raises and maintaining a straight back during presses.
- Top Position
- At the peak of each movement, pause briefly to ensure muscle engagement. For presses, your arms should be fully extended but not locked. For raises, your arms should be parallel to the floor.
- Lowering Phase
- Slowly return to the starting position with control, avoiding any swinging or jerking motions. This helps maintain tension on the muscles and reduces the risk of injury.
Benefits of Shoulder Circuit
- Improves shoulder strength and stability.
- Targets multiple muscle groups, including deltoids, traps, and rotator cuff.
- Enhances shoulder mobility and flexibility.
- Promotes balanced muscle development and reduces the risk of injury.
Common Mistakes to Avoid
- Using too much weight, which can compromise form and increase injury risk.
- Allowing momentum to control the movement instead of muscle engagement.
- Neglecting to engage the core, leading to poor posture and potential back strain.
- Rushing through the exercises without proper control and focus.
Follow these steps and tips to master the Shoulder Circuit with proper form and efficiency.
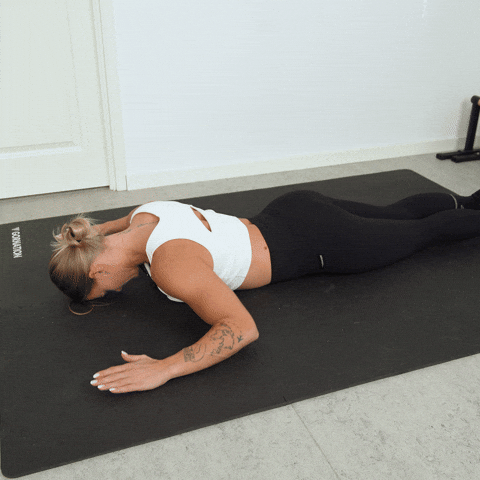
How to Do Shoulder Circuit
1. Set Up the Prone Position
Lie face down on the floor with your forehead resting on the ground. Squeeze your legs together and engage your glutes to create full body tension from your heels to your shoulders. This tension stabilizes your lower back and prevents your hips from shifting during the arm movements. Keep your forehead down throughout the entire circuit.
Forehead stays glued to the floor
2. Lift in the I Position
Extend your arms straight in front of you with your thumbs pointing upward. Lift both arms as high as you can off the ground while keeping your elbows locked and your forehead down. This position targets the lower traps and the overhead range of the rear deltoids. Complete all reps here before moving to the next position without rest.
Thumbs up, arms straight, lift high
3. Transition to the V Position
Without resting, move your arms outward to roughly a 45-degree angle from your head, forming a V shape. Keep your thumbs pointing upward and lift both arms as high as possible off the ground. This angle shifts more load onto the middle traps and rear deltoids compared to the I position. Maintain the same glute squeeze and full body tension throughout.
Arms at 45 degrees, thumbs still up
4. Move to the T Position
Bring your arms directly out to your sides so your body forms a T shape. Lift your arms and actively squeeze your shoulder blades together at the top of each rep. This position places the rear deltoids and middle traps in their strongest mechanical position and demands the most scapular retraction of any angle in the circuit.
Squeeze the shoulder blades at the top
5. Drop to the Arrow Position
Angle your arms backward toward your hips at roughly 45 degrees behind your torso, forming an arrow shape. Rotate your hands so your thumbs now point downward. Lift your arms and hold the top position briefly on each rep. This reversed thumb position and backward arm angle targets the external rotators of the rotator cuff alongside the rear deltoids.
Thumbs down, arms angled back
6. Finish With the W Position
Bend your elbows to 90 degrees with your upper arms at your sides, forming a W shape. Lift your hands and forearms off the ground while driving your elbows back and squeezing your shoulder blades together hard at the top. This final position is the most demanding for scapular retraction and lower trap activation. Complete all reps here to finish one full round of the circuit.
Elbows bent, squeeze scapula together
Most people rush through the shoulder circuit and barely lift their arms off the ground. Slow down, hold the top of each rep for a full second, and focus on squeezing the shoulder blades together hard on the T and W positions. When the circuit starts burning at position three, that is exactly where the real benefit begins, so resist the urge to speed up or shrink the range of motion.
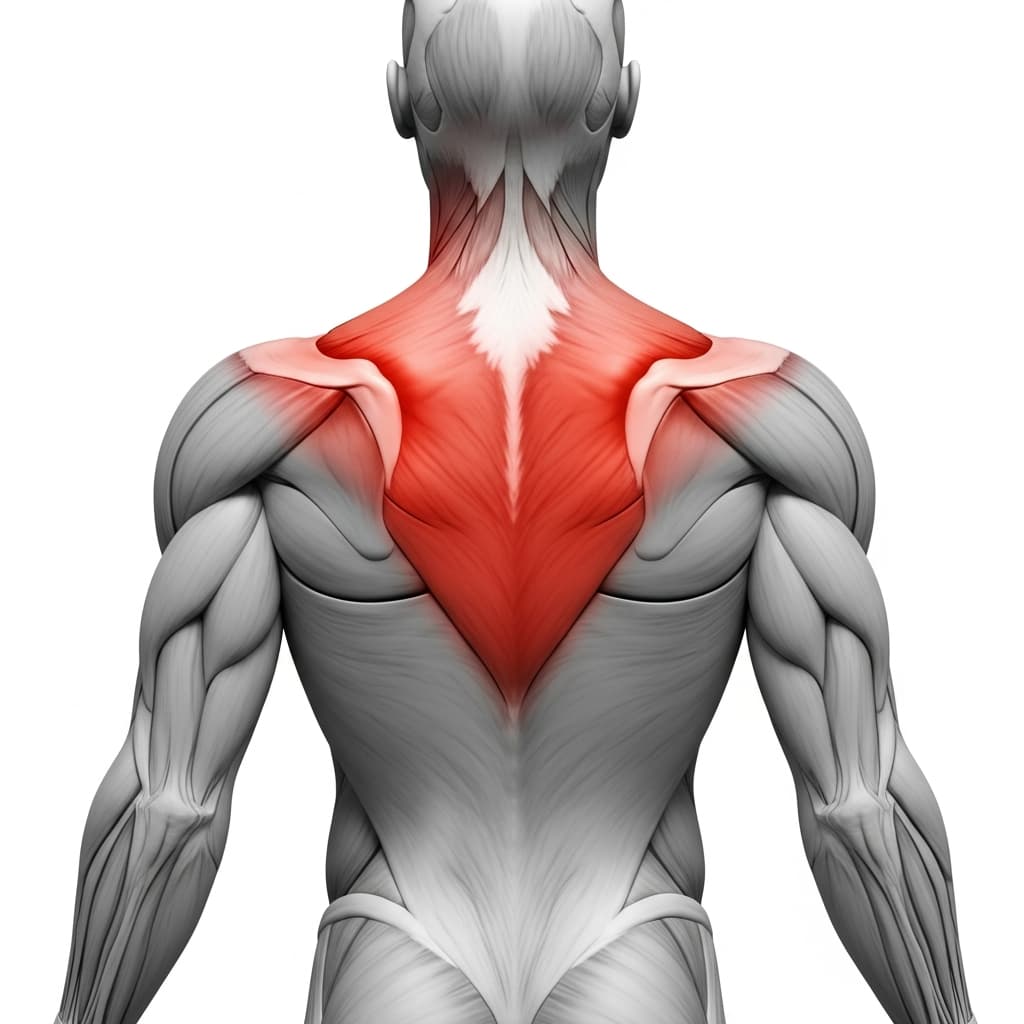
Muscles Worked During Shoulder Circuit
Primary Muscles:
Secondary Muscles:
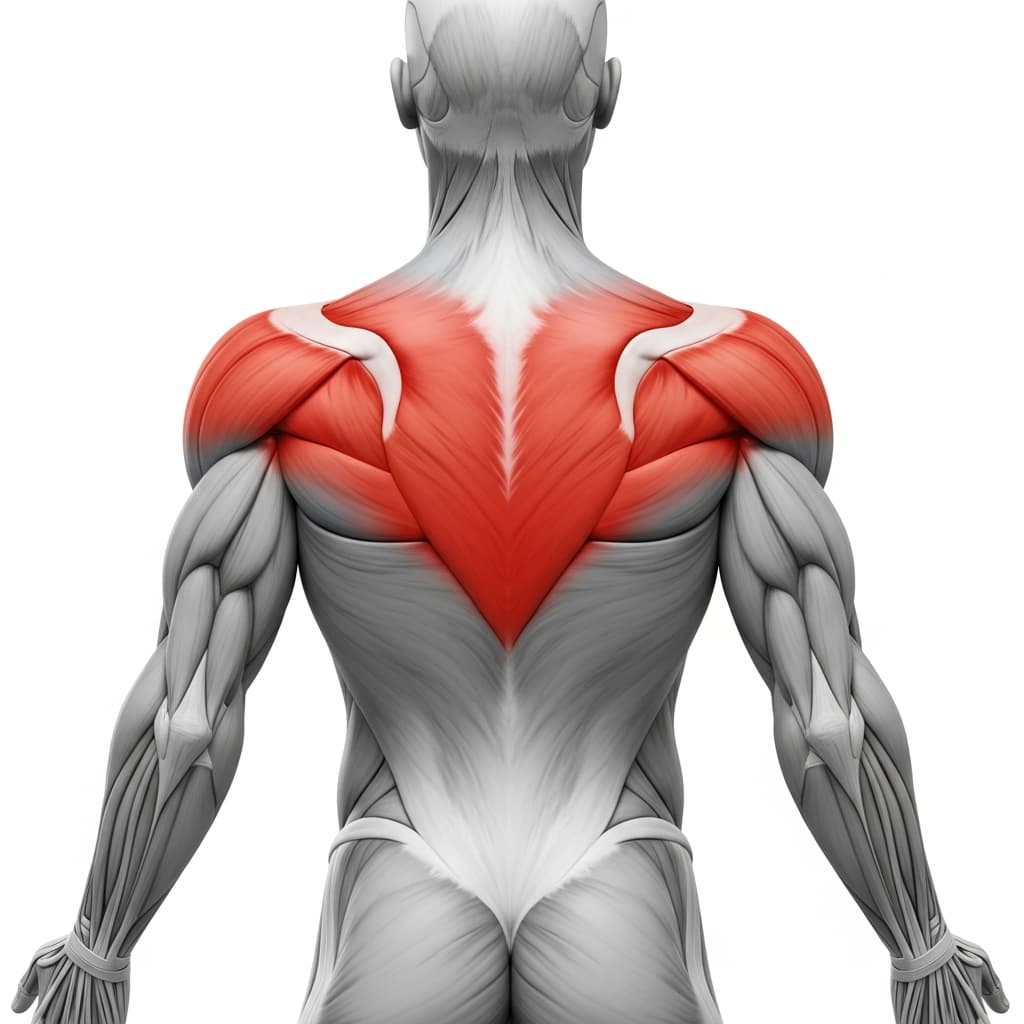

Primary Muscles
Posterior Deltoid (Rear Deltoid) - The rear deltoid performs shoulder extension and horizontal abduction across all five positions, lifting the arms off the ground against gravity while the body is prone.
Trapezius (Trapezius) - The upper, middle, and lower traps retract and depress the scapula during each arm lift, with the lower traps especially active in the I and V positions and the middle traps dominant in the T and W positions.
Secondary Muscles
Rotator Cuff (SITS) (Rotator Cuff) - The rotator cuff muscles stabilize the shoulder joint at every angle and perform external rotation during the arrow position where the thumbs point downward.
Rhomboids & Upper Trapezius (Upper Back) - The rhomboids and middle back muscles assist scapular retraction, pulling the shoulder blades together at the top of each rep, especially during the T and W positions.
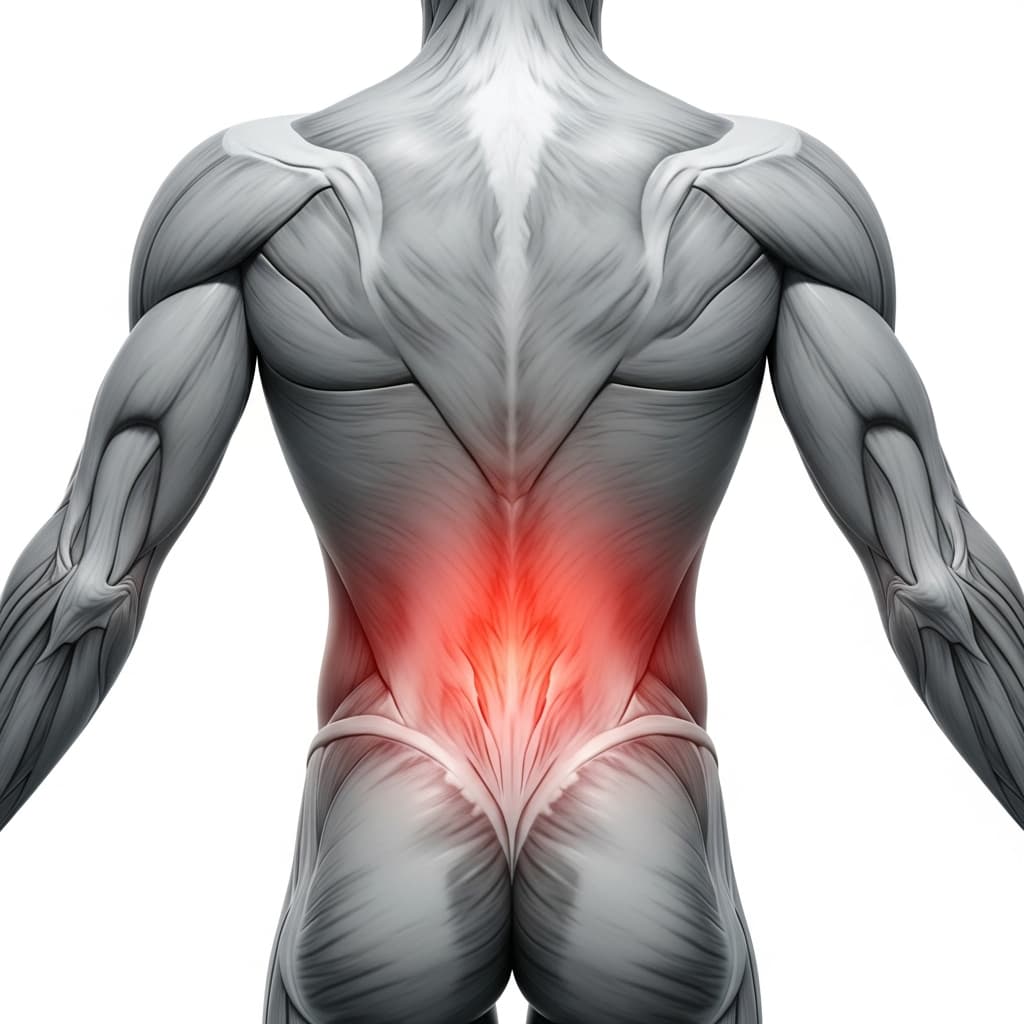
Erector Spinae (Lower Back) - The lower back muscles maintain spinal extension and resist trunk flexion while the arms are lifted, keeping the torso stable against the floor throughout the circuit.
Erector Spinae (Spinal Erectors) - The spinal erectors work isometrically to hold the spine in a neutral, slightly extended position while the arms move through all five angles.
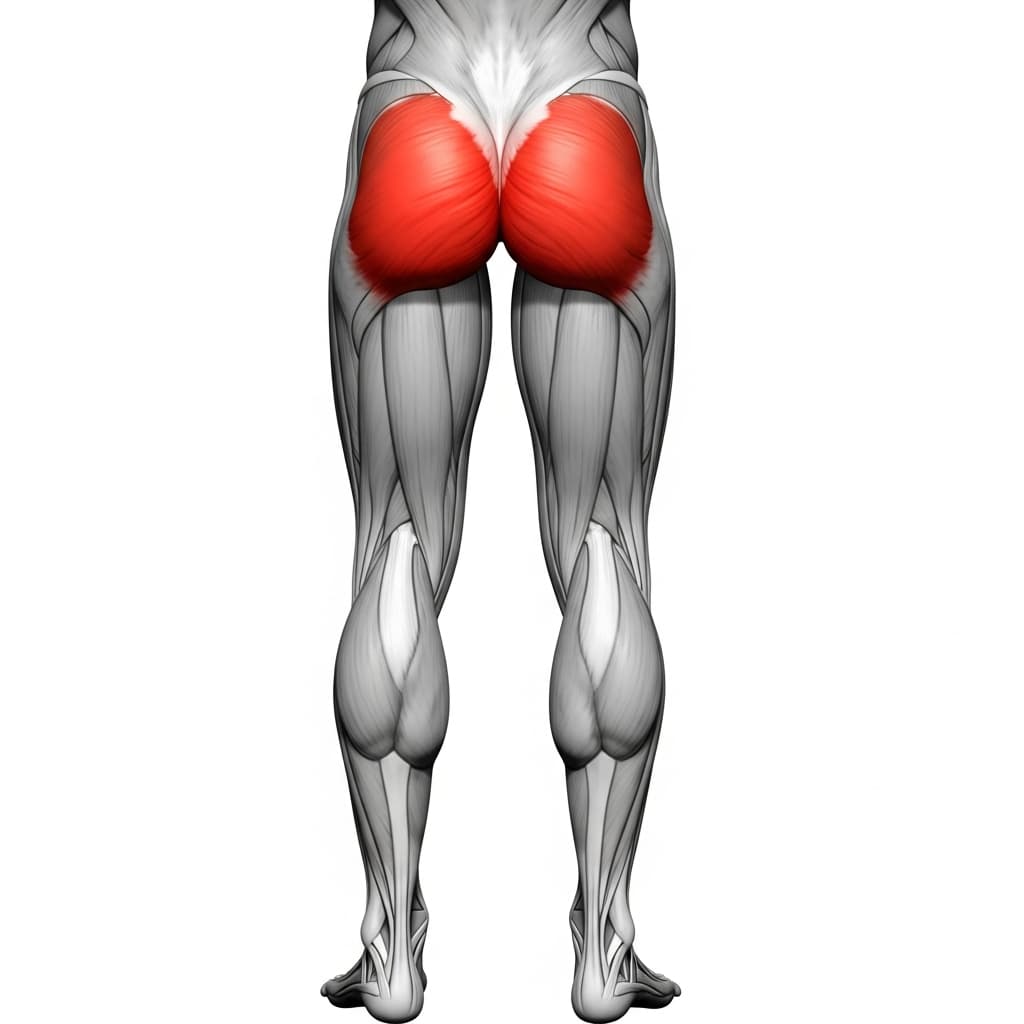
Gluteus Maximus (Glutes) - The glutes contract isometrically to lock the pelvis in place and prevent hip rotation, creating the full body tension required to isolate the shoulder muscles effectively.
Benefits of Shoulder Circuit
- Strengthens all three heads of the deltoids and the rotator cuff through five distinct angles, addressing muscle imbalances that single-angle exercises miss
- Builds scapular retraction strength and lower trap endurance, which directly improves stability in pull-ups, handstands, and overhead pressing
- Requires zero equipment and can be performed anywhere, making it one of the most practical shoulder prehab exercises for traveling athletes
- Counteracts the rounded shoulder posture caused by sitting and forward-leaning activities by strengthening the posterior chain of the shoulder girdle
- Develops the slow-twitch endurance of the rear deltoids and traps, which reduces injury risk during high-volume calisthenics training
Who Is This Exercise For?
You should be able to hold a prone arm raise with your arms extended overhead for at least 5 seconds without lower back discomfort before attempting the full circuit. If maintaining full body tension while lying face down is difficult, start with isolated scapular squeezes and single-position holds to build baseline shoulder and back endurance first.
Common Mistakes to Avoid
Lifting the forehead off the ground: Keep your forehead pressed into the floor for the entire circuit. Lifting the head engages the neck extensors, shifts tension away from the target muscles, and compresses the cervical spine under load.
Losing glute and leg tension: Squeeze your glutes and press your legs together before every set and maintain that tension throughout all five positions. Without lower body engagement, your hips rock side to side and your lower back absorbs force that should be going through the shoulders.
Resting between positions: Transition from one arm angle to the next without pausing. The cumulative fatigue across all five positions is what makes the circuit effective. If you need to rest between angles, reduce the rep count rather than breaking the flow.
Using momentum to lift the arms: Lift your arms with a slow, controlled motion and hold the top position for a full second. Swinging or bouncing the arms off the floor bypasses the weakest part of the range where the rear deltoids and rotator cuff need the most work.
Wrong thumb orientation per position: Thumbs point upward for the I, V, and T positions and downward for the arrow position. Incorrect thumb rotation changes which fibers of the shoulder are loaded and reduces the effectiveness of each angle.
Variations & Progressions
Partial Range Shoulder Circuit
Perform the same five positions but lift your arms only halfway off the ground instead of to full height. This reduces the load on the rotator cuff and rear deltoids, making it accessible for beginners or as a warm-up before pressing or pulling work.
Weighted Shoulder Circuit
Hold a light pair of dumbbells or water bottles during all five positions. Even 1 to 2 kilograms dramatically increases the difficulty because the lever arm is so long, making this variation an effective progression once bodyweight circuits feel easy for 10 or more reps per position.