Hollow Body To Arch
The Hollow Body to Arch is a foundational core control drill that alternates between an anterior chain hold and a posterior chain hold while staying on your back. It targets the abs, glutes, hamstrings, hip flexors, and spinal erectors through sustained isometric contractions in both positions. This exercise builds the total-body tension and positional awareness that directly transfers to handstands, levers, and every gymnastics-based calisthenics skill.
The Hollow Body to Arch is a foundational core control drill that alternates between an anterior chain hold and a posterior chain hold while staying on your back. It targets the abs, glutes, hamstrings, hip flexors, and spinal erectors through sustained isometric contractions in both positions. This exercise builds the total-body tension and positional awareness that directly transfers to handstands, levers, and every gymnastics-based calisthenics skill.
How to Do Hollow Body To Arch
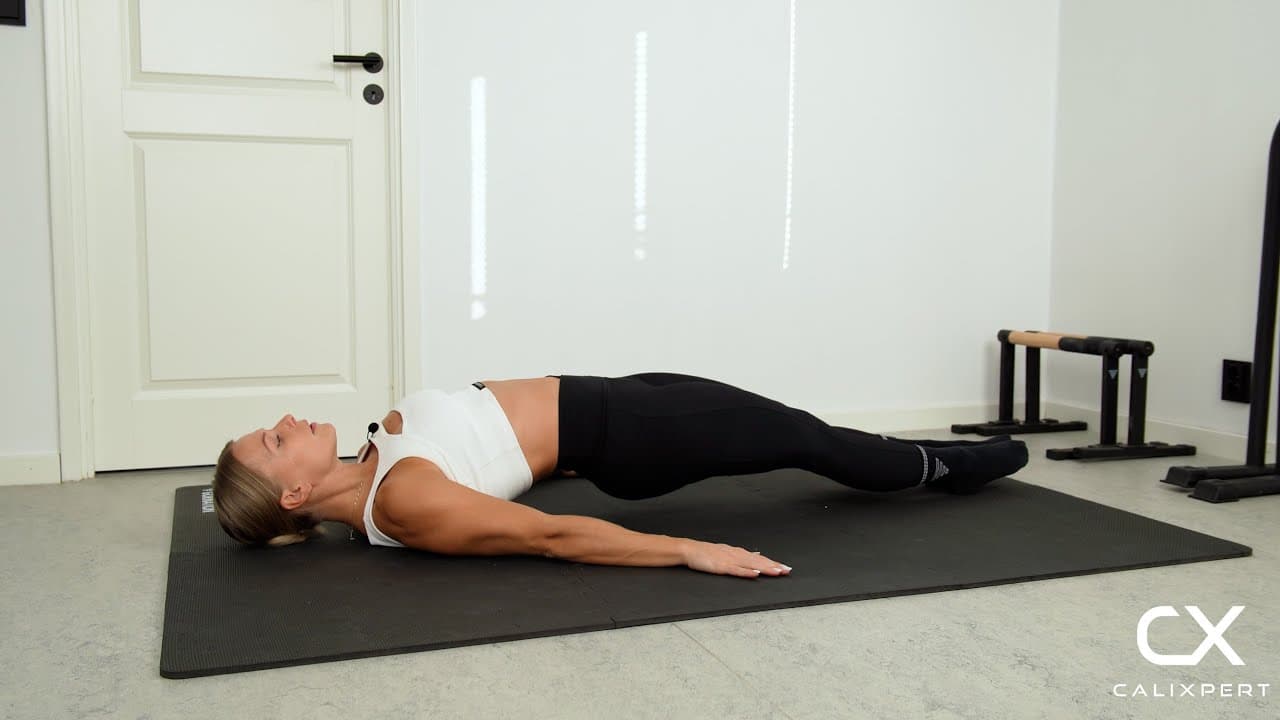
1. Set Up on Your Back
Lie flat on your back with your arms extended overhead and your legs straight. Press your entire lower back firmly into the floor by drawing your belly button toward your spine. This posterior pelvic tilt is the foundation of the hollow position and must be established before anything else moves.
Lower back glued to the floor
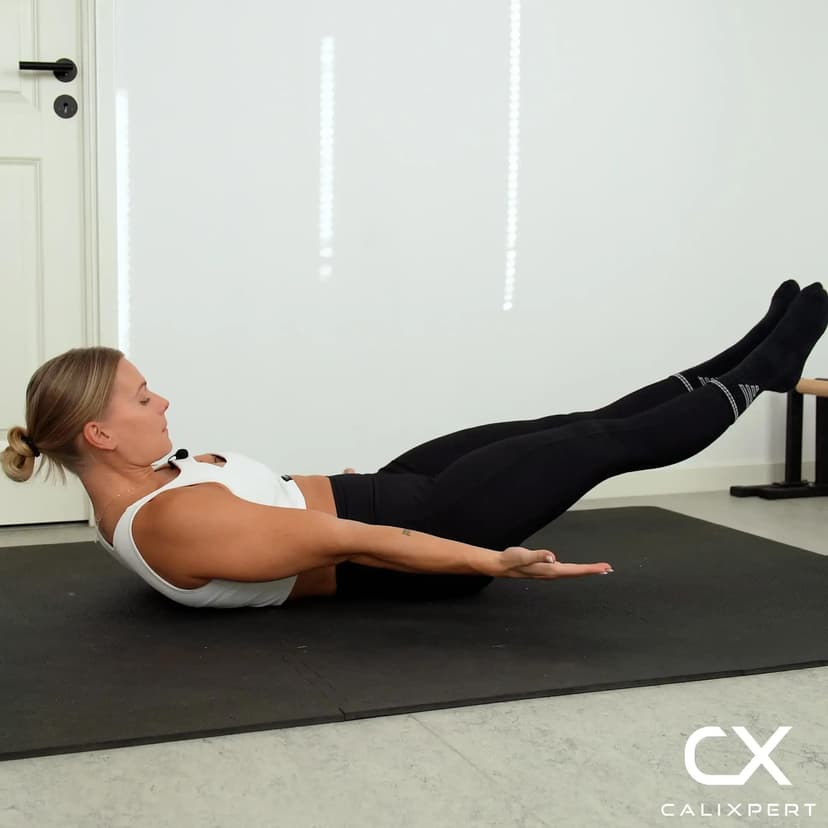
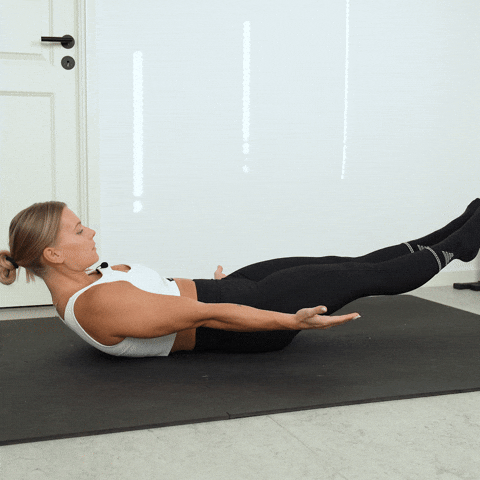
2. Enter the Hollow Body Hold
Lift your shoulders and legs off the ground simultaneously while keeping your arms extended overhead. Lower your legs only as far as you can while maintaining full lower back contact with the floor. Hold this position for 2 to 3 seconds with your entire body under tension.
Legs as low as you can control
3. Transition to the Floor
Place your heels back on the ground, bring your hands down to your sides, and lower your head to the floor. This brief reset separates the two phases and allows you to reposition for the arch. Do not rush this transition, it should be deliberate and controlled.
Heels down, hands down, head down
4. Lift Into the Arch Position
With your legs straight, drive through your heels and squeeze your glutes to lift your hamstrings, glutes, and lower back off the floor. Keep your legs extended and your hips high. Your upper back and shoulders remain in contact with the ground as the anchor point.
Squeeze glutes and hamstrings hard
5. Hold and Return to Hollow
Hold the arch position for 2 to 3 seconds while maintaining a strong glute and hamstring squeeze. Lower your hips back to the floor under control, extend your arms overhead, and re-enter the hollow body hold by pressing your lower back down and lifting your shoulders and legs. Each full cycle is one rep.
Controlled transition, no rushing
Most people treat this as a relaxation exercise and barely hold each position before flipping to the next. The entire point is sustained tension. Hold each phase for a true 3-count where your muscles are shaking, not just passing through the shapes. When you feel your lower back start to lift in the hollow, that is the moment the exercise is actually working.
Muscles Worked During Hollow Body To Arch
Secondary Muscles:


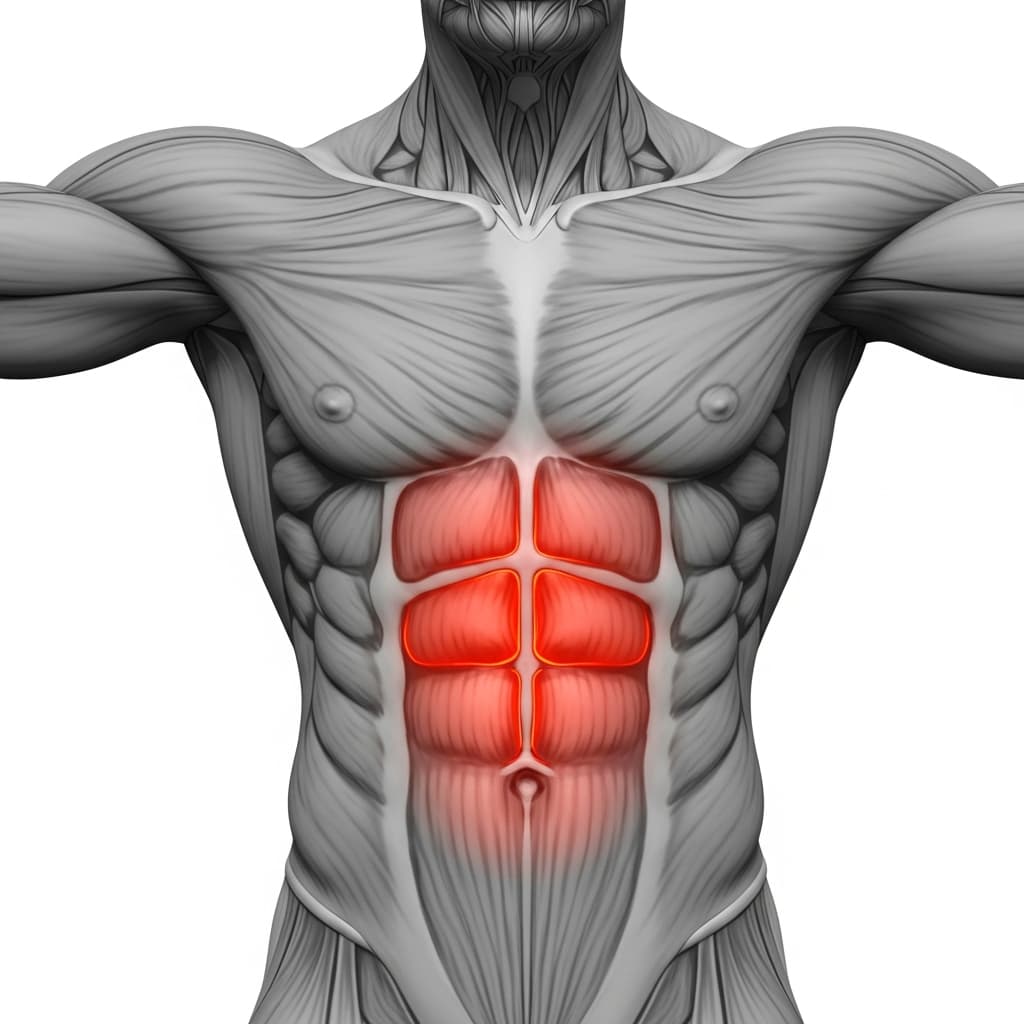
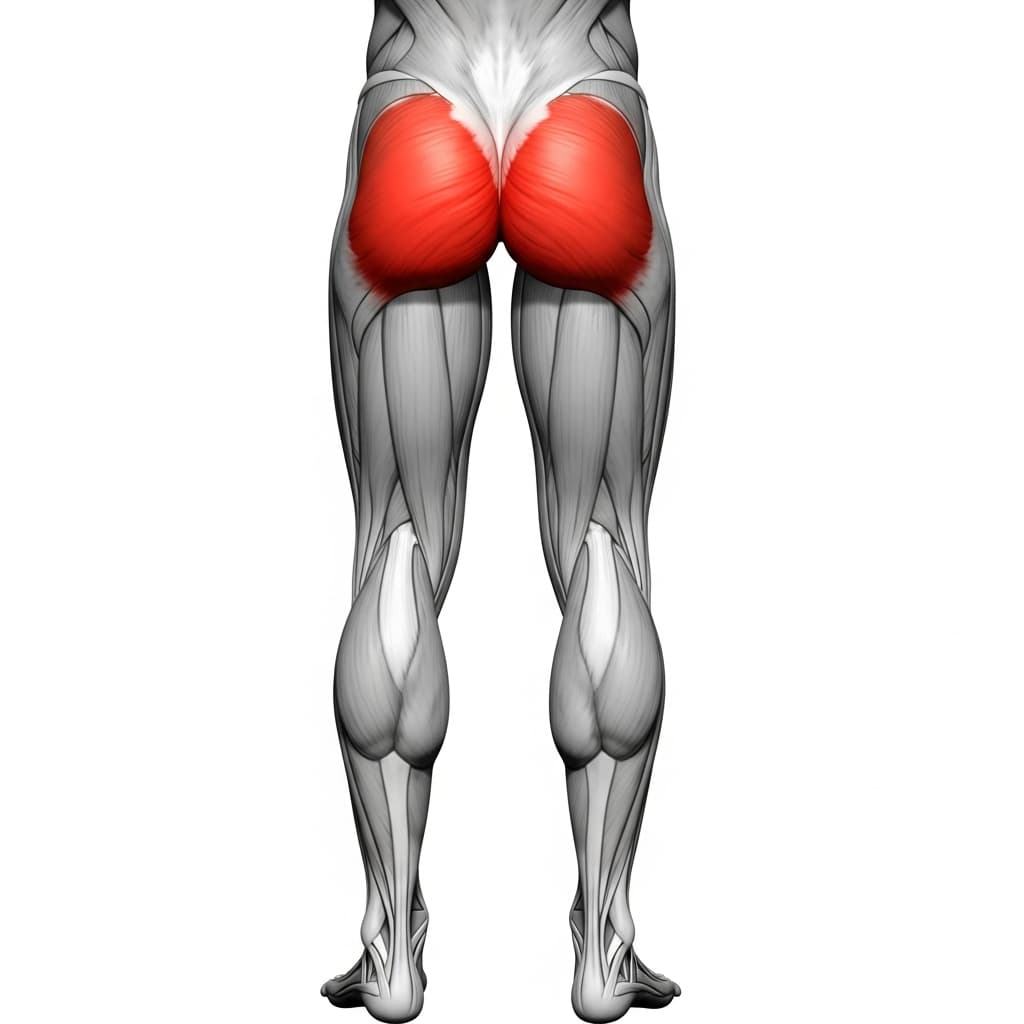
Primary Muscles
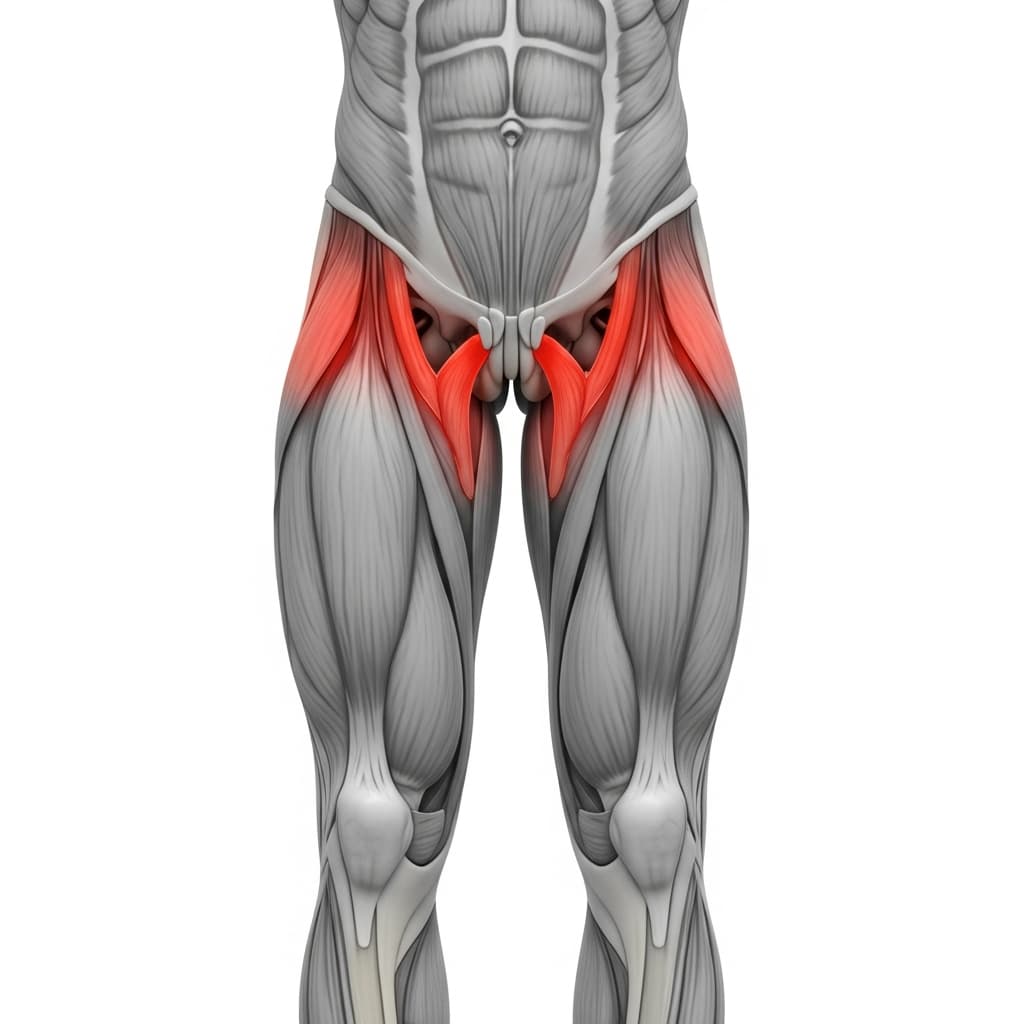
Rectus Abdominis (Abs) - The abs maintain a posterior pelvic tilt and hold the shoulders and legs off the ground during the hollow body phase, resisting spinal extension under load.
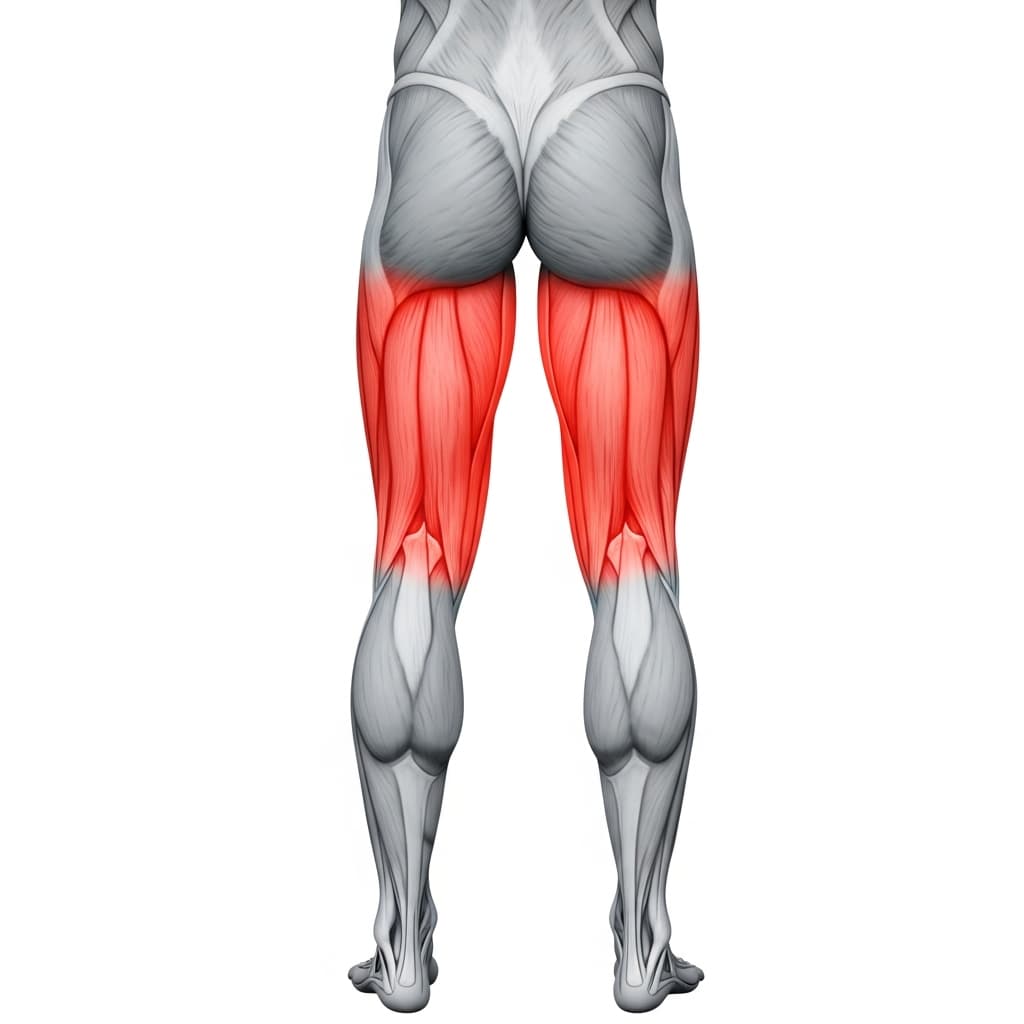
Gluteus Maximus (Glutes) - The glutes drive hip extension to lift the hips and lower back off the floor during the arch phase, producing the primary force in the posterior hold.
Secondary Muscles
Iliopsoas (Hip Flexors) - The hip flexors hold the legs elevated during the hollow body phase, working isometrically to keep the legs off the ground against gravity.
Erector Spinae (Spinal Erectors) - The spinal erectors contract to extend the lumbar spine during the arch phase, working alongside the glutes to lift the lower back off the floor.
Hamstring Group (Hamstrings) - The hamstrings assist hip extension during the arch phase and maintain straight-leg tension throughout both positions.
Quadriceps (Quads) - The quads keep the knees locked and legs fully extended throughout both the hollow and arch phases, maintaining the long lever position.
Benefits of Hollow Body To Arch
- Develops both anterior and posterior core strength in a single drill, training the abs and glutes to fire in alternating sequence
- Builds the hollow body tension pattern that is the foundation of handstands, front levers, and muscle-ups
- Strengthens the glutes and hamstrings through isometric hip extension with straight legs, which carries over to back lever and planche conditioning
- Teaches deliberate body position awareness and the ability to switch between opposing tension patterns under control
Who Is This Exercise For?
You should be able to hold a hollow body position with your lower back flat on the floor for at least 10 seconds before adding the arch transition. If your lower back lifts off the ground during the hollow phase, work on basic hollow holds with bent knees until you can maintain full contact. Familiarity with glute bridges is also helpful, as the arch phase uses a similar hip extension pattern.
Common Mistakes to Avoid
Lower back lifting off the floor during the hollow phase: If your lower back peels off the ground, your legs are too low for your current strength. Raise your legs higher or bend your knees slightly until you can hold the position with your lumbar spine flat.
Rushing the transition between positions: Each phase should have a deliberate 2 to 3 second hold. Speeding through removes the isometric demand that makes this exercise effective. Slow down and own each position before switching.
Bending the knees during the arch phase: Keep your legs fully extended when lifting into the arch. Bending the knees shortens the lever and reduces the demand on the hamstrings and glutes. If you cannot hold straight legs, reduce the hold time rather than bending.
Only engaging the abs and ignoring the posterior chain: The arch phase requires an aggressive glute and hamstring squeeze, not a passive lift. Think of it as actively pushing your hips toward the ceiling with straight legs to fully engage the posterior chain.
Variations & Progressions
Hollow Body to Arch with Bent Knees
Perform the same alternating pattern but with knees bent at 90 degrees during both phases. This shortens the lever arm and reduces the core and hip flexor demand, making it accessible for beginners who cannot maintain a flat lower back with straight legs.