Elevated Seated Chin Ups
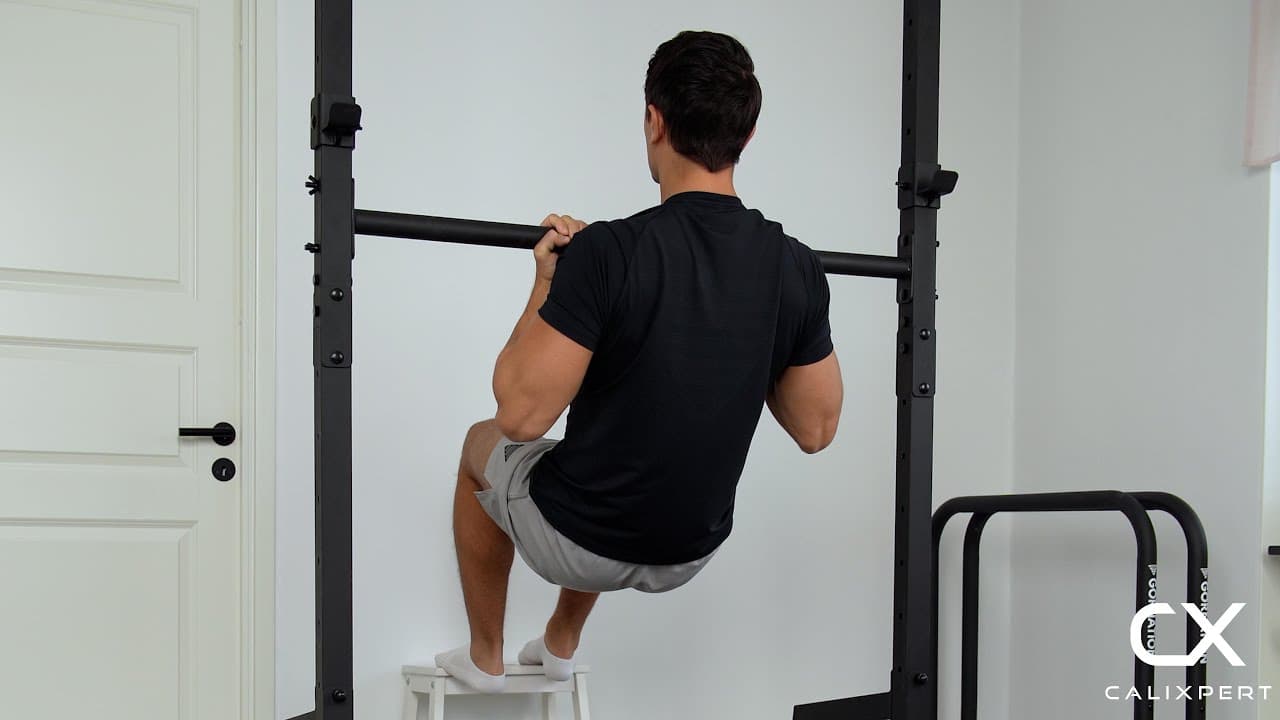
Elevated seated chin ups are a beginner-friendly pulling exercise performed from a seated position on the floor, using a low bar and a box or stool to elevate the feet. This variation targets the biceps, lats, upper back, and rear deltoids while reducing the load compared to a full chin-up, making it accessible to trainees who cannot yet perform unassisted reps. Because you can adjust difficulty simply by changing the height of the foot elevation, this exercise serves as one of the most practical progressions toward full bodyweight chin-ups.
Elevated seated chin ups are a beginner-friendly pulling exercise performed from a seated position on the floor, using a low bar and a box or stool to elevate the feet. This variation targets the biceps, lats, upper back, and rear deltoids while reducing the load compared to a full chin-up, making it accessible to trainees who cannot yet perform unassisted reps. Because you can adjust difficulty simply by changing the height of the foot elevation, this exercise serves as one of the most practical progressions toward full bodyweight chin-ups.
How to Do Elevated Seated Chin Ups
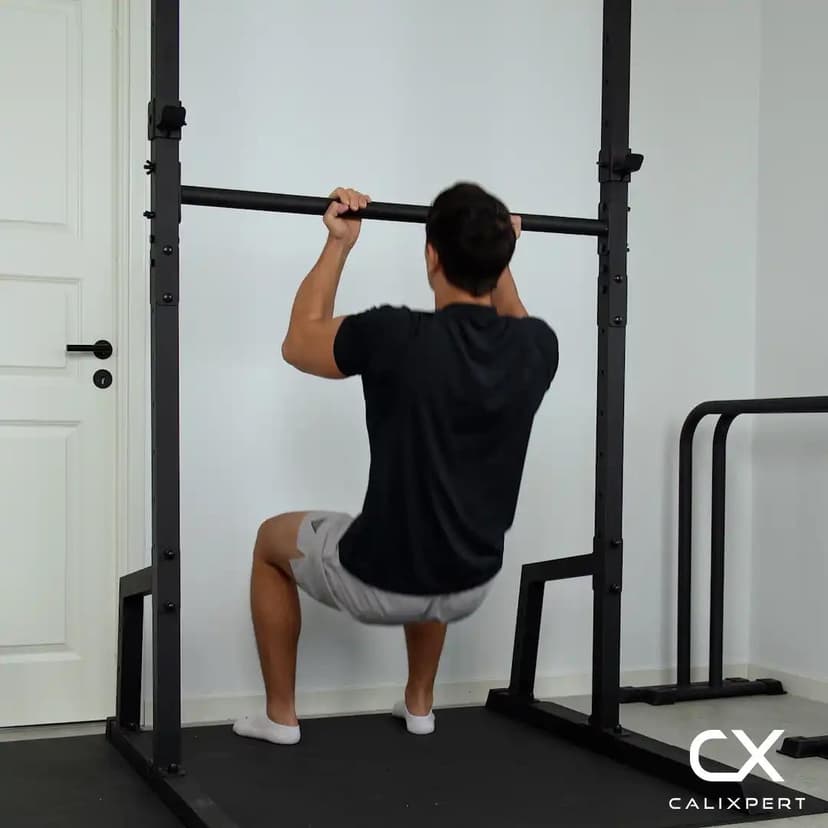
1. Find a Low Bar
Locate a bar low enough that you can sit on the floor directly beneath it and reach it with your arms extended overhead. A Smith machine bar, low squat rack setting, or gymnastics bar at hip height all work. The bar should be stable and able to support your full bodyweight without shifting.
Sit under the bar, arms reach up
2. Set Up Your Grip
Grab the bar with an underhand grip, palms facing toward you, at shoulder width apart. Wrap your thumbs fully around the bar, not resting on top. This full grip keeps the wrists stable and prevents your hands from slipping during the pull.
Thumbs around the bar, never on top
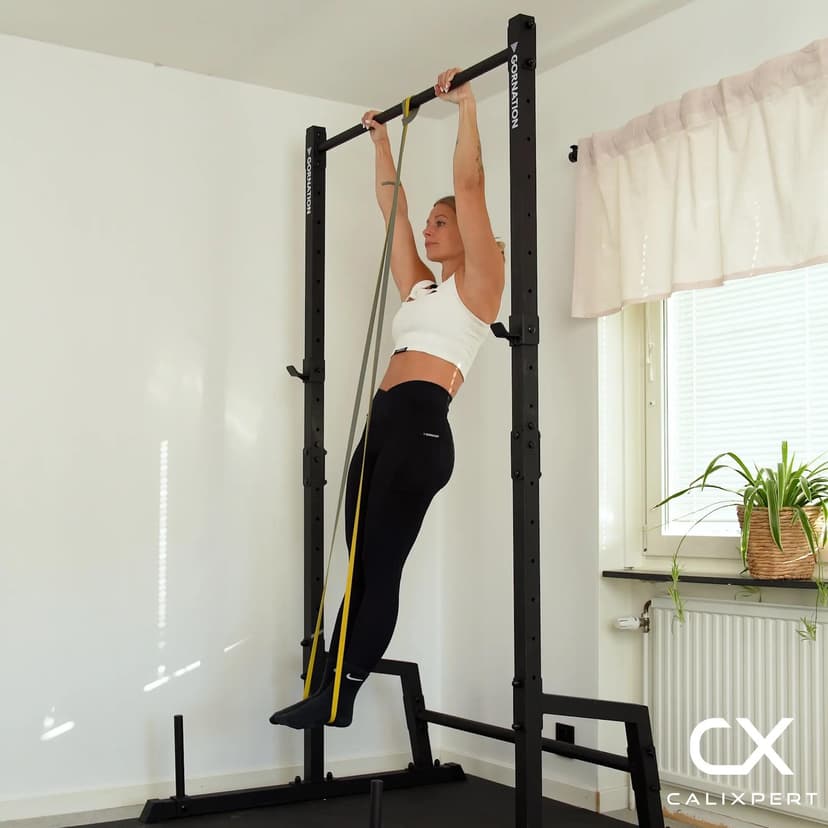
3. Position Your Feet on the Box
Place a stool, box, or chair in front of you and set both feet flat on top of it. The higher the elevation, the more bodyweight you support through your legs, making the exercise easier. Choose a height that lets you complete your target reps with clean form but feels challenging on the last two reps.
Higher feet means easier, lower means harder
4. Set Your Scapula Before Pulling
Before bending your elbows, pull your shoulder blades down and back. This scapular depression activates the lats and upper back muscles that should be driving the movement. Skipping this step shifts the load almost entirely onto the biceps and leaves the back underworked.
Shoulders down and back first
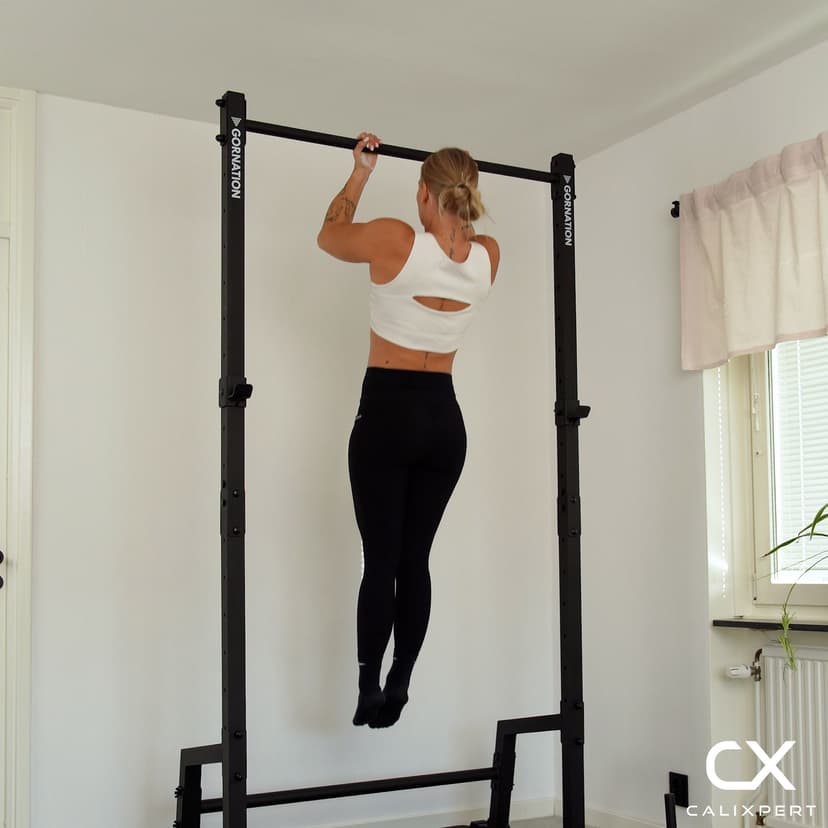
5. Pull Yourself Up to the Bar
Drive your elbows down and behind you as you pull your chest toward the bar. Keep your torso as upright as possible and maintain tension through your core to prevent swinging. Continue pulling until your chin clears above the bar or your chest makes contact with it.
Drive elbows down, chest to bar
6. Lower Under Control
Slowly extend your arms on the way down, resisting gravity for a 2 to 3 second descent. Return to the starting position with arms fully extended and shoulders settled before initiating the next rep. This controlled eccentric phase builds pulling strength faster than dropping back down.
Slow descent, reset at the bottom
Most people use this exercise as a stepping stone and rush through it to get to full chin-ups. That is a mistake. Slow down the eccentric, squeeze the scapula hard at the top of every rep, and gradually lower the foot elevation over weeks. When you finally attempt a full chin-up, you will have the pulling mechanics and back activation wired in instead of struggling to figure them out while hanging from a high bar.
Muscles Worked During Elevated Seated Chin Ups
Secondary Muscles:
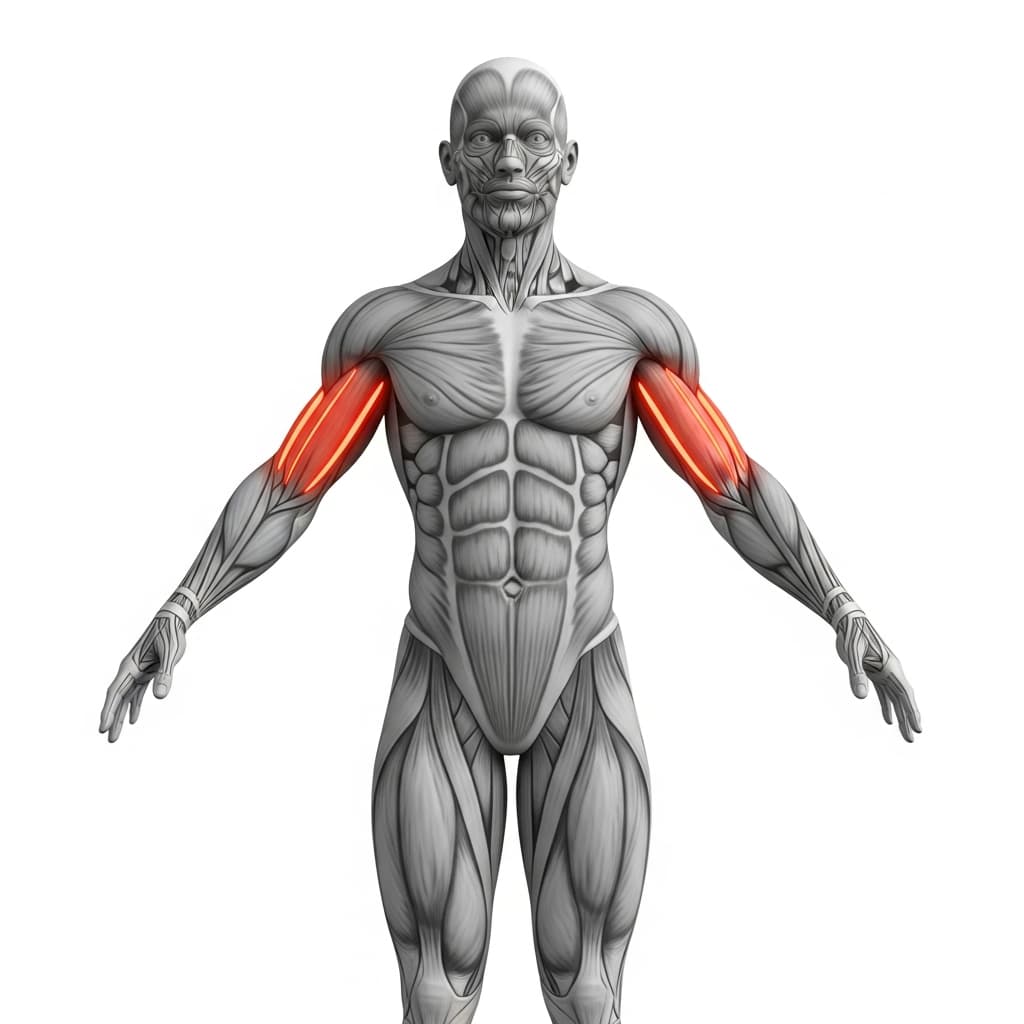
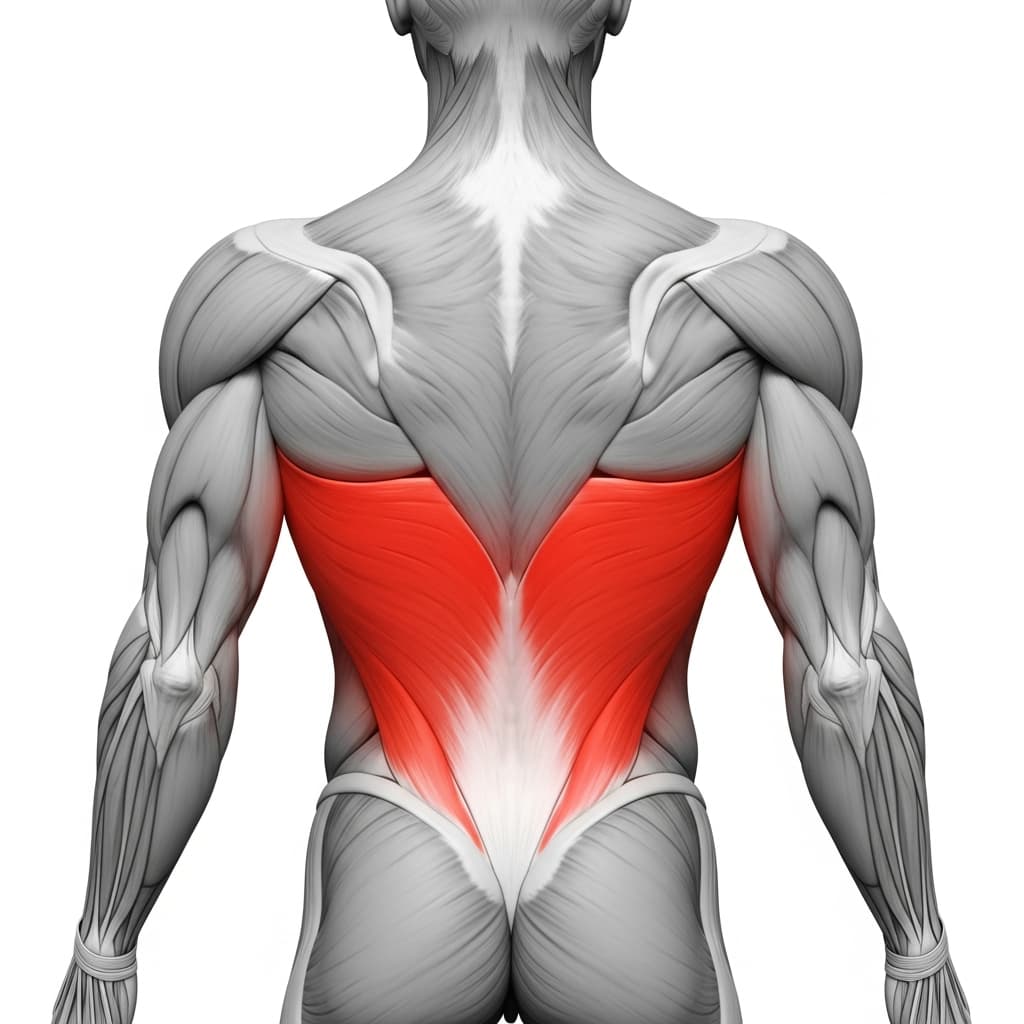
Primary Muscles
Biceps Brachii (Biceps) - The biceps flex the elbow throughout the pull and are emphasized more heavily by the underhand chin-up grip compared to an overhand pull-up grip.
Latissimus Dorsi (Lats) - The lats drive shoulder extension and adduction, pulling the torso upward toward the bar from the bottom of each rep through to the top.
Secondary Muscles
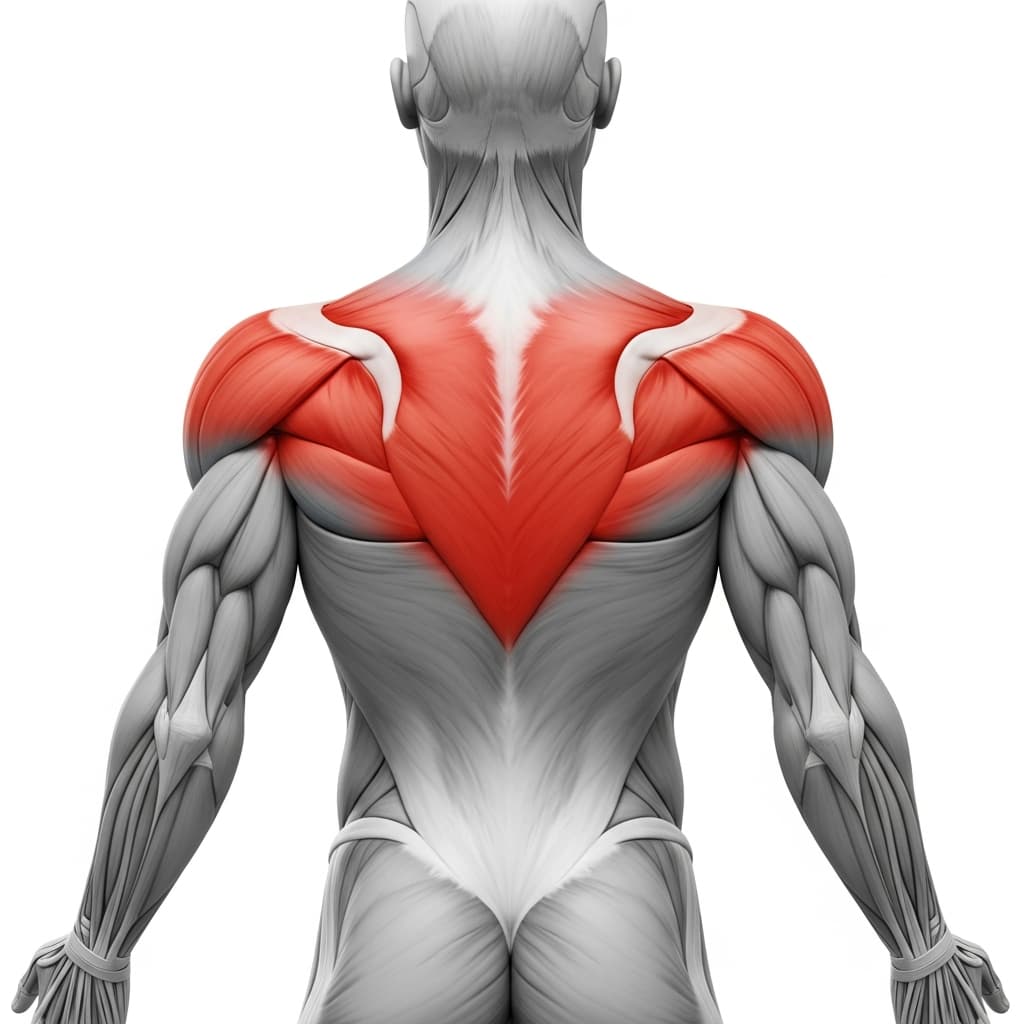
Rhomboids & Upper Trapezius (Upper Back) - The rhomboids and mid-traps retract the shoulder blades at the top of each rep, completing the full range of motion and stabilizing the scapula throughout the pull.
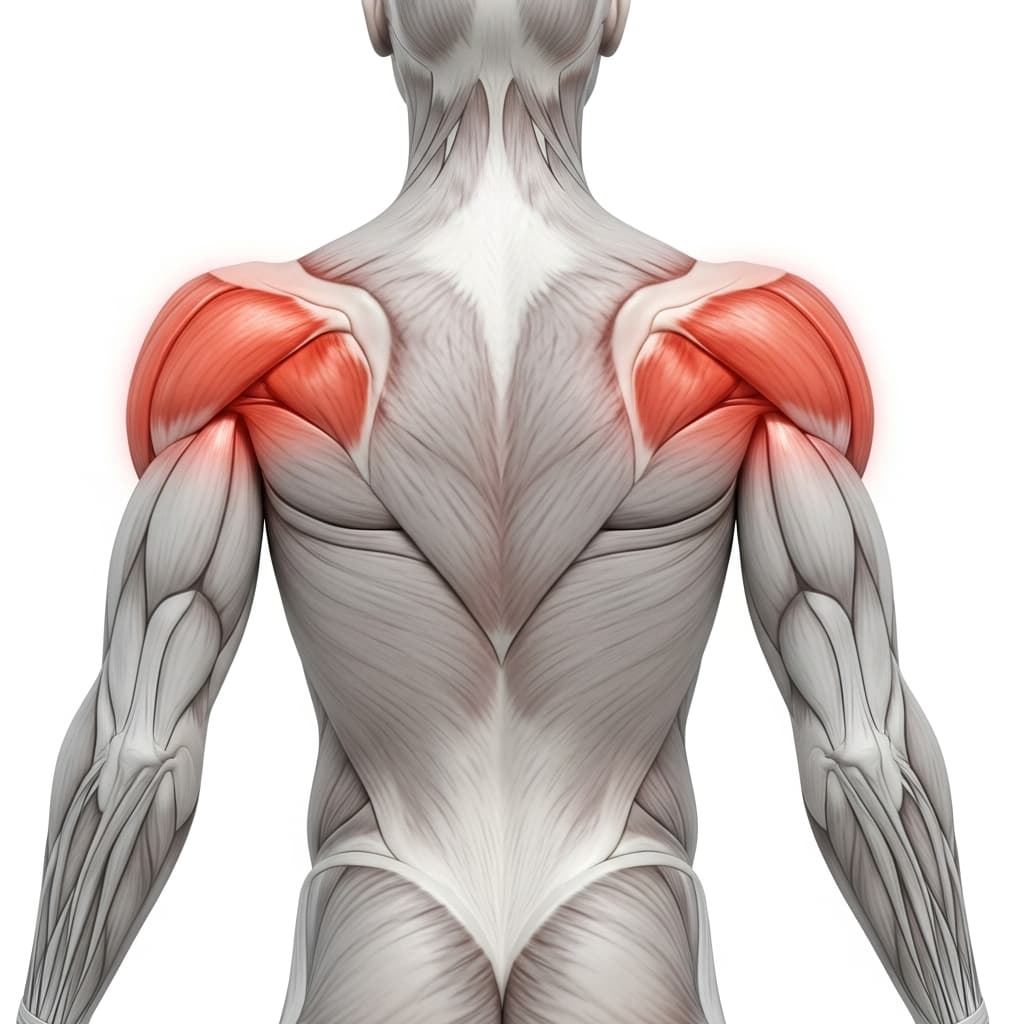
Posterior Deltoid (Rear Deltoid) - The rear deltoids assist with shoulder extension during the pulling phase, working alongside the lats to bring the upper arms behind the torso.
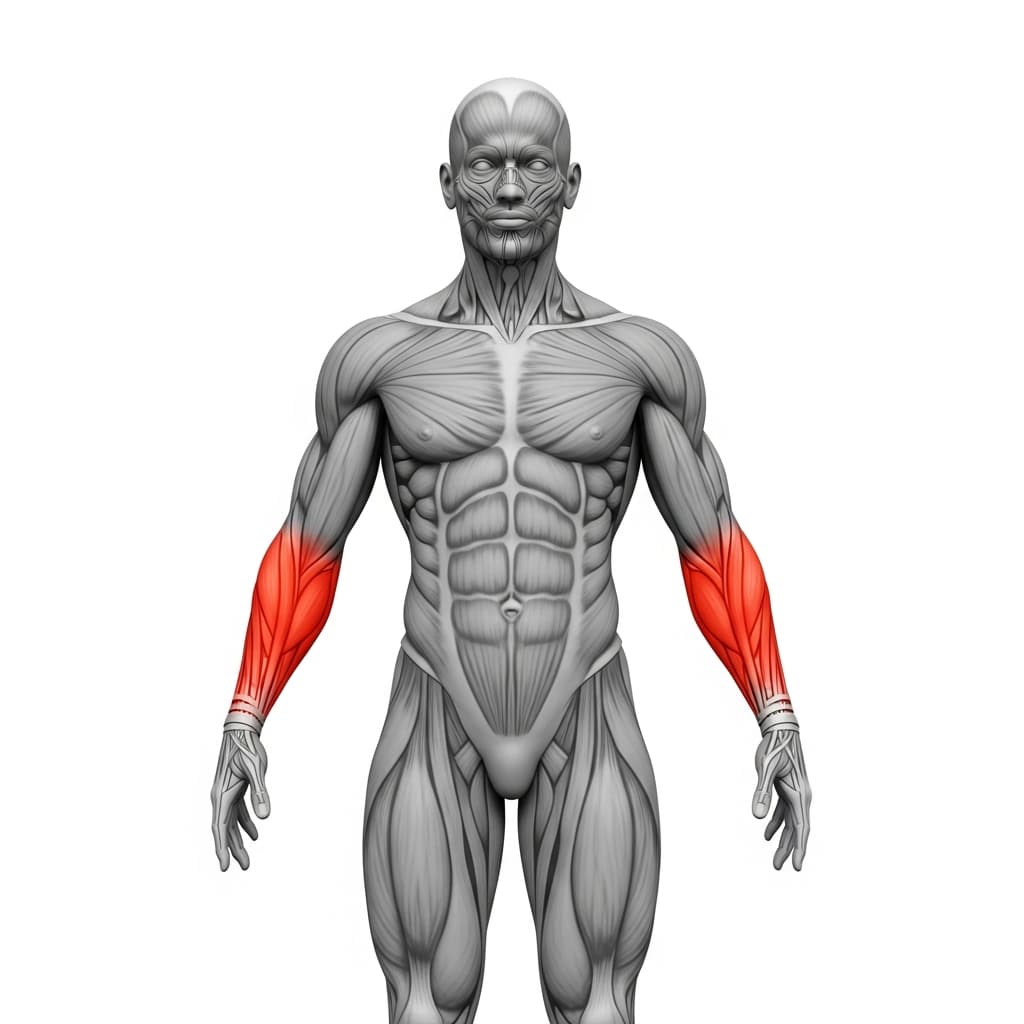
Forearm Flexors & Extensors (Forearms) - The forearm flexors maintain grip on the bar throughout the set, working isometrically to prevent the hands from slipping under sustained load.
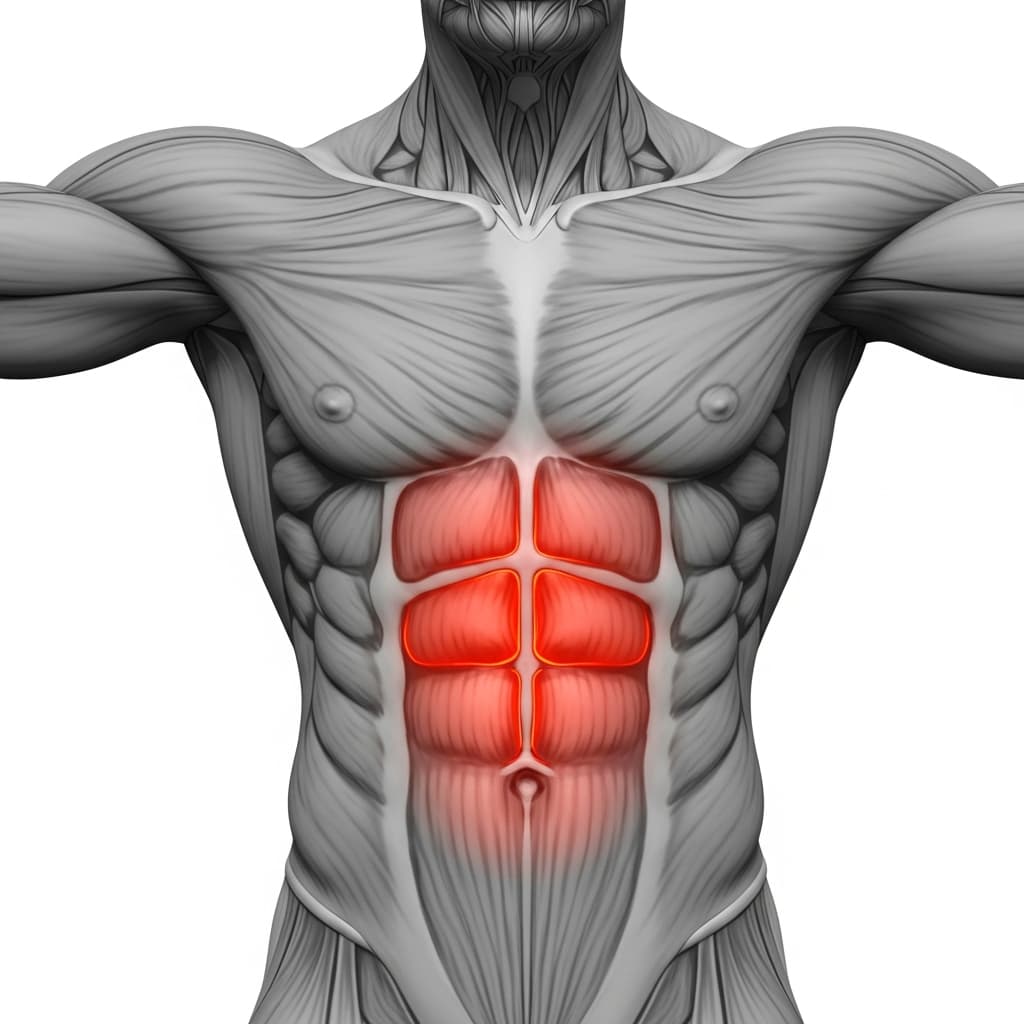
Rectus Abdominis (Abs) - The abdominals brace the trunk and prevent excessive arching or swinging, keeping the torso stable so pulling force transfers efficiently to the bar.
Benefits of Elevated Seated Chin Ups
- Builds bicep and lat pulling strength at an adjustable difficulty, making it one of the most scalable chin-up progressions for beginners
- Teaches proper scapular initiation and elbow drive mechanics that transfer directly to full chin-ups and pull-ups
- Develops grip strength and forearm endurance under real pulling load without requiring full bodyweight capacity
- Strengthens the upper back stabilizers in a low-risk position, reducing the chance of shoulder strain common in full hanging exercises
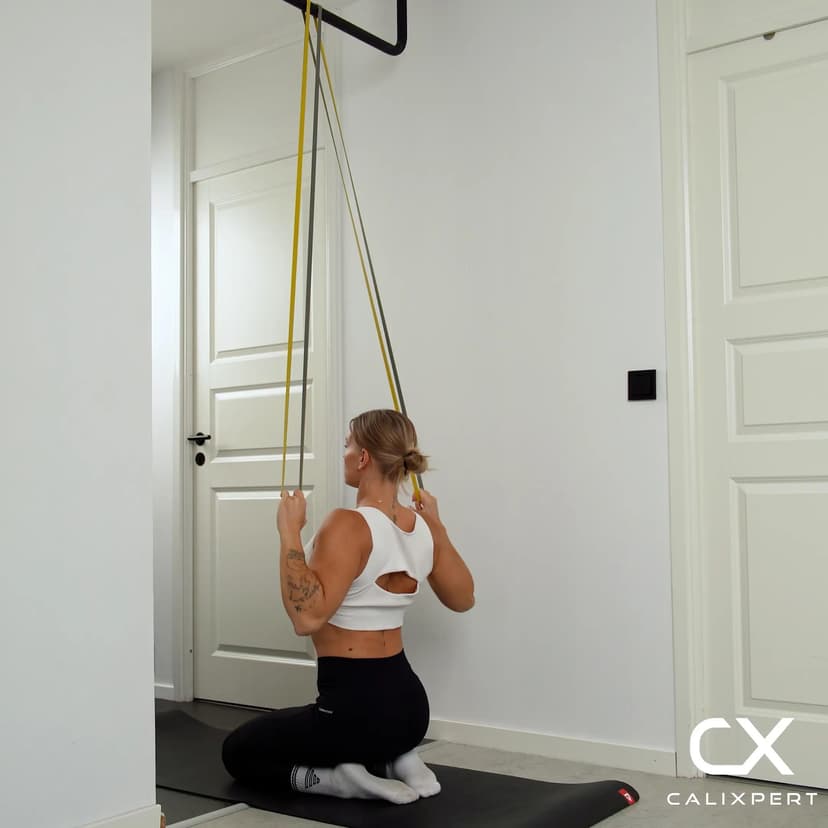
Who Is This Exercise For?
You should be able to hold a dead hang from a bar for at least 10 seconds and perform basic scapular retractions before attempting elevated seated chin ups. If gripping a bar and keeping your shoulders stable under any load is still a challenge, start with passive dead hangs and active hangs to build the baseline grip and shoulder control this exercise requires.
Common Mistakes to Avoid
Thumbs resting on top of the bar: Always wrap your thumbs fully around the bar in a closed grip. An open grip reduces wrist stability and makes it easy to slip off the bar under fatigue.
Skipping the scapular set: Depress and retract your shoulder blades before every single rep. Without this initiation, the biceps do almost all the work and the lats never learn to fire properly.
Using leg drive to push through reps: Your feet should rest on the box for support, not push off it. If you need to press through your heels to complete a rep, raise the box height to reduce the load until you can pull with your upper body alone.
Dropping down instead of lowering with control: The lowering phase is where a large portion of strength gains happen. Aim for a 2 to 3 second descent on every rep, even if it means doing fewer total reps per set.