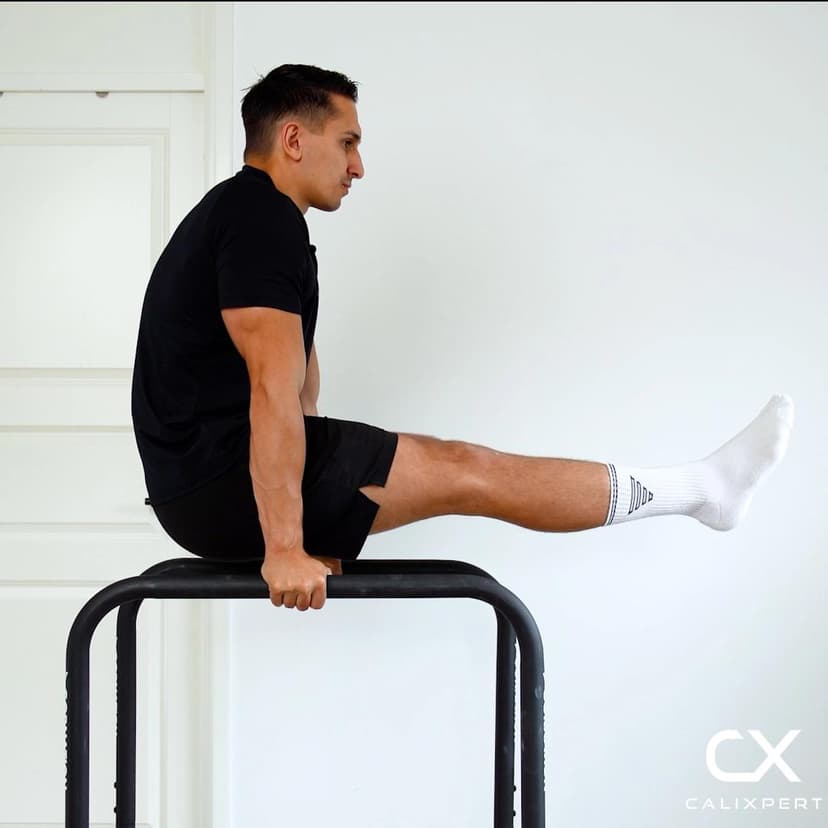
Assisted L-sit Hold
The assisted L-sit hold uses a resistance band anchored above you and a pair of parallettes to train the hip flexors, abs, and shoulders through the full L-sit position with reduced load. The band takes weight off the legs so you can focus on proper shoulder depression, straight-arm pressing, and hip positioning without collapsing. This makes it the most effective progression for building the strength and body awareness needed to hold a clean, unassisted L-sit.
The assisted L-sit hold uses a resistance band anchored above you and a pair of parallettes to train the hip flexors, abs, and shoulders through the full L-sit position with reduced load. The band takes weight off the legs so you can focus on proper shoulder depression, straight-arm pressing, and hip positioning without collapsing. This makes it the most effective progression for building the strength and body awareness needed to hold a clean, unassisted L-sit.
How to Do Assisted L-sit Hold
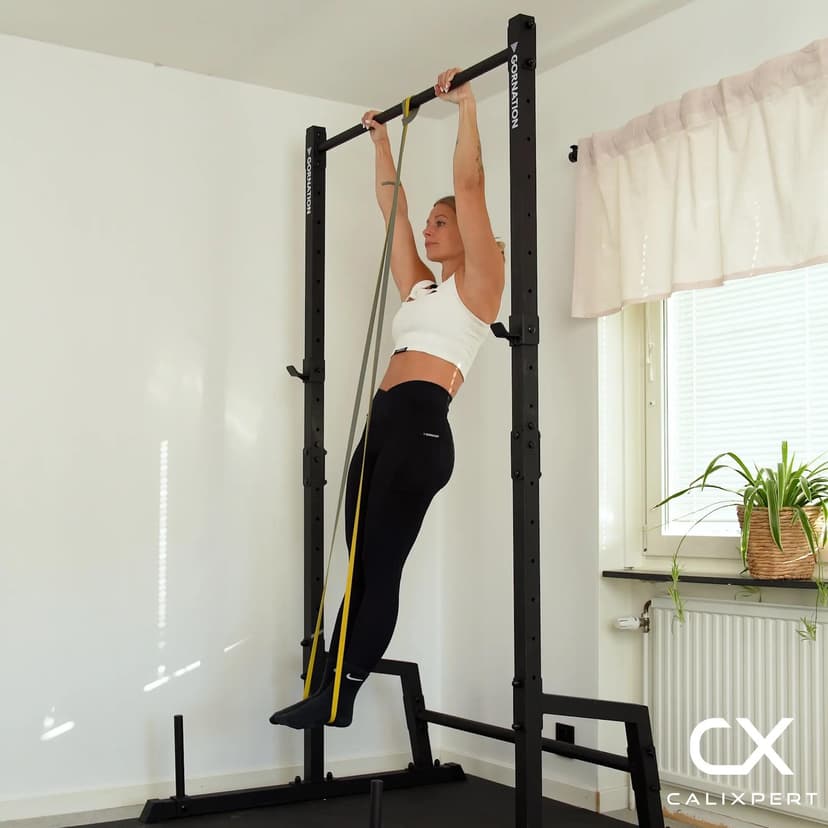
1. Anchor the Band Above You
Attach a resistance band to a secure overhead anchor point like a pull-up bar. The band should hang down long enough to reach just below your knee level when you are seated on the floor. Choose a band thickness that takes enough weight off your legs to hold the position for at least 10 seconds.
Band loops from above, not from the floor
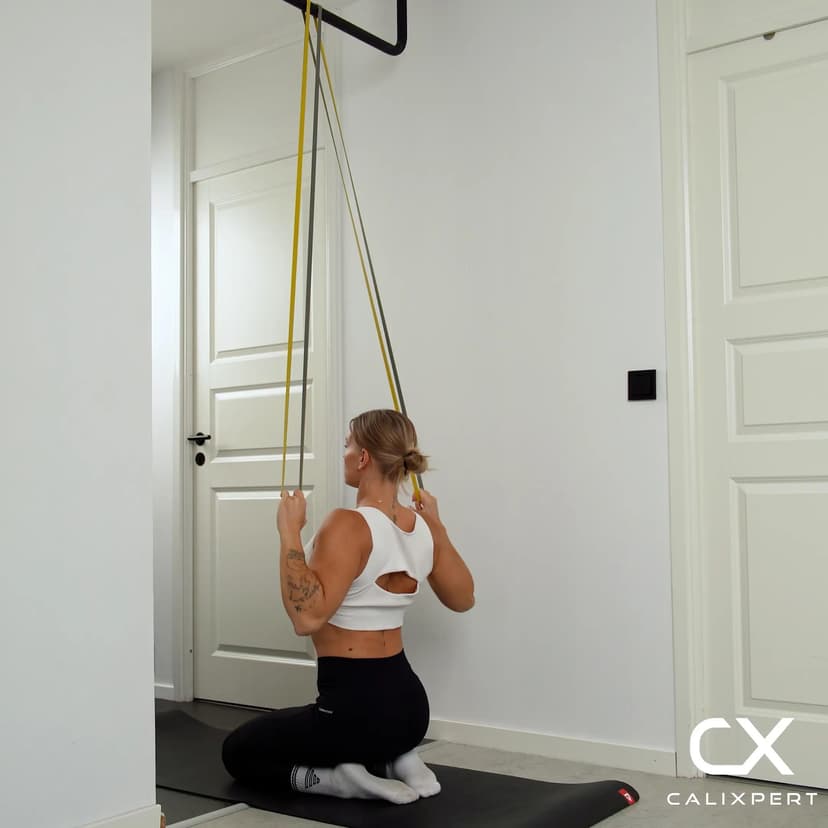
2. Sit Into the Band
Stand with your back to the band and sit into it so the band hooks behind your knees. This is the easiest way to get the band in position before lowering yourself to the floor. Make sure the band sits securely in the crease behind both knees so it does not slip during the hold.
Band behind both knees before sitting down
3. Place Hands on the Parallettes
Lower yourself to the floor and place the parallettes just outside your hips. Grip the parallettes firmly with a neutral grip so your palms face each other. Your hands should be positioned directly beside or slightly behind your hips, not in front of them.
Hands beside the hips, not forward
4. Depress Shoulders and Lock Arms
Press down hard through the parallettes and push your shoulders as far away from your ears as possible. Your arms must stay completely straight throughout the entire hold. This shoulder depression is the foundation of the L-sit and cannot be skipped, even with band assistance.
Push shoulders down, lock the elbows
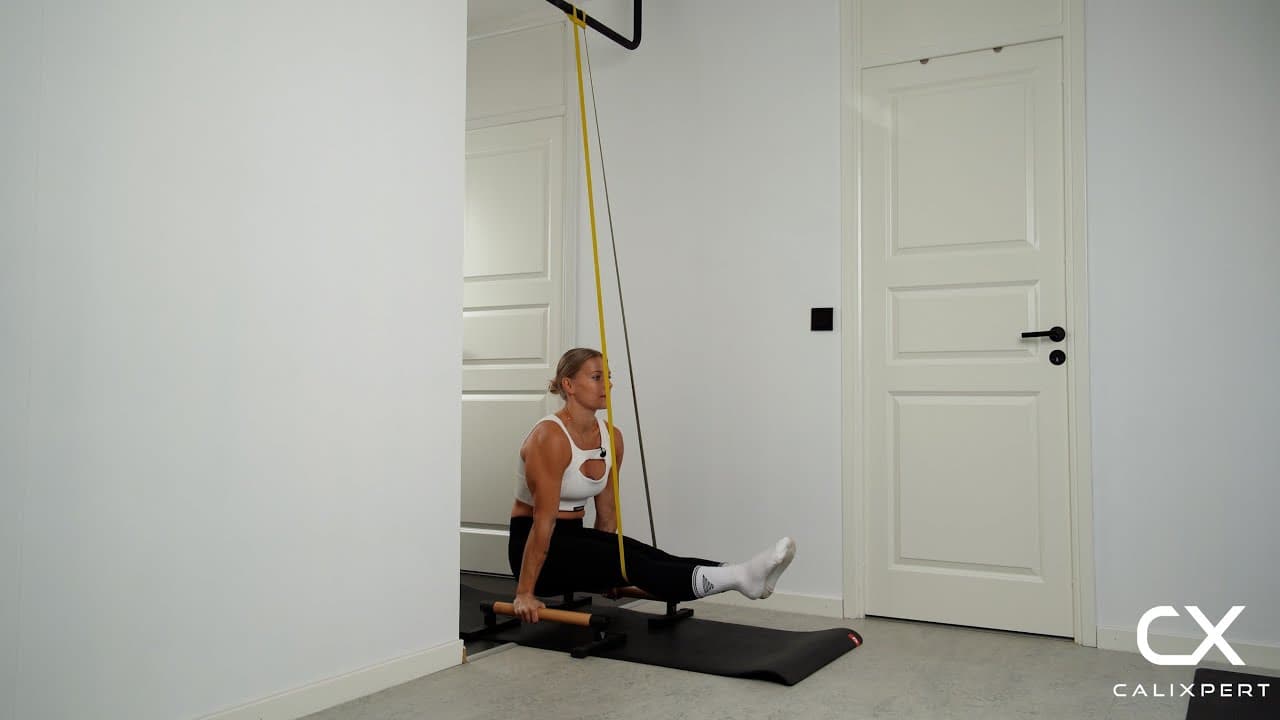
5. Lift Legs and Squeeze Together
With the band assisting your legs, straighten both legs fully and lift them to hip height or just above. Squeeze your legs together tightly and point your toes. The band reduces the load on your hip flexors, but you should still feel strong engagement through your core and the front of your hips.
Straight legs, toes pointed, squeeze together
6. Position Hips Slightly Behind Arms
Shift your weight so that your glutes sit slightly behind the line of your hands, not in front of them. When your hips drift forward of your arms, you lose the leverage needed to hold the position. This hip placement keeps the load distributed correctly between your core, hip flexors, and shoulders.
Hips behind the hands, never in front
7. Hold and Lower With Control
Hold the position for the target duration while maintaining full shoulder depression and straight legs. When you finish the hold, lower your legs slowly to the floor rather than dropping them. Controlled exits reinforce good motor patterns and protect the lower back.
Hold steady, lower slow
Most people fail the L-sit because their hips are too far forward and their shoulders are shrugged up. The band takes enough load off that you can actually feel the correct position, with hips behind the hands and shoulders pressed down hard. Spend your time here learning that position, not just surviving the hold. When the band comes off, your body already knows where everything goes.
Muscles Worked During Assisted L-sit Hold
Primary Muscles:
Secondary Muscles:

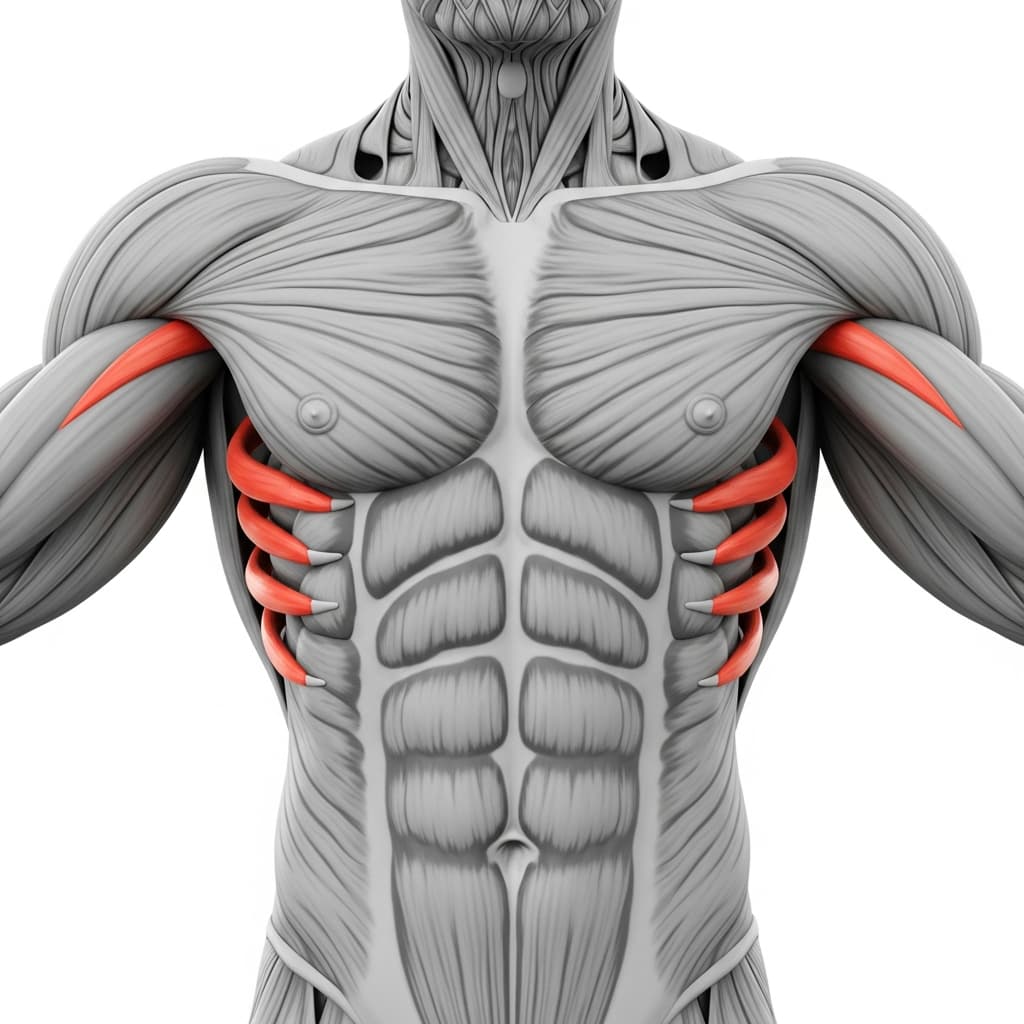
Primary Muscles
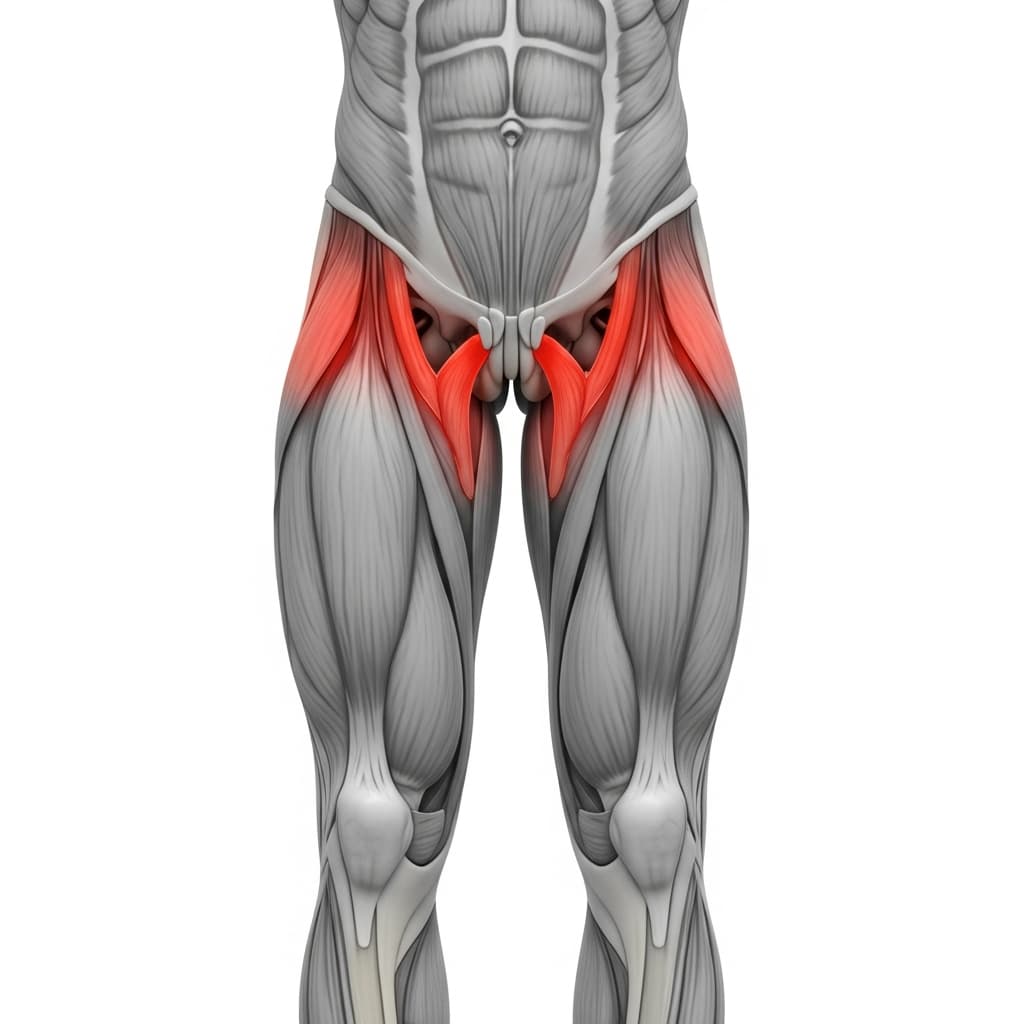
Iliopsoas (Hip Flexors) - The hip flexors contract isometrically to hold the legs at or above hip height throughout the entire duration of the hold.
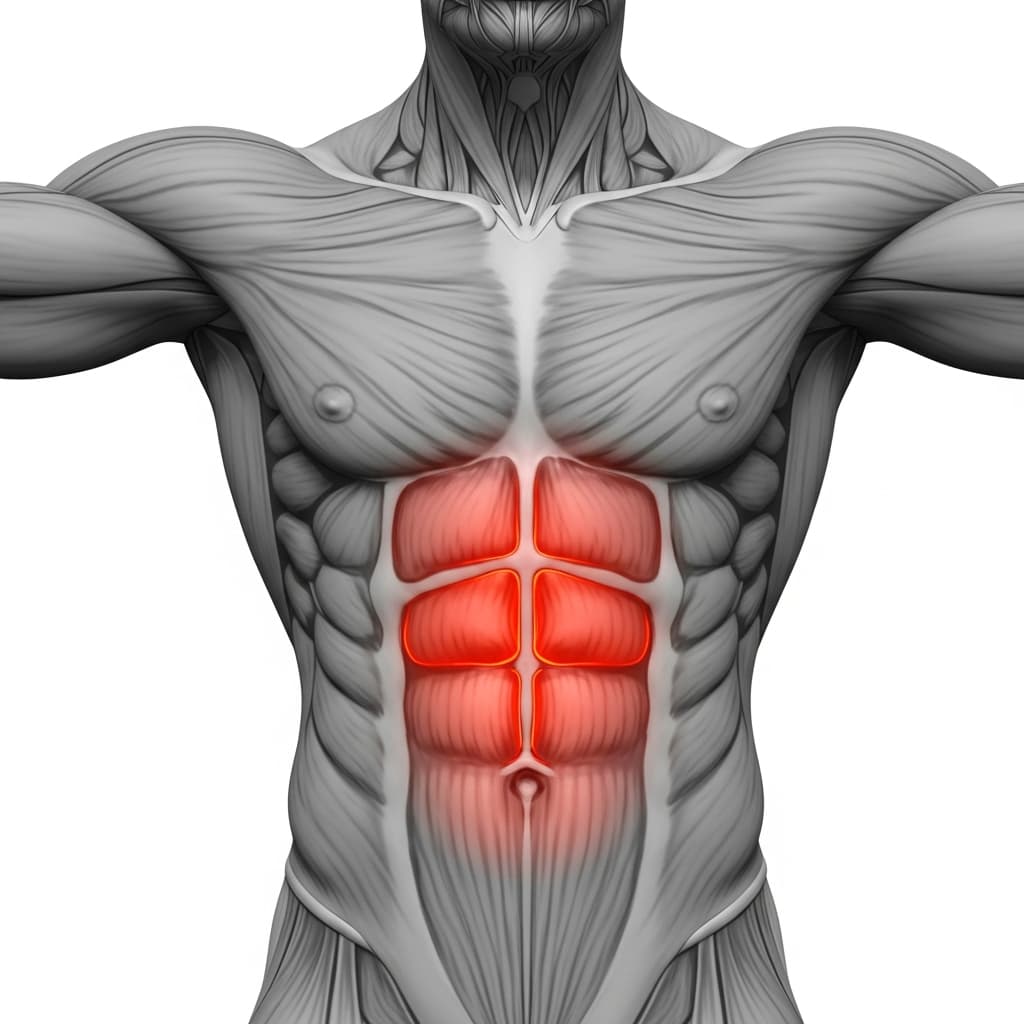
Rectus Abdominis (Abs) - The abdominals brace the torso and resist extension forces to keep the pelvis posteriorly tilted and the trunk stable while the legs are elevated.
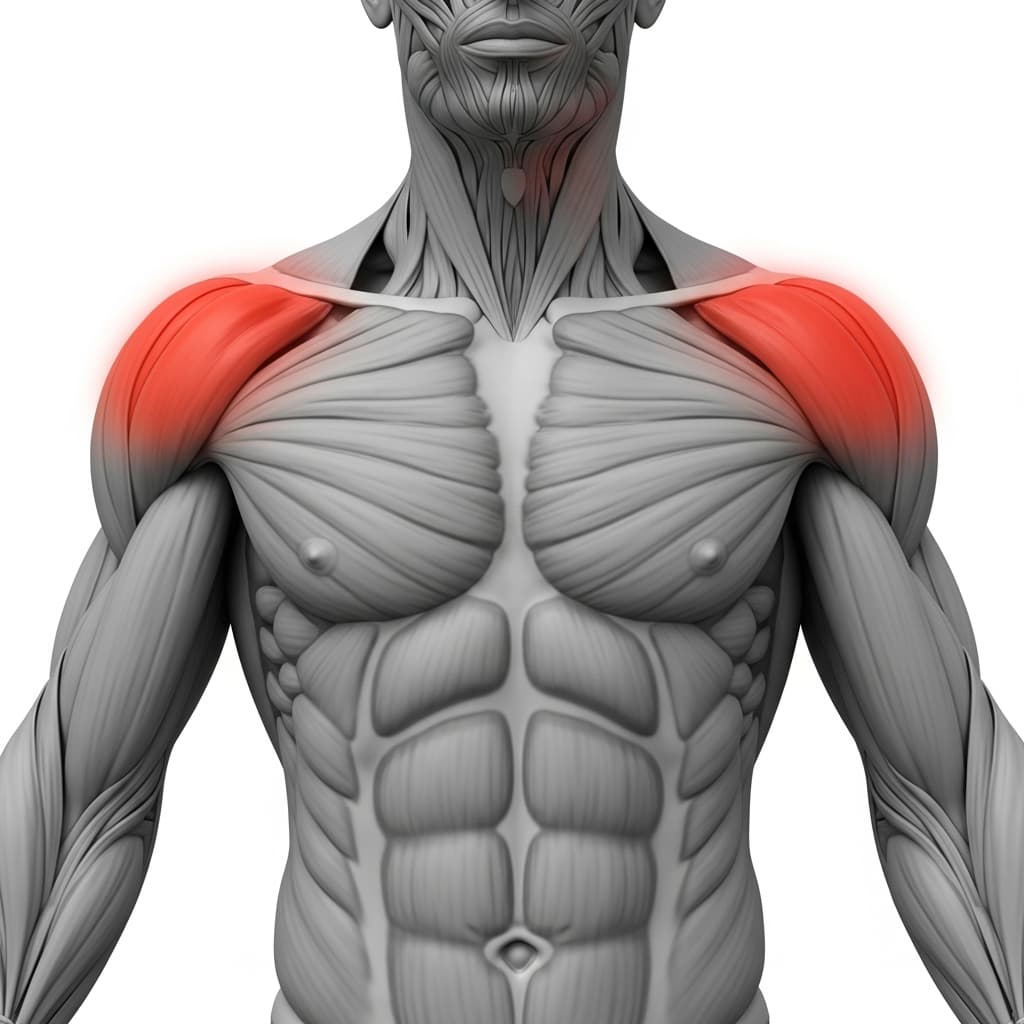
Secondary Muscles
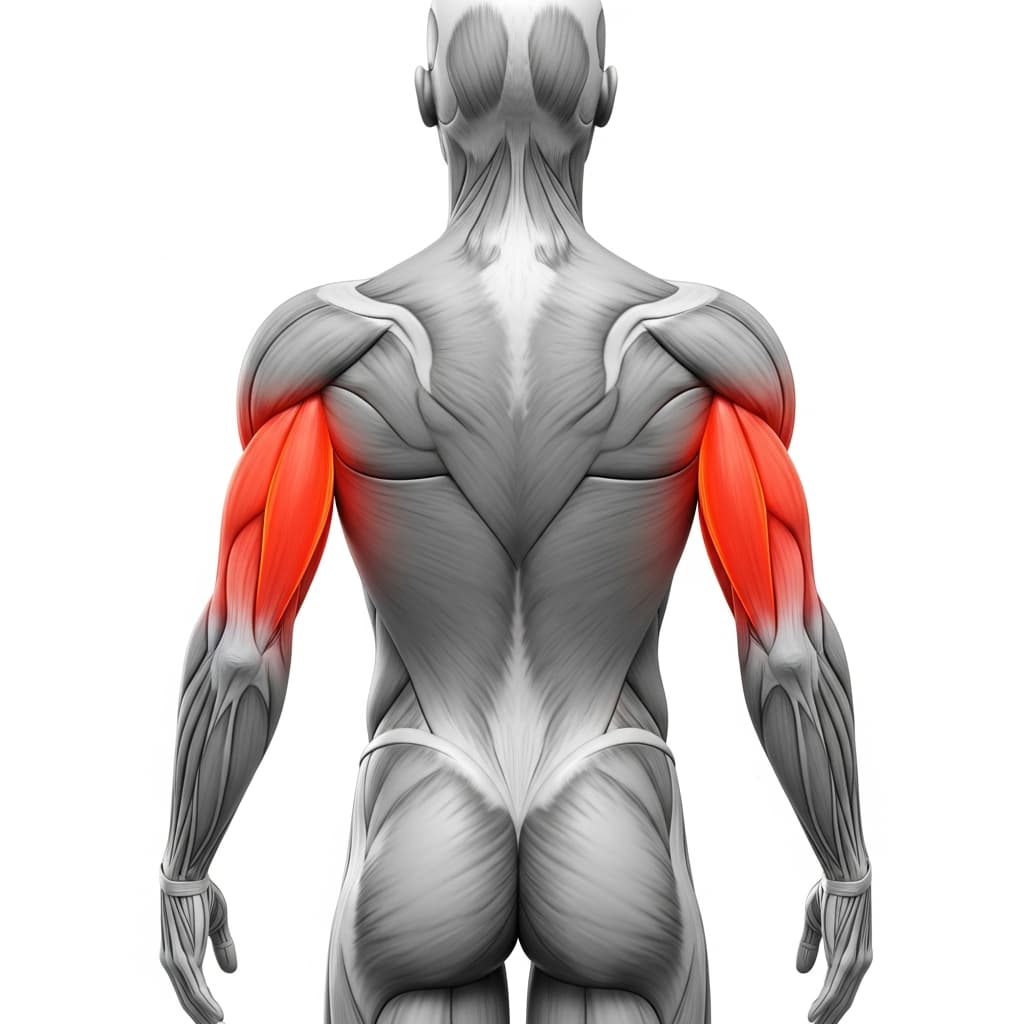
Triceps Brachii (Triceps) - The triceps lock the elbows in full extension to maintain straight-arm support on the parallettes.
Quadriceps (Quads) - The quadriceps contract to keep the knees fully extended and the legs straight during the hold.
Serratus Anterior (Serratus Anterior) - The serratus anterior protracts and stabilizes the scapulae against the ribcage while you press down through the parallettes.
Anterior Deltoid (Front Deltoid) - The front deltoids stabilize the shoulder joint in a depressed position and help transfer pressing force from the arms into the parallettes.
Benefits of Assisted L-sit Hold
- Builds hip flexor compression strength in the exact range of motion needed for the full L-sit and V-sit progressions
- Develops sustained shoulder depression endurance, which transfers directly to handstands, planches, and ring support holds
- Strengthens the deep abdominal muscles under isometric load, creating core stability that supports every calisthenics skill
- Allows you to practice correct L-sit body positioning and hip placement at reduced intensity so technique is locked in before going unassisted
Who Is This Exercise For?
You should be able to hold a tucked L-sit on parallettes for at least 10 seconds and perform active shoulder depression with locked arms before attempting the band-assisted version. If you cannot press your shoulders down while keeping your arms straight on the parallettes, work on scapular depression holds and supported knee raises first. Anyone who lacks the hamstring flexibility to straighten the legs at hip height is also not ready for this variation.
Common Mistakes to Avoid
Shoulders shrugging up toward the ears: Actively push the parallettes away from you throughout the entire hold. If you cannot maintain depression for the full set, reduce the hold time rather than letting the shoulders creep up.
Hips sitting in front of the hands: Shift your glutes slightly behind the line of your wrists before lifting. When hips drift forward, the hold becomes mechanically impossible to sustain and the core disengages.
Bending the knees during the hold: Use a thicker band that provides more assistance so you can keep the legs fully locked. A bent-knee hold trains a different movement pattern and will not transfer as effectively to the full L-sit.
Letting the band slide off the knees: Seat the band deep into the crease behind both knees before lowering to the floor. If the band keeps slipping, you may need a wider band or to adjust its anchor height so it pulls more vertically.
Holding breath throughout the set: Breathe in short, controlled cycles during the hold. Holding your breath spikes intra-abdominal pressure unpredictably and makes it harder to maintain a stable position.