Assisted 90 Dip Hold
The assisted 90 dip hold is an isometric pushing exercise performed on parallel bars with a resistance band supporting the knees, targeting the triceps, chest, and front deltoids at the most demanding point of the dip range of motion. By holding the bottom position with elbows bent to 90 degrees, you build the specific strength and joint stability needed to progress toward unassisted dips. This hold is one of the most effective ways to develop the pushing endurance and shoulder control required for full dip reps and eventually weighted or ring dips.

The assisted 90 dip hold is an isometric pushing exercise performed on parallel bars with a resistance band supporting the knees, targeting the triceps, chest, and front deltoids at the most demanding point of the dip range of motion. By holding the bottom position with elbows bent to 90 degrees, you build the specific strength and joint stability needed to progress toward unassisted dips. This hold is one of the most effective ways to develop the pushing endurance and shoulder control required for full dip reps and eventually weighted or ring dips.
How to Do Assisted 90 Dip Hold
1. Attach the Band to the Bars
Loop one end of a resistance band around one dip bar and stretch it across to the other bar, creating a horizontal support between the two. The band should hang low enough that you can place your knees on it once you mount the bars. Use a band thickness that removes enough load for you to hold the 90-degree position for at least 10 seconds.
Band secure on both bars first
2. Mount the Bars and Set Knees
Grip both bars firmly with your palms facing inward and your thumbs wrapped fully around each bar. Press yourself up to a full lockout support hold, then carefully place both knees onto the center of the resistance band. Keep your knees directly underneath your hips, not pushed forward.
Knees straight down, not forward
3. Set Your Shoulders and Core
Before lowering, actively depress your shoulder blades by pushing them down away from your ears. Brace your core, squeeze your glutes, and point your legs straight down. This full-body tension prevents your torso from collapsing forward and keeps the load distributed across the right muscles.
Shoulders down, core and glutes tight
4. Lower to 90 Degrees
Slowly bend your elbows and lower your body until your upper arms are parallel to the ground, creating a 90-degree angle at the elbow joint. Control the descent over 2 to 3 seconds. Do not drop into the bottom position, as this places excessive stress on the shoulder joint and removes the strength-building benefit of the lowering phase.
Slow and controlled to 90 degrees
5. Hold the 90-Degree Position
Once your elbows reach 90 degrees, stop and hold. Keep your torso upright with a slight forward lean, shoulders depressed, and elbows tracking alongside your body. Maintain full-body tension through your core, glutes, and legs for the entire duration of the hold. Breathe steadily and do not let your shoulders creep up toward your ears.
Hold tight, breathe steady
6. Press Back Up to Lockout
After holding for the prescribed time, press yourself back up to full arm extension in a controlled manner. Re-set your shoulder depression and core brace at the top before performing another rep or dismounting. If you cannot press back up cleanly, carefully step down and reset from the ground.
Full lockout at the top every time
Most people rush through this hold trying to accumulate time, but the quality of the position matters more than the duration. If your shoulders start shrugging or your body begins swinging, end the set immediately. Five seconds in a perfect 90-degree position with depressed shoulders and a braced core will build more usable dip strength than 20 seconds of shaking and sagging.
Muscles Worked During Assisted 90 Dip Hold

Secondary Muscles:
Primary Muscles
Triceps Brachii (Triceps) - The triceps resist elbow extension under load, holding the upper arm at 90 degrees and preventing the body from sinking further during the isometric hold.
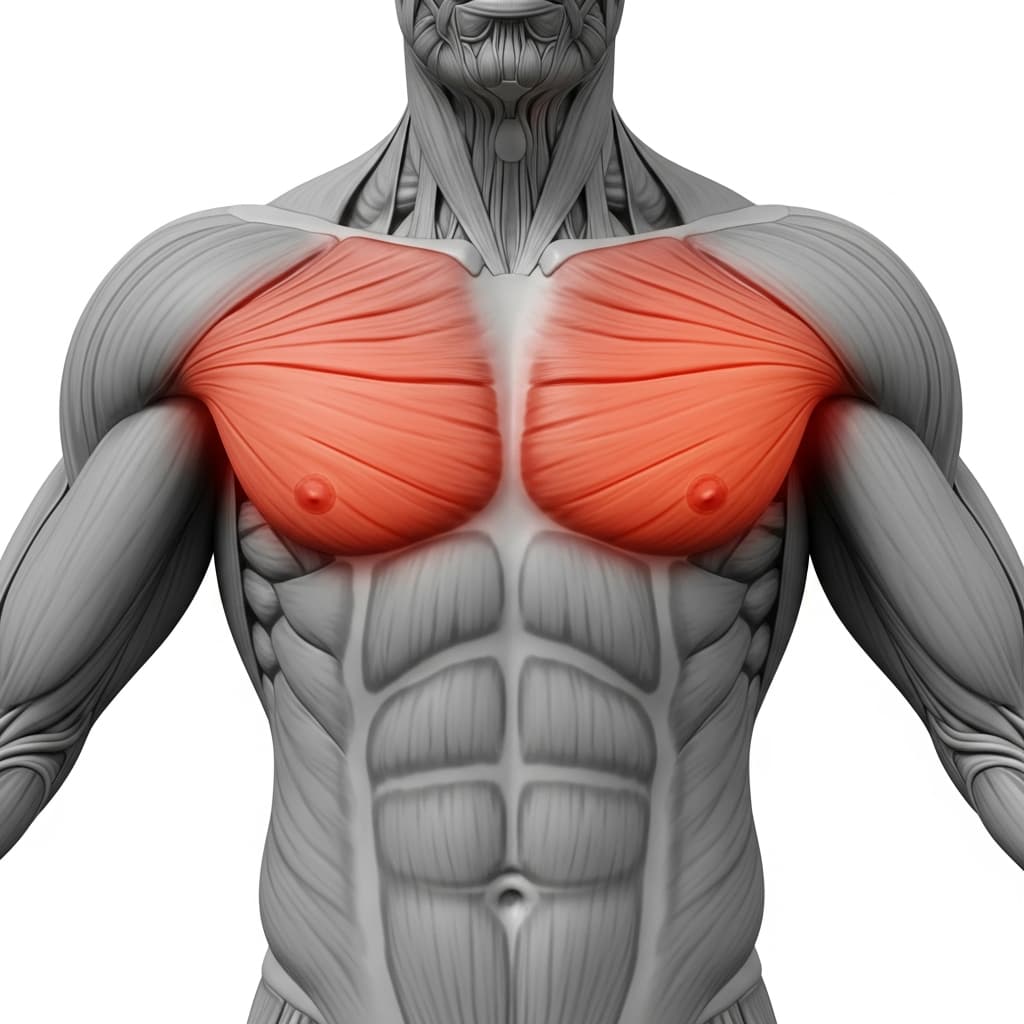
Pectoralis Major (Chest) - The chest muscles work isometrically to stabilize the shoulder joint and resist horizontal adduction of the upper arm at the bottom of the dip position.
Secondary Muscles
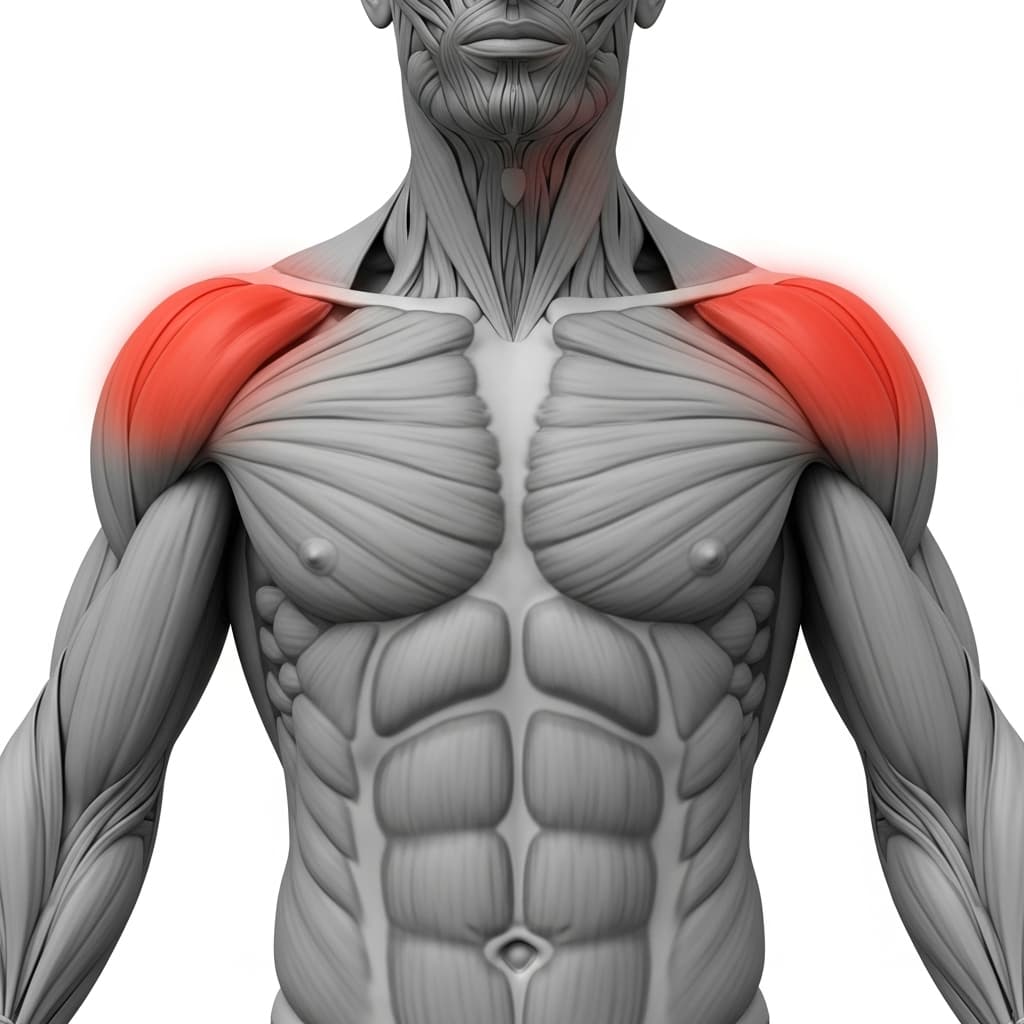
Anterior Deltoid (Front Deltoid) - The front deltoids assist in stabilizing the shoulder under load and support the pressing position by resisting downward force on the upper arm.
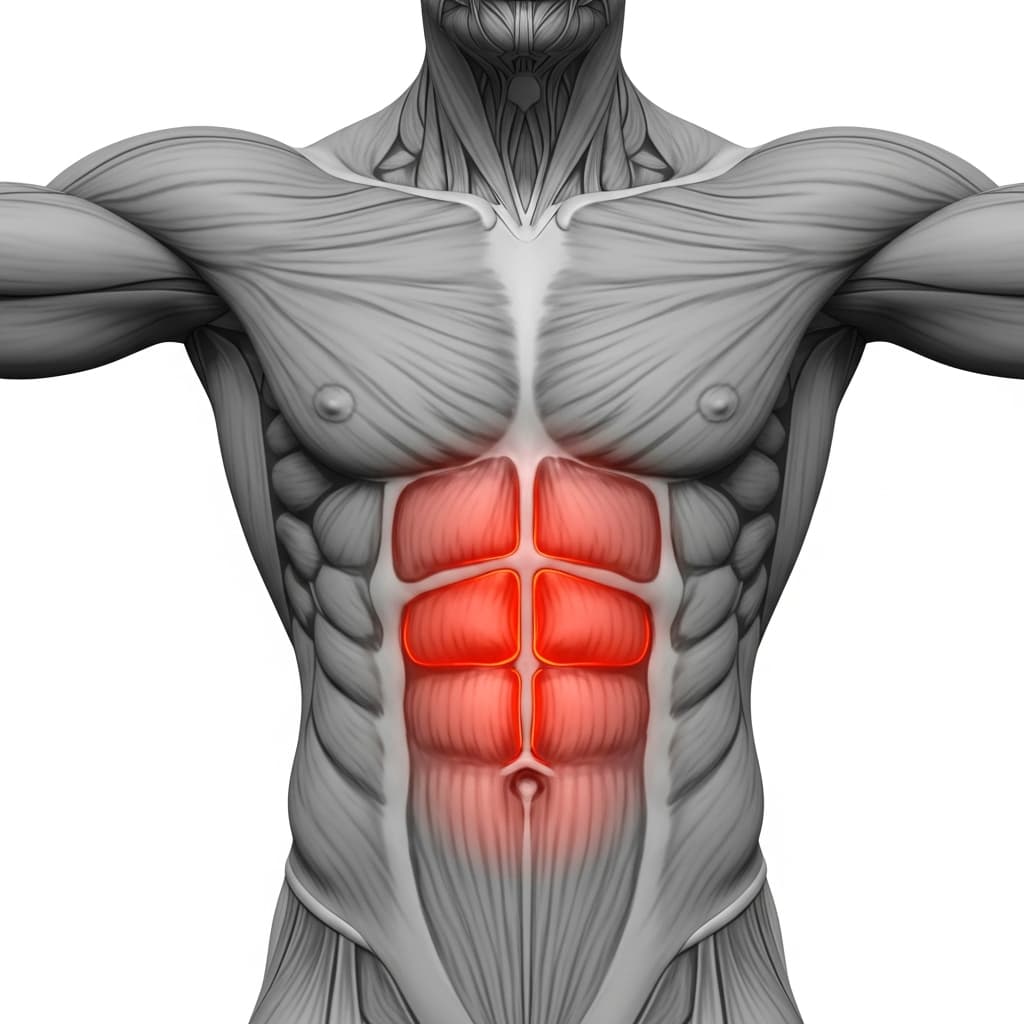
Rectus Abdominis (Abs) - The abs maintain trunk rigidity and prevent the torso from swinging or collapsing forward during the hold.
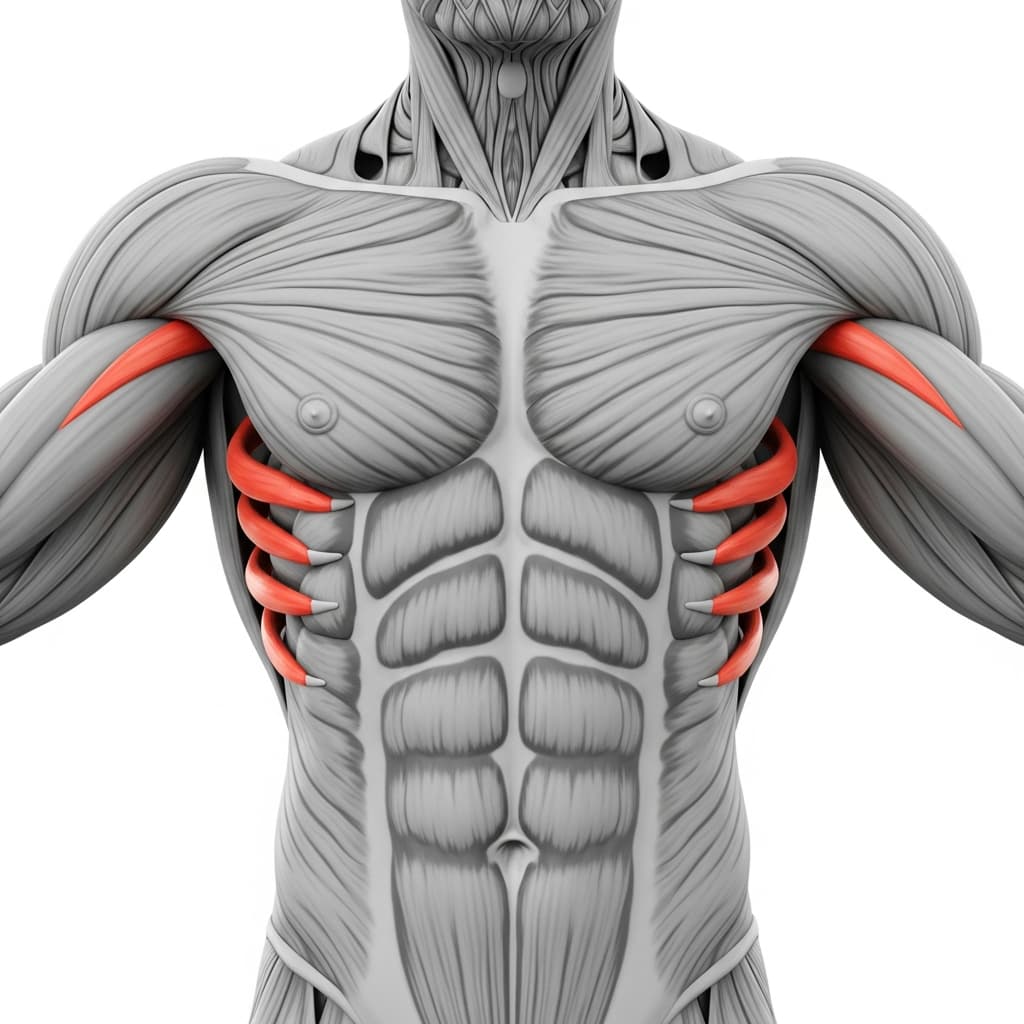
Serratus Anterior (Serratus Anterior) - The serratus anterior protracts and stabilizes the scapula against the ribcage, keeping the shoulder blades properly positioned while pressing on the bars.
Trapezius (Trapezius) - The lower traps work to depress the scapulae, keeping the shoulders pulled down away from the ears throughout the isometric hold.
Benefits of Assisted 90 Dip Hold
- Builds isometric pushing strength at the weakest point of the dip, which is the exact range of motion where most beginners fail
- Develops shoulder stability and scapular depression control under load, protecting the joint for all future pressing movements
- Strengthens the triceps and chest through sustained time under tension, which transfers directly to full dip reps and dip variations
- Allows progressive overload by switching to lighter bands over time, creating a clear path from assisted holds to bodyweight dips
Who Is This Exercise For?
You should be able to hold a fully locked-out support hold on dip bars for at least 15 seconds with stable shoulders before attempting this exercise. Practicing scapular depression in the top support position and performing band-assisted dip negatives are the best preparation steps. If your shoulders round forward or your elbows flare out immediately when you lower into a dip, you are not ready for this hold yet.
Common Mistakes to Avoid
Letting the knees drift forward: Keep your knees pointing straight down underneath your hips throughout the entire hold. When the knees push forward, your body tilts and the load shifts away from the triceps and chest onto the shoulders in an unstable position.
Shoulders shrugging up toward the ears: Actively depress your shoulder blades before lowering and maintain that depression throughout the hold. Shrugged shoulders compress the joint and reduce the engagement of the chest and triceps.
Dropping into the bottom position: Lower yourself slowly over 2 to 3 seconds instead of falling into 90 degrees. A controlled descent builds eccentric strength and protects the shoulder from the sudden load spike that comes with dropping.
Excessive forward lean: A slight forward lean is natural, but leaning too far forward shifts the load entirely to the chest and front deltoids while placing the shoulder in a compromised position. Keep your torso close to vertical with just enough lean to stay balanced.
Holding breath during the isometric: Breathe in a controlled rhythm throughout the hold. Holding your breath spikes blood pressure and causes you to fatigue faster, cutting your hold time short.
Variations & Progressions

Unassisted 90-Degree Dip Hold
Perform the same 90-degree hold without a resistance band, supporting your full bodyweight. This requires significantly more tricep and shoulder strength and is the direct progression from the assisted version.