Assisted 90 Degree Pull Up Hold
The assisted 90 degree pull-up hold is an isometric pulling exercise performed with a resistance band that targets the lats, biceps, and upper back by holding the midpoint of a pull-up with elbows bent at 90 degrees. The band reduces bodyweight load so you can focus on scapular retraction, full body tension, and correct elbow positioning without fatiguing too quickly. This hold builds the positional strength and muscle endurance needed to progress toward unassisted pull-up holds and longer time-under-tension pulling work.
The assisted 90 degree pull-up hold is an isometric pulling exercise performed with a resistance band that targets the lats, biceps, and upper back by holding the midpoint of a pull-up with elbows bent at 90 degrees. The band reduces bodyweight load so you can focus on scapular retraction, full body tension, and correct elbow positioning without fatiguing too quickly. This hold builds the positional strength and muscle endurance needed to progress toward unassisted pull-up holds and longer time-under-tension pulling work.
How to Do Assisted 90 Degree Pull Up Hold
1. Attach the Band and Step In
Loop a resistance band over the top of the pull-up bar so it hangs straight down. Step both feet into the bottom of the band. The band should be taut enough to provide meaningful assistance but not so strong that holding the position feels effortless.
Band under both feet, not one
2. Set Your Grip on the Bar
Grab the bar with a grip slightly wider than shoulder width, palms facing away from you. Wrap your thumbs fully around the bar so your knuckles sit on top. This overhand grip keeps the wrists stable and ensures the lats stay in a strong pulling position throughout the hold.
Thumbs around, knuckles over the bar
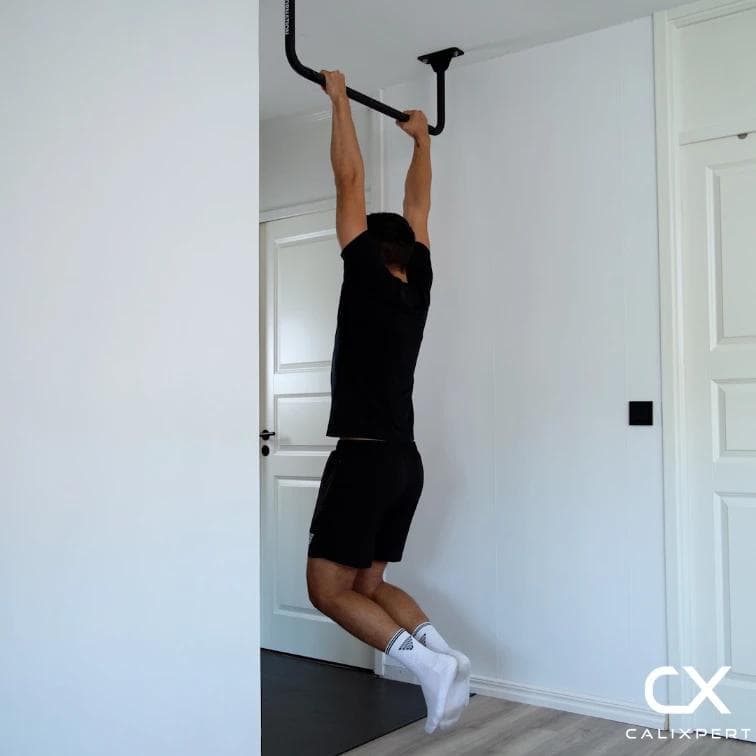
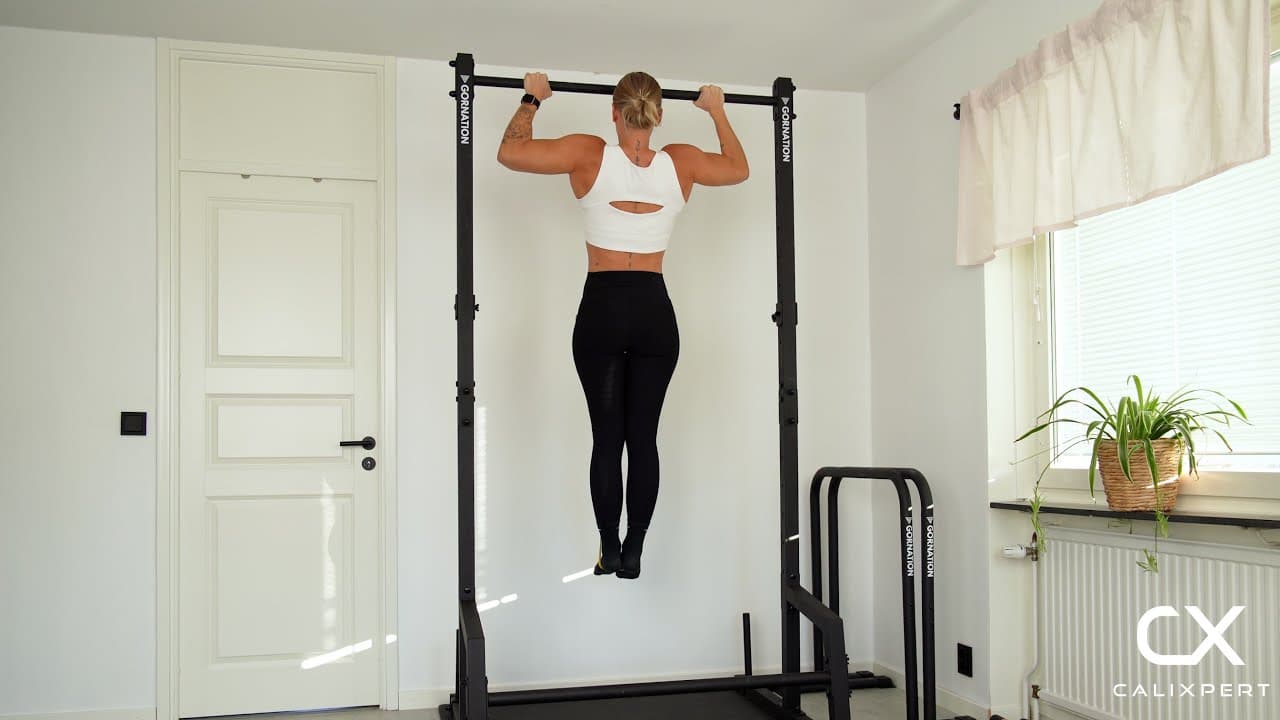
3. Pull Up to the 90 Degree Position
Engage full body tension by squeezing your glutes and bracing your abs. Pull yourself up until your elbows are bent at approximately 90 degrees. Use the band assistance to help you reach this position in a controlled manner rather than jumping or kipping into it.
Full body tight before you pull
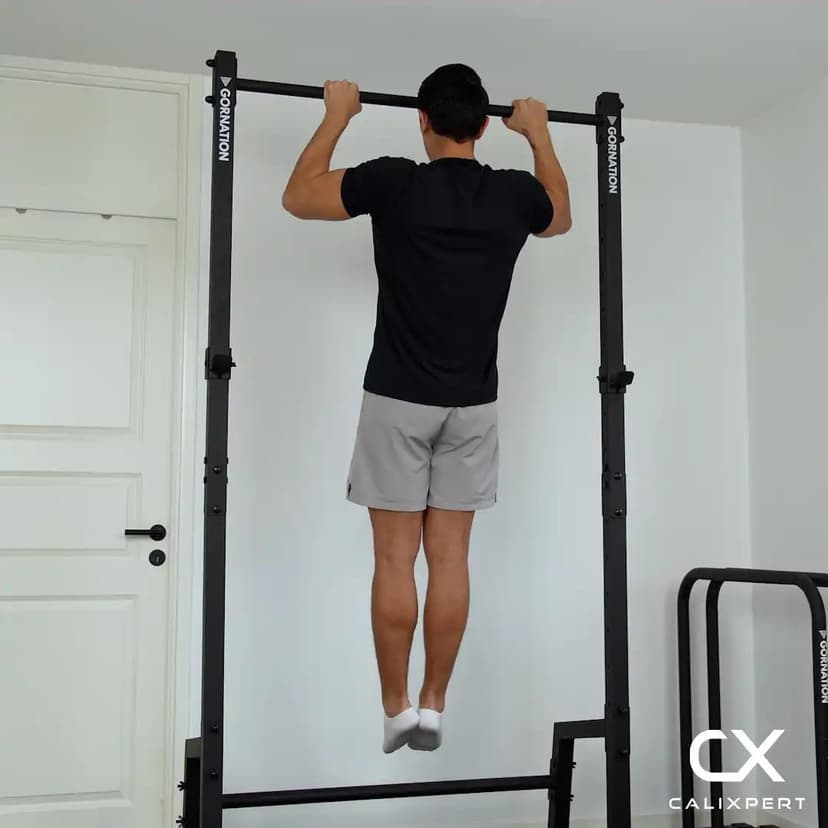
4. Set Your Shoulder Blades
Once you reach the 90 degree position, actively squeeze your shoulder blades together and pull them down. This scapular retraction is what keeps the load in your lats and upper back instead of dumping it into your biceps and forearms. Your chest should feel slightly lifted toward the bar.
Shoulder blades squeezed and down
5. Position Your Elbows Out and Back
Drive your elbows outward and slightly behind you rather than letting them drift forward in front of your torso. When the elbows point forward, the biceps take over and the lats disengage. Maintaining this outward-and-back elbow position is the single most important cue for this hold.
Elbows out and back, never forward
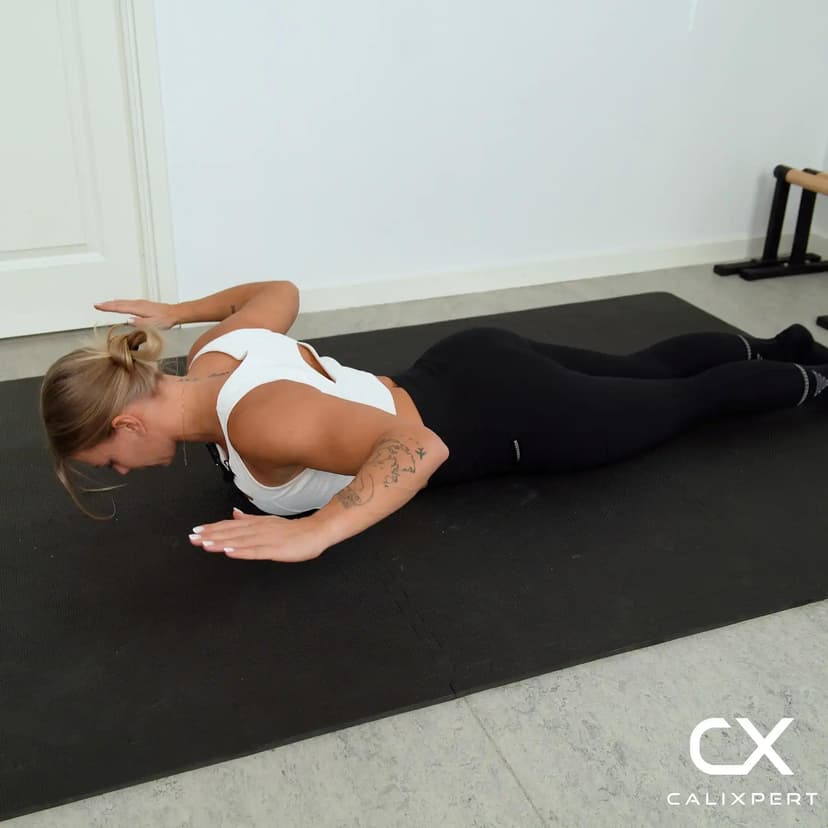
6. Hold and Breathe Under Tension
Maintain the 90 degree position for the prescribed time, breathing steadily through the hold. Keep your core braced and avoid swinging or shifting your weight. When you can no longer maintain proper scapular retraction or your elbows begin drifting forward, end the set and lower yourself under control.
Breathe steady, hold position tight
Most people rush to accumulate seconds and let their form fall apart halfway through the hold. A clean 10-second hold with shoulder blades locked down and elbows driven back is worth more than a sloppy 25 seconds of hanging in the wrong position. Film yourself from behind and check that your elbows stay out and back for the entire duration.
Muscles Worked During Assisted 90 Degree Pull Up Hold
Secondary Muscles:
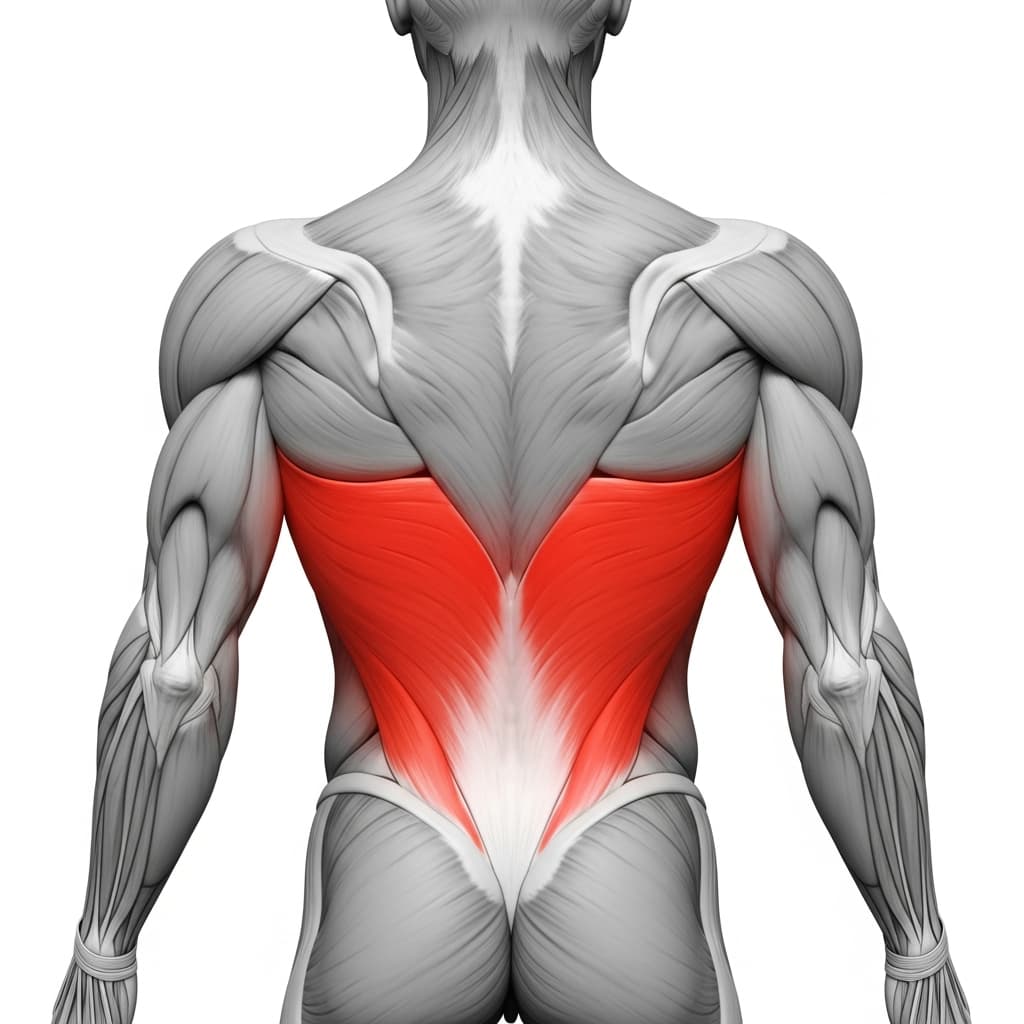
Primary Muscles
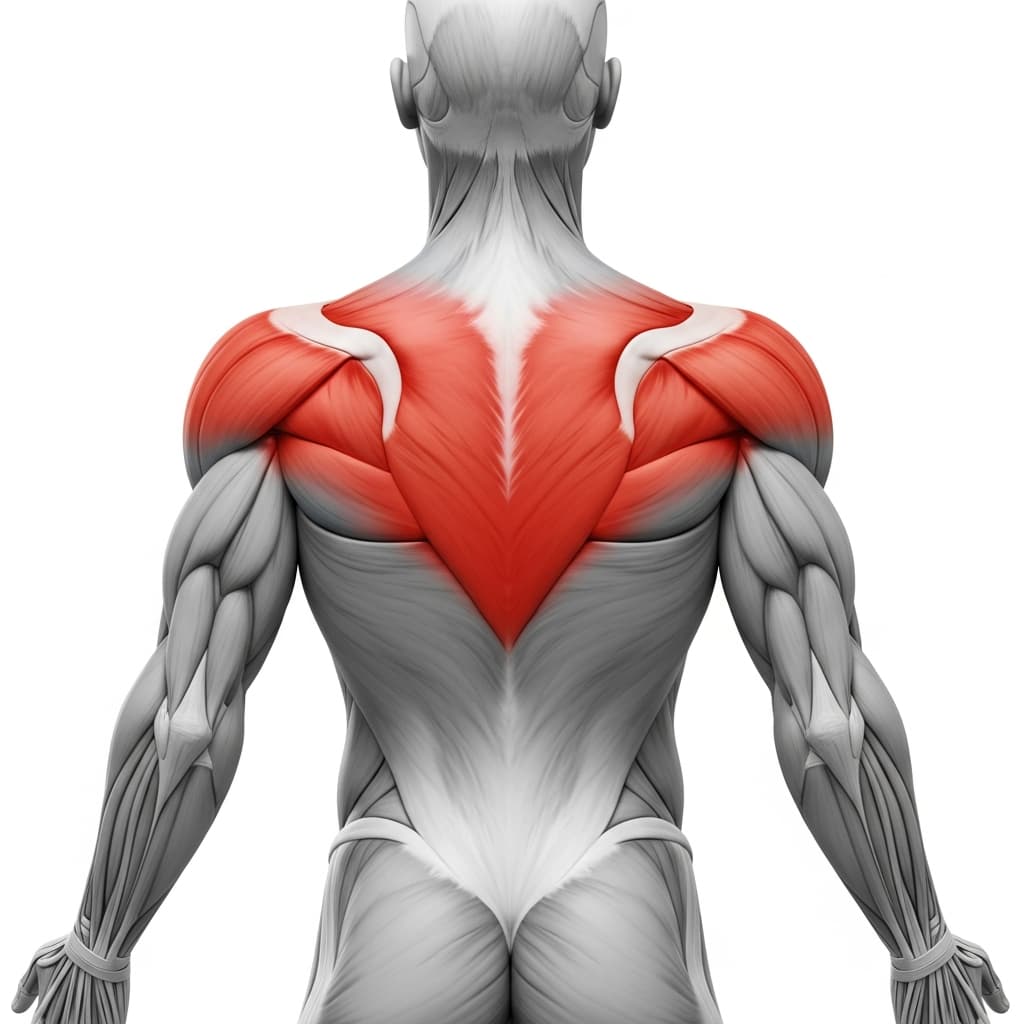
Latissimus Dorsi (Lats) - The lats work isometrically to hold the upper arms in the pulled-down, externally rotated position and prevent the body from descending during the hold.
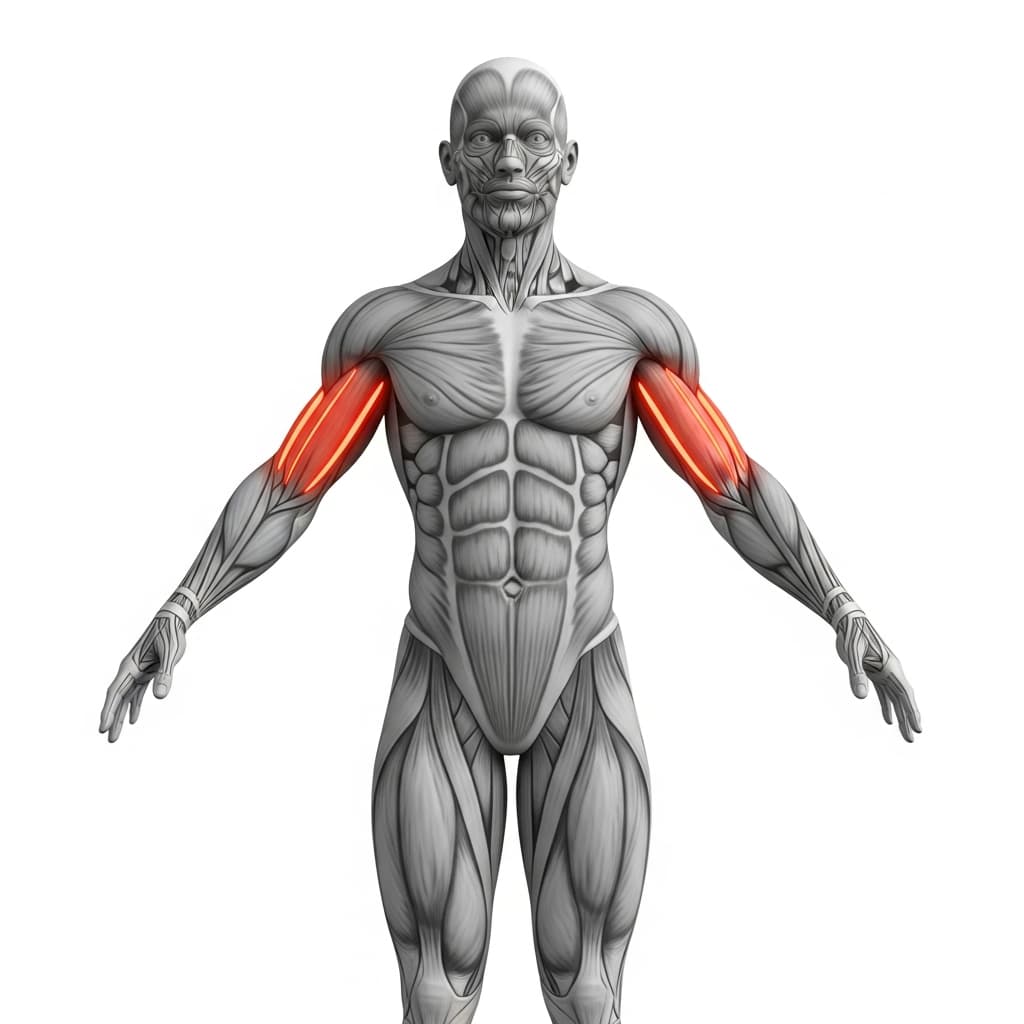
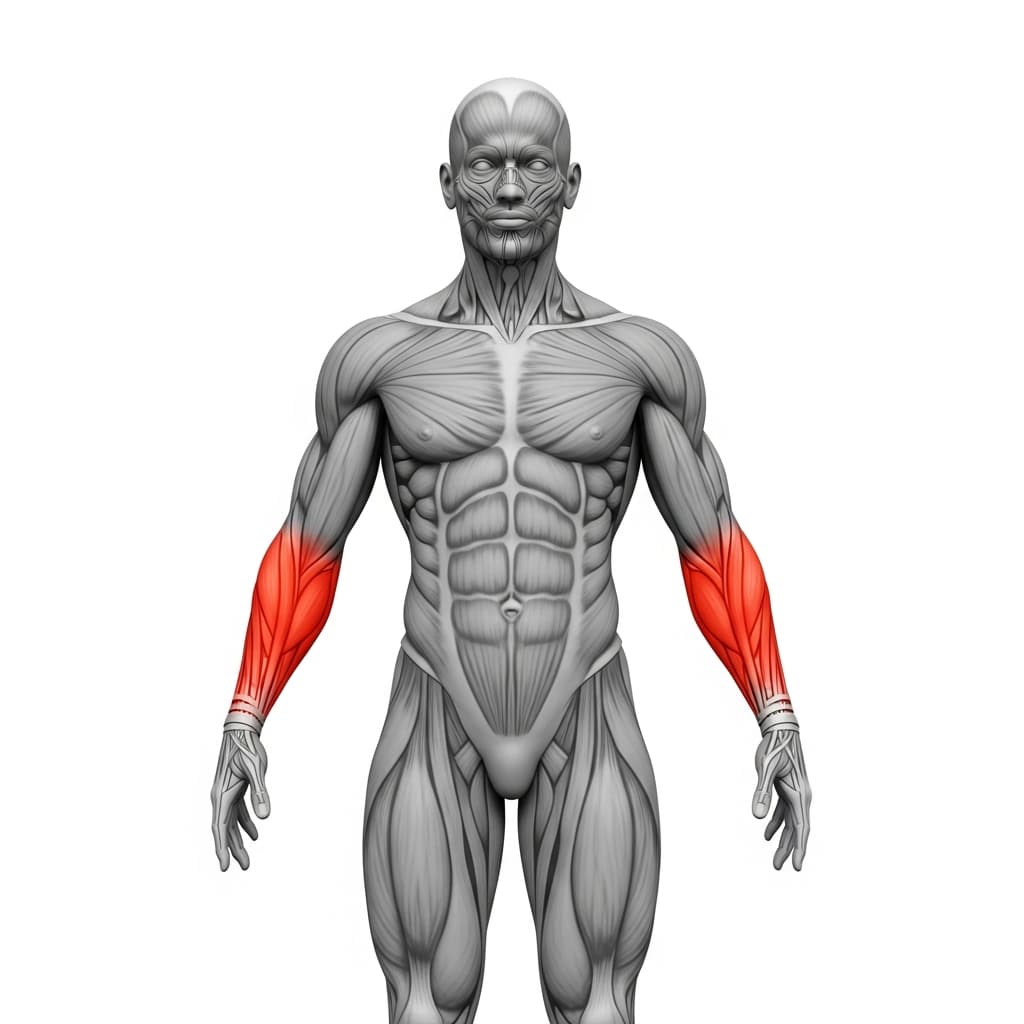
Biceps Brachii (Biceps) - The biceps maintain the 90 degree elbow flexion under load throughout the entire hold duration.
Secondary Muscles
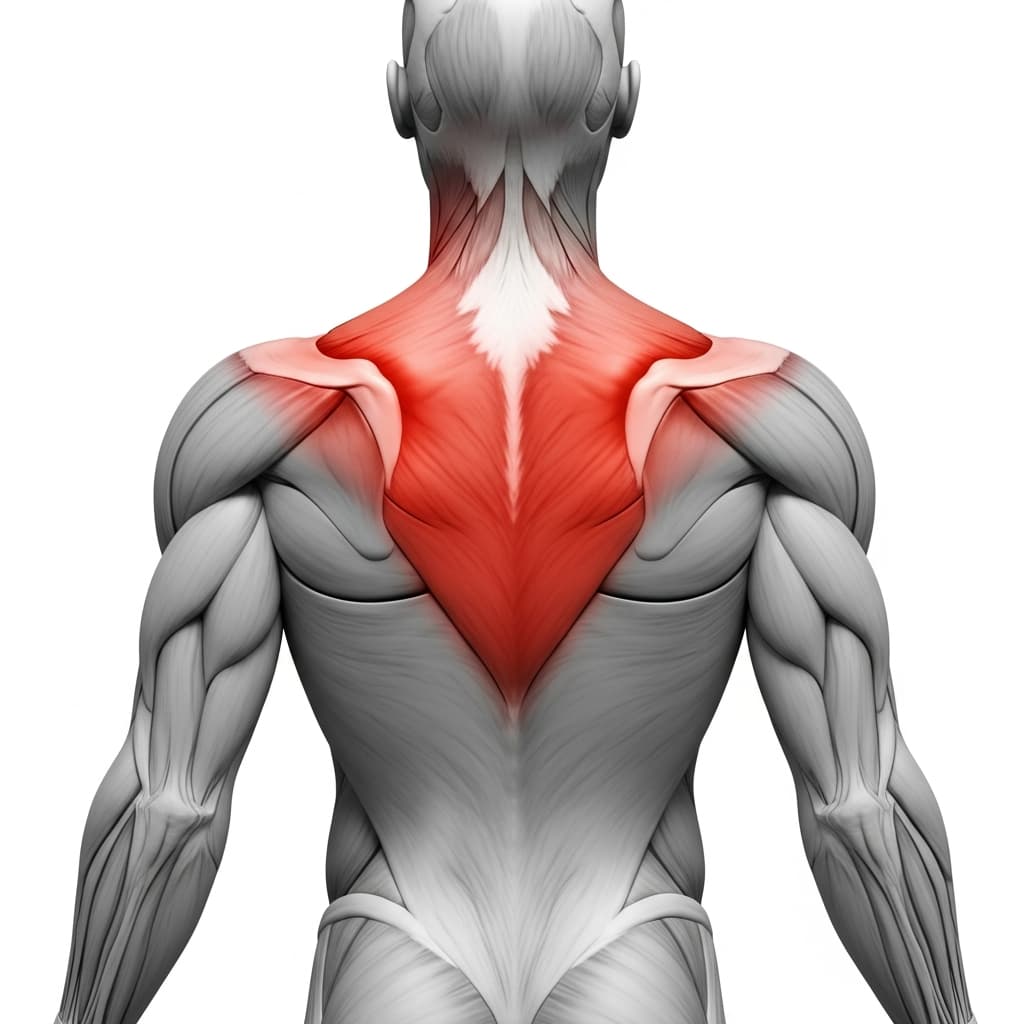
Rhomboids & Upper Trapezius (Upper Back) - The rhomboids and mid-trapezius fibers retract the scapulae together, keeping the shoulder blades squeezed and the chest lifted toward the bar.
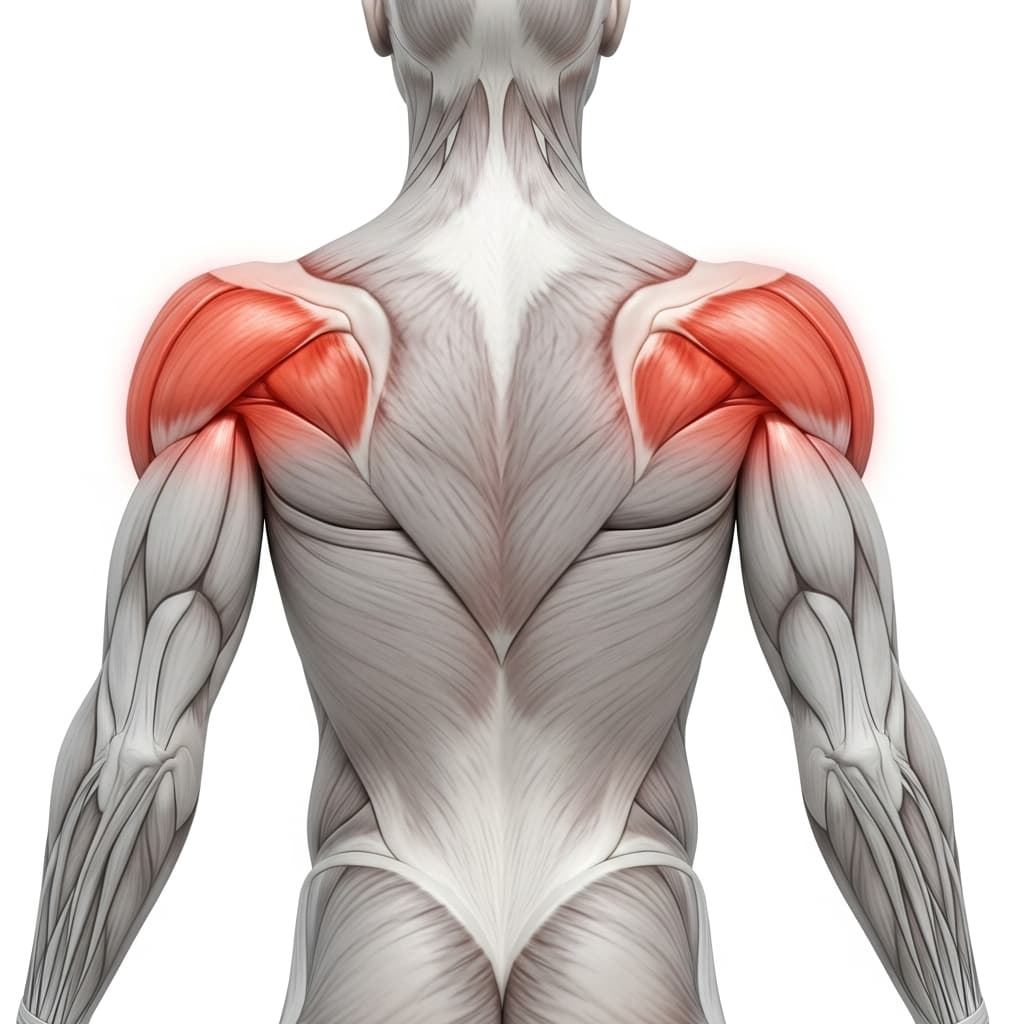
Posterior Deltoid (Rear Deltoid) - The rear deltoids assist in holding the elbows in the outward-and-back position, preventing them from drifting forward.
Trapezius (Trapezius) - The lower traps depress the shoulder blades downward, counteracting the tendency to shrug during the hold.
Forearm Flexors & Extensors (Forearms) - The forearm flexors maintain grip on the bar under sustained isometric load for the entire hold duration.
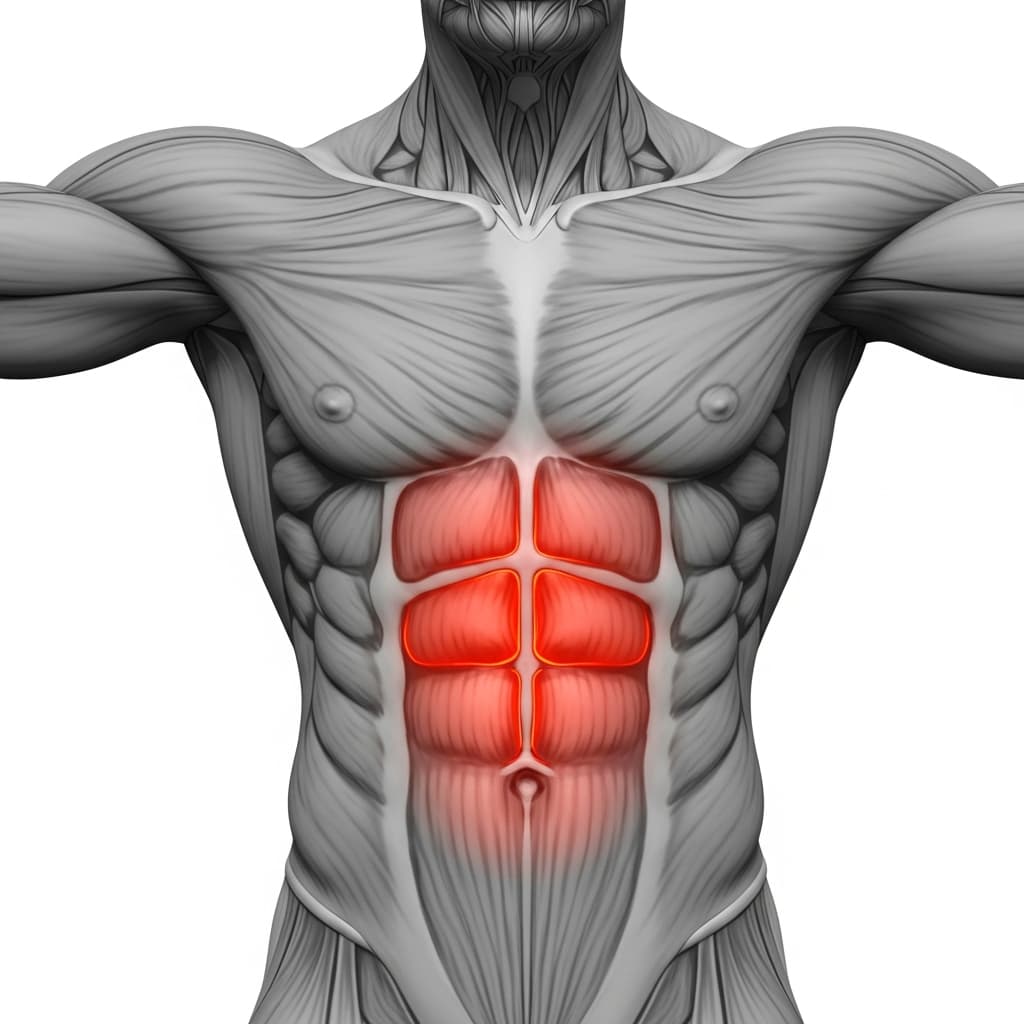
Rectus Abdominis (Abs) - The abdominals brace the torso and prevent swinging or arching, keeping the body stable and aligned during the hold.
Benefits of Assisted 90 Degree Pull Up Hold
- Builds isometric pulling strength at the mid-range of the pull-up, the exact position where most beginners fail during full reps
- Teaches correct scapular retraction and elbow positioning under reduced load, creating motor patterns that transfer directly to unassisted pull-ups
- Develops grip endurance and forearm strength through sustained time under tension on the bar
- Strengthens the lats and upper back in a lengthened-to-mid-range position that carries over to muscle-ups and front lever progressions
Who Is This Exercise For?
You should be able to hold a dead hang for at least 15 seconds and perform 3 to 5 band-assisted pull-ups with controlled form before attempting this hold. Scapular pull-ups with a band should feel comfortable, meaning you can depress and retract your shoulder blades on command. If you cannot maintain a stable grip on the bar for more than 10 seconds, work on dead hangs and grip endurance first.
Common Mistakes to Avoid
Letting elbows drift forward: Actively drive your elbows outward and behind you throughout the entire hold. If they creep forward, the lats lose tension and the biceps take over, reducing the training effect on the back.
Shrugging the shoulders up: Depress your shoulder blades down and away from your ears before holding the position. If your shoulders start creeping up during the hold, reset by consciously pulling them back down.
Losing full body tension: Squeeze your glutes and brace your abs throughout the hold to prevent swinging and energy leaks. A loose lower body makes the hold significantly harder on the arms and shoulders.
Using a band that is too strong: The band should make the hold challenging but achievable for 10 to 20 seconds, not effortless. If you can hold the position for 30 seconds or more without difficulty, switch to a thinner band.
Holding at the wrong angle: Your elbows should be at a true 90 degree bend, not slightly above or significantly below. Holding too high turns it into a top hold, and holding too low shifts the demand away from the target position.