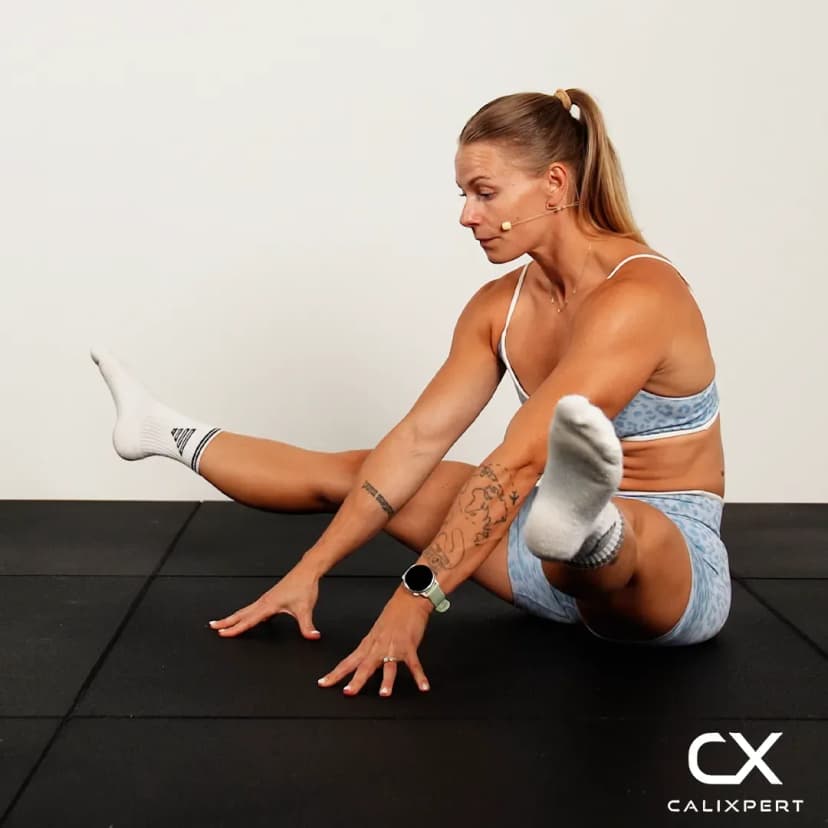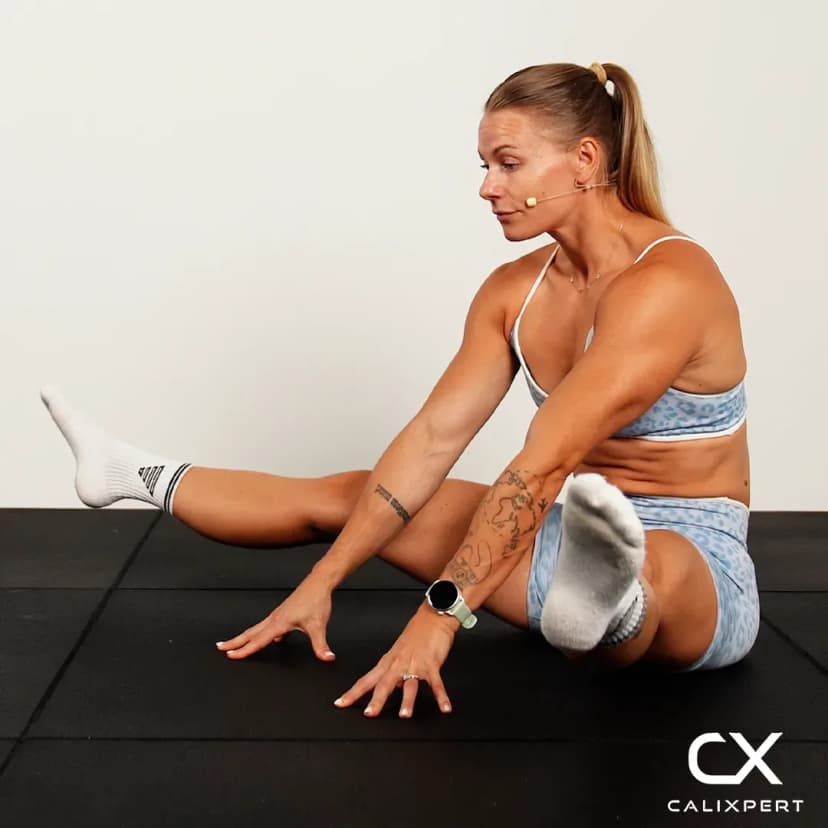
Floor Assisted Tuck Planche
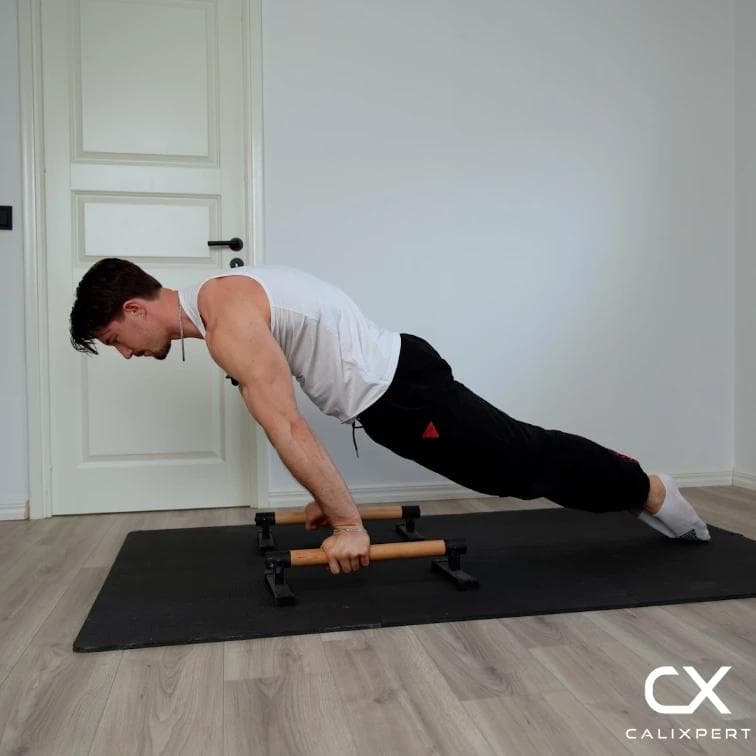
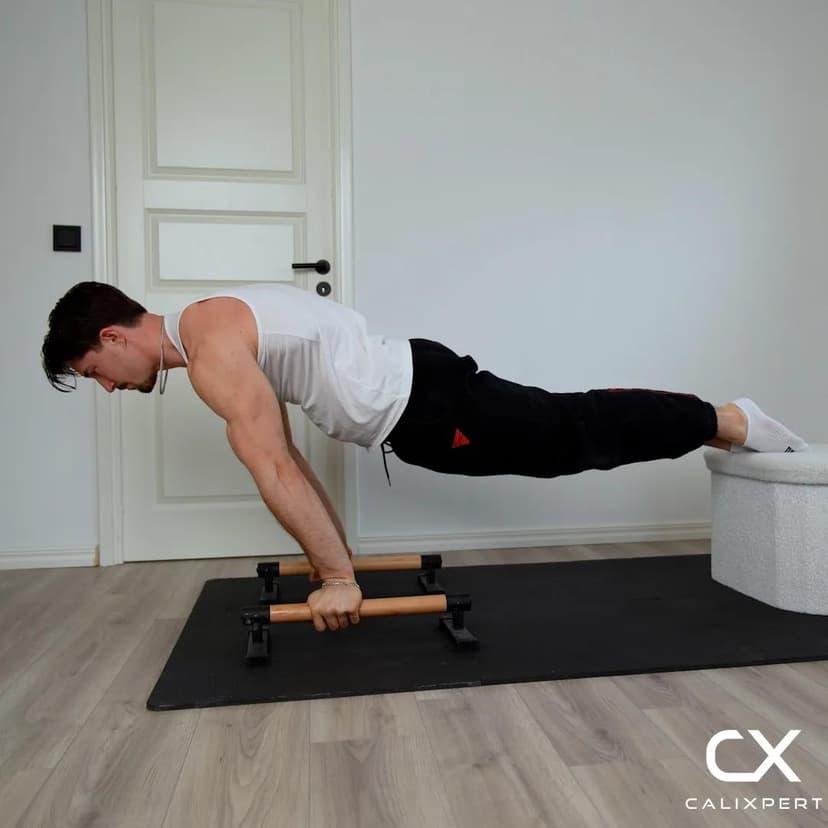
The floor assisted tuck planche is the tuck planche with a way out. Your arms stay locked and your shoulders stay protracted, exactly as they will in the real thing, but the backs of your feet stay down behind you and give you a little bit of help, and you decide how much. That makes the load easy to adjust, because you choose how light the feet get from one second to the next. It also keeps you in the position long enough to feel where the balance point sits.
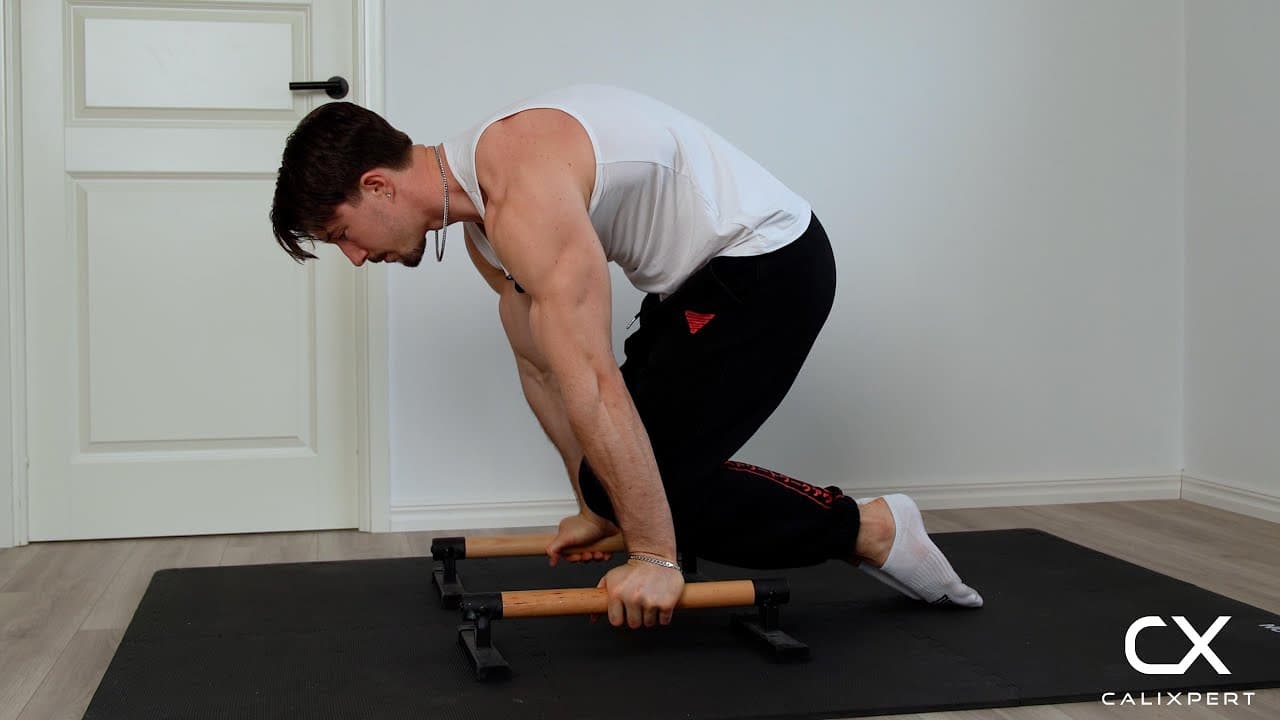
The floor assisted tuck planche is the tuck planche with a way out. Your arms stay locked and your shoulders stay protracted, exactly as they will in the real thing, but the backs of your feet stay down behind you and give you a little bit of help, and you decide how much. That makes the load easy to adjust, because you choose how light the feet get from one second to the next. It also keeps you in the position long enough to feel where the balance point sits.
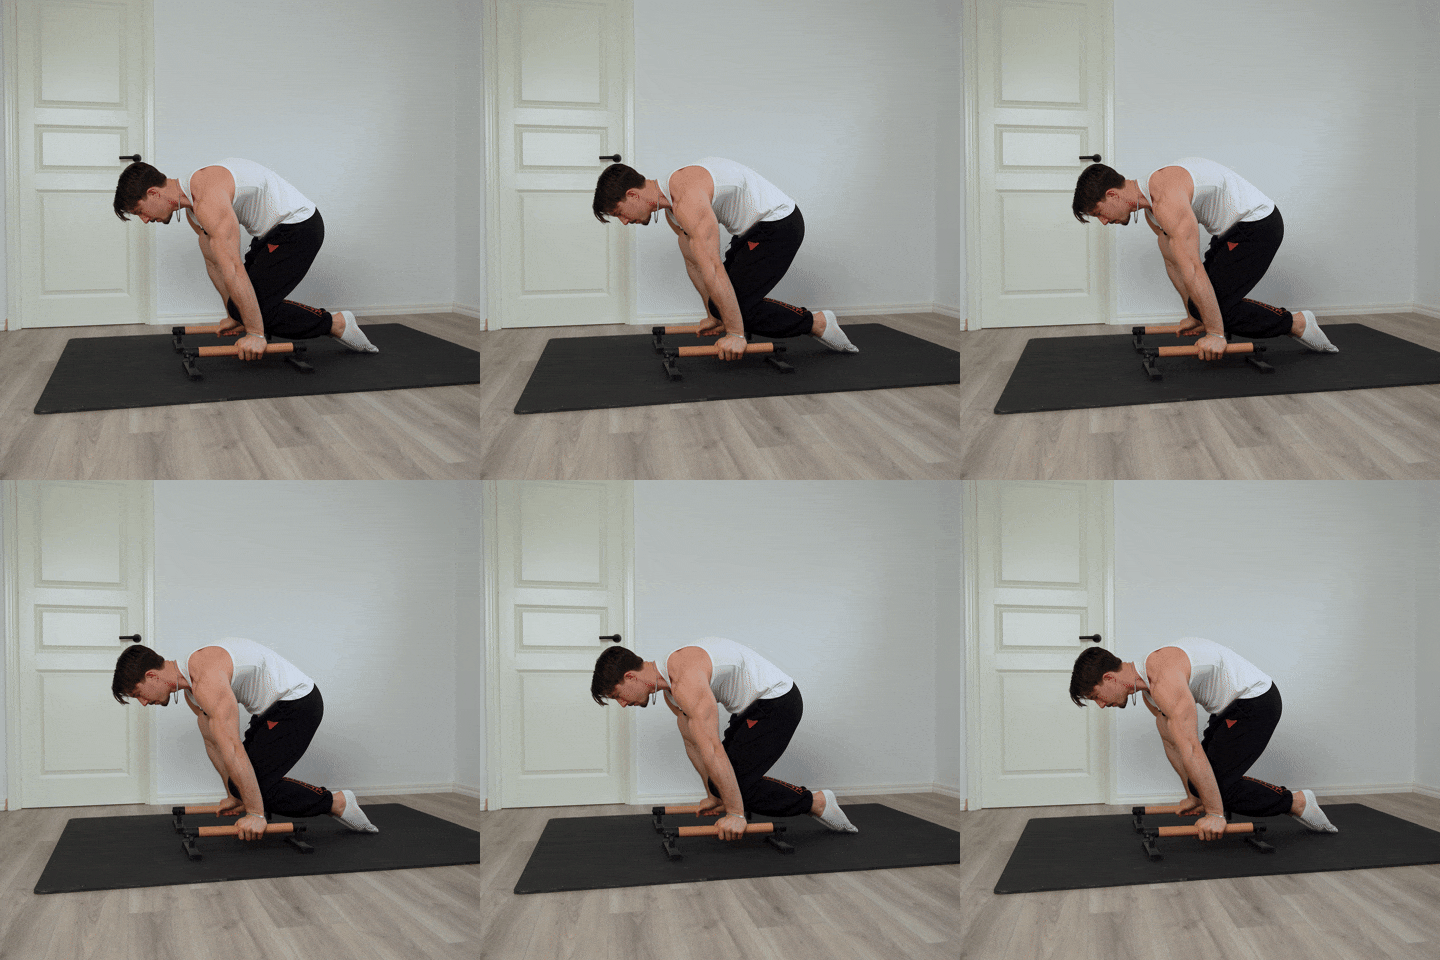
How to Do Floor Assisted Tuck Planche
1. Set Up Over The Bars
Kneel behind a pair of low parallettes and take a firm grip with your hands roughly under your shoulders. You can perform this on the floor instead, so use whichever your wrists are happier with. Parallettes only change how far your wrist has to bend back, they do not change the exercise.
Hands under your shoulders
2. Lock Your Arms
Straighten your elbows completely and keep them locked from the first second to the last. This is a straight arm exercise, and the moment the elbows soften it turns into a push up hold instead. Build the lockout in a planche lean first if your arms will not stay straight under load.
Elbows straight before you lift
3. Protract Your Shoulders
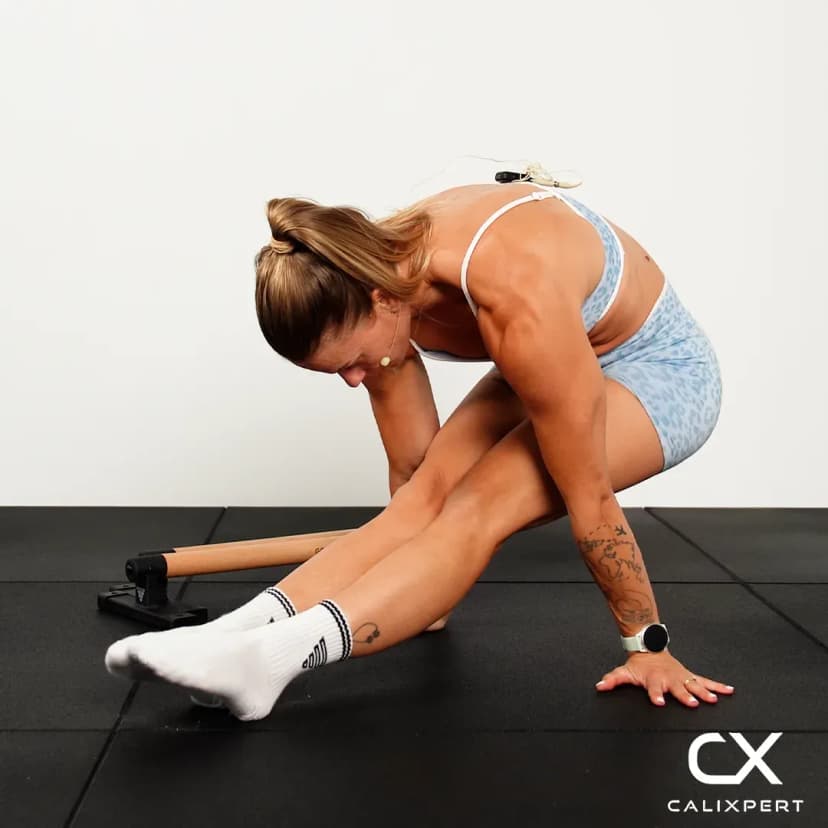
Push your shoulders forward and downwards, away from your spine, so your upper back rounds slightly and your shoulder blades wrap around your ribs. That is protraction, and it is the planche shoulder position. Set it before you take any weight off your feet, not after.
Push them forward and downwards
4. Turn The Backs Of Your Feet Down
Point your toes and rest the tops of your feet on the floor behind you. Use the back of the foot rather than the toes, because it lets you feed weight on and off smoothly instead of gripping. This contact is the assistance, and it is the part you will remove over the coming weeks.
Back of the foot, not the toes
5. Lean And Lift The Hips
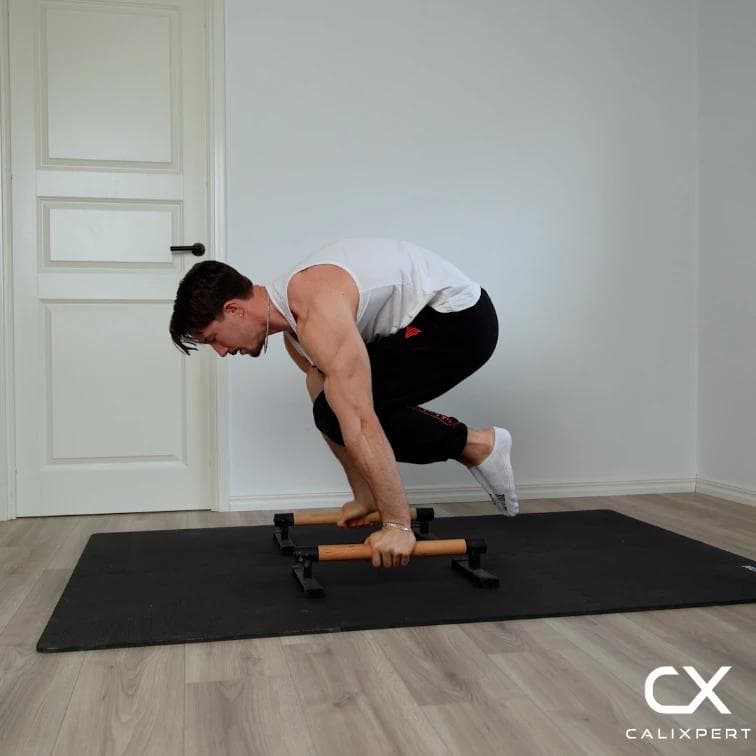
Lean forward until your shoulders are clearly in front of your hands, then lift your hips off the floor and keep your knees bent underneath them, with the tops of your feet still trailing on the mat behind you. The further forward you lean, the more of you your shoulders have to hold. Lean is the load here, so add it in small amounts.
Shoulders travel past your hands
6. Take Weight Off The Feet
Press harder through your hands and let your feet get lighter until they are only resting on the mat. You should be able to feel exactly how much they are still giving you, which is the point of this version. Over the weeks work toward the feet barely brushing the mat.
Feet get lighter, not gone
7. Hold, Then Set Down Under Control
Hold for as long as your arms stay locked and your shoulders stay forward, then put your weight back onto your feet and come out of it. End the set the moment the elbows bend or the shoulders slide back, because holding a broken shape only trains the broken shape. Rest properly between attempts so every hold is a fresh one.
Only count the good seconds
The main idea is to keep your arms fully locked and your shoulders protracted, which is pushing them forward and downwards, and then use your feet to get a little bit of help to enter the position. Use the back of the foot, not the toes. You can perform this one either on the floor or on a set of parallettes, whichever suits your wrists. Locked arms, protraction, lift up, and some support from the feet.
Muscles Worked During Floor Assisted Tuck Planche
Primary Muscles:
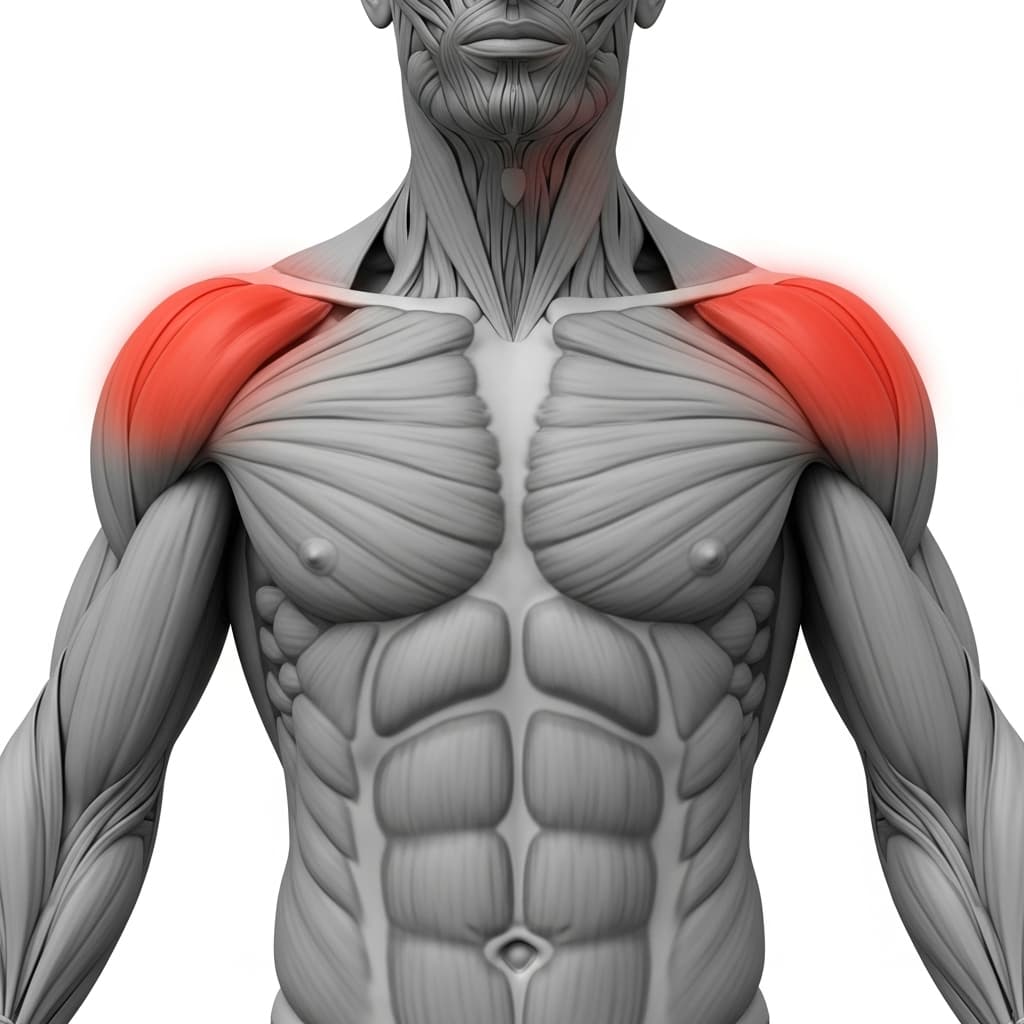
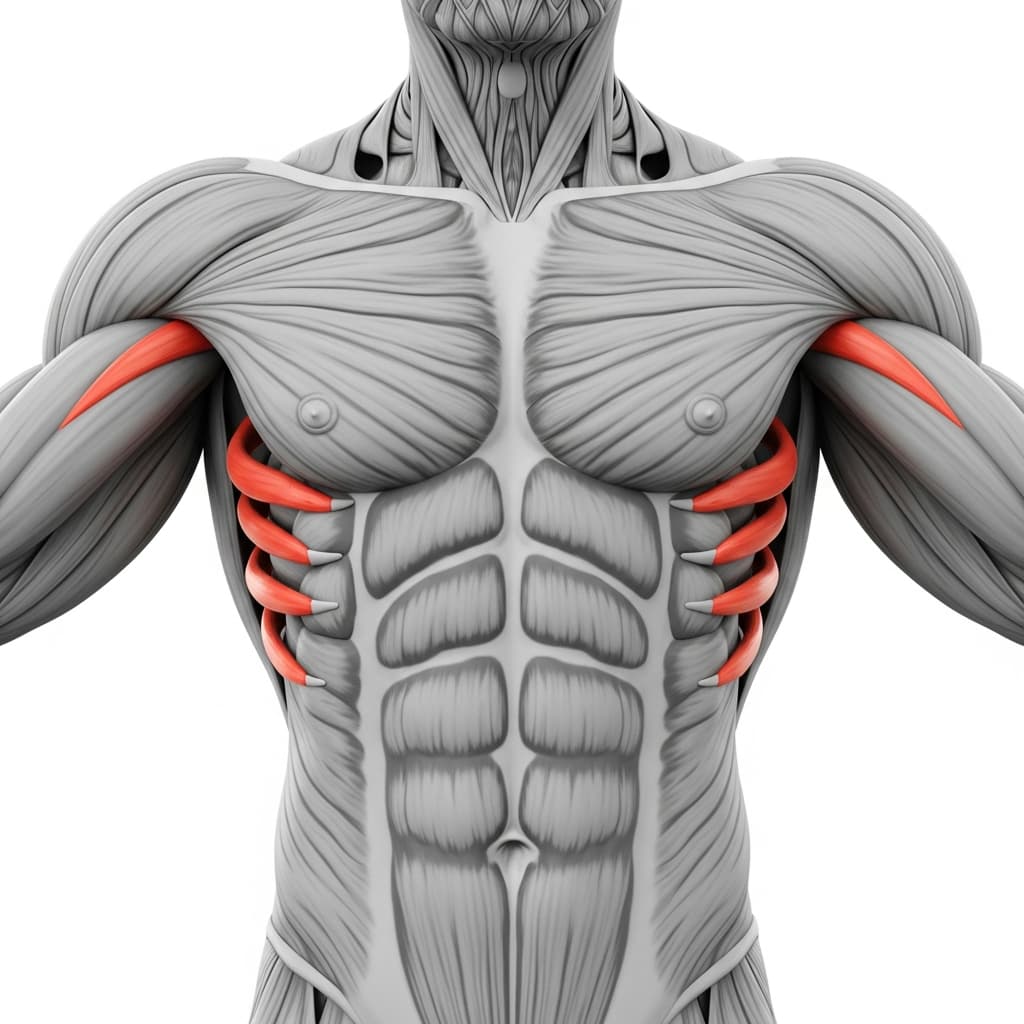
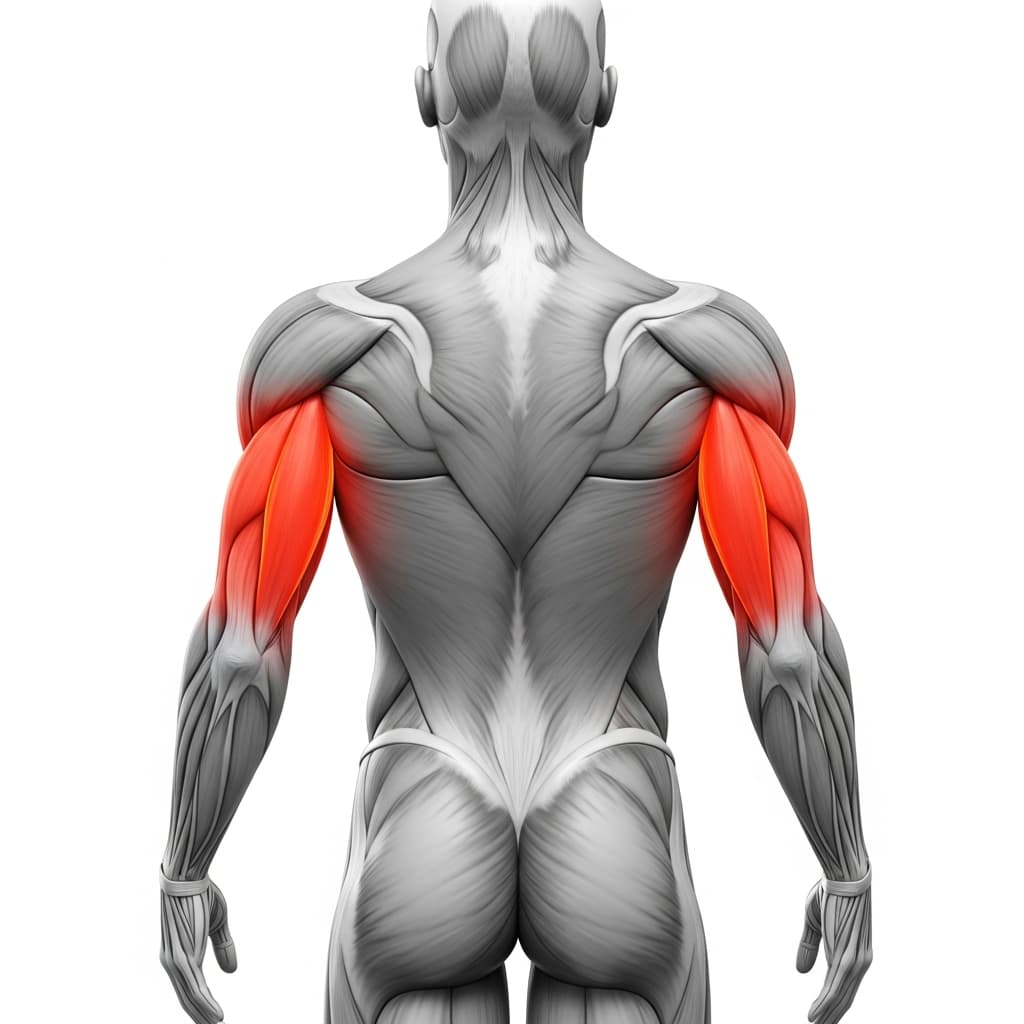
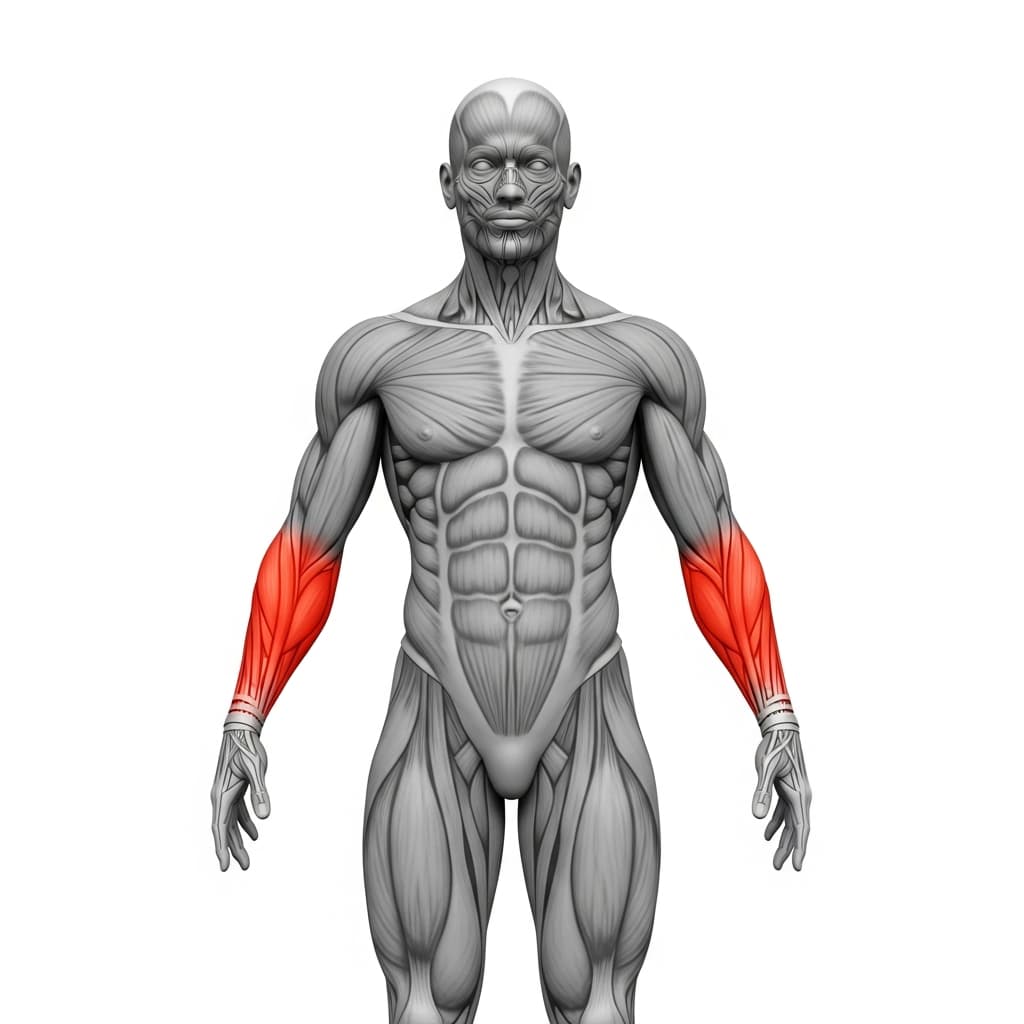
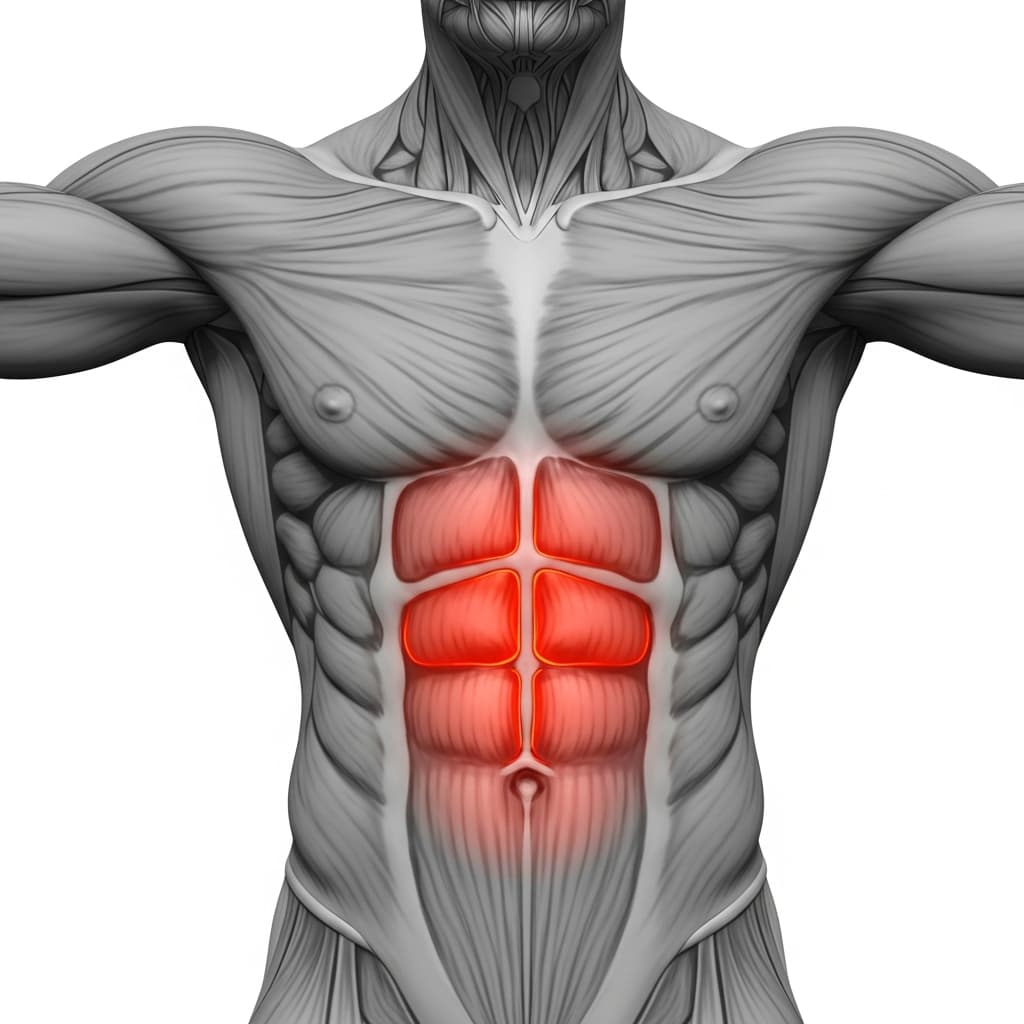
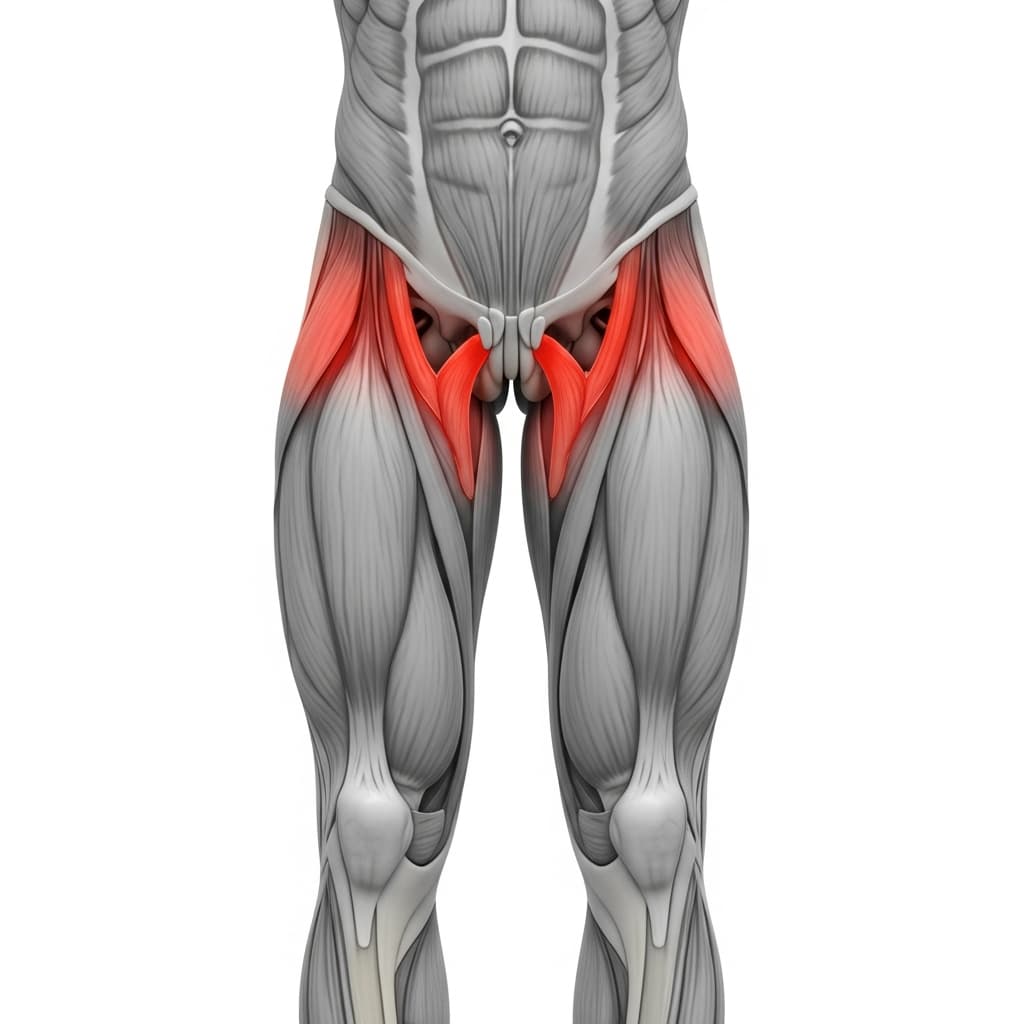
Primary Muscles
Anterior Deltoid (Front Deltoid) - Holds your bodyweight out in front of your hands with the elbow locked, which is the whole reason this feels nothing like a push up.
Serratus Anterior (Serratus Anterior) - Pulls your shoulder blades forward around your ribs and holds them there, which is what protraction actually is.
Secondary Muscles
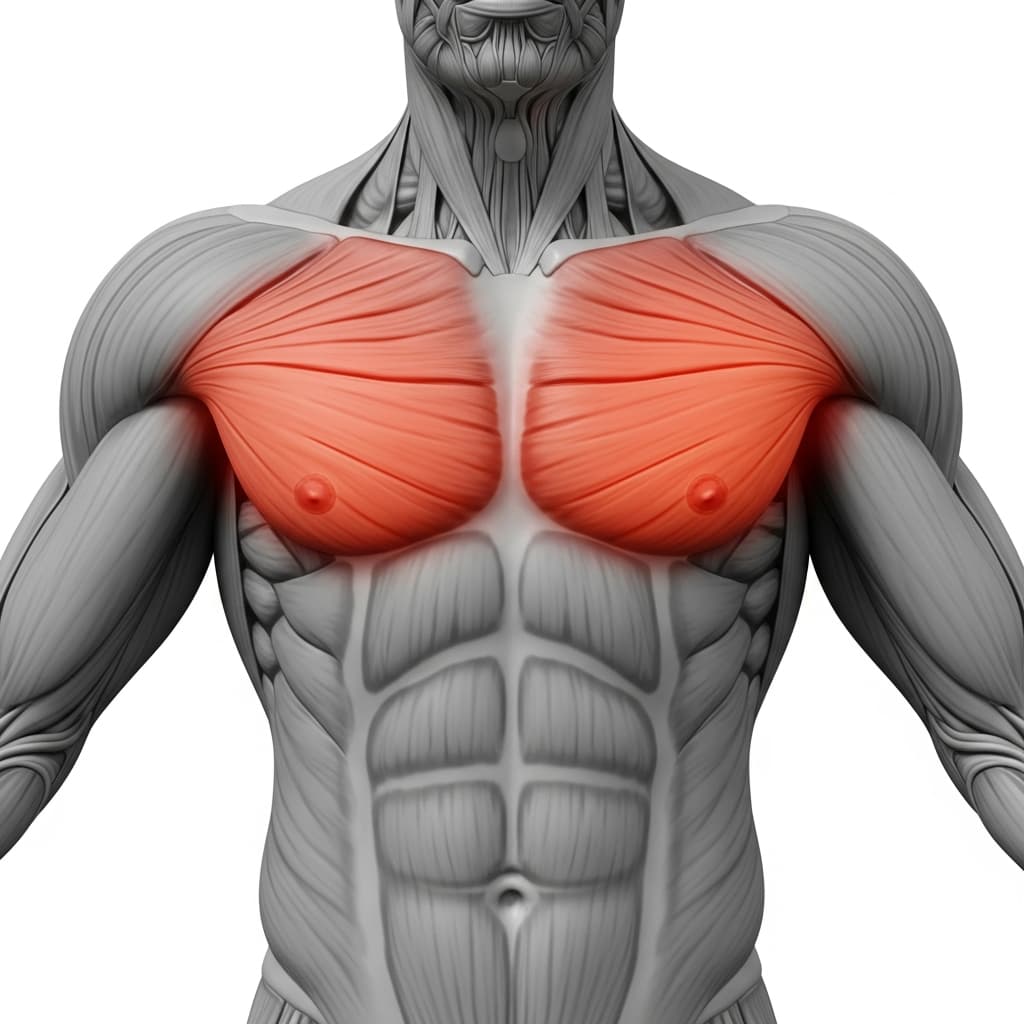
Pectoralis Major (Chest) - Works alongside the front deltoids to stop your torso dropping between the bars as you lean forward.
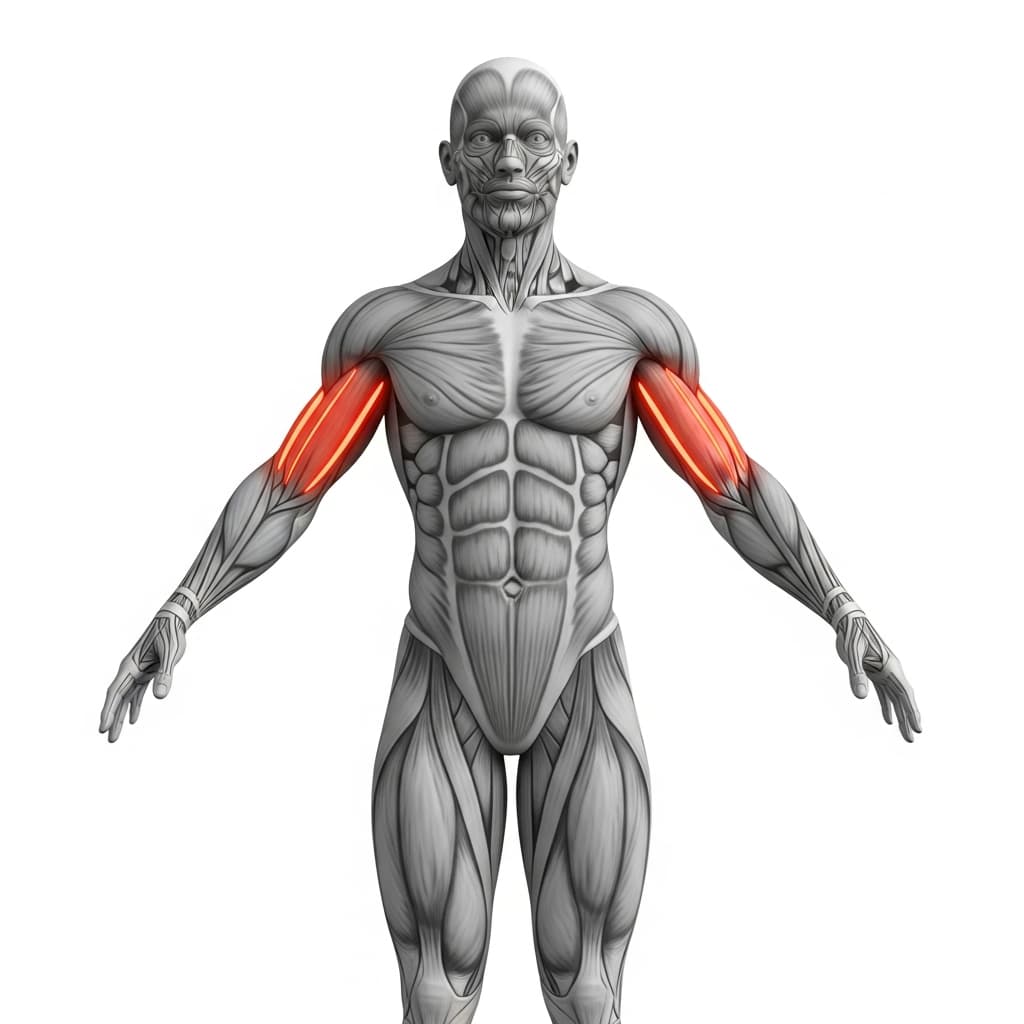
Biceps Brachii (Biceps) - Resists the elbow being pulled open under the lean, which is why the tendon at the elbow needs slow and patient loading here.
Triceps Brachii (Triceps) - Keeps the elbows locked straight for the whole hold, and when they tire the arms start to bend.
Forearm Flexors & Extensors (Forearms) - Grips the bar and controls the wrist while your shoulders travel forward past your hands.
Rectus Abdominis (Abs) - Holds the tuck shape together and stops your hips sagging back down toward the floor.
Iliopsoas (Hip Flexors) - Keeps the knees bent and pulled up underneath your hips so the legs stay tight and the lever stays short.
Benefits of Floor Assisted Tuck Planche
- Builds straight arm shoulder strength with the elbows locked, which is a quality no amount of push ups will give you.
- Teaches the balance point of the tuck planche, because the feet keep you in the position long enough to find it.
- Scales the load continuously, so you can make the hold harder in tiny steps without changing exercise.
- Loads the serratus anterior directly in protraction, which is the shoulder position the planche is held in.
- Lets your wrists and elbow tendons build tolerance to lean gradually, instead of meeting the full load on the day you first try a tuck planche.
Who Is This Exercise For?
Before you start this one you want a planche lean you can hold with your elbows locked and your shoulders clearly in front of your wrists, and a frog stand you can hold under control. A solid hollow body hold matters too, because the tuck shape is held by your core, not by your legs. Your elbows need to lock out fully and your wrists need to take a deep lean without pain, so give them a few minutes of mobility work before every session. This rung sits between the planche leans and the tuck planche. The tuck planche itself asks for a 15 second lean and a 10 second frog stand, and this is the step where you build toward that.
Common Mistakes to Avoid
Letting the elbows bend: This is the shoulders asking for help and the elbows answering. Put a little more weight back onto your feet so the arms can stay locked, rather than fighting to keep the same lean with soft elbows. A short hold with straight arms is worth far more than a long one with bent ones.
Losing protraction: The shoulder blades pinch back together, the upper back flattens and the shoulder drops behind the hand line. Protraction is usually the first thing to go, because holding the shoulder blades forward is a strength quality you have to train, not a cue you just remember. Once the blades come back the shoulder loses its stable base and load shifts onto the elbow and biceps tendon, so reset the position or end the set.
Not leaning far enough: This is the only fault here that does not hurt, so nothing corrects it for you. If your shoulders sit barely in front of your wrists you are holding a hard plank, not a planche progression, and it will carry over to nothing. Film yourself from the side, check that your shoulders are clearly past your hands, and move your hands a little closer to your hips as the hold gets easier.
Never taking weight off the feet: The feet are a dial, not a shelf. If you leave the same amount of weight on them every session the load never changes and the exercise stops progressing, no matter how long you hold it. Go into each set planning to leave a little less on the floor than last time, until the feet are barely brushing the mat.