Wall Shoulder Flexion Stretch
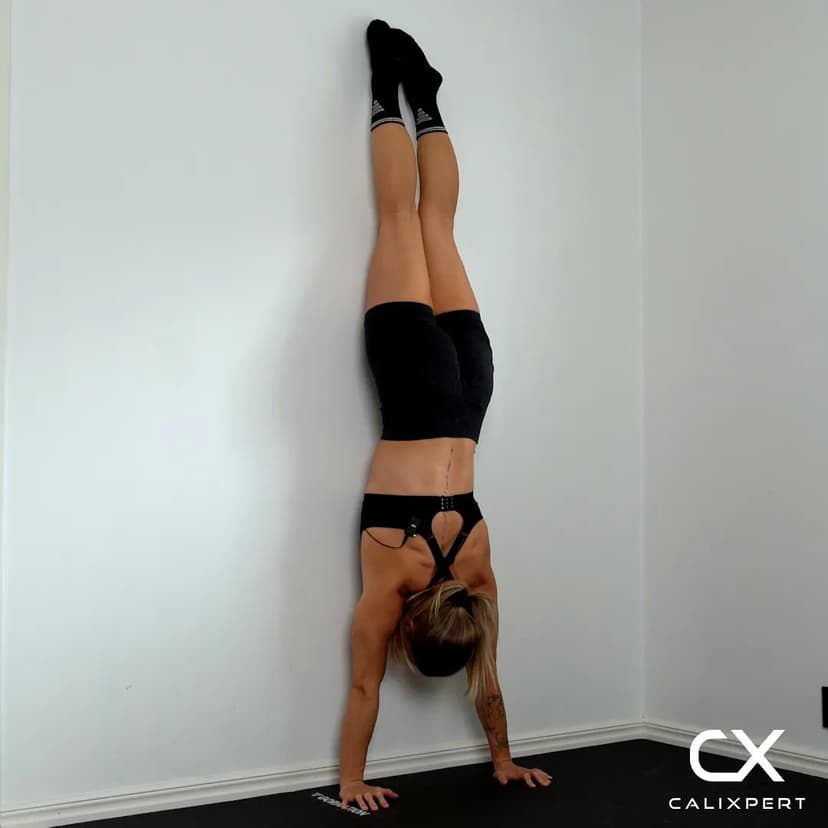
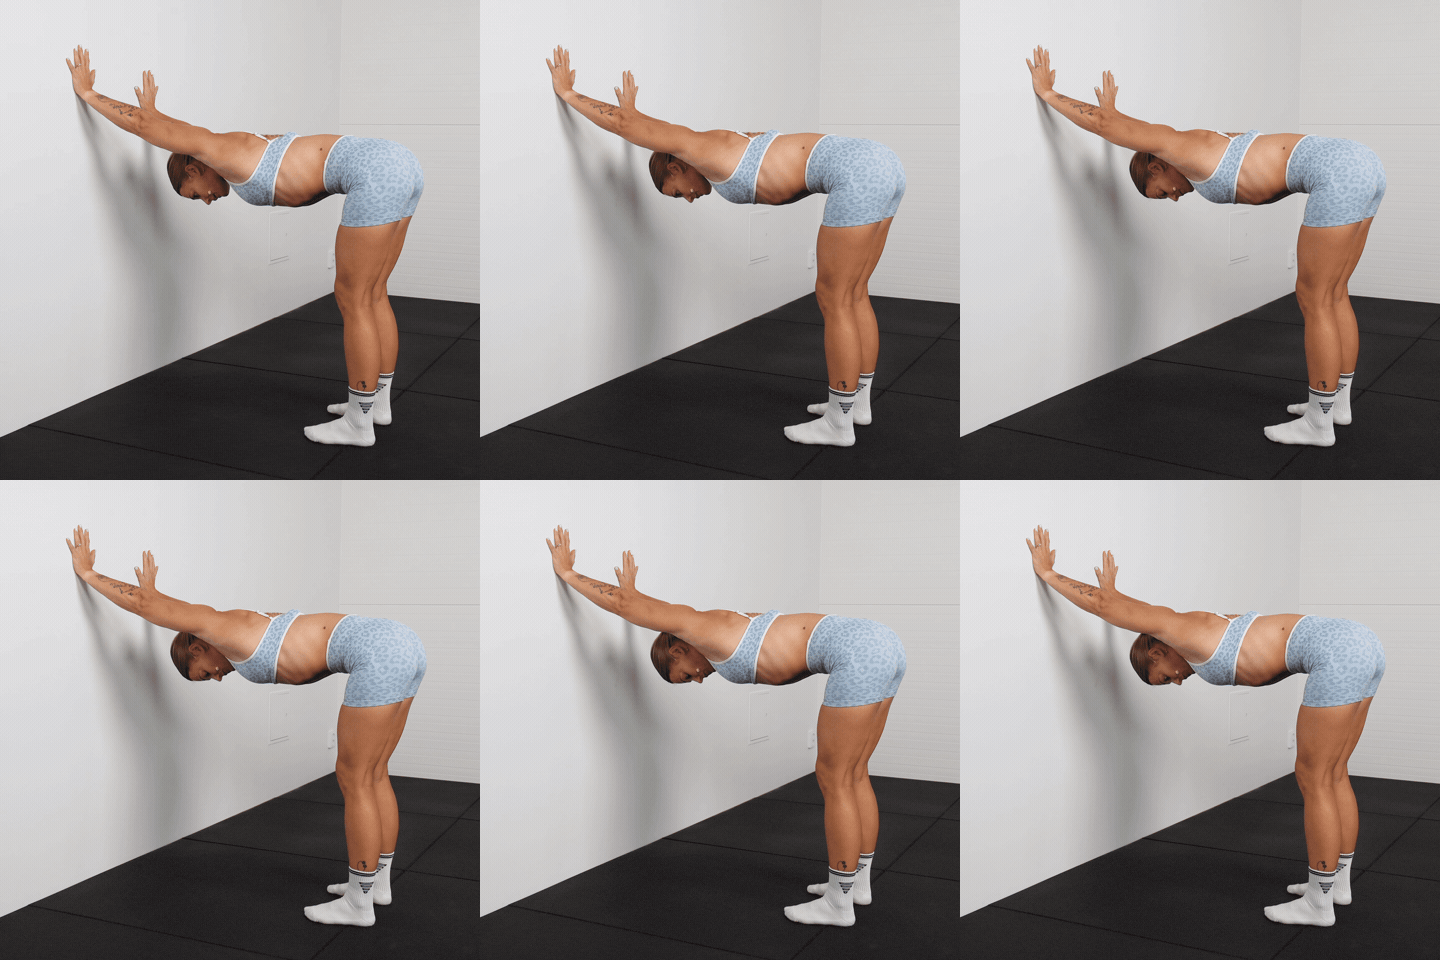
The wall shoulder flexion stretch is a standing mobility drill for the lats and shoulders, where you place your straight arms on a wall, fold at the hips and let your upper body sink toward the floor. The key is sucking in your belly and keeping your back completely straight, so the range comes from your shoulders and not your lower back. It opens the arms overhead range you need in a handstand, and all it takes is a wall.
The wall shoulder flexion stretch is a standing mobility drill for the lats and shoulders, where you place your straight arms on a wall, fold at the hips and let your upper body sink toward the floor. The key is sucking in your belly and keeping your back completely straight, so the range comes from your shoulders and not your lower back. It opens the arms overhead range you need in a handstand, and all it takes is a wall.
How to Do Wall Shoulder Flexion Stretch
1. Step Back From The Wall
Stand facing a wall and step backwards a little bit. Keep your feet roughly hip width apart. You only need enough room to fold at the hips with your hands still on the wall, so adjust the distance once you are in position.
A small step back, feet roughly hip width
2. Place Your Hands On The Wall
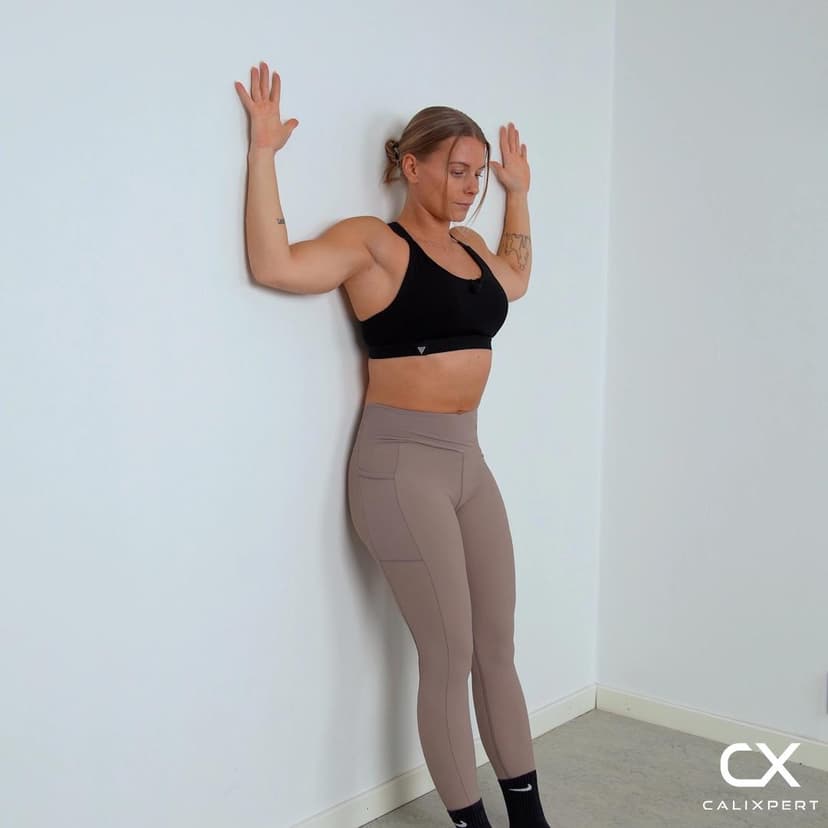
Put your hands on the wall at about shoulder height and make your arms completely straight. Your arms stay straight for the whole stretch. The wall only holds your hands in place, so there is no need to press hard into it.
Hands on the wall, arms completely straight
3. Try To Apply Internal Rotation
Try to apply some internal rotation in your shoulders, so that your elbows do not flare out. That is the goal of this setup. If you can apply the internal rotation, it is way harder to bend your arms, which helps you keep them straight as you go deeper.
Internal rotation, no flaring elbows
4. Fold At The Hips
Fold at your hips while your hands stay on the wall. Suck in your belly to apply compression, which makes sure you are not arching your lower back. Your back should be completely straight, so stop folding if you lose that shape.
Belly in, back completely straight
5. Breathe Out And Sink Down
Breathe out and just sink down between your arms. Imagine that you want to drop your armpits as close to the floor as possible. Only go as far as you can while your back and arms stay straight.
Breathe out, drop the armpits
6. Hold The Position
Hold this position once you have sunk down. Keep your arms straight, your belly sucked in and your breathing slow. Do not bounce to get lower, just let your body settle into the range you have today.
Stay still and keep breathing
Are you over 30 and struggling with pull-ups, handstands or muscle-ups?
We have helped thousands of people master these skills, and we will help thousands more. If you want a systematic and supportive approach to your calisthenics goals, Calixpert is the platform for you.
Start 7-day free trialMost people chase depth here and end up with an arched back and bent elbows. Try to set some internal rotation first, suck in your belly, and only then breathe out and sink. If you end up less deep but your back stays completely straight, you are stretching the right place.
Muscles Worked During Wall Shoulder Flexion Stretch
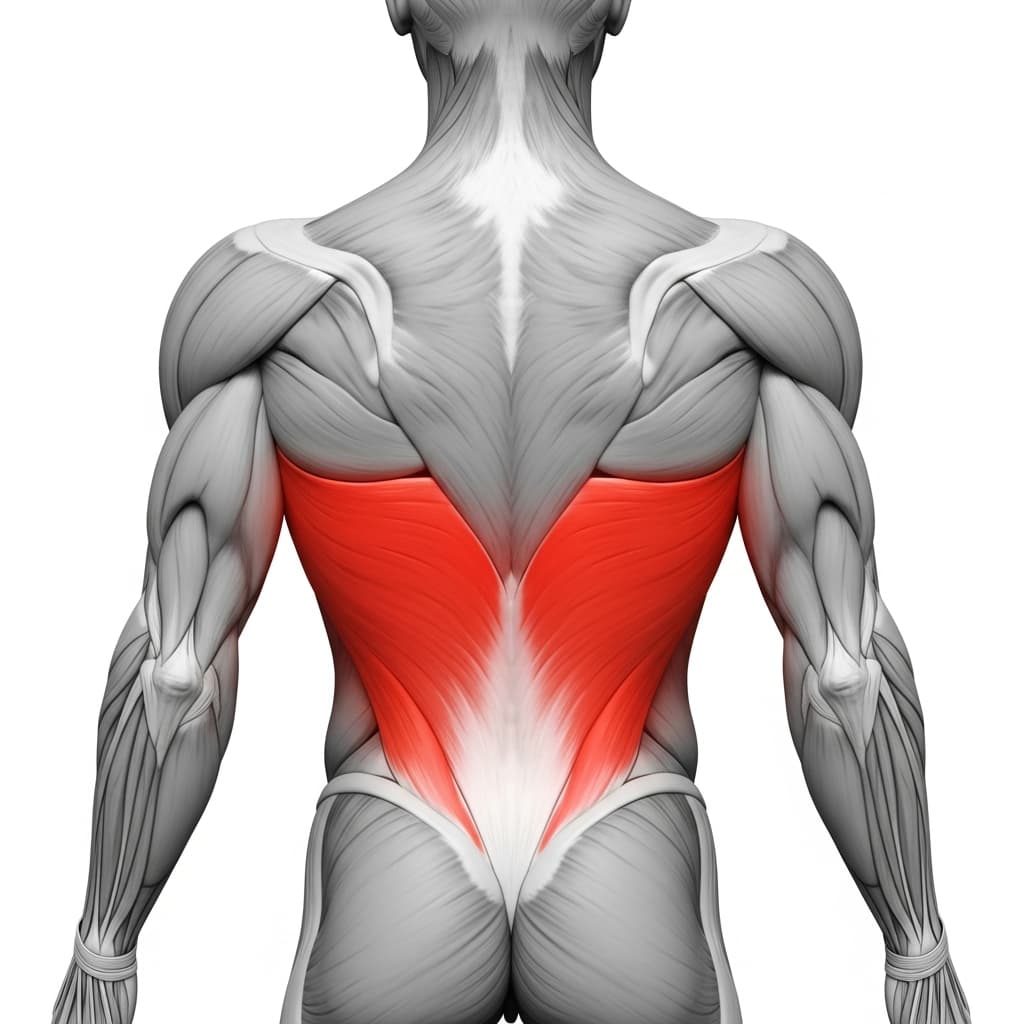
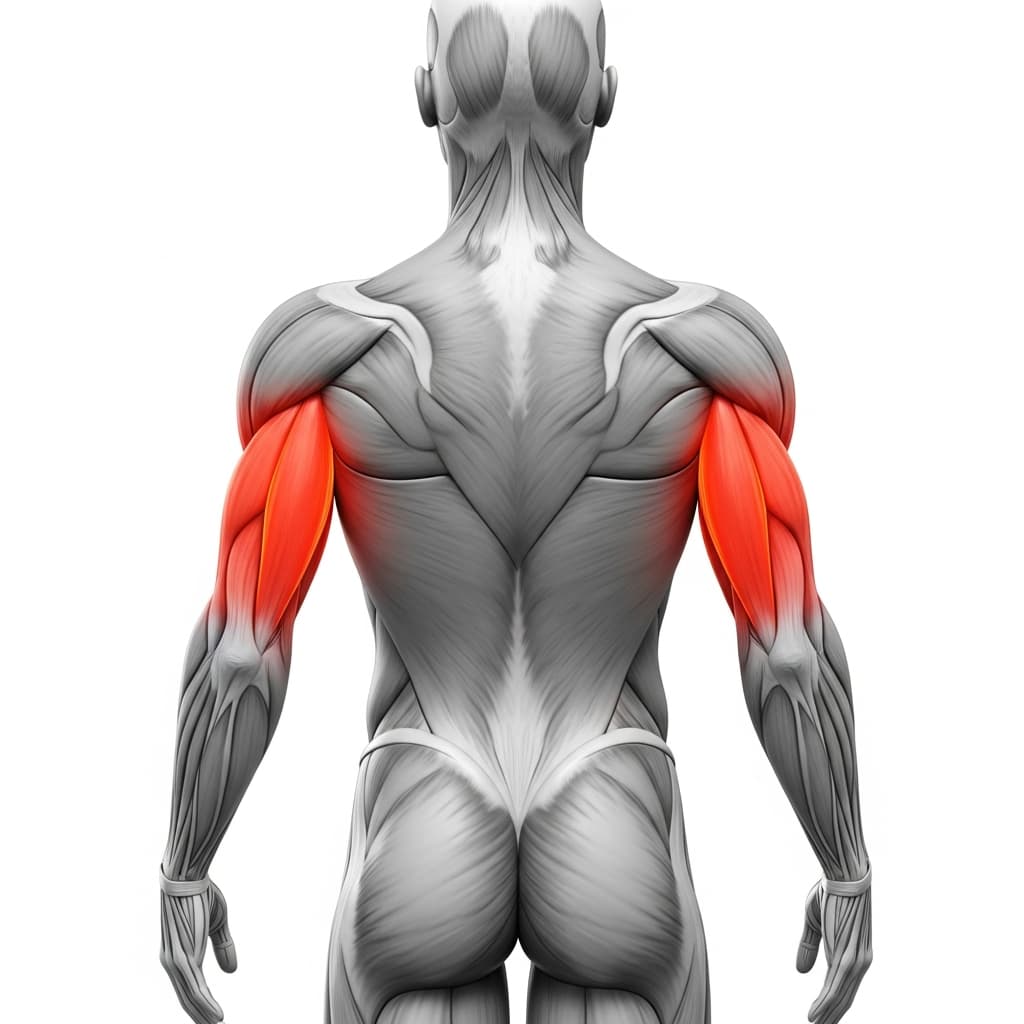
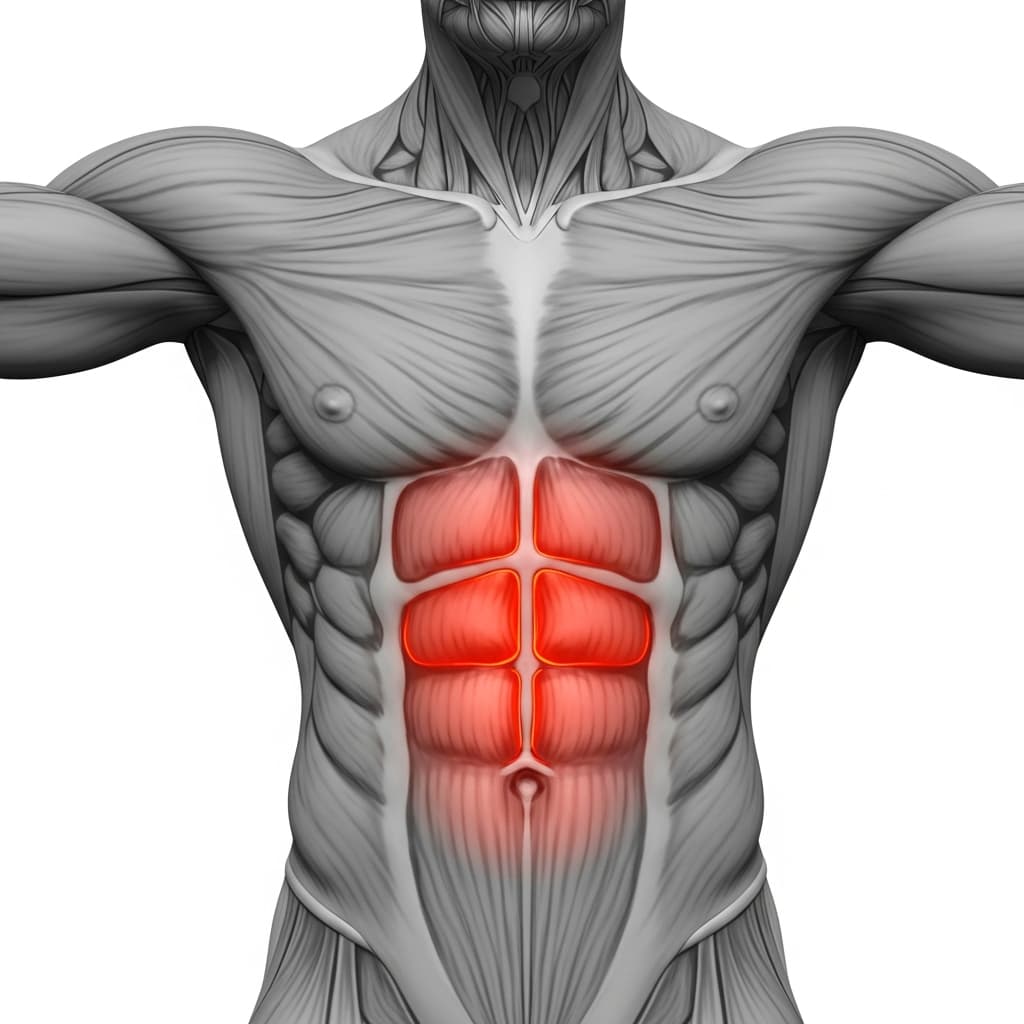
Primary Muscles
Latissimus Dorsi (Lats) - The lats, the main muscle stretched, lengthen along the sides of your back as your arms stay overhead and your upper body sinks.
Secondary Muscles
Triceps Brachii (Triceps) - The triceps long head crosses the shoulder, so it gets a lighter stretch down the back of the upper arm with your arms overhead.
Rectus Abdominis (Abs) - The abs work to suck in the belly and apply compression, which stops your lower back from arching as you sink.
Benefits of Wall Shoulder Flexion Stretch
- Opens shoulder flexion, the arms overhead range you need at the top of a handstand and at the finish of a handstand press
- Stretches the lats, one of the muscle groups that most often limit how far your arms go overhead
- Teaches you to suck in your belly with your arms overhead, so your range comes from the shoulders and not the lower back
- Keeps your arms straight throughout, which gets you used to the straight arm position that handstands ask for
- Needs only a wall and a little floor space, so it fits easily into a mobility session at home or in the gym
Who Is This Exercise For?
There are no strength requirements, but you need to be able to fold at the hips with a straight back. Practice sucking in your belly while standing first if you are unsure how that feels. If lifting your arms overhead hurts, rather than just feeling tight, get it looked at before you stretch into that range.
Common Mistakes to Avoid
Arching the lower back to get lower: An arched lower back makes the stretch look deeper, but that depth comes from your spine and not your shoulders. Suck in your belly before you sink and only go as low as you can without arching.
Letting the elbows flare out: Try to apply some internal rotation before you fold and keep it as you sink. When the elbows flare out, you lose the setup that keeps your arms straight.
Bending the arms as you sink: Keep your arms completely straight from start to finish. If they start to bend, come up a little, try to apply the internal rotation again and sink only as far as they stay straight.
Standing too close to the wall: With your feet close to the wall your upper body has nowhere to sink. Take a small step back so you can fold at the hips with your hands still on the wall.
Holding your breath in the stretch: Breathe out as you sink and keep breathing slowly through the hold. Holding your breath makes it harder to relax into the position.