Floor Angels
Floor angels are a supine shoulder mobility drill that targets the upper back, rear deltoids, and rotator cuff through a controlled sliding arc on the floor. The exercise forces you to maintain constant ground contact with your elbows and hands, which exposes and corrects tightness in the chest and anterior shoulder. When performed with a proper posterior pelvic tilt, floor angels build the thoracic extension and scapular control that are prerequisites for overhead pressing and handstand work in calisthenics.
Floor angels are a supine shoulder mobility drill that targets the upper back, rear deltoids, and rotator cuff through a controlled sliding arc on the floor. The exercise forces you to maintain constant ground contact with your elbows and hands, which exposes and corrects tightness in the chest and anterior shoulder. When performed with a proper posterior pelvic tilt, floor angels build the thoracic extension and scapular control that are prerequisites for overhead pressing and handstand work in calisthenics.
How to Do Floor Angels
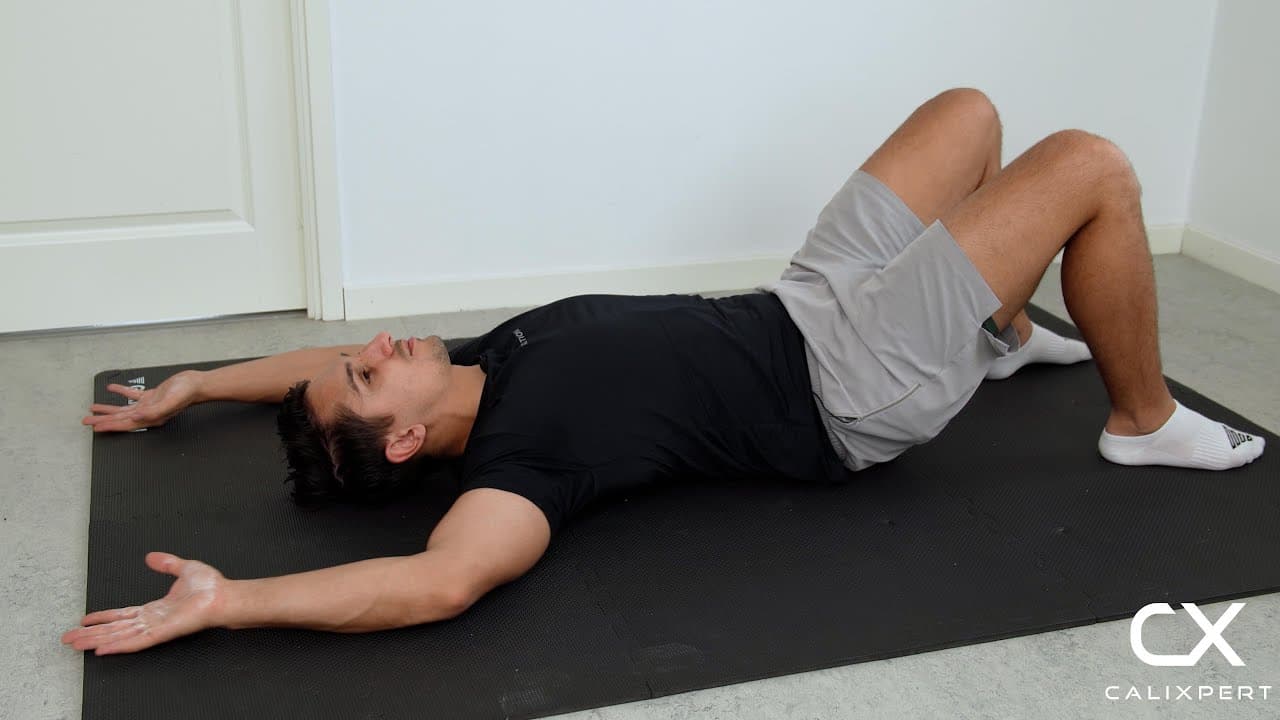
1. Lie Down and Set Your Feet
Lie flat on your back with your knees bent and feet flat on the floor about hip-width apart. Place your feet slightly wider than you normally would to give your hips a stable base. Your entire spine should be in contact with the ground from tailbone to the back of your head.
Whole spine flat on the floor
2. Lock in the Posterior Pelvic Tilt
Push your lower back firmly into the floor by lifting your hips slightly and rotating your pelvis into a posterior tilt. You should feel your abs engage and the natural arch in your lower back disappear completely. Hold this pelvic position throughout every rep. If your lower back lifts off the floor at any point, you have lost the position.
Lower back glued to the floor
3. Place Arms in the Starting Position
Extend your arms out to the sides at roughly 90 degrees with your elbows bent at 90 degrees, forming a goalpost shape. Press both your elbows and the backs of your hands firmly into the floor. If your hands or elbows hover above the ground, work within the range where you can maintain contact.
Elbows and hands pressed into the floor
4. Slide Arms Overhead
Slowly slide your arms along the floor in a wide arc, straightening them as they travel overhead. Keep the backs of your hands and your elbows in constant contact with the ground throughout the entire slide. Move only as far as you can without your lower back peeling off the floor or your arms lifting.
Slow and controlled, never lose contact
5. Reverse Back to the Start
Drag your arms back down along the same arc to the starting goalpost position. Squeeze your shoulder blades together as you pull your elbows back down toward your ribs. Maintain the posterior pelvic tilt and floor contact with your hands the entire way down. Reset briefly, then begin the next rep.
Squeeze shoulder blades as arms come down
Most people try to force their arms all the way overhead and end up compensating with their lower back. Cut the range in half and focus on keeping every inch of your forearm pinned to the floor. You will feel the restriction in your chest and shoulders much more clearly, and that is where the real mobility gains come from.
Muscles Worked During Floor Angels
Primary Muscles:
Secondary Muscles:
Primary Muscles
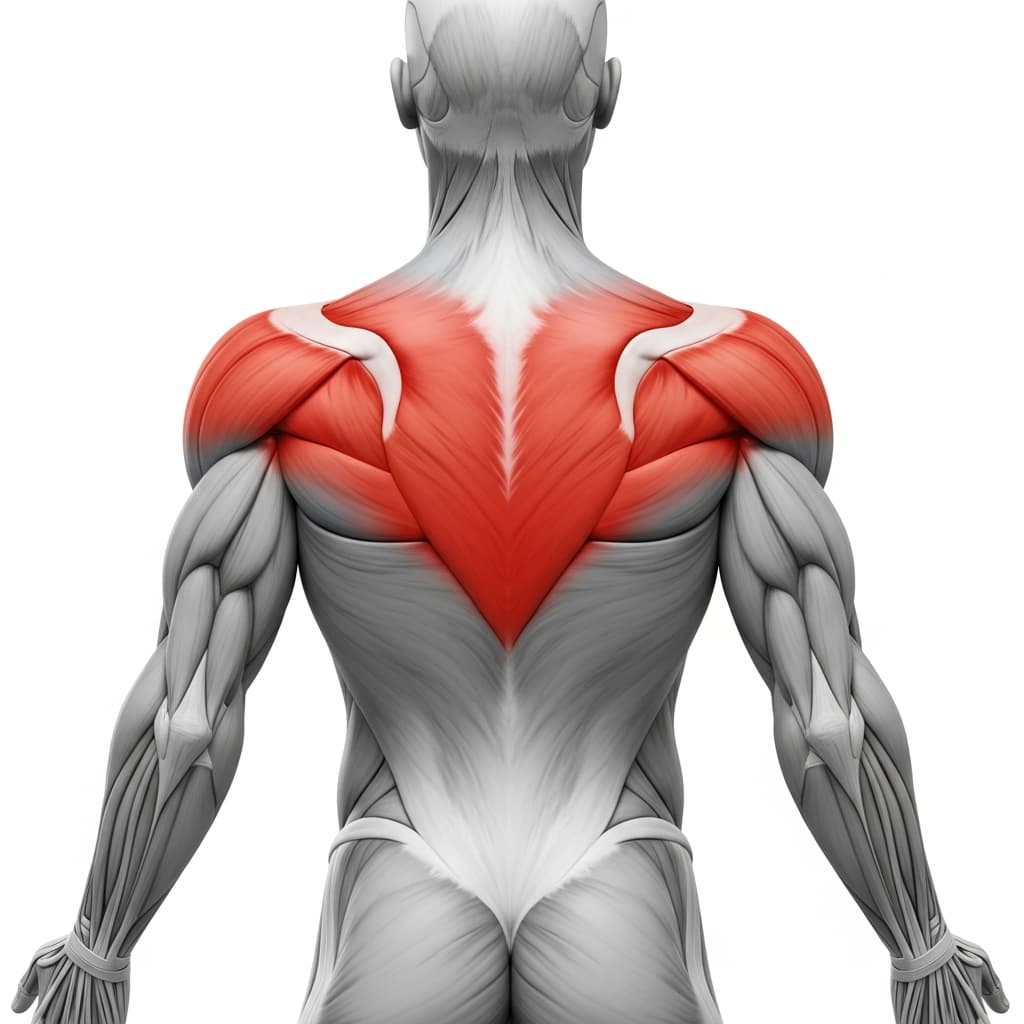
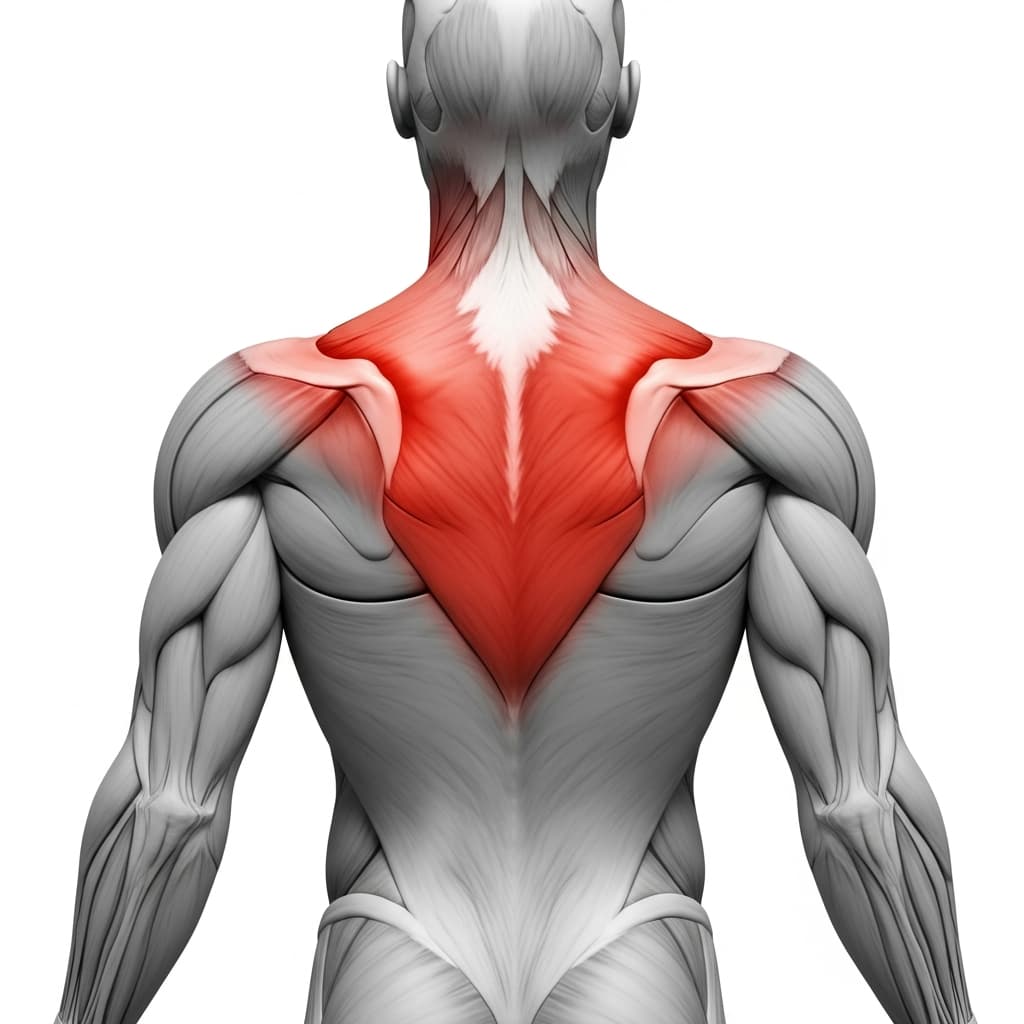
Rhomboids & Upper Trapezius (Upper Back) - The rhomboids and mid-traps retract and depress the scapulae throughout the sliding motion, controlling the arc and maintaining ground contact with the arms.
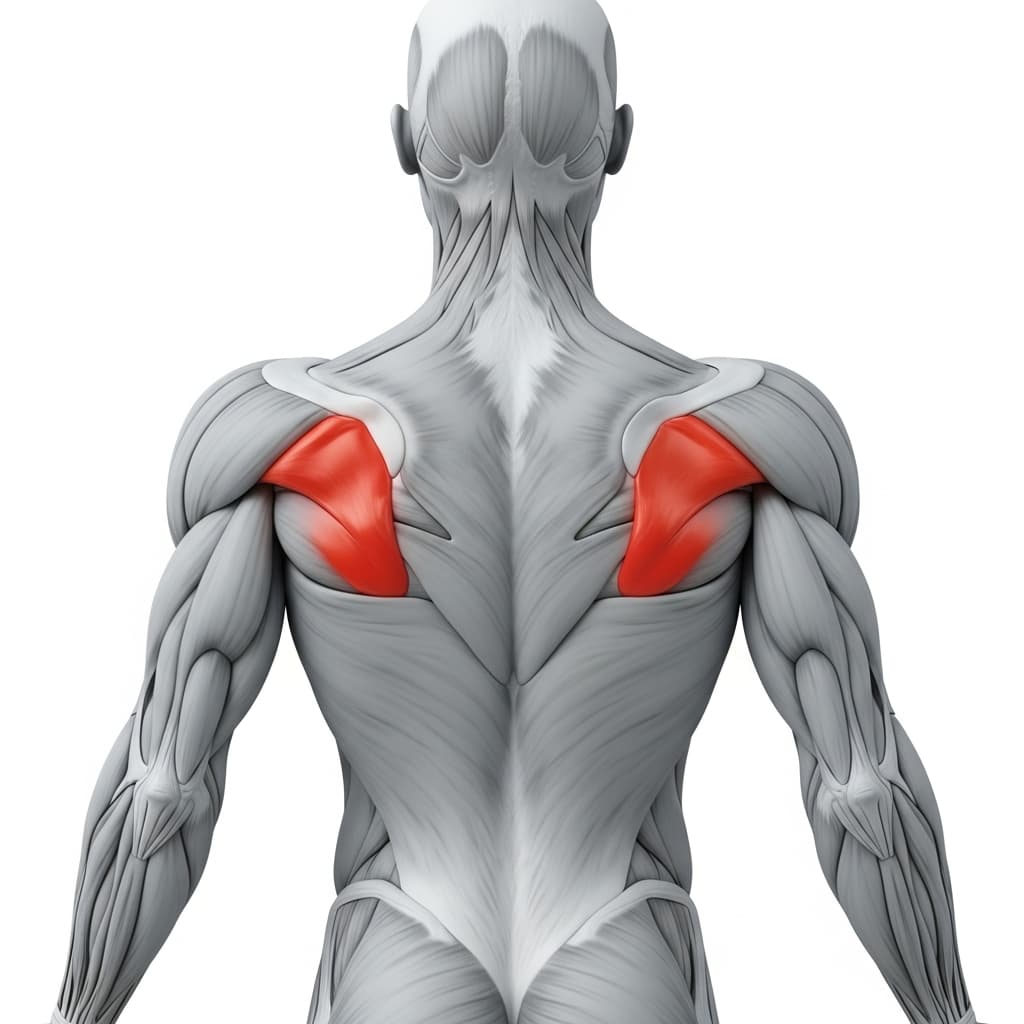
Rotator Cuff (SITS) (Rotator Cuff) - The infraspinatus, teres minor, and supraspinatus stabilize the humeral head in the socket as the arm rotates and slides through its full overhead arc.
Secondary Muscles
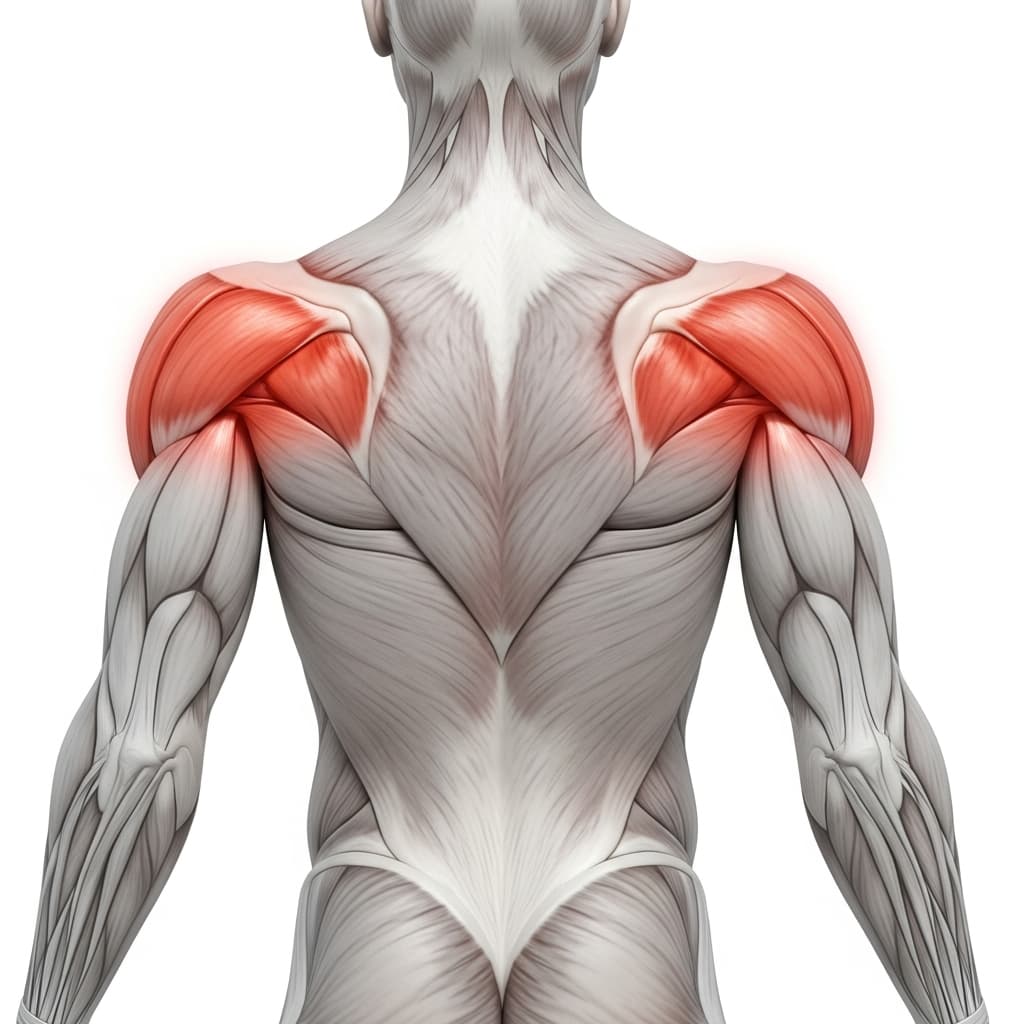
Posterior Deltoid (Rear Deltoid) - The posterior deltoid assists in pulling the arms back down from the overhead position and works to keep the elbows pressed into the floor.
Trapezius (Trapezius) - The lower trapezius fibers depress the shoulder blades away from the ears while the mid-fibers retract them during the downward phase of each rep.
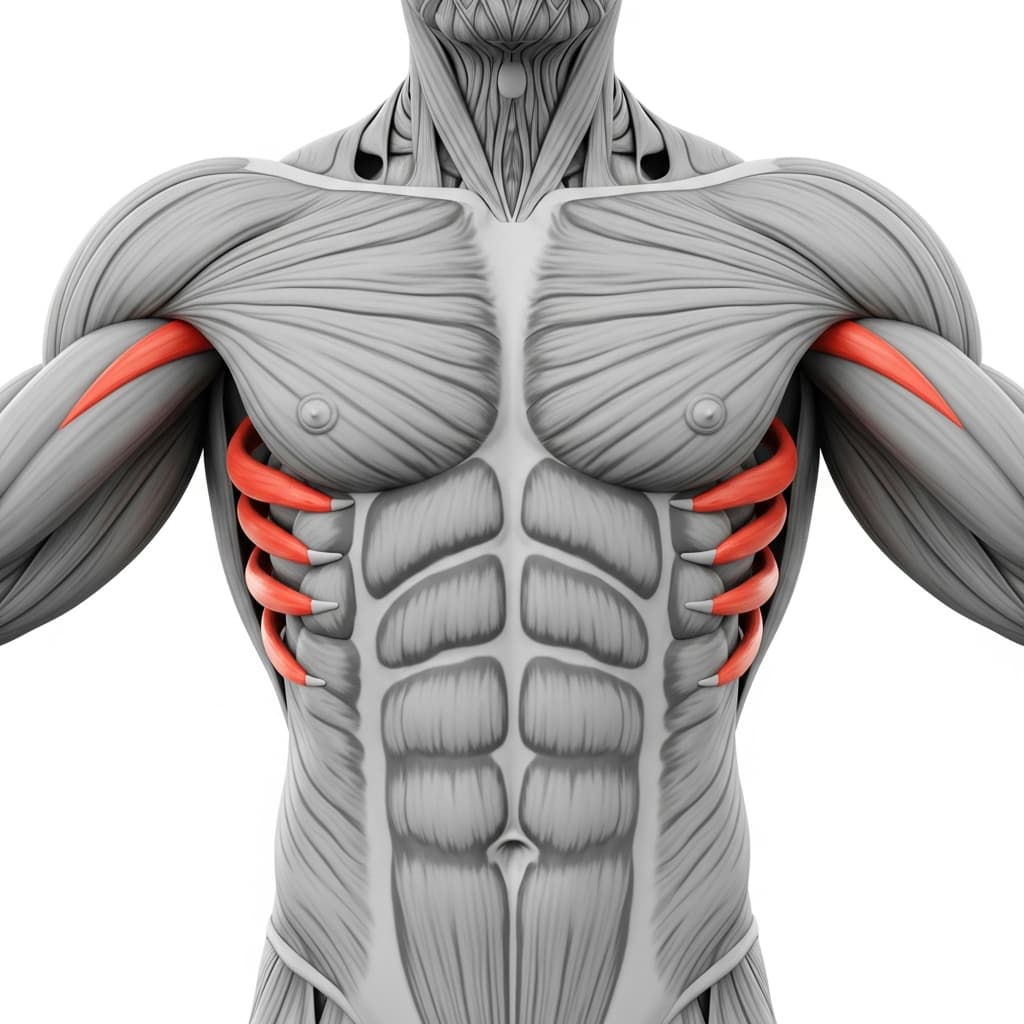
Serratus Anterior (Serratus Anterior) - The serratus anterior stabilizes the scapula against the ribcage and assists with controlled upward rotation as the arms slide overhead.
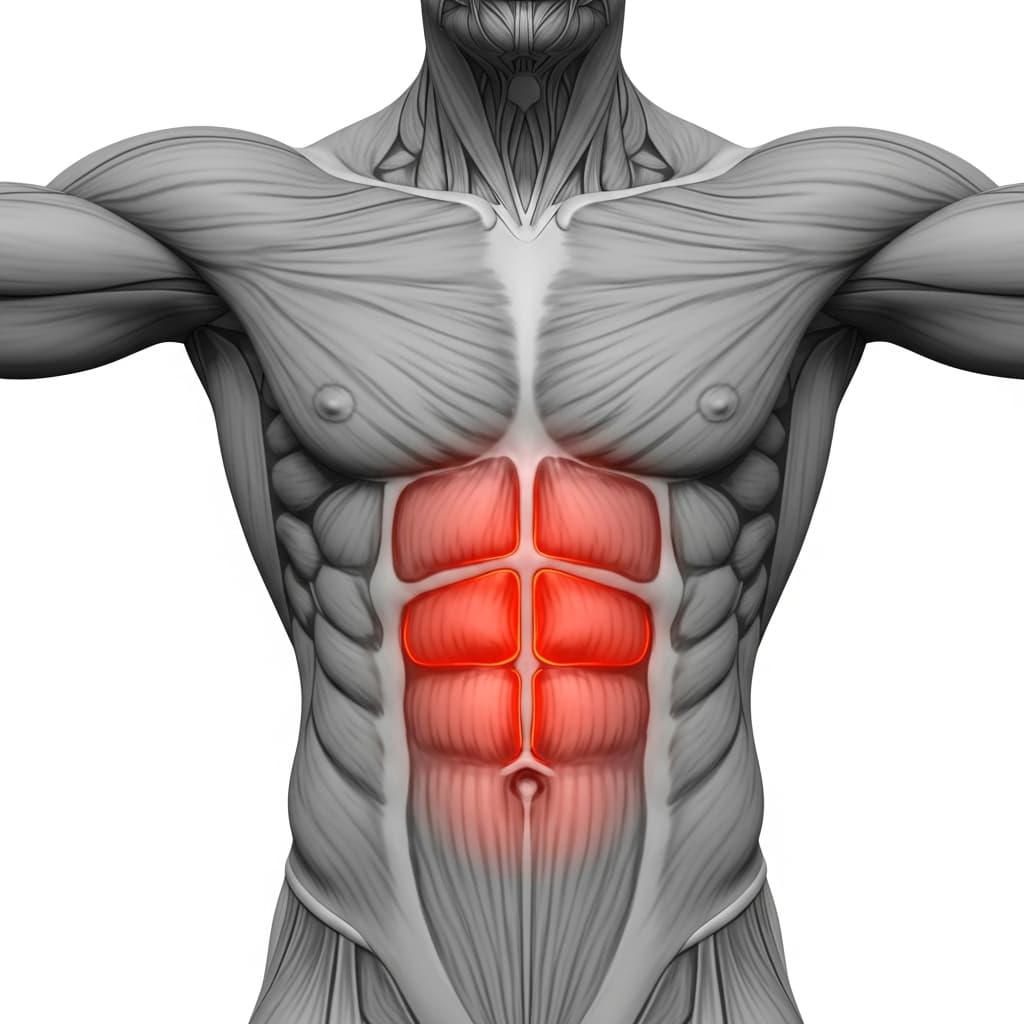
Rectus Abdominis (Abs) - The rectus abdominis and transverse abdominis maintain the posterior pelvic tilt that keeps the lower back pressed flat against the floor throughout the movement.
Benefits of Floor Angels
- Restores overhead shoulder range of motion by actively stretching the chest and anterior deltoids while strengthening the posterior chain of the shoulder
- Builds lower trap and rotator cuff endurance, which directly protects the shoulder joint during pressing, handstands, and overhead holds
- Corrects forward-rounded posture by training thoracic extension and scapular retraction in a position where the floor provides immediate feedback
- Serves as a reliable self-assessment tool for shoulder mobility, since any restriction becomes immediately visible when your arms or back lift off the ground
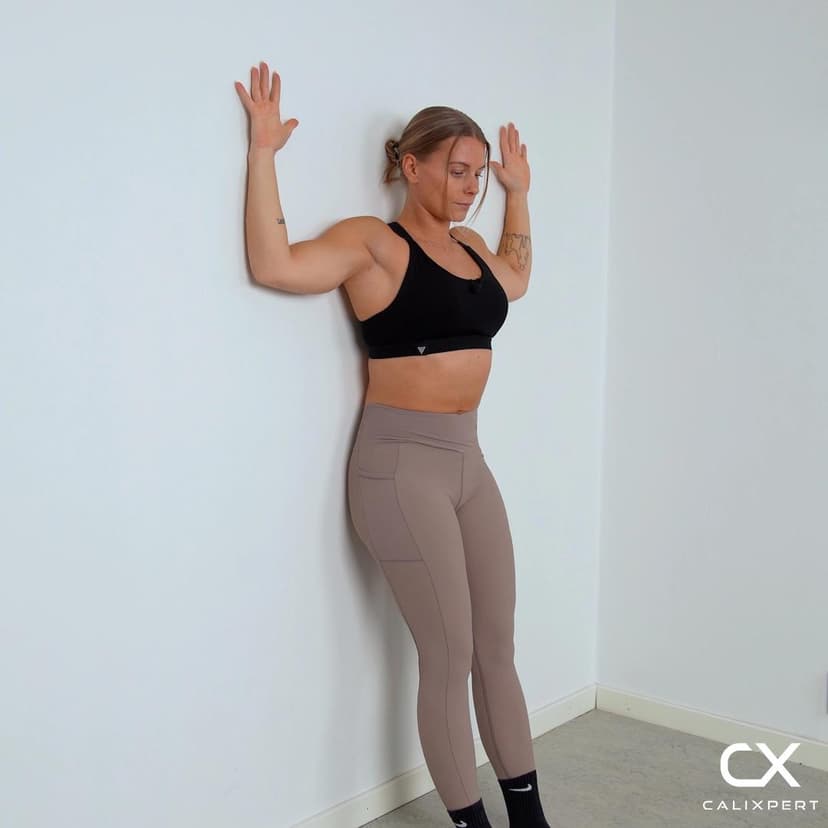
Who Is This Exercise For?
You should be able to lie flat on your back and press your lower back into the floor without discomfort. If you cannot keep your elbows and wrists on the ground with your arms at shoulder height, start with passive chest stretches and doorway stretches until you gain enough pectoral flexibility to hold the starting position.
Common Mistakes to Avoid
Arching the lower back off the floor: Lock in a posterior pelvic tilt before you start and maintain it throughout every rep. If your lower back lifts, you are sliding your arms too far overhead for your current mobility.
Lifting elbows or hands off the ground: Reduce the range of motion until you can keep both elbows and the backs of your hands in full contact with the floor. The ground contact is what makes this exercise effective.
Rushing through the reps: Each rep should take 4 to 6 seconds in each direction. Moving fast turns this into a flailing motion that skips past the ranges where you need the most work.
Shrugging shoulders toward the ears: Actively depress your shoulders away from your ears before and during the slide. Shrugging shifts the work from the lower traps and rotator cuff to the upper traps, which defeats the purpose of the exercise.
Variations & Progressions
Reduced Range Floor Angels
Slide only from the goalpost position to about 45 degrees overhead instead of full extension. This shorter arc lets you maintain floor contact and proper form while building the mobility for full range.