Advanced Tuck Planche
The advanced tuck planche starts in the tuck planche and then sends the knees backwards until they pass your arms. The shoulder job does not change, the arms stay locked and the shoulders stay protracted, but you have to lean further forward to pay for the legs moving back, and that is what loads the shoulder far harder than the tuck ever did. It works on the floor or on parallettes. This is one of the biggest jumps on the planche ladder, and it is where a lot of people sit for months.
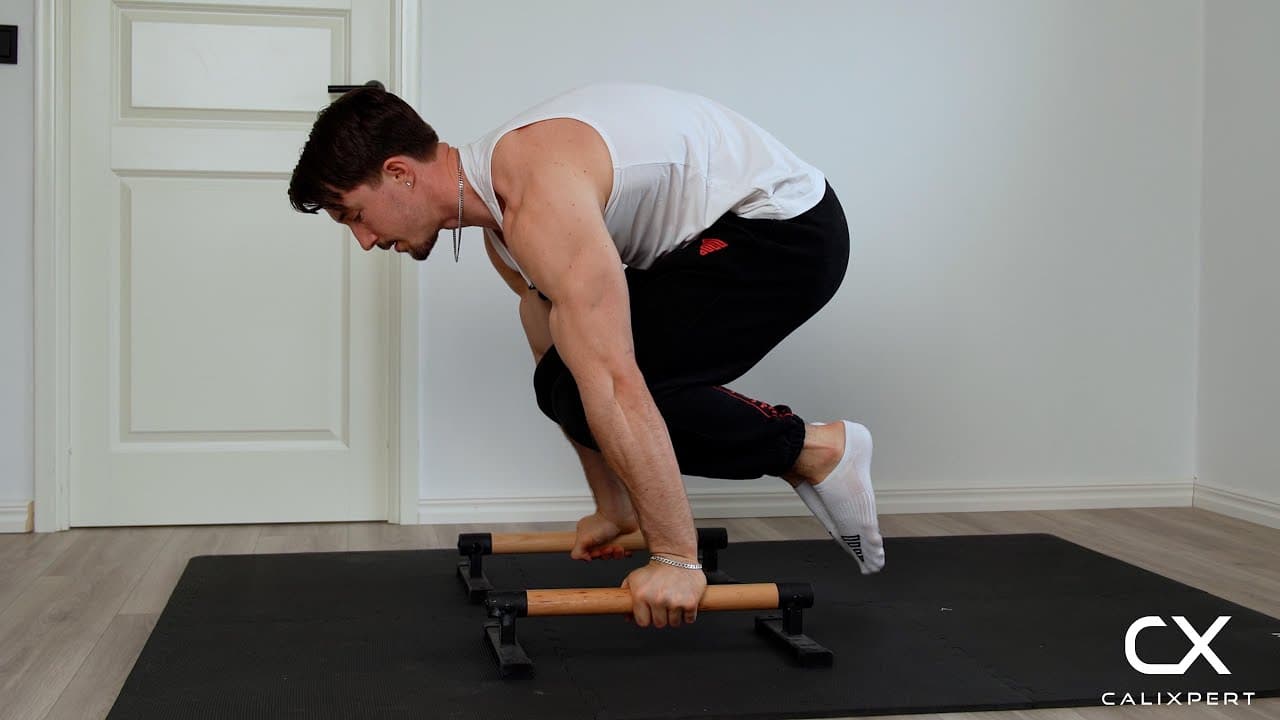
The advanced tuck planche starts in the tuck planche and then sends the knees backwards until they pass your arms. The shoulder job does not change, the arms stay locked and the shoulders stay protracted, but you have to lean further forward to pay for the legs moving back, and that is what loads the shoulder far harder than the tuck ever did. It works on the floor or on parallettes. This is one of the biggest jumps on the planche ladder, and it is where a lot of people sit for months.
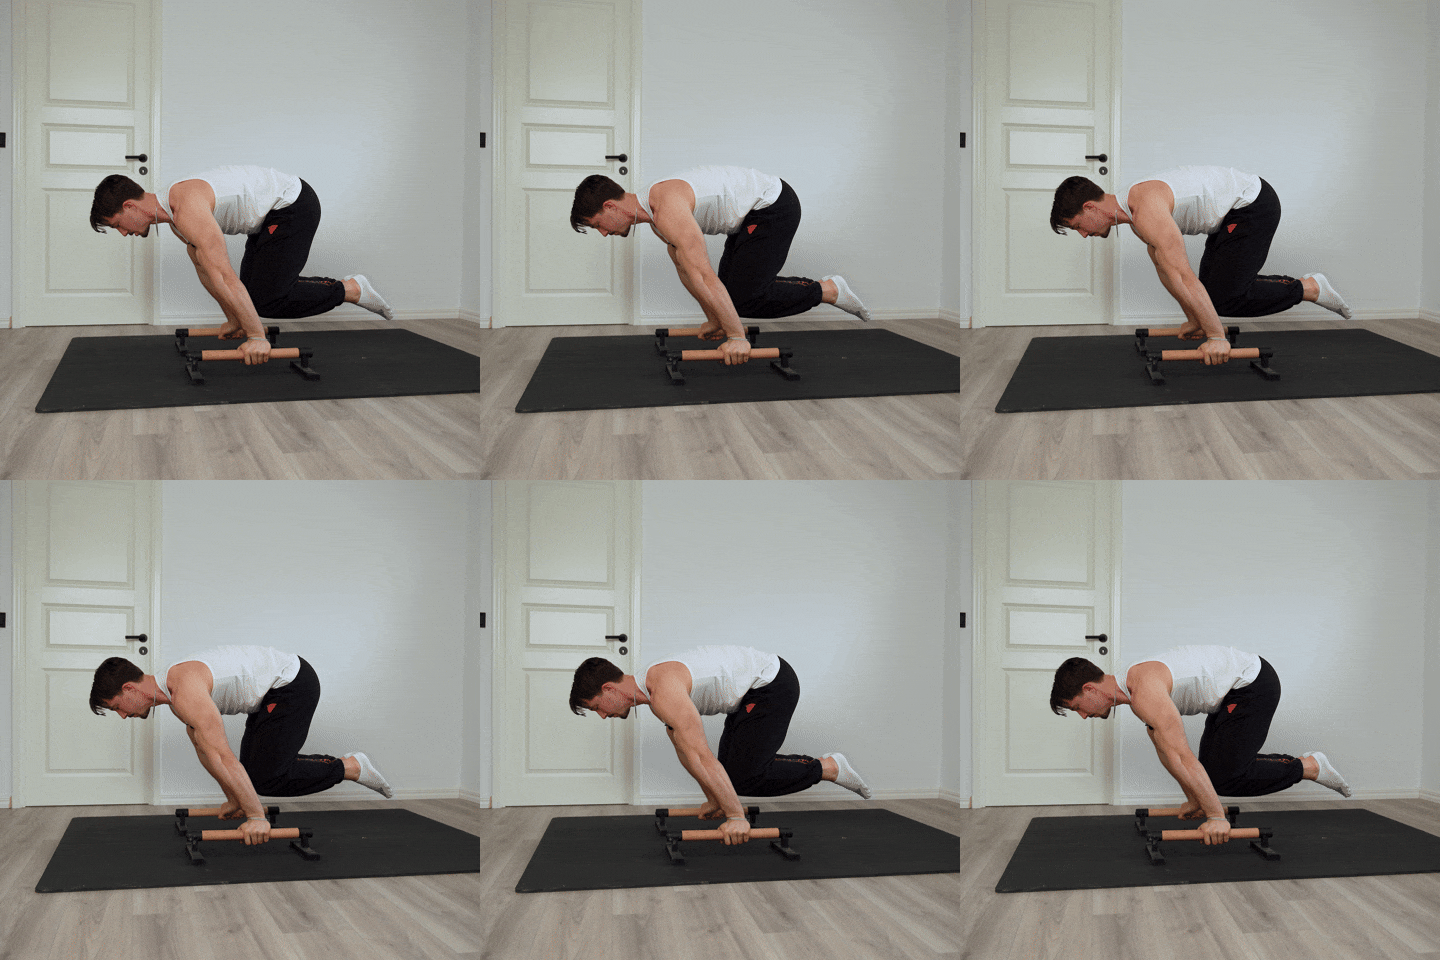
How to Do Advanced Tuck Planche
1. Set Up On Parallettes Or The Floor
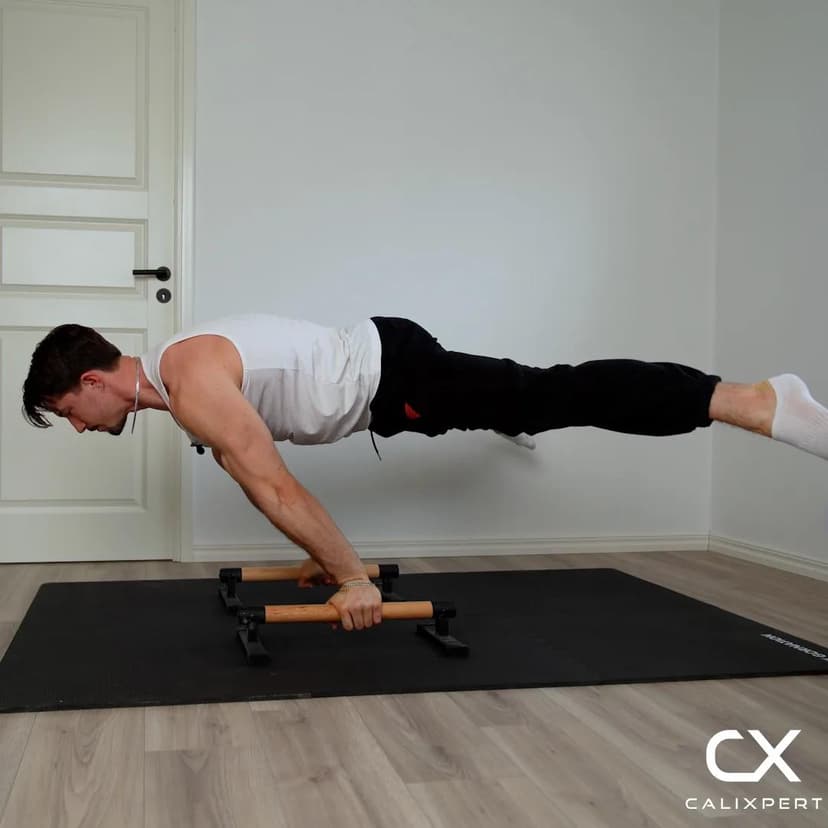
This exercise can be performed on the floor or on a set of parallettes. Set the bars in line with the direction you are facing and take a firm grip, or on the floor spread the fingers and press through the whole hand. Parallettes take some of the bend out of the wrist, so pick whichever lets you lean without the wrist screaming.
Bars in line with your body
2. Find The Tuck Planche First
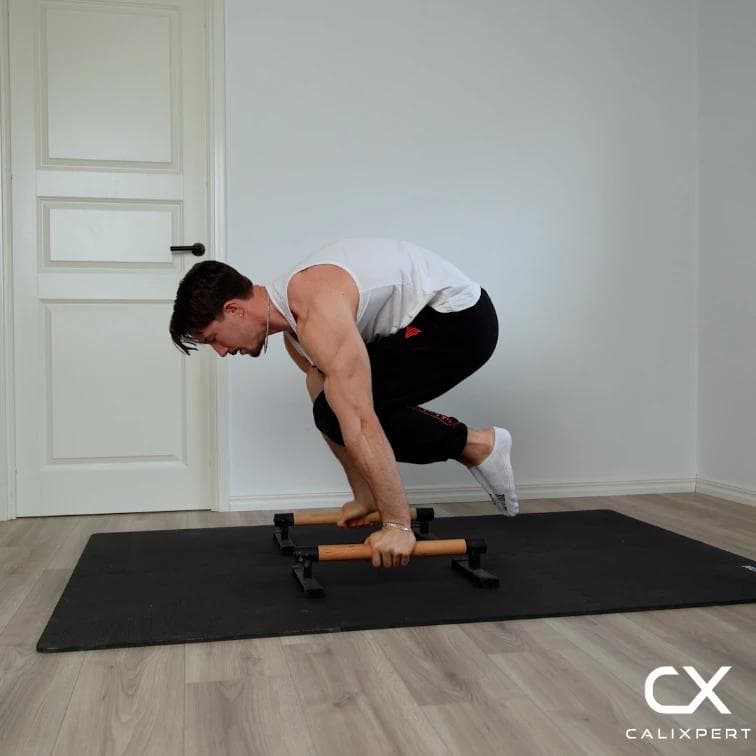
The starting point is the tuck planche position, and that means arms fully locked and shoulders protracted. Push the shoulders forward and down away from the spine, lean until your feet leave the ground, and pull the knees in tight. If you cannot hold this shape still, there is nothing to build on yet.
Arms locked, shoulders protracted
3. Lean Further Before You Move Anything
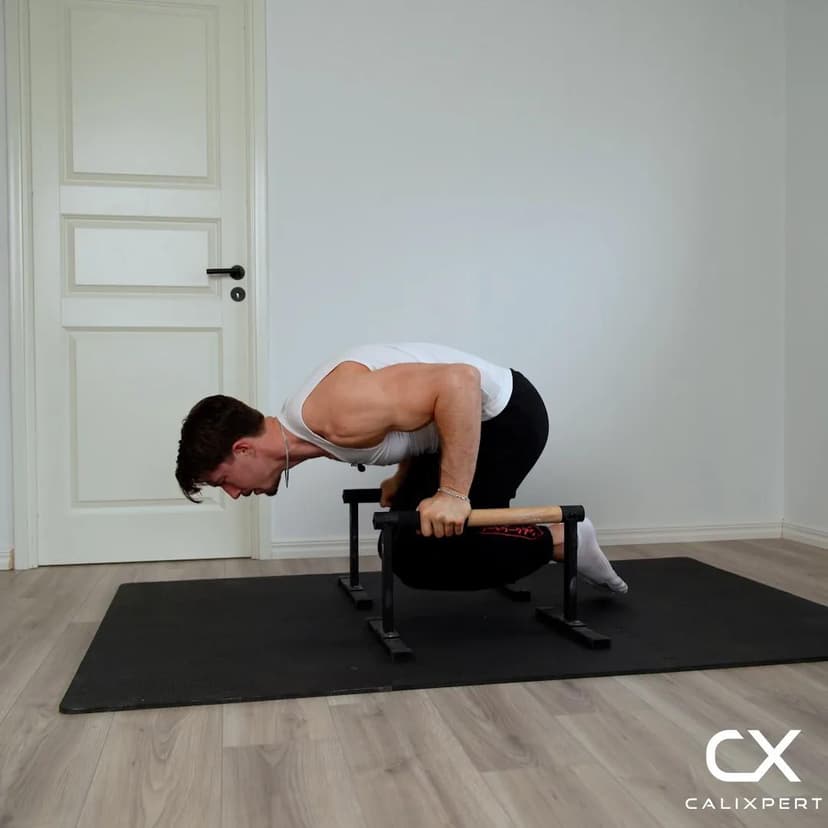
Every centimetre the knees travel backwards has to be paid for with the shoulders travelling further in front of the hands. Add the lean first, then move the legs. Do it the other way round and you simply tip backwards onto your feet.
Shoulders travel past the hands
4. Send The Knees Back Past Your Arms
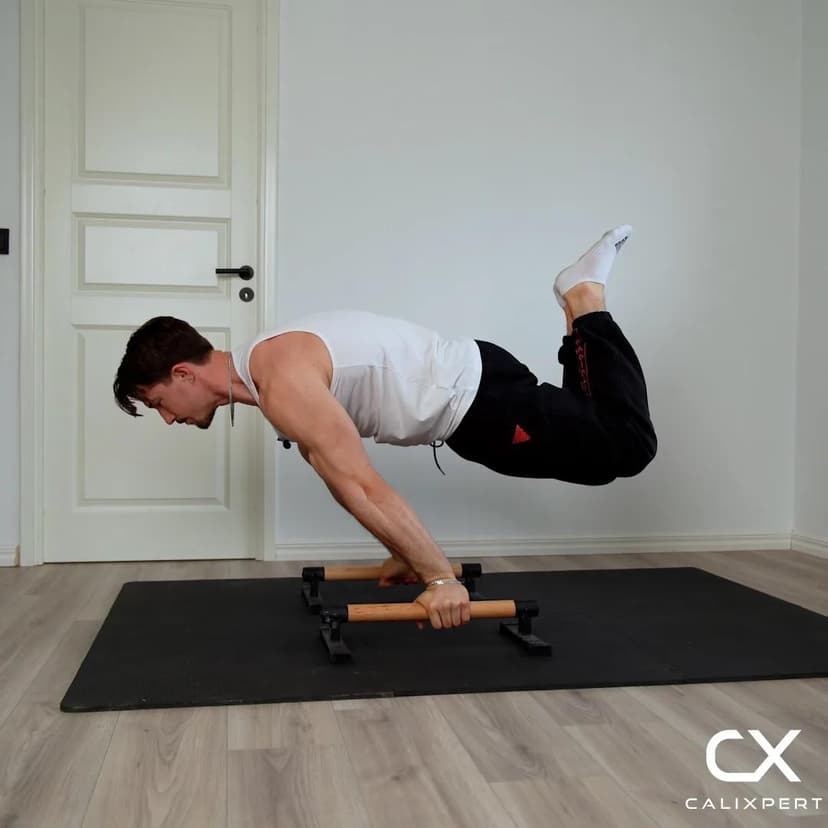
From the tuck, move your knees backwards until they have passed your arms. That is the marker for this position, not a feeling. Keep the knee bent at about ninety degrees so the shin trails back behind you instead of dropping, and move the knee rather than the whole leg.
Knees behind the arms
5. Keep The Bum At The Same Height
The key thing is to keep the bum at the same height it was in the tuck. As the knees go back the hips want to lift, because that shortens the lever and makes the hold easier without you noticing. Film yourself from the side once and you will see it immediately.
Hips do not rise
6. Let The Hips Open As The Knees Travel
In the tuck the thigh is pulled up tight against your chest. As the knee goes back that angle at the hip has to open, so the thigh ends up pointing down and behind you with the shin trailing after it. Let it open under control while the midsection holds the pelvis, so the legs settle into the new position instead of swinging into it.
Hip angle opens, bum stays put
7. Hold Quality Seconds, Then Step Down
Hold for 5 to 15 seconds while you keep breathing. Come down the moment the shoulders slide back behind the hands, the elbows soften or the hips lift, because everything after that trains a different exercise. Rest 2 to 3 minutes between sets.
Position first, time second
Do not treat this as a new skill. It is your tuck planche with the knees moved backwards. Get into the tuck first, arms fully locked, shoulders protracted, then move the knees back until they have passed your arms. The thing almost everyone misses is the bum. Keep it at the same height it was in the tuck. If it lifts, you have made the exercise easier without realising, and the seconds on the clock stop meaning anything.
Muscles Worked During Advanced Tuck Planche
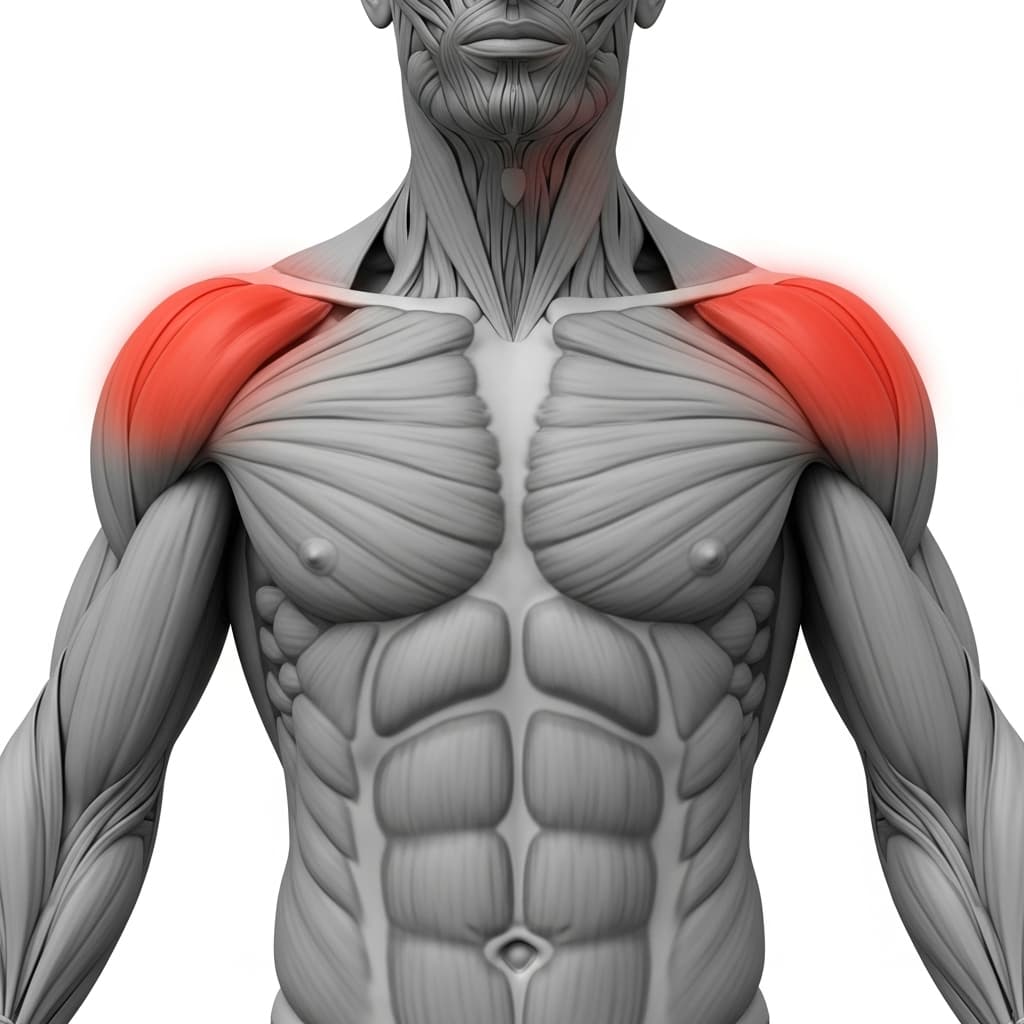
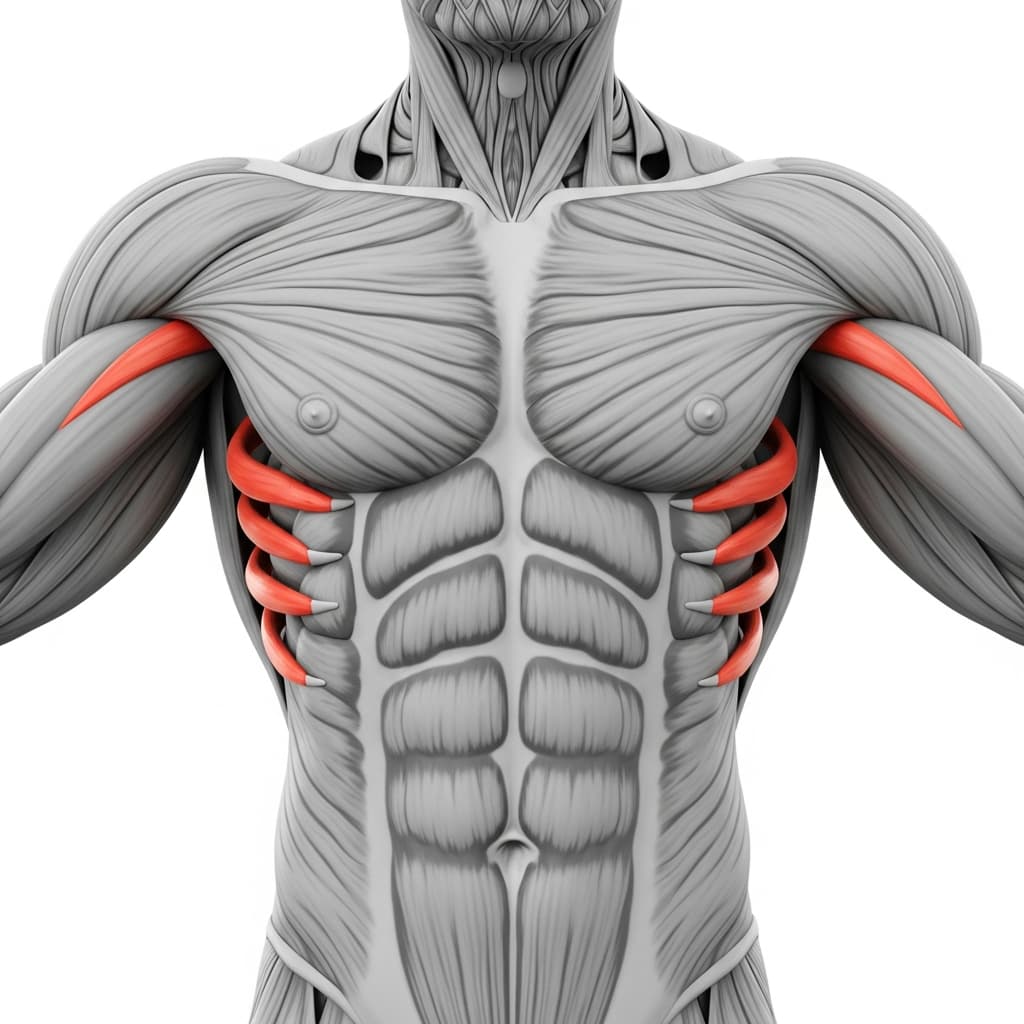
Primary Muscles:
Secondary Muscles:
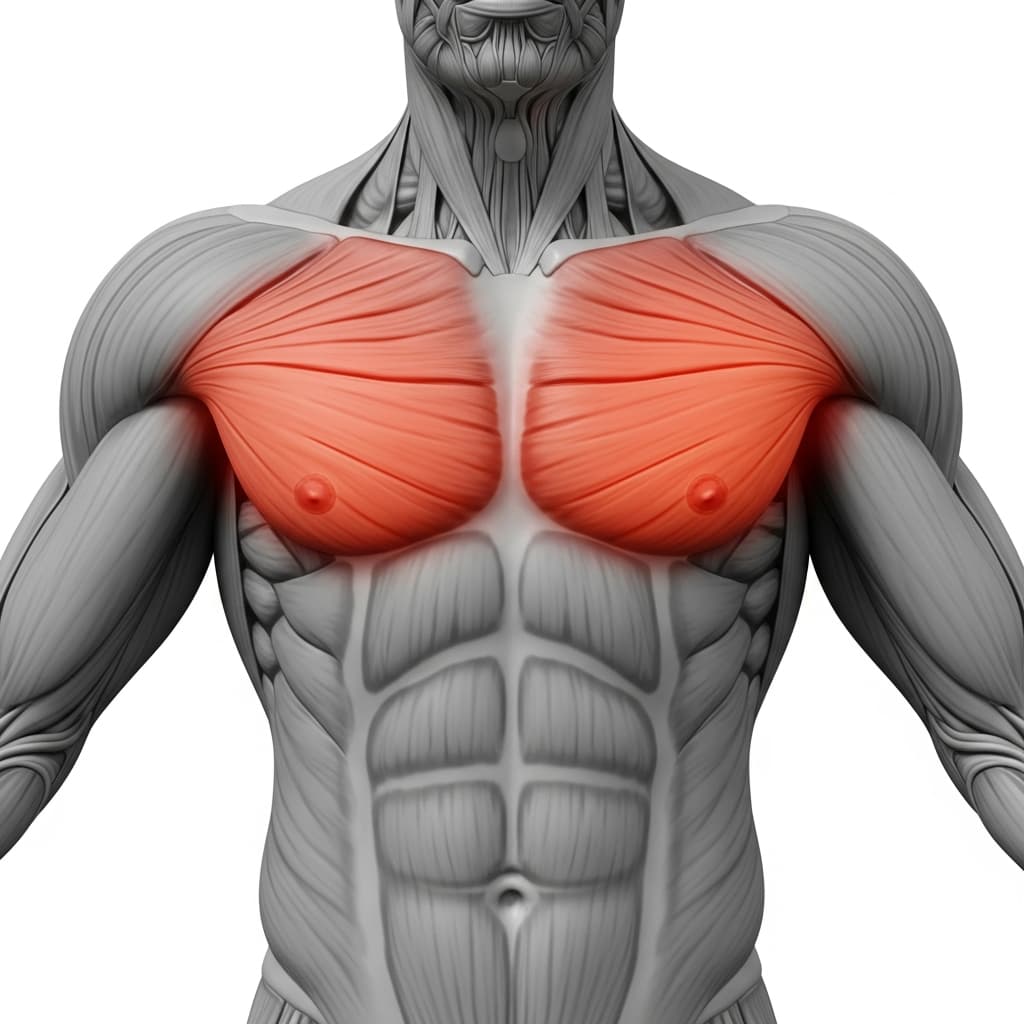
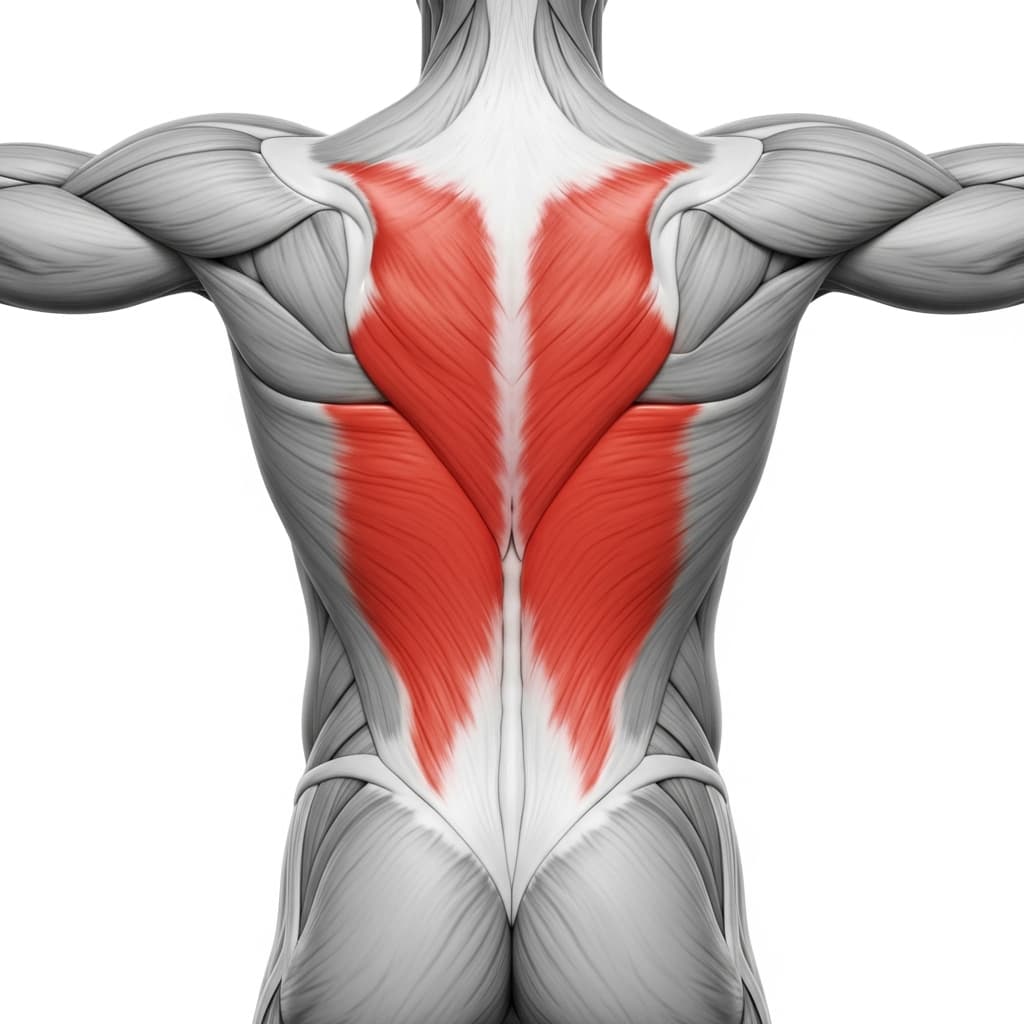
Primary Muscles
Anterior Deltoid (Front Deltoid) - Holds your whole body out in front of your hands, and the further the knees travel back, the more it has to resist.
Serratus Anterior (Serratus Anterior) - Keeps the shoulder blades pushed forward and flat against the ribs, which is the protraction that gives the shoulder a stable base to work from.
Secondary Muscles
Pectoralis Major (Chest) - Works with the front deltoid to keep the arms pinned underneath a body that is constantly trying to fall backwards.
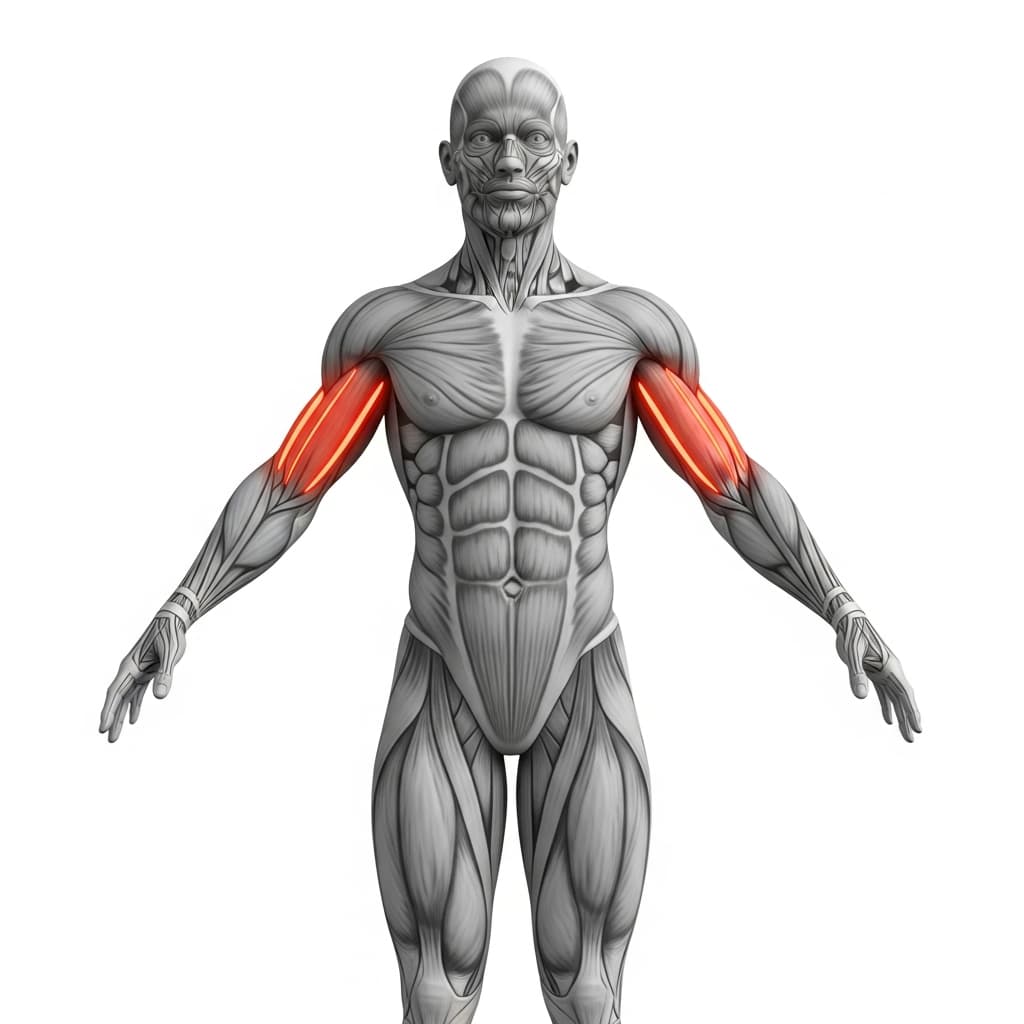
Biceps Brachii (Biceps) - Resists the load pushing your locked elbow towards hyperextension, which is why the tendon often complains long before the muscle feels tired.
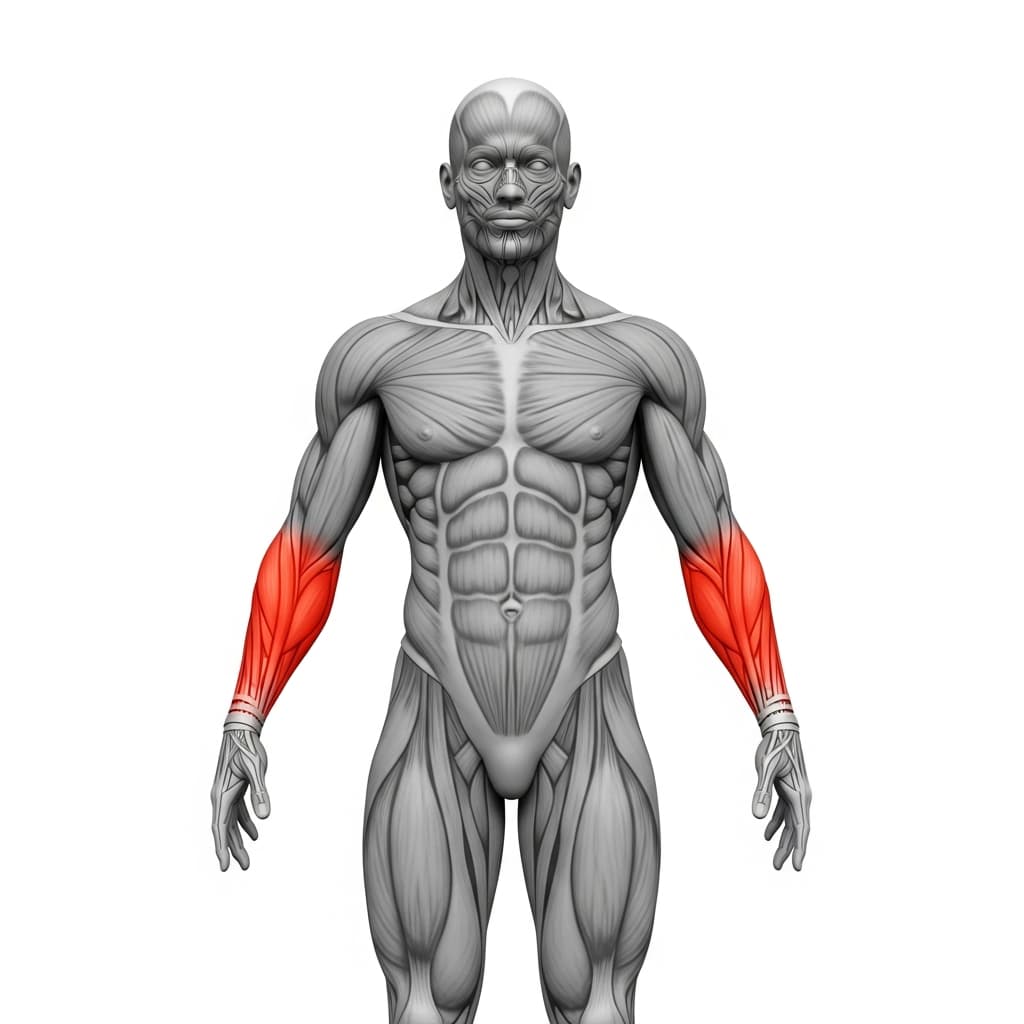
Forearm Flexors & Extensors (Forearms) - Grips the bars and holds the wrist angle steady so the heel of the hand does not lift as you lean further forward.
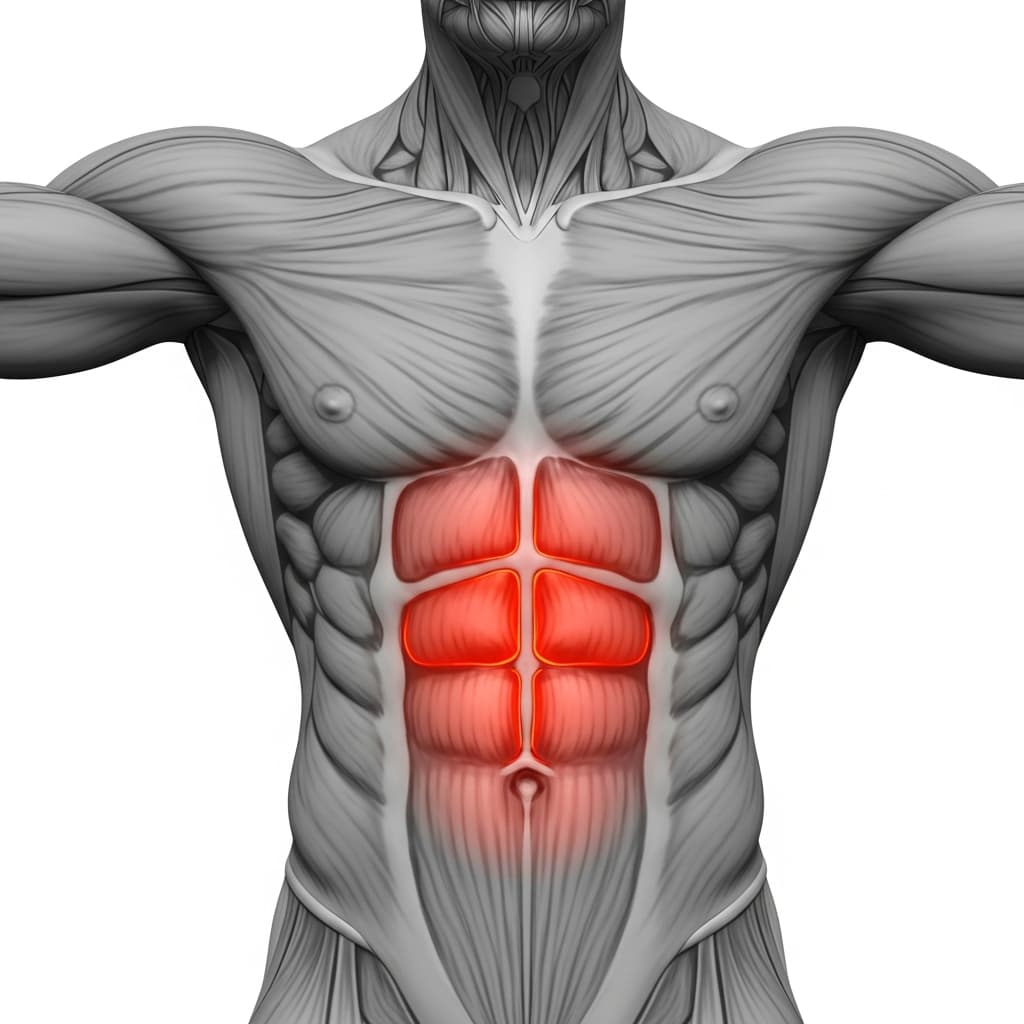
Rectus Abdominis (Abs) - Holds the pelvis steady while the hip angle opens, so the shape you set at the start is still the shape you are in when the hold ends.
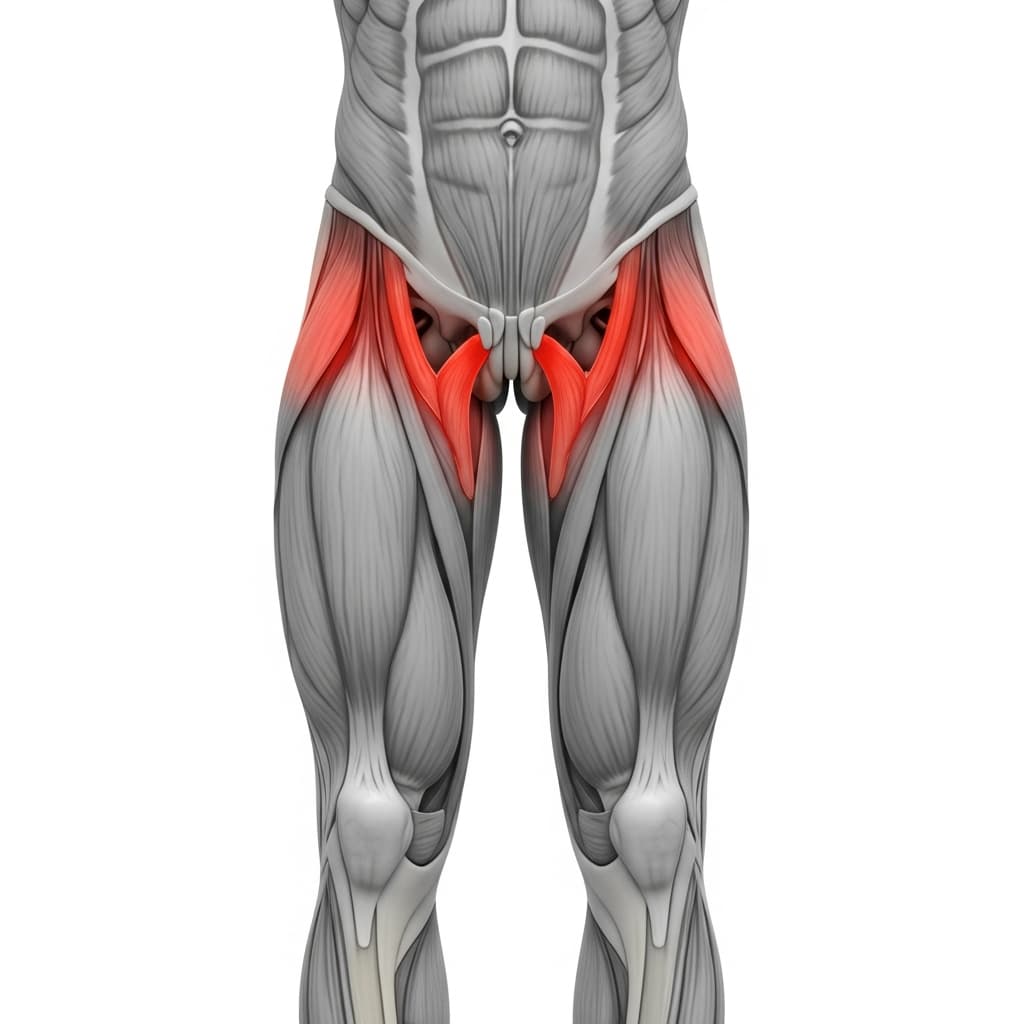
Iliopsoas (Hip Flexors) - Hold the knees in tight in the tuck you start from, then keep the leg carried as one folded piece while it travels backwards.
Erector Spinae (Spinal Erectors) - Hold the lower back against a load that wants to fold you straight back into the tighter tuck shape.
Benefits of Advanced Tuck Planche
- Builds straight arm shoulder strength at a lever you can still control, which is a quality no amount of push ups will give you.
- Trains the serratus to hold protraction while the lever gets longer, so the shoulder keeps a stable base instead of dumping load into the elbows.
- Teaches the core to hold the pelvis steady while the hip angle opens, which is what every position above this one is built on.
- Conditions wrists, elbows and biceps tendons at a load you can still control, which matters because connective tissue adapts more slowly than the muscle pulling on it.
- Opens the rest of the ladder, since a clean 10 to 15 second hold here is what we want in place before halflay or straddle work.
Who Is This Exercise For?
Before you start moving the knees back, you want a tuck planche you actually own: arms fully locked, shoulders protracted, held for 10 to 15 seconds for 3 to 5 sets without the shape falling apart. Wrists and elbows need to be ready too, because this position keeps you at a steeper lean for longer, so put a few minutes of wrist prep in every warm up and do not start a session carrying elbow pain from the last one. A 30 second hollow body hold helps, since holding the pelvis still is a core job before it is a shoulder job. Plenty of people spend several months in the tuck planche before this one comes together, and that is normal.
Common Mistakes to Avoid
Letting the hips rise as the knees go back: This is the most common cheat here and it feels like progress, because raising the bum shortens the lever and buys you seconds. It is usually overcompensation for the extra load, or a habit carried over from the tighter tuck. Film one set from the side, mark where your hips sit in the tuck planche, and keep them at exactly that height while the knees move.
Calling it an advanced tuck before the knees pass the arms: Daniel's marker is a simple one to check: the knees move backwards until they have passed your arms. Anything short of that is a tuck planche with the hip slightly opened, however hard it feels, and a half finished version trains a shorter lever than you think you are training. Film one hold from the side and look at where the knee sits against the line of your upper arm, because from the inside the two feel almost identical.
Losing protraction under load: The shoulder blades pinch back together as the serratus tires, so the shoulders drift towards the spine instead of staying pushed forward and away from it. It matters because a retracted shoulder loses its stable base and dumps the load onto the biceps and elbow tendons instead. Treat it as the end of the set, not something to fight through, and use shorter holds with more sets until the serratus keeps up.
Elbows bending during the hold: Soft elbows usually mean the straight arm strength is not there yet for this lever, and the bent position moves load onto the biceps tendon exactly where it is least conditioned. Drop back to a shorter lever for a few weeks and warm the elbow properly, a few sets of light curls before straight arm work is a common way to do that. If you genuinely cannot lock out at all, that is a range of motion question worth getting assessed rather than more volume.