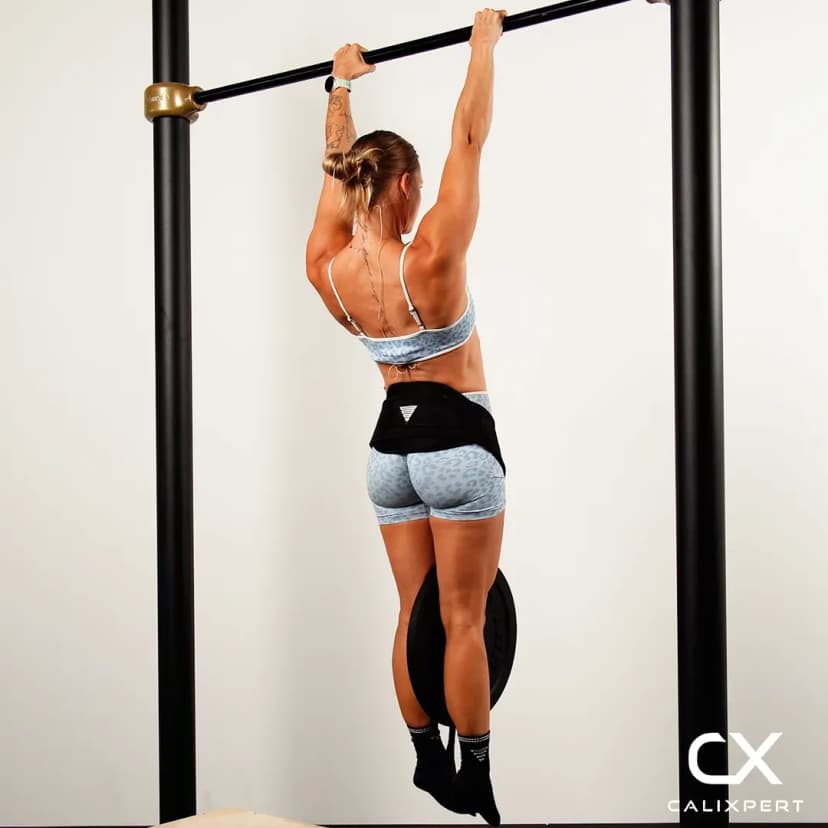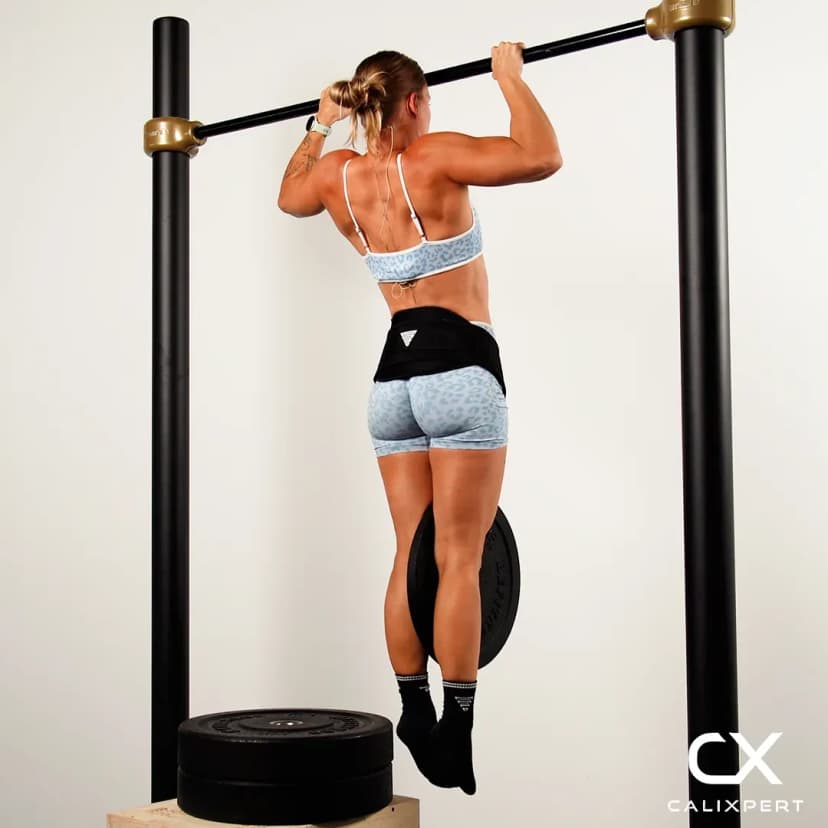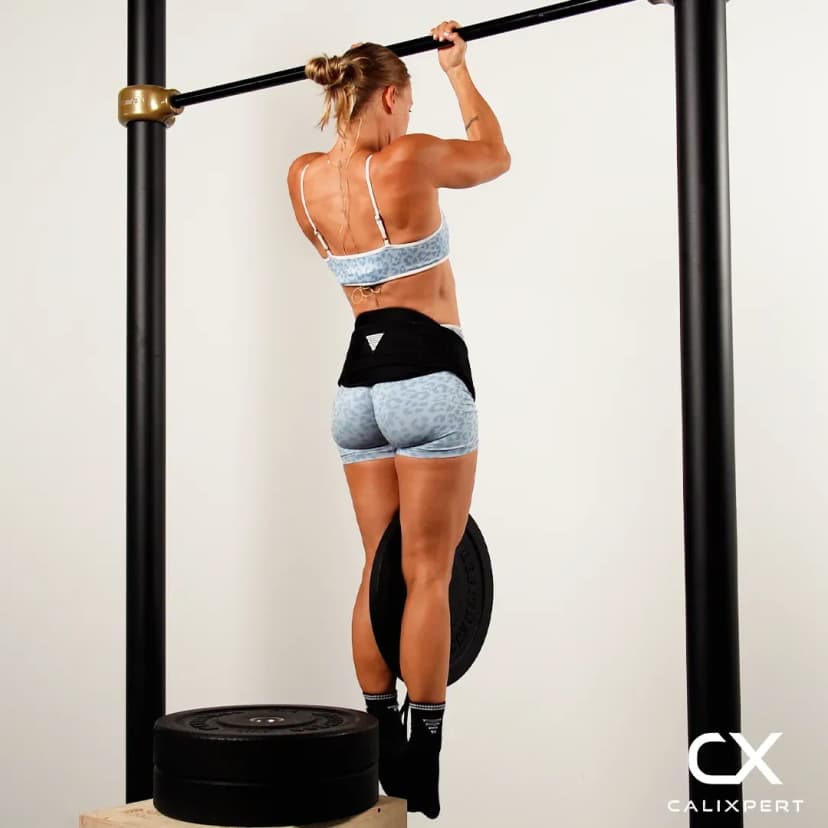
Bodyweight Hip Rows
Bodyweight hip rows are a row with the target moved. The rings hang at about hip height, your feet stay on the floor, and you pull the rings in to your hip rather than your chest. That sends the elbows further behind your torso and puts the shoulder into deeper extension, which is what loads the lats and teres major. Foot position sets the load, so the same movement scales from easy to very hard without adding any weight.
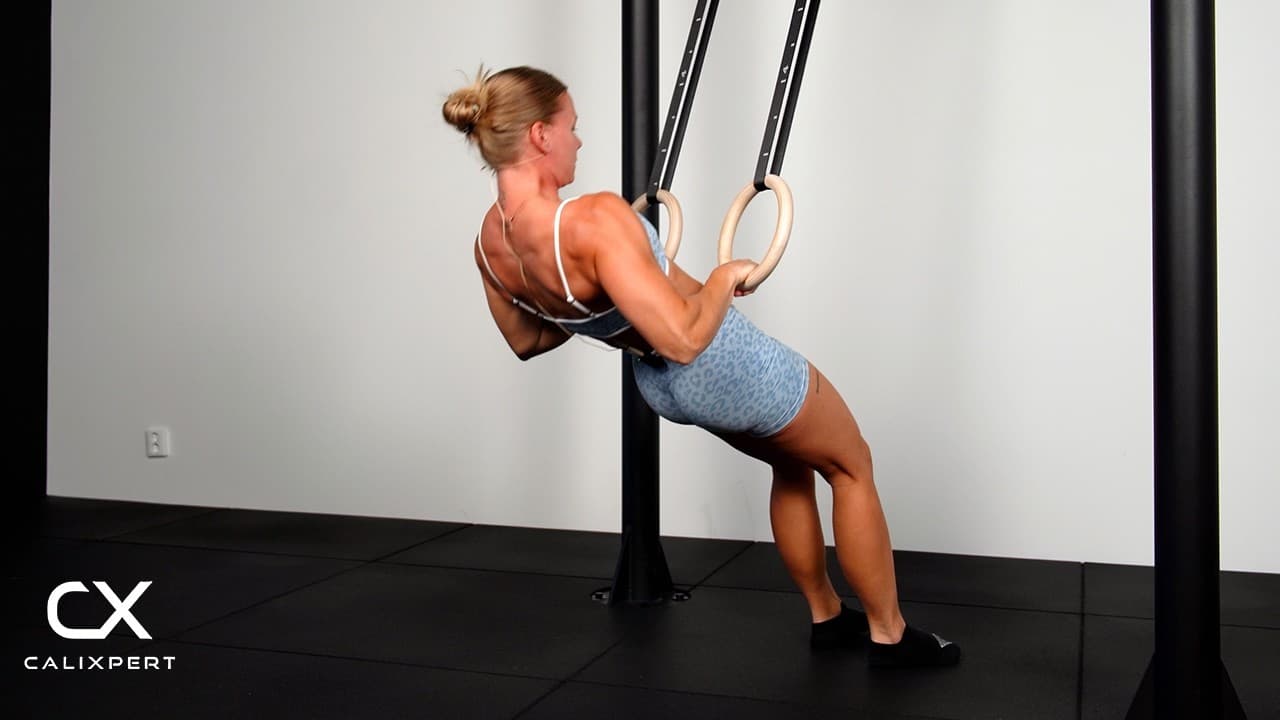
Bodyweight hip rows are a row with the target moved. The rings hang at about hip height, your feet stay on the floor, and you pull the rings in to your hip rather than your chest. That sends the elbows further behind your torso and puts the shoulder into deeper extension, which is what loads the lats and teres major. Foot position sets the load, so the same movement scales from easy to very hard without adding any weight.
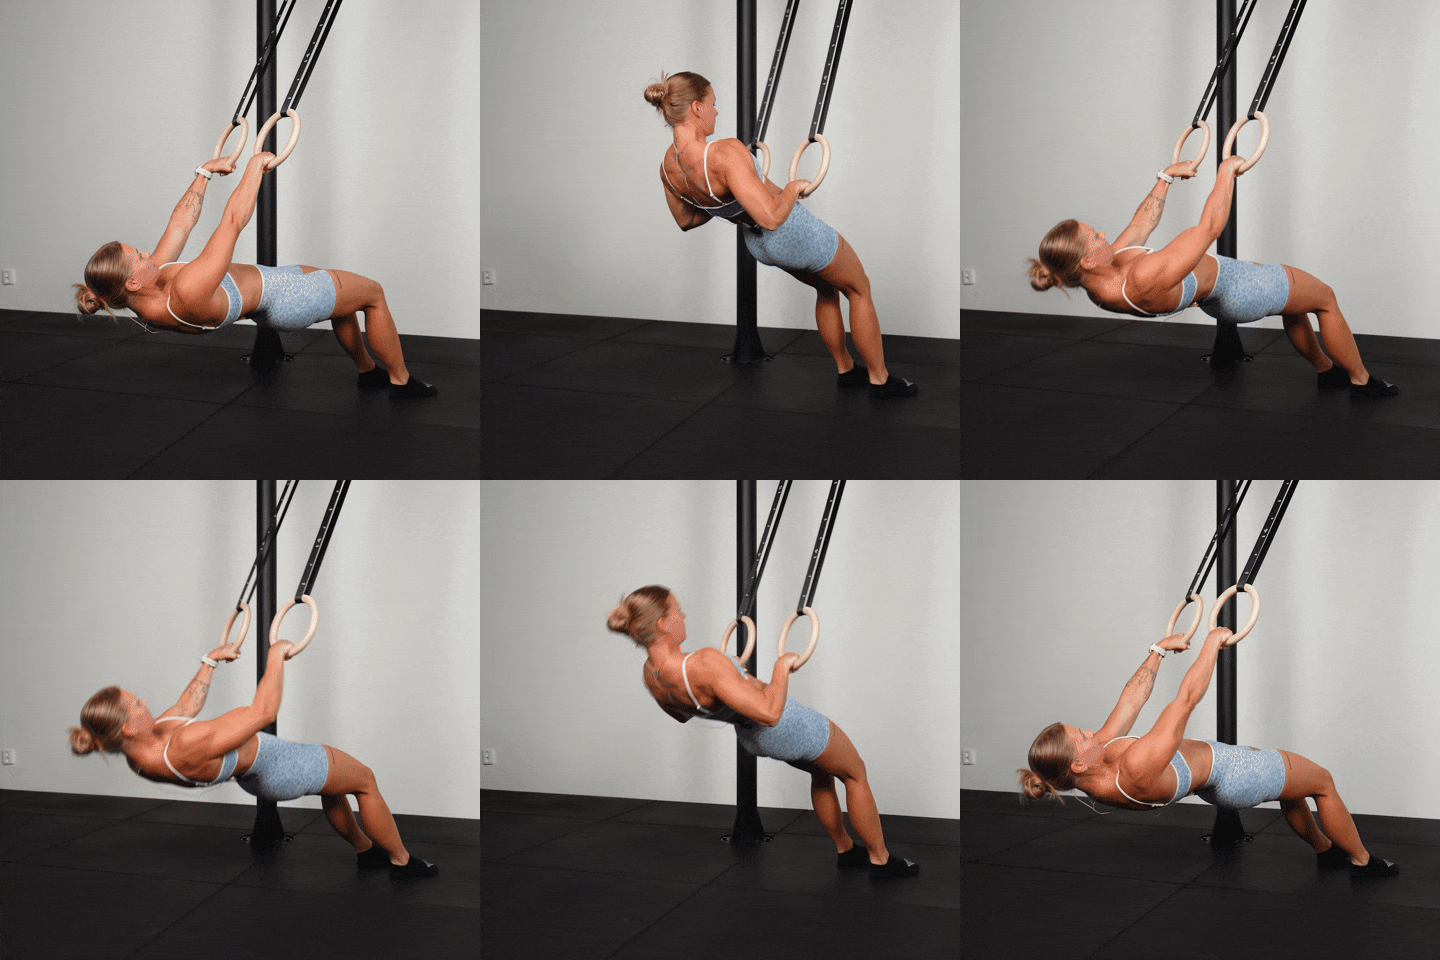
How to Do Bodyweight Hip Rows
1. Set The Rings At Hip Height
Hang both rings so they sit at about hip height and check that they are level with each other. Uneven rings load one side harder on every rep and you will not feel it while you are working. This height is the whole point of the exercise, because it is what makes the hip reachable at the top.
Rings level, roughly hip height.
2. Set The Difficulty With Your Feet
The further back you stand from the rings, the more upright you stay and the easier this is. Walking the feet forward, under and then past the rings, makes it harder. Pick a position and keep your feet there, because letting them creep backwards mid set quietly makes the exercise easier without you noticing.
Further back is easier, feet under the rings is harder.
3. Take A Shoulder Width Pronated Grip
Grab the rings roughly shoulder width apart with a pronated grip, so the thumbs point inwards and stay pointing inwards through the pull as well. Keeping the palms turned down makes it easier to bring the rings up along your body to the hip, which is what you are trying to do. It also puts the biceps at a weaker angle than an underhand grip, so the back does more of the work.
Palms down, thumbs pointing inwards.
4. Lock The Hip In Full Extension
Squeeze the glutes and brace the core so the hip stays in full extension and the torso and thighs hold one line. The knees bend as much as they need to for you to get your body under the rings, which is normal at this height. What must not move is the hip, so no sag at the bottom and no lift at the top to help you.
Glutes on, hip locked, core engaged.
5. Pull The Rings To Your Hip
Pull strictly and under control until the rings arrive at your hip, not your chest. Keep the elbows roughly 45 degrees from your body the whole way, no flaring out wide and nothing super tucked in. The elbow finishes behind your torso, and that is what puts the shoulder into extension.
Elbows roughly 45 degrees from the body.
6. Squeeze The Shoulder Blades Together At The Top
At the top of the pull, squeeze the shoulder blades together to engage the lats. This is very important here and it is the part most people skip, because the arms can finish the rep on their own. Keep the shoulders pulled down away from your ears while you squeeze, so the upper traps do not take the job.
Squeeze, do not shrug.
7. Lower Under Control
Lower yourself back down at a controlled speed until the arms are straight and the shoulder blades release at the bottom. Do not drop into the bottom and bounce out of it, since that is where the strict version turns into a swing. The hip stays locked the whole way down, and that is usually the first thing to give.
Arms straight, hip still.
This one falls apart at the hip. People pull, the hip pops up, and the rep looks finished because the rings reached the body, but the back never moved through anything. Lock the hip in full extension before you pull and keep it there until the set is over. Pull the rings to your hip, squeeze the shoulder blades together at the top, then lower slowly. If you cannot hold the hip still, walk your feet back and make it easier.
Muscles Worked During Bodyweight Hip Rows
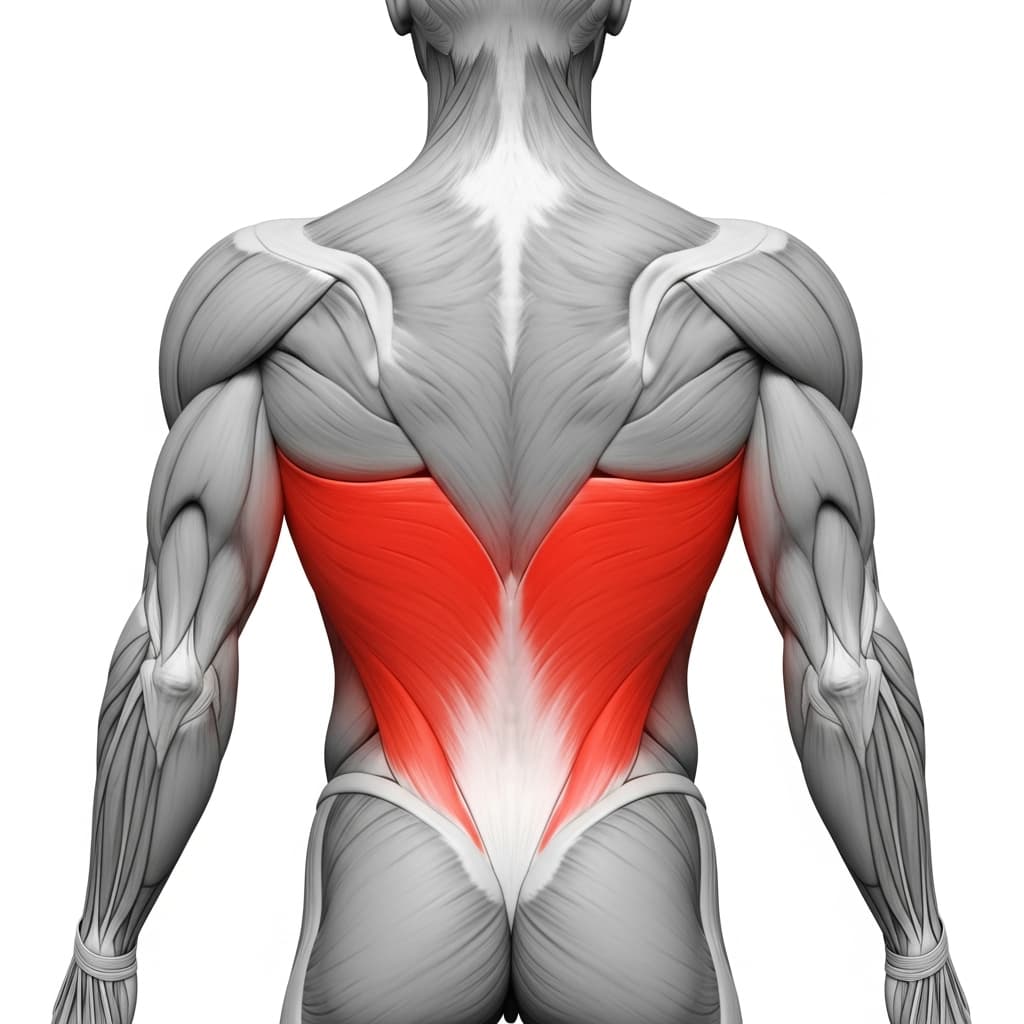
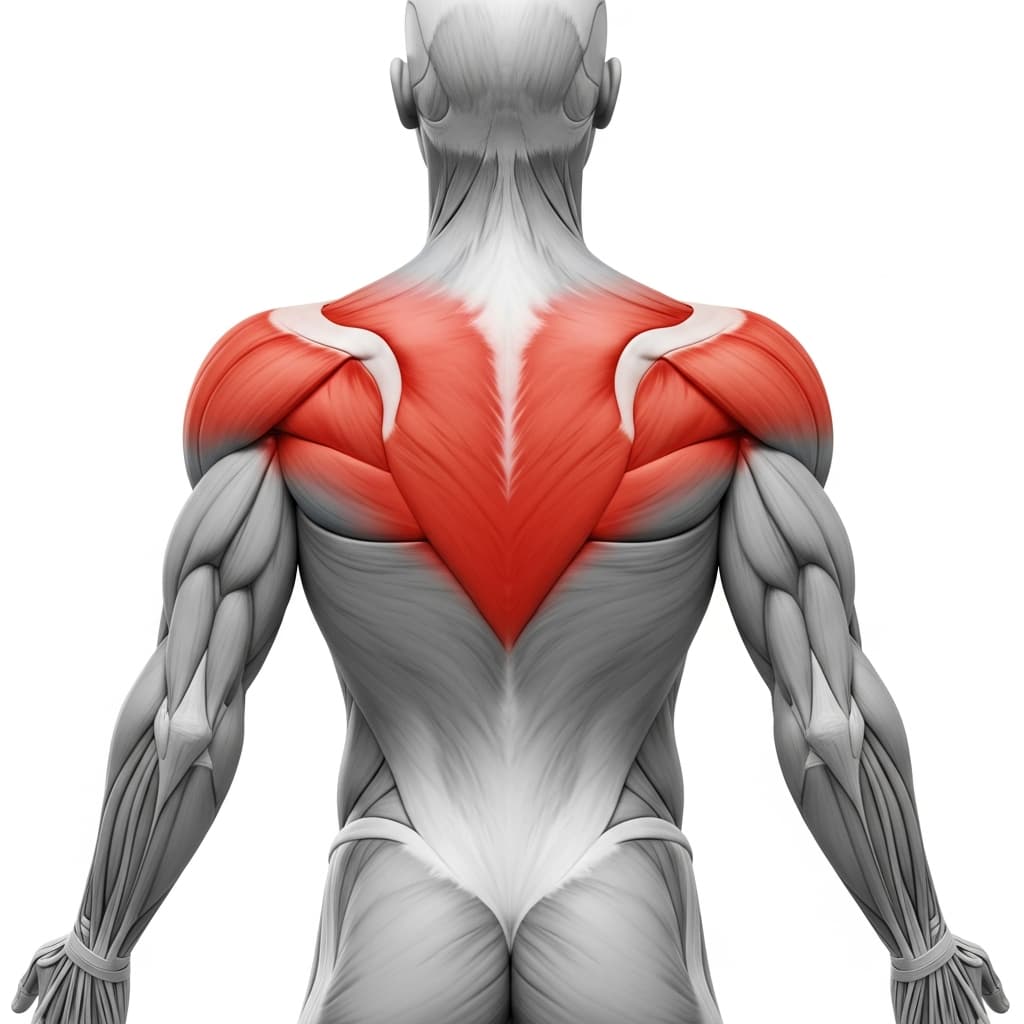
Primary Muscles:
Secondary Muscles:
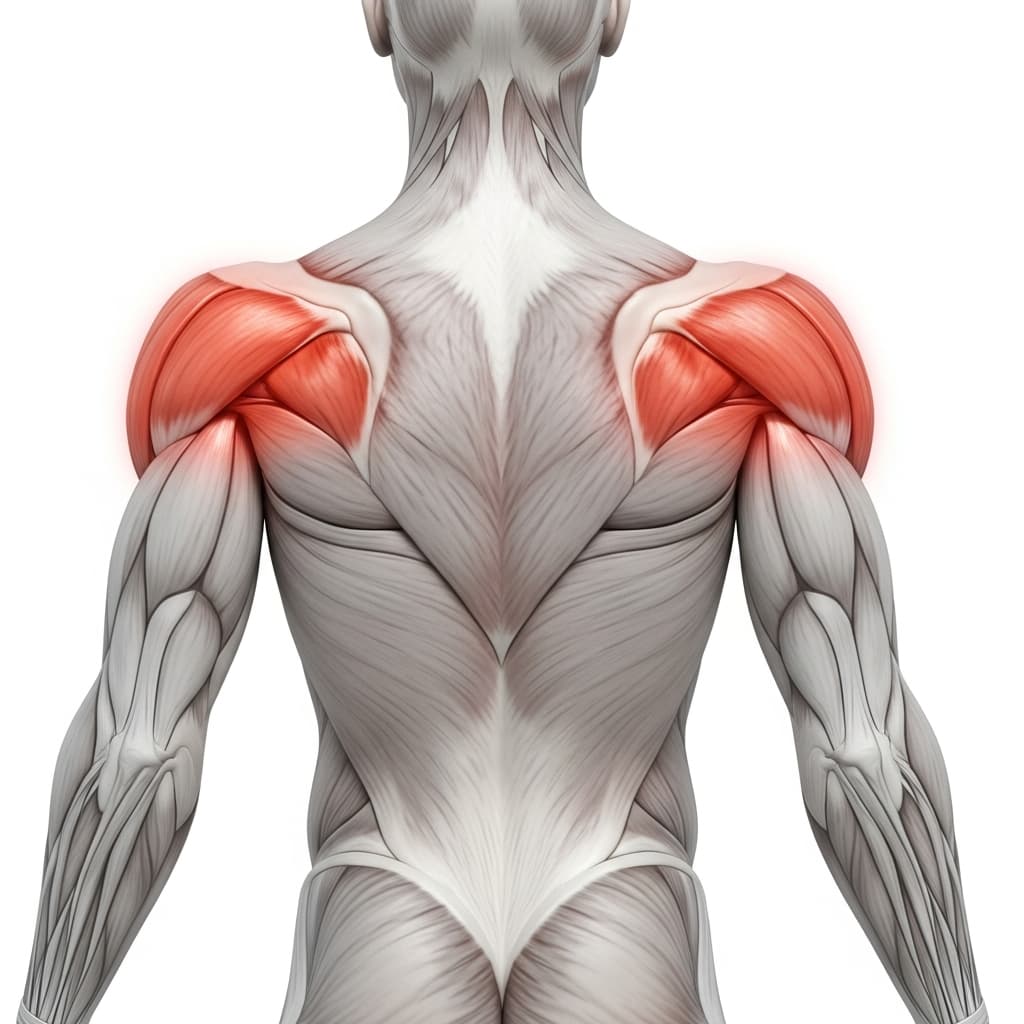
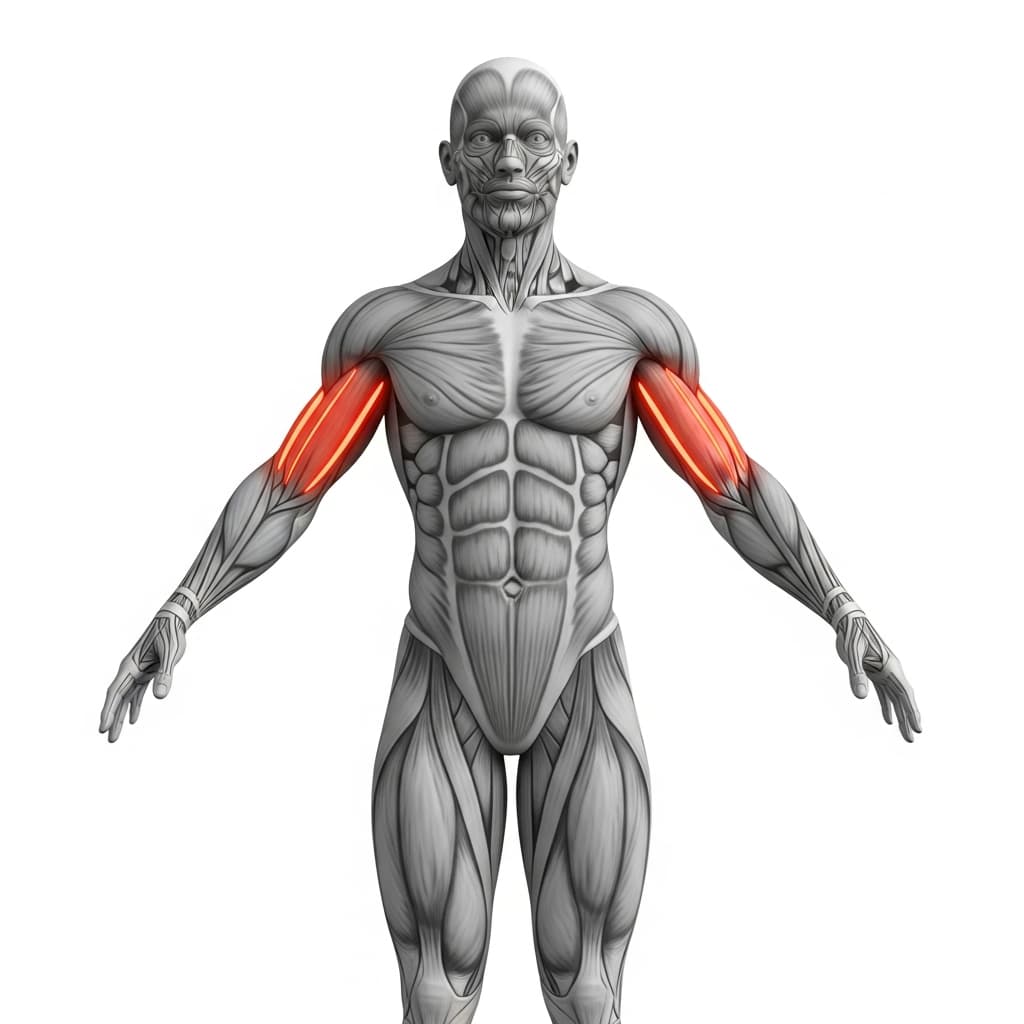
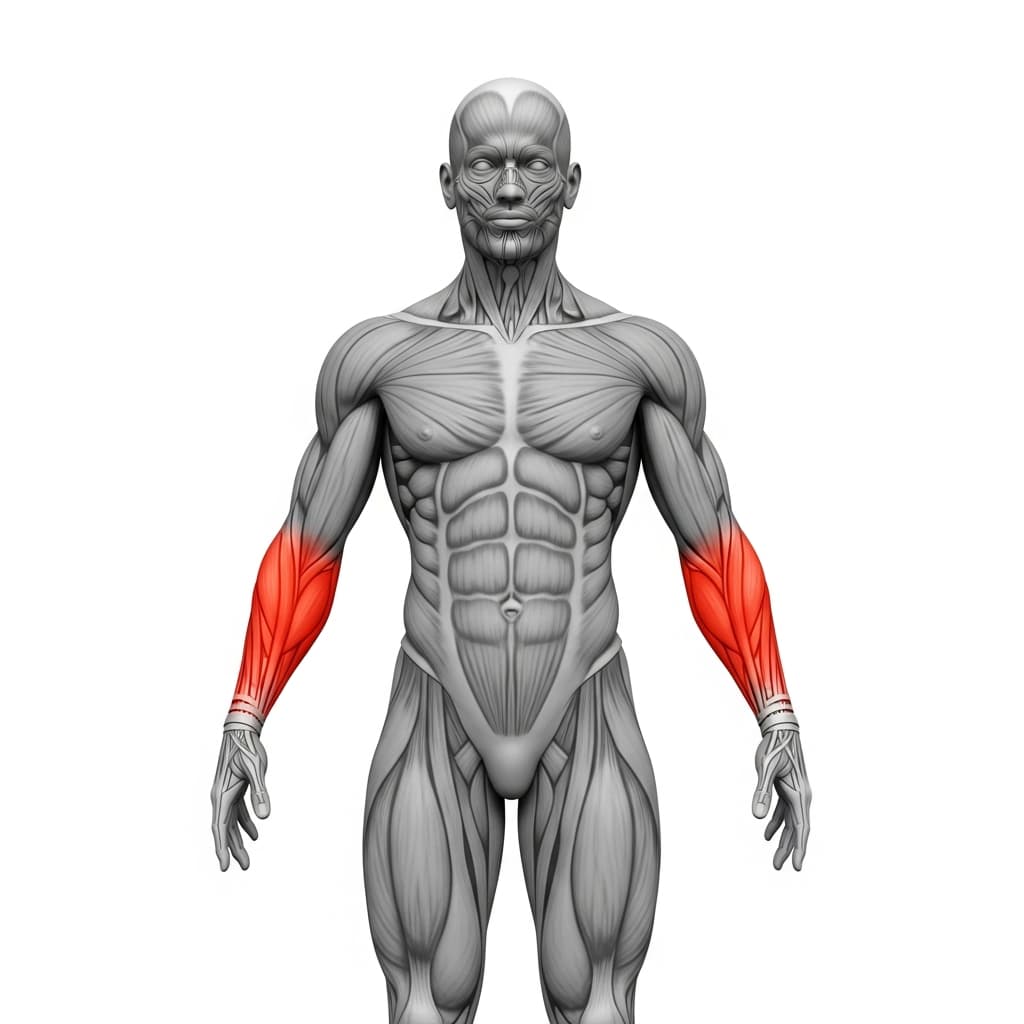
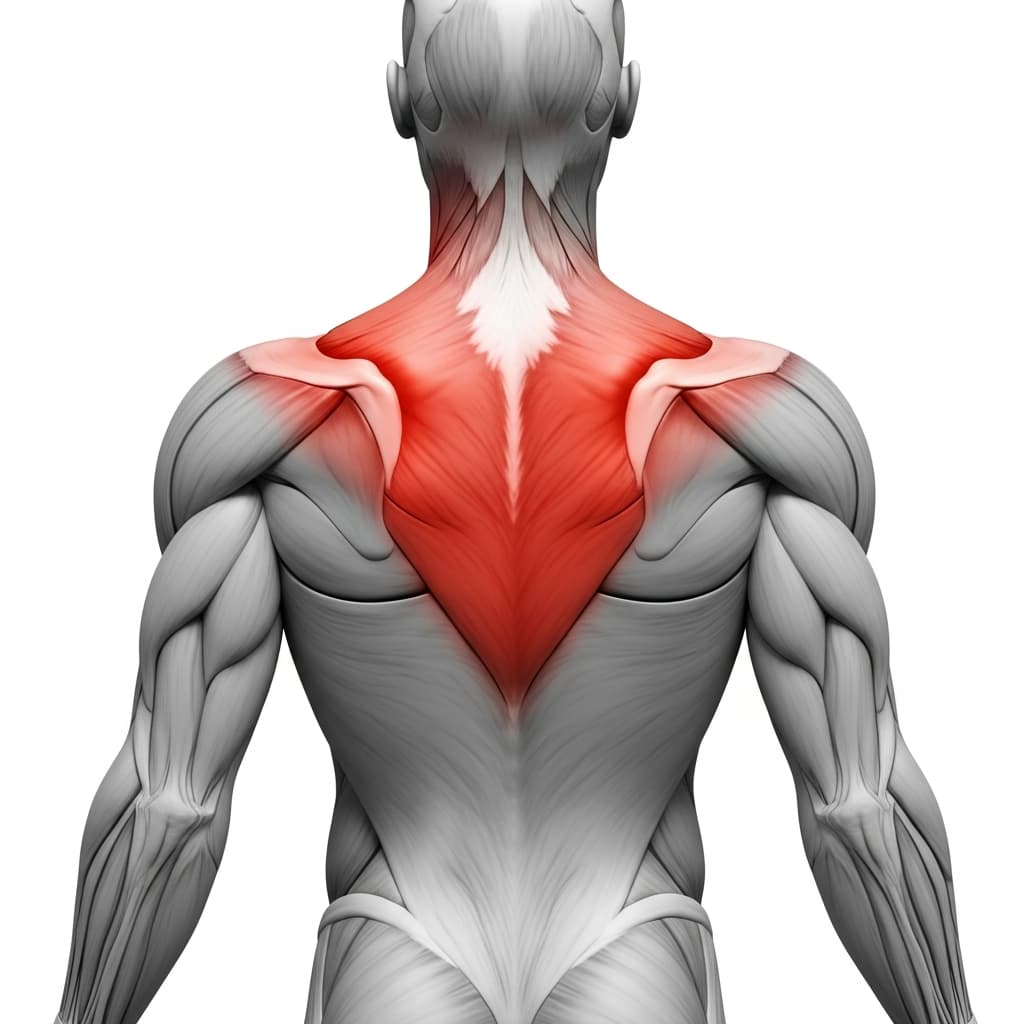
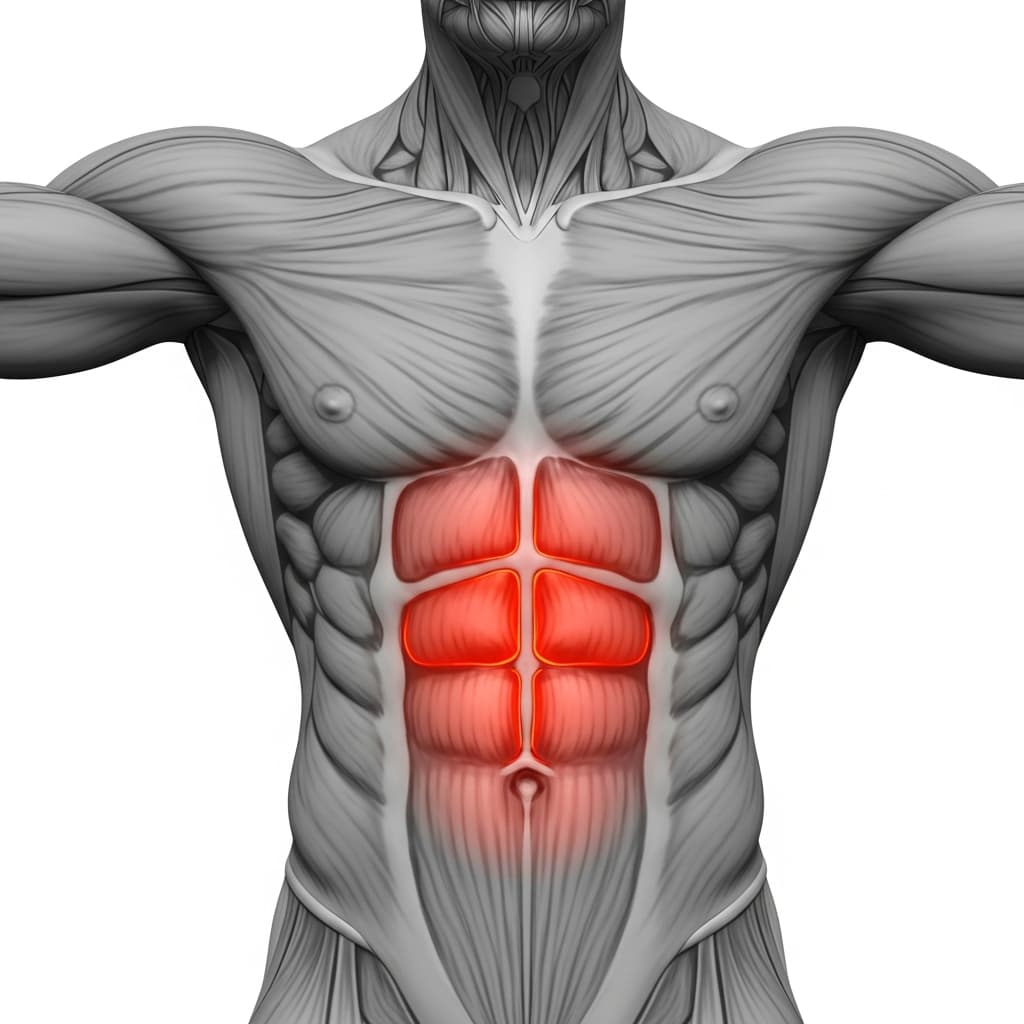
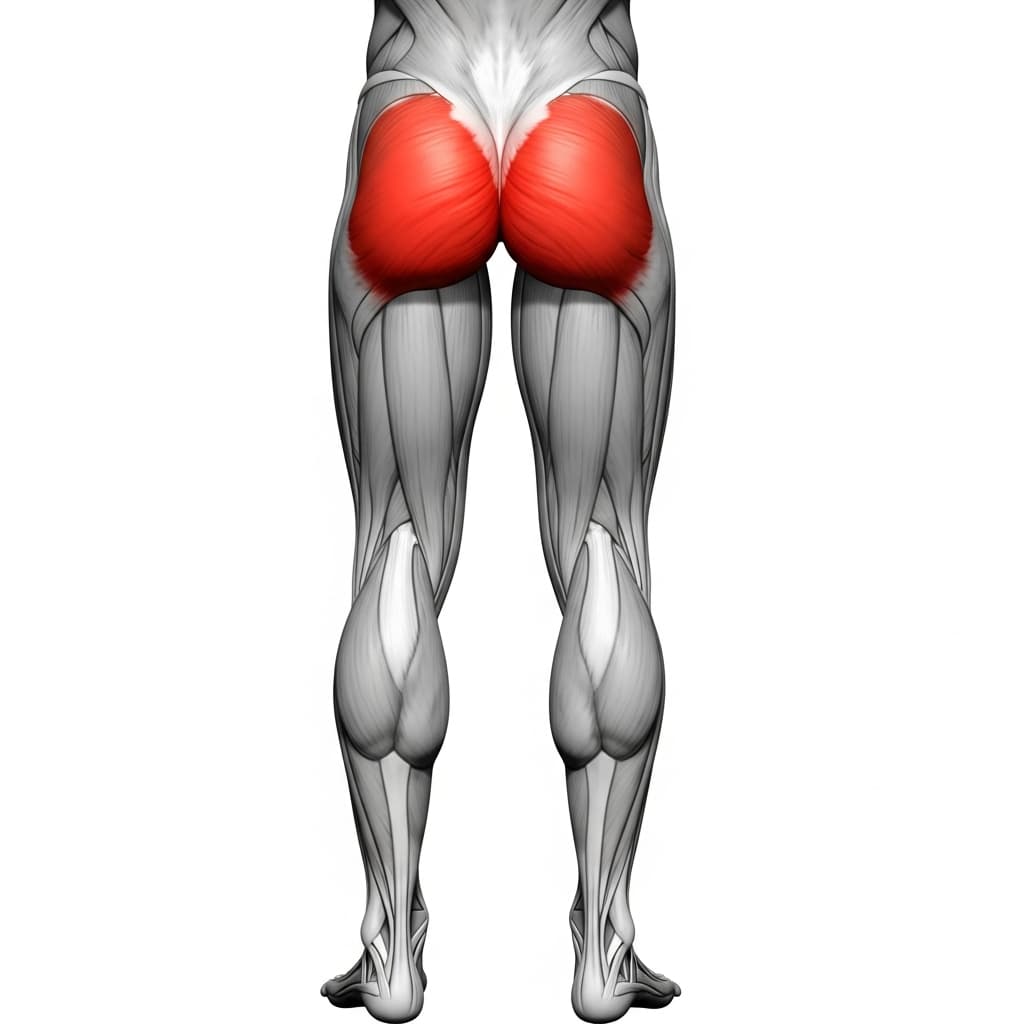
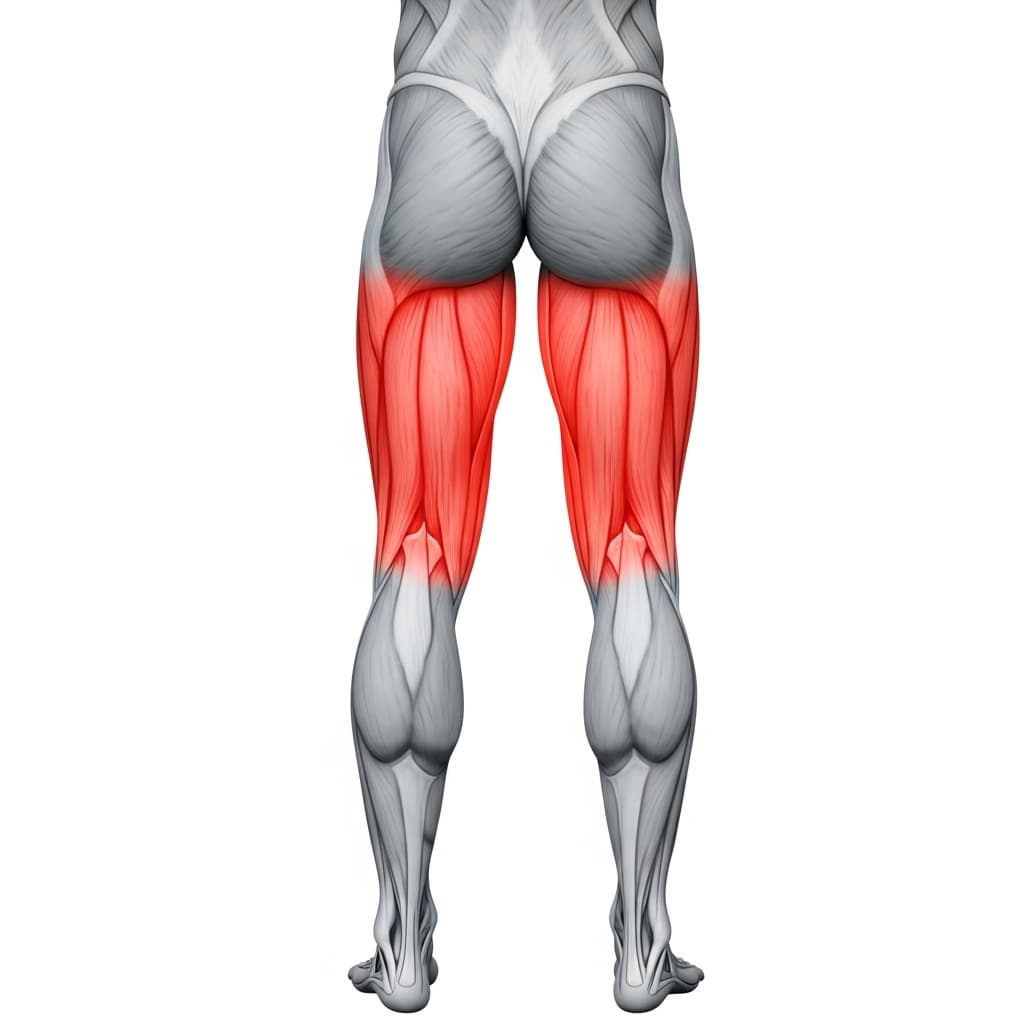
Primary Muscles
Latissimus Dorsi (Lats) - The lats do the bulk of the work, driving the upper arm back and down into shoulder extension as the rings travel to your hip.
Rhomboids & Upper Trapezius (Upper Back) - The mid back and rhomboids pull the shoulder blades together at the top of every rep, which is the squeeze that finishes the pull.
Secondary Muscles
Posterior Deltoid (Rear Deltoid) - The rear deltoid helps drive the elbow behind your torso, and it takes a much bigger share of the work whenever the elbows drift out wide.
Biceps Brachii (Biceps) - The biceps bend the elbow through the pull, though the overhand grip stops them taking over the way they do on an underhand grip.
Forearm Flexors & Extensors (Forearms) - Your forearms and grip hold two rings steady while the whole setup tries to rotate and swing under you.
Trapezius (Trapezius) - The mid and lower trapezius hold the shoulder blades down and back so the shoulders do not shrug up toward your ears.
Rectus Abdominis (Abs) - The abs stop the ribs flaring and the lower back arching while you pull hard against a hip that is not allowed to move.
Gluteus Maximus (Glutes) - The glutes hold the hip in full extension for the whole set, which is what keeps every rep honest.
Hamstring Group (Hamstrings) - The hamstrings work with the glutes to stop the hip dropping, and they are more active in this position than most people expect.
Benefits of Bodyweight Hip Rows
- Builds the lats and teres major through shoulder extension, the same joint action that drives a pull up.
- Scales in both directions with nothing but your feet, so one setup covers a beginner and an advanced athlete.
- Works the back hard while keeping load on the lower back low, unlike a heavy bent over row.
- Trains the hip and core to hold full extension while you pull, which is the exact skill a front lever row is built on.
- Balances out pressing work by strengthening the mid back and rear deltoid in a position push exercises never reach.
Who Is This Exercise For?
Before you start pulling to the hip, you want a strict standard row and a hip that does not move. A good check is a straight body plank held for about 30 seconds with the glutes switched on and no sag, plus eight to ten controlled rows at an easy angle where the hips stay completely still. If the hips shift at all on a normal row, hip rows will only teach you a bigger hip swing. You also need a pair of rings you can hang level at hip height, with enough floor space behind them to lean back.
Common Mistakes to Avoid
Pulling to the chest out of habit: Every mainstream row tutorial says chest to the bar, so the hand drifts up the body without you deciding to. It is a muscle selection error rather than a sloppy one, because a chest target keeps the elbows wider and works the rear deltoid and mid back instead of biasing the lats. Aim the rings at your hip bones instead, and hold the elbows at roughly 45 degrees from your body all the way up.
Swinging the hips to create momentum: The hip either sags at the bottom or pops up at the top, and both are the hip leaving full extension. It matters more here than on a chest row, because lifting the hips physically shortens the distance the rings have to travel, so you get a rep that never happened. Set the glutes before the first pull, and if you cannot hold the hip still, walk your feet back until you can.
Flaring the elbows out wide: Most people are taught to elbow someone behind them on bar rows, and that cue moves the work off the lats. With the elbows wide the shoulder is driving the upper arm out and back away from your sides, and the lats have very little leverage in that direction, so the rear deltoid and the small muscles around the shoulder blade take over. The lats do their work when the upper arm travels back behind your torso, so keep the elbows roughly 45 degrees from the body and aim the rings at your hip.
Stopping short at the top: People stop when the pull gets hard, which is exactly the range they are weakest in and need most. The rep is not finished when the rings are near your body, it is finished when the elbows are behind your torso and the shoulder blades have squeezed together. Take a full second at the top of each rep for a few sets and you will find where you have been cutting it.
Variations & Progressions
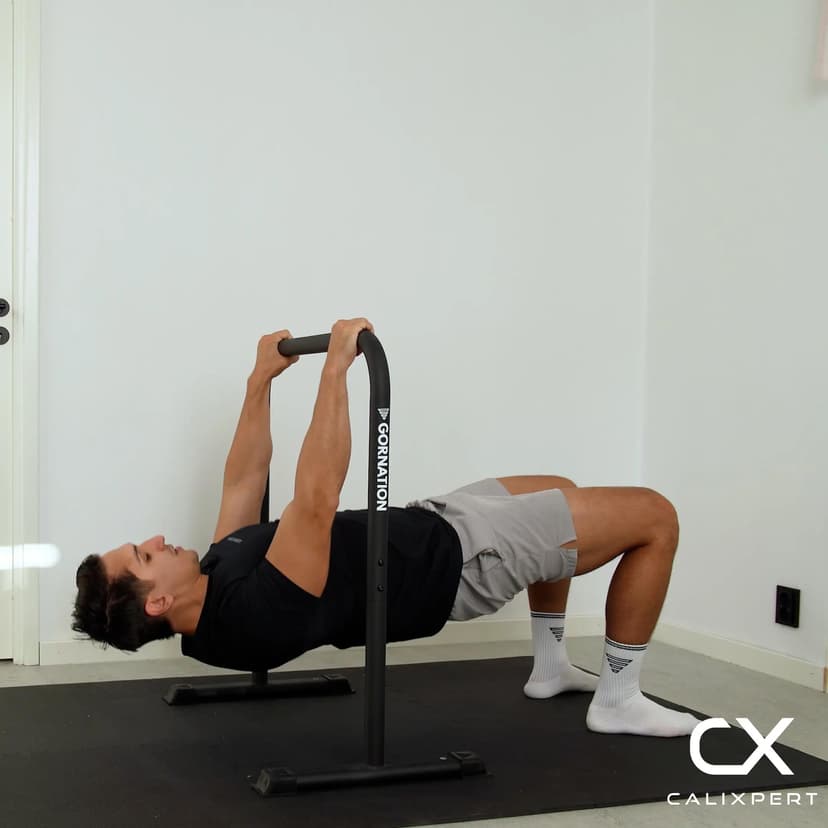
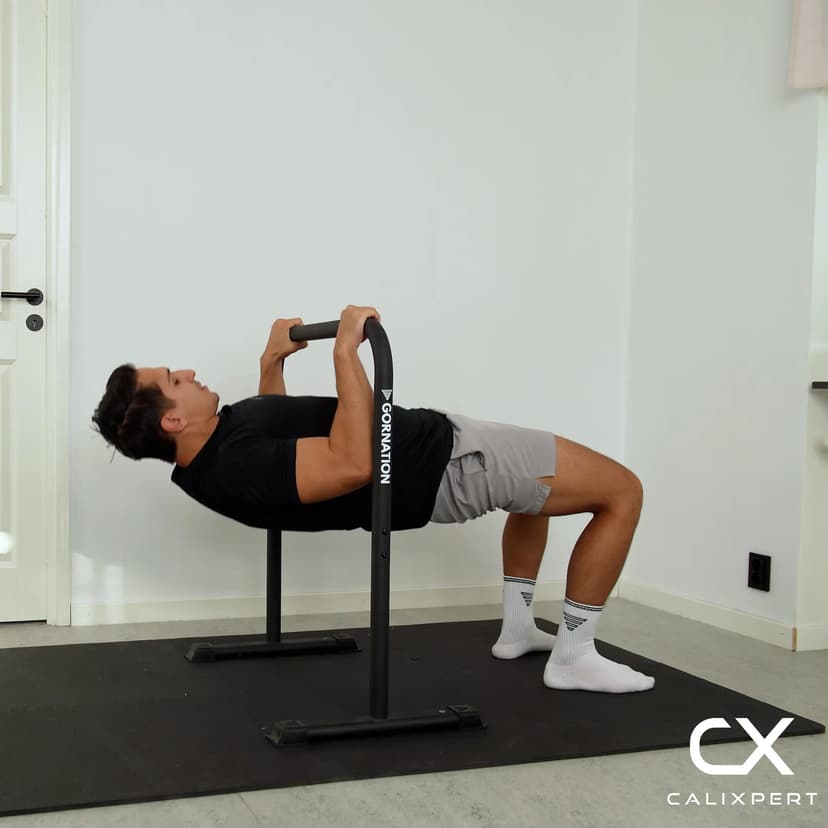
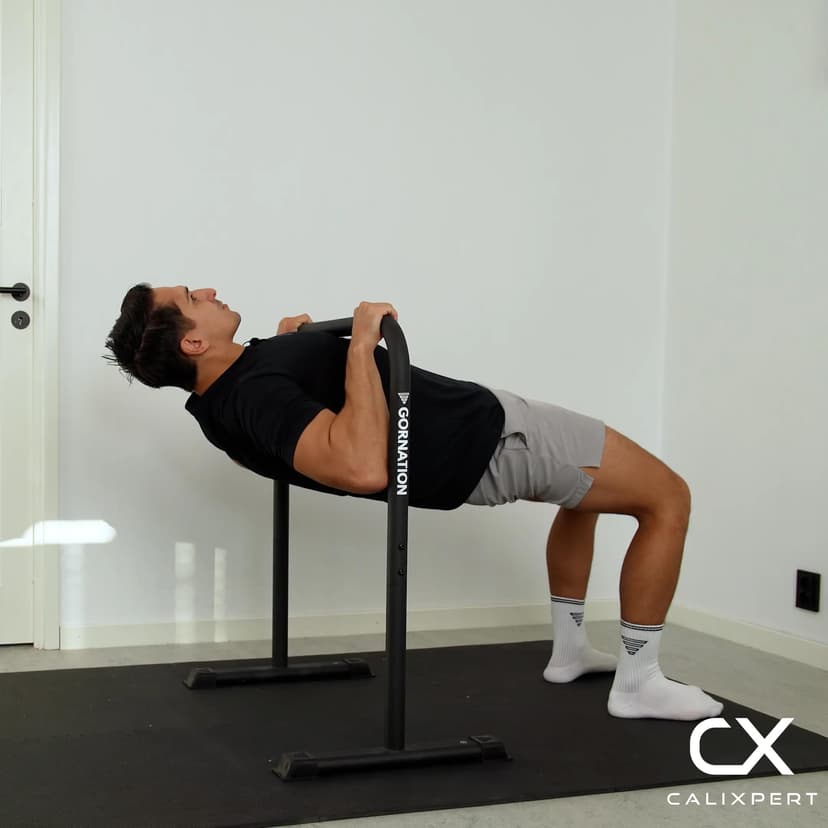
Tuck Front Lever Row
Takes the feet off the floor entirely and rows with the hips tucked, which is where the hip target has been pointing all along.