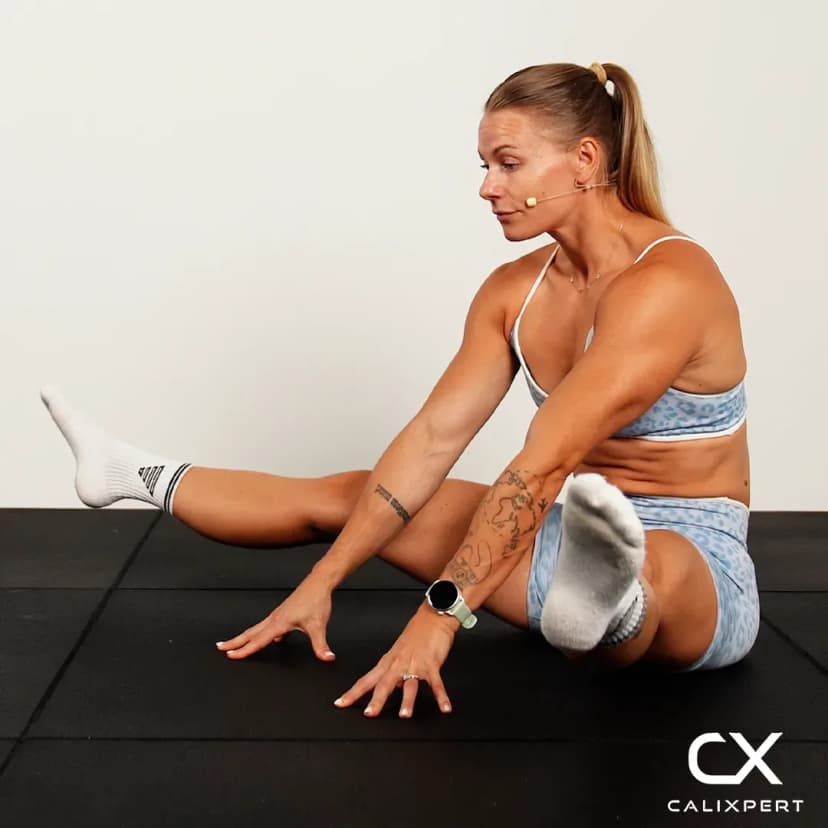
Compression Lifts Over An Object
Compression lifts over an object are a seated hip flexor and deep core drill where you lift your straight legs out over two objects and back in, upper body locked. You start in a semi-straddle with a yoga block or similar object outside each lower leg, so every rep has a height and sideways path to clear. Your forward lean sets the difficulty, and the objects set it apart from the Straddle Compression Lift, where the legs lift in place from a wide straddle.

Compression lifts over an object are a seated hip flexor and deep core drill where you lift your straight legs out over two objects and back in, upper body locked. You start in a semi-straddle with a yoga block or similar object outside each lower leg, so every rep has a height and sideways path to clear. Your forward lean sets the difficulty, and the objects set it apart from the Straddle Compression Lift, where the legs lift in place from a wide straddle.
How to Do Compression Lifts Over An Object
1. Set Up In A Semi-Straddle
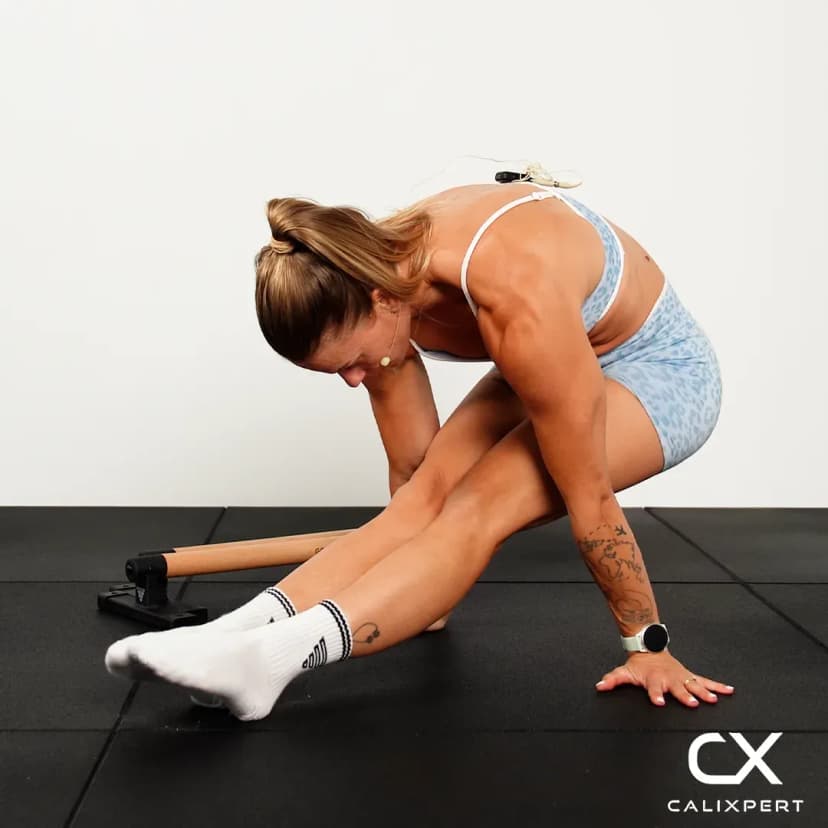
Sit on the floor with your legs straight and apart. A semi-straddle is a good starting width, not your widest straddle. Place one object, such as a yoga block, on the floor just outside each lower leg.
Semi-straddle, one object outside each leg.
2. Put Your Hands In Between
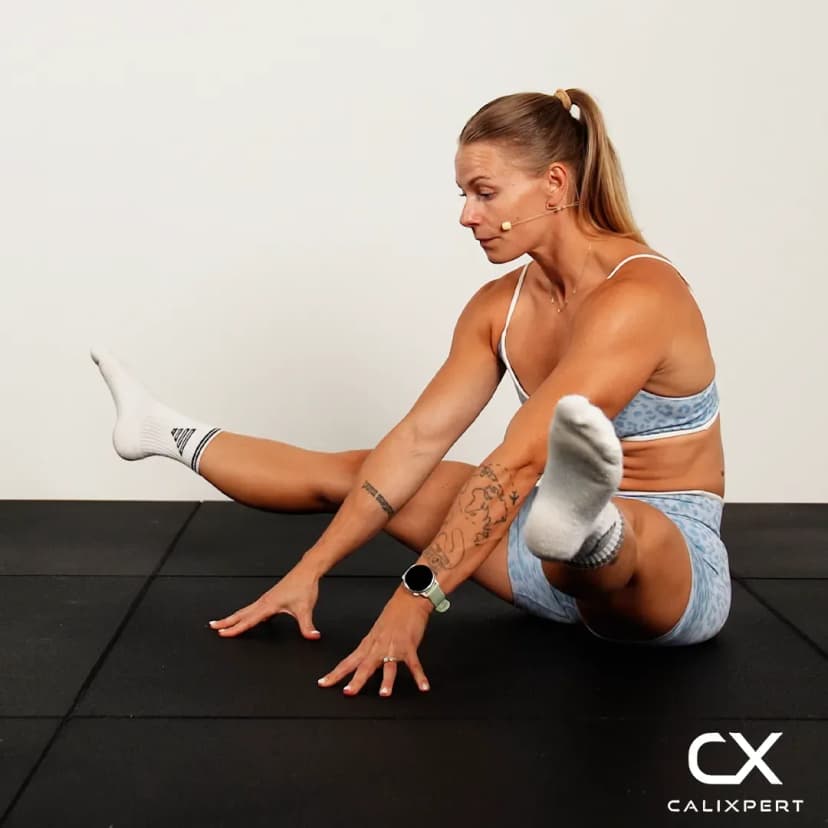
Place your hands on the floor between your legs, in front of your hips, with your arms straight. Keep them there for the whole set.
Hands in between, arms straight.
3. Choose Your Lean
Start with your upper body quite upright. The more you lean forward, the harder the lift gets, so lean more forward when you want to advance it, or a little bit back if it is too hard. Whichever lean you pick, keep the upper body still in it.
More lean, harder lift.
4. Suck In And Lock The Upper Body
Suck your belly button in toward your spine to activate the deep inner core. Then lock your upper body in place. From here on nothing above the hips moves, and you use no momentum.
Suck in, lock the upper body.
5. Lift Out Over The Objects
Keeping your legs straight, lift both legs off the floor and carry them up and over the objects, then lower them to the floor outside them. The hips do the lifting, not a rock of the torso.
Lift out, torso still.
6. Lift Back In And Repeat
Lift the legs again and bring them back over the objects to the inside, where you started. Keep going out and in with the same lean and the same suck-in on every rep.
Lift in, same lean.
Pick your lean before you start and keep it fixed, because a common mistake is rocking back a little more each rep until the legs are swung over, not lifted. If the legs clip the objects, the set is telling you to stop, not to rock harder. Next set, lean back a touch, keep the belly sucked in and let the hips do the travelling.
Muscles Worked During Compression Lifts Over An Object
Primary Muscles:
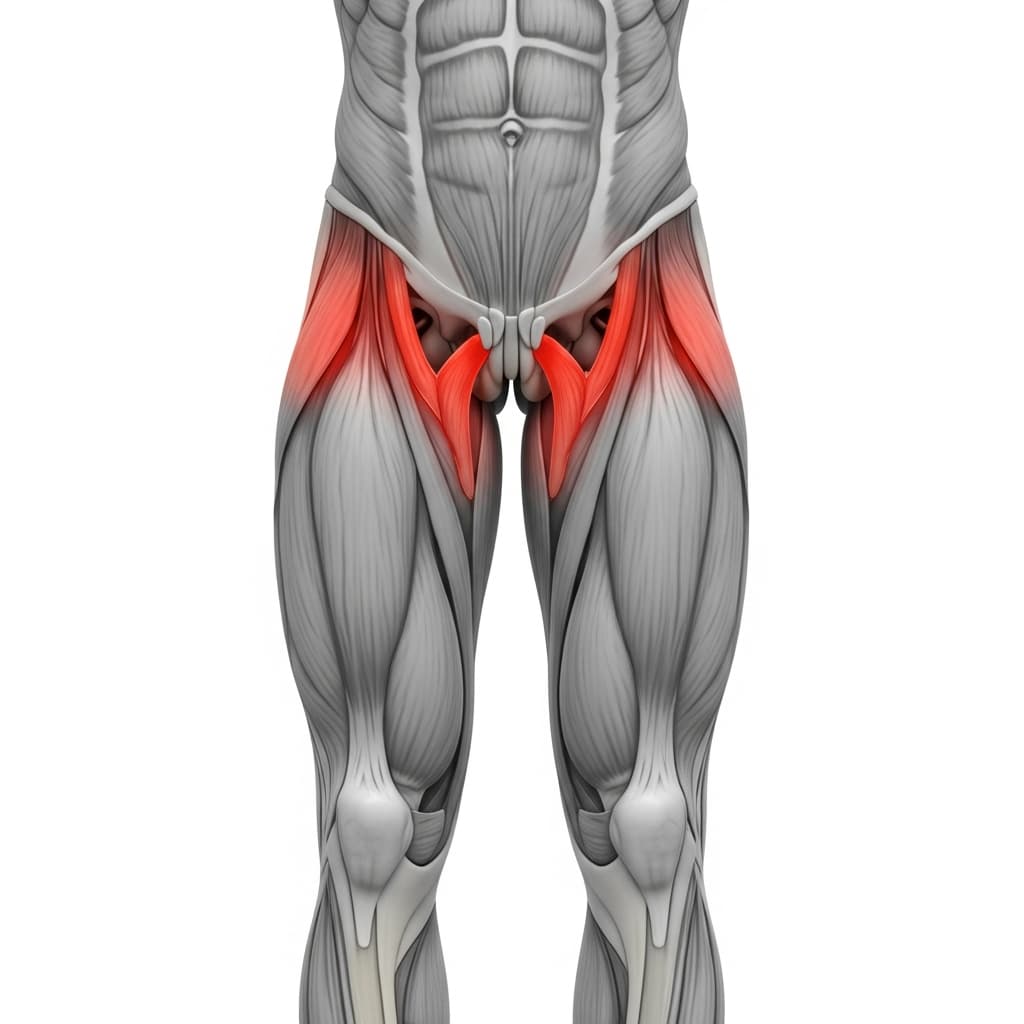
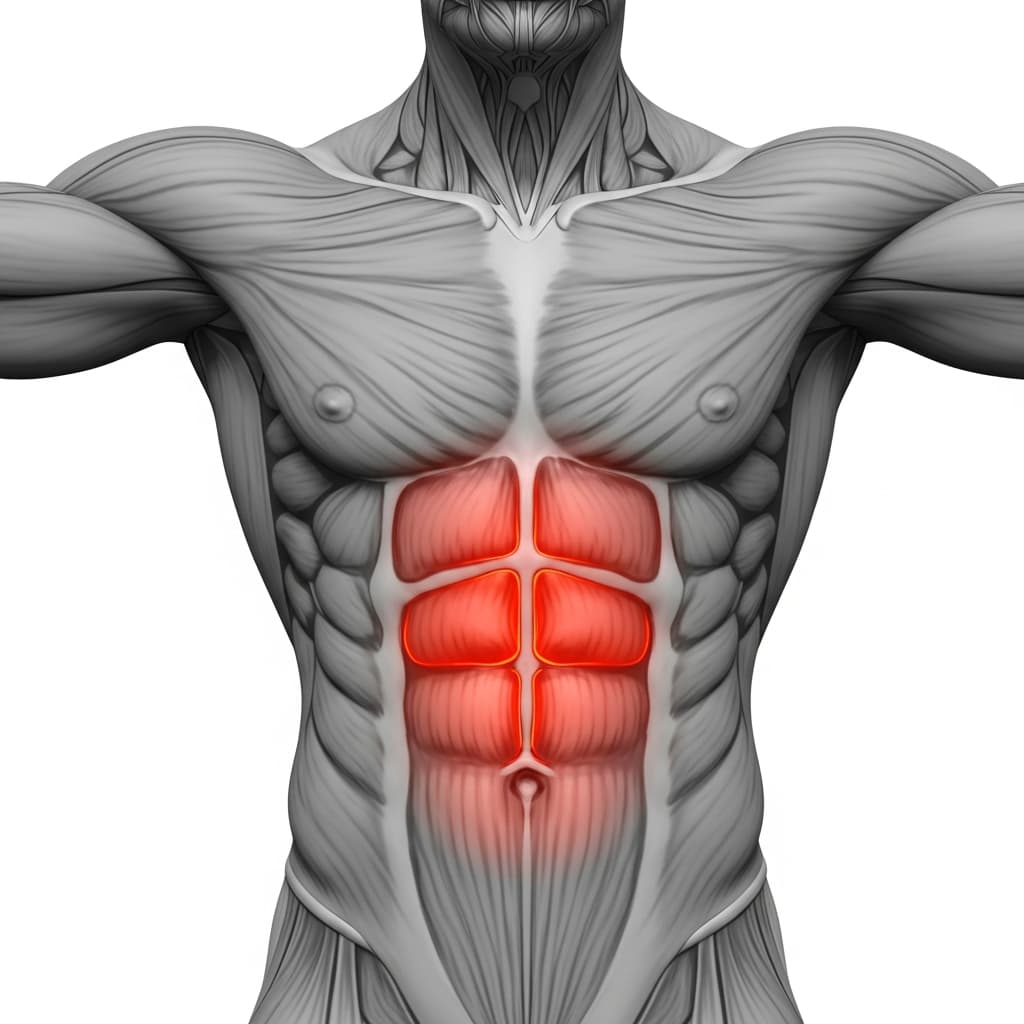
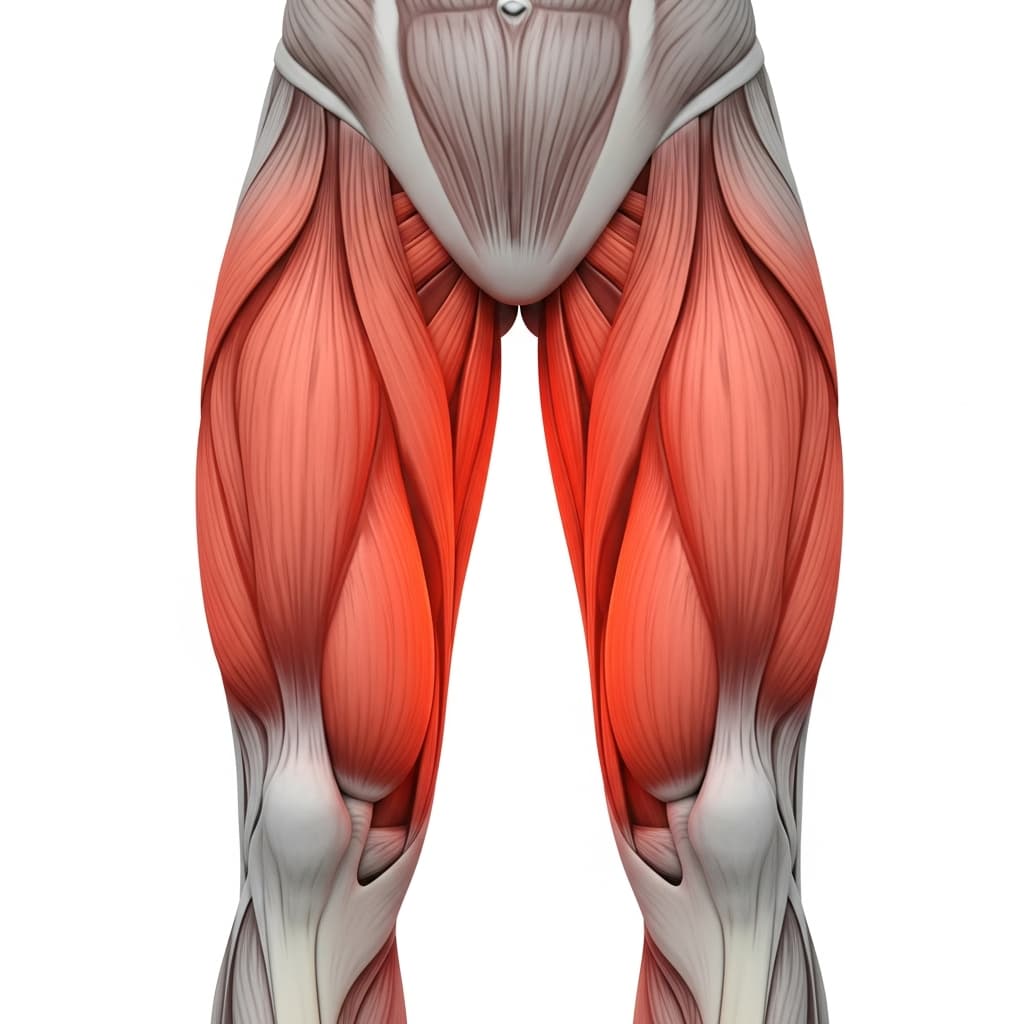
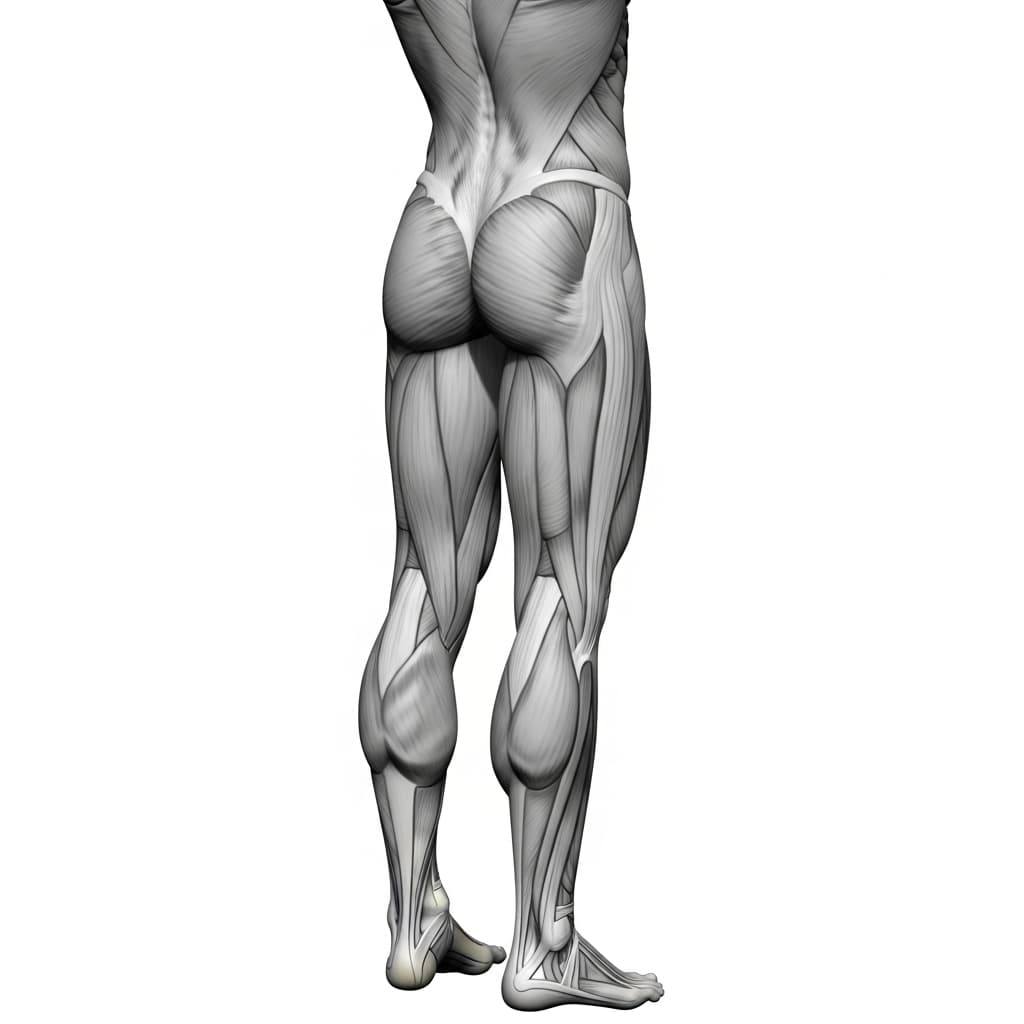
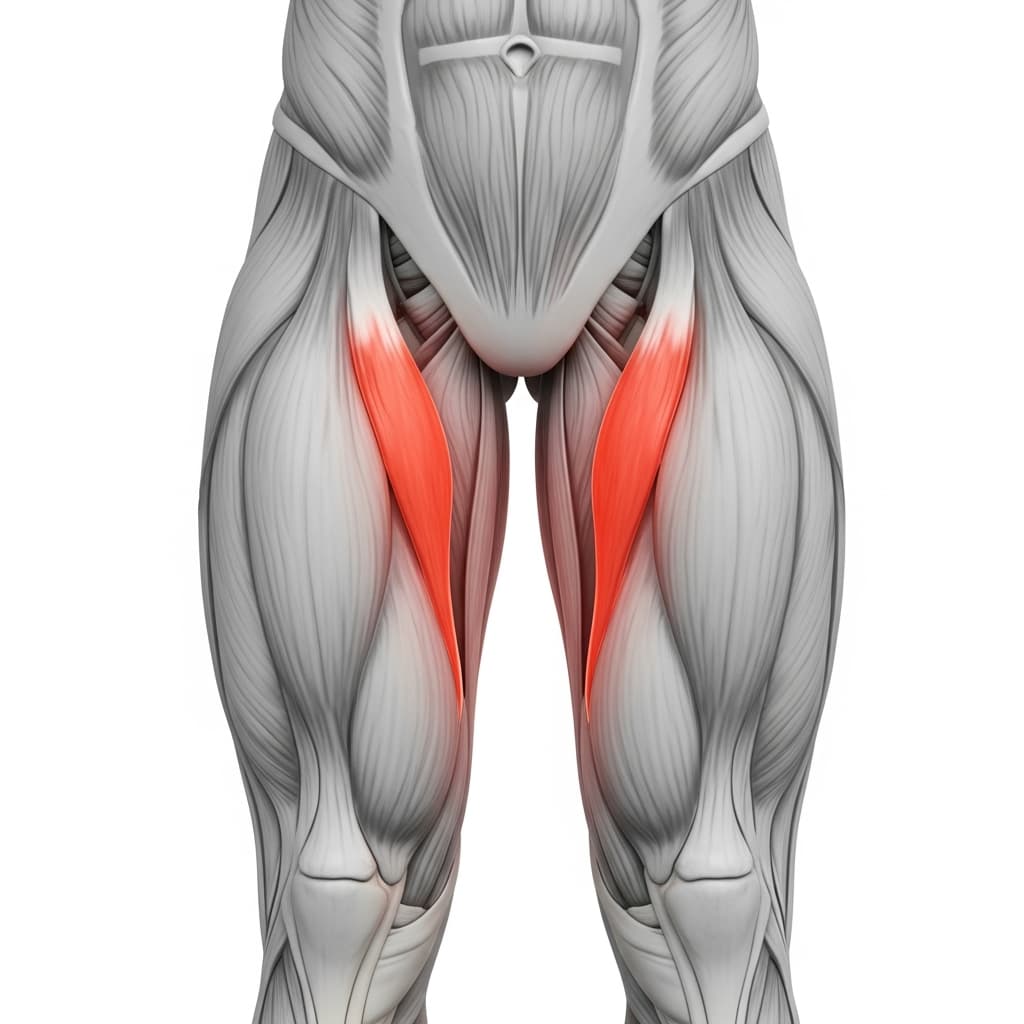
Primary Muscles
Iliopsoas (Hip Flexors) - The hip flexors lift the straight legs and keep them up over the objects, working close to their shortest position, the range compression asks for.
Rectus Abdominis (Abs) - The deep transverse abs switch on when you suck the belly button in, and that compression keeps the upper body locked while the legs travel.
Secondary Muscles
Quadriceps (Quads) - The quads keep the knees locked so the legs stay long, and once the knees soften, the lift gets easier than it should be.
Gluteus Medius & Hip Abductors (Abductors) - The muscles on the outside of the hip carry the lifted legs out to the side, so they clear the objects instead of only rising.
Hip Adductors (Adductors) - The inner thighs are lengthened in the straddle, and they help bring the legs back in over the objects to where you started.
Benefits of Compression Lifts Over An Object
- Builds compression, the ability to lift your own legs from a folded position using the hip flexors and deep core.
- Gives every rep a fixed height to clear, so you can see your progress and cannot cheat by barely leaving the floor.
- Adds a sideways path, so the muscles on the outside of the hip work to carry the legs out over the objects.
- Trains the legs to move while the upper body stays locked, with no momentum from the torso.
- Supports the press to handstand, since the harder you can fold at the hip, the less you have to lean at toe off.
- Scales with your lean and the height of the objects, so the same setup keeps working as you get stronger.
Who Is This Exercise For?
You should be able to sit in a semi-straddle with straight legs and a fairly upright upper body without falling back onto your hands, and if your heels barely leave the floor when you lift, start with Pike Pulses. You also need two objects of the same height, such as yoga blocks, firm cushions, rolled towels or foam rollers. Start low, because their height is part of the difficulty.
Common Mistakes to Avoid
Rocking the upper body to swing the legs over: Keep the upper body locked with no momentum, since a swing can get the legs over without the hips working. If you can only clear them by rocking, lean a little further back and hold still, or use lower objects.
Bending the knees to get over the objects: Bent knees shorten the legs, which makes the lift easier and takes the work away. Keep the knees locked and use a lower object instead.
Leaning far forward before the upright version is clean: Leaning forward is how you make this harder, so it is not where you start. Try it quite upright first, get clean reps there, then lean more forward when you want to advance it.
Letting the belly relax during the set: The suck-in is what keeps the upper body still. Set it before the first rep and keep the belly button pulled toward the spine through every lift.
Clipping or dragging the legs over the objects: Lift high enough to clear the objects on every rep, because that height is the reason they are there. When your legs stop clearing them, the set is over.
Variations & Progressions
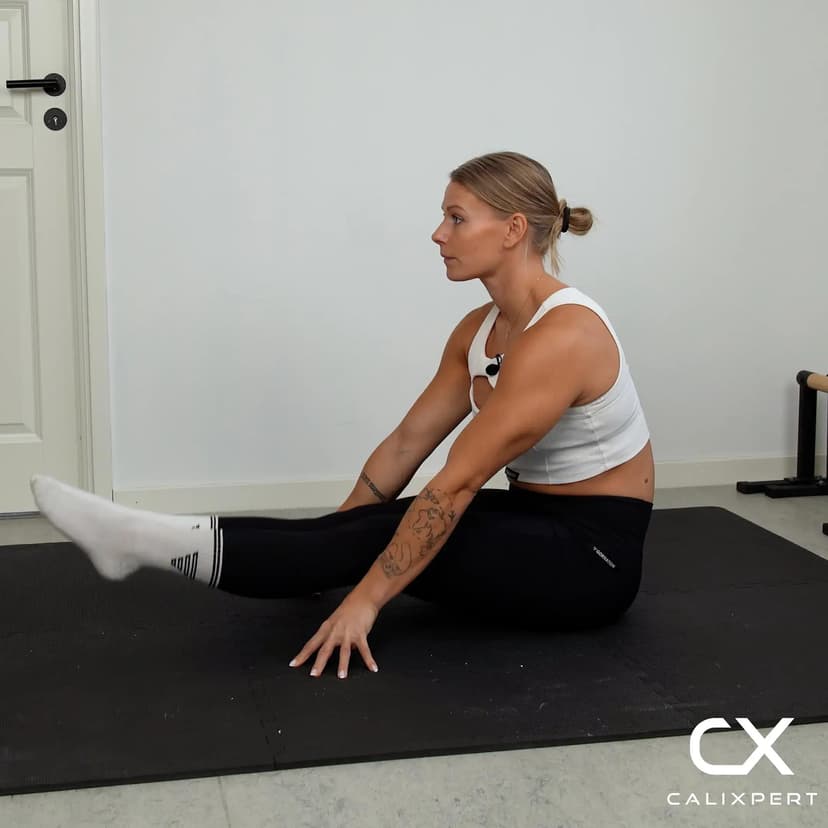
Compression Lifts Over A Taller Object
The same out and in movement with taller objects beside your legs. Move up once every rep clears the current objects with straight knees and no rocking.